
You are staring at a problem that feels personal. That hedge you planted and watered, the one that was supposed to give you privacy and a green backdrop. Now it has brown patches.
The frustration is real, and so is the worry that you might lose the whole plant.
Per research from university extension services, arborvitae consistently rank among the most misdiagnosed landscape plants. The reason is simple: several different problems produce almost identical-looking symptoms. But here's the good news.
The pattern of the browning almost always gives the cause away. You just need to know what to look for.
Quick Answer
Brown patches on arborvitae have several possible causes. The browning pattern points to the right one. Check if the tips, interior, or bottom of the plant is affected.
Look for pests or fungal signs. Then treat the specific cause.
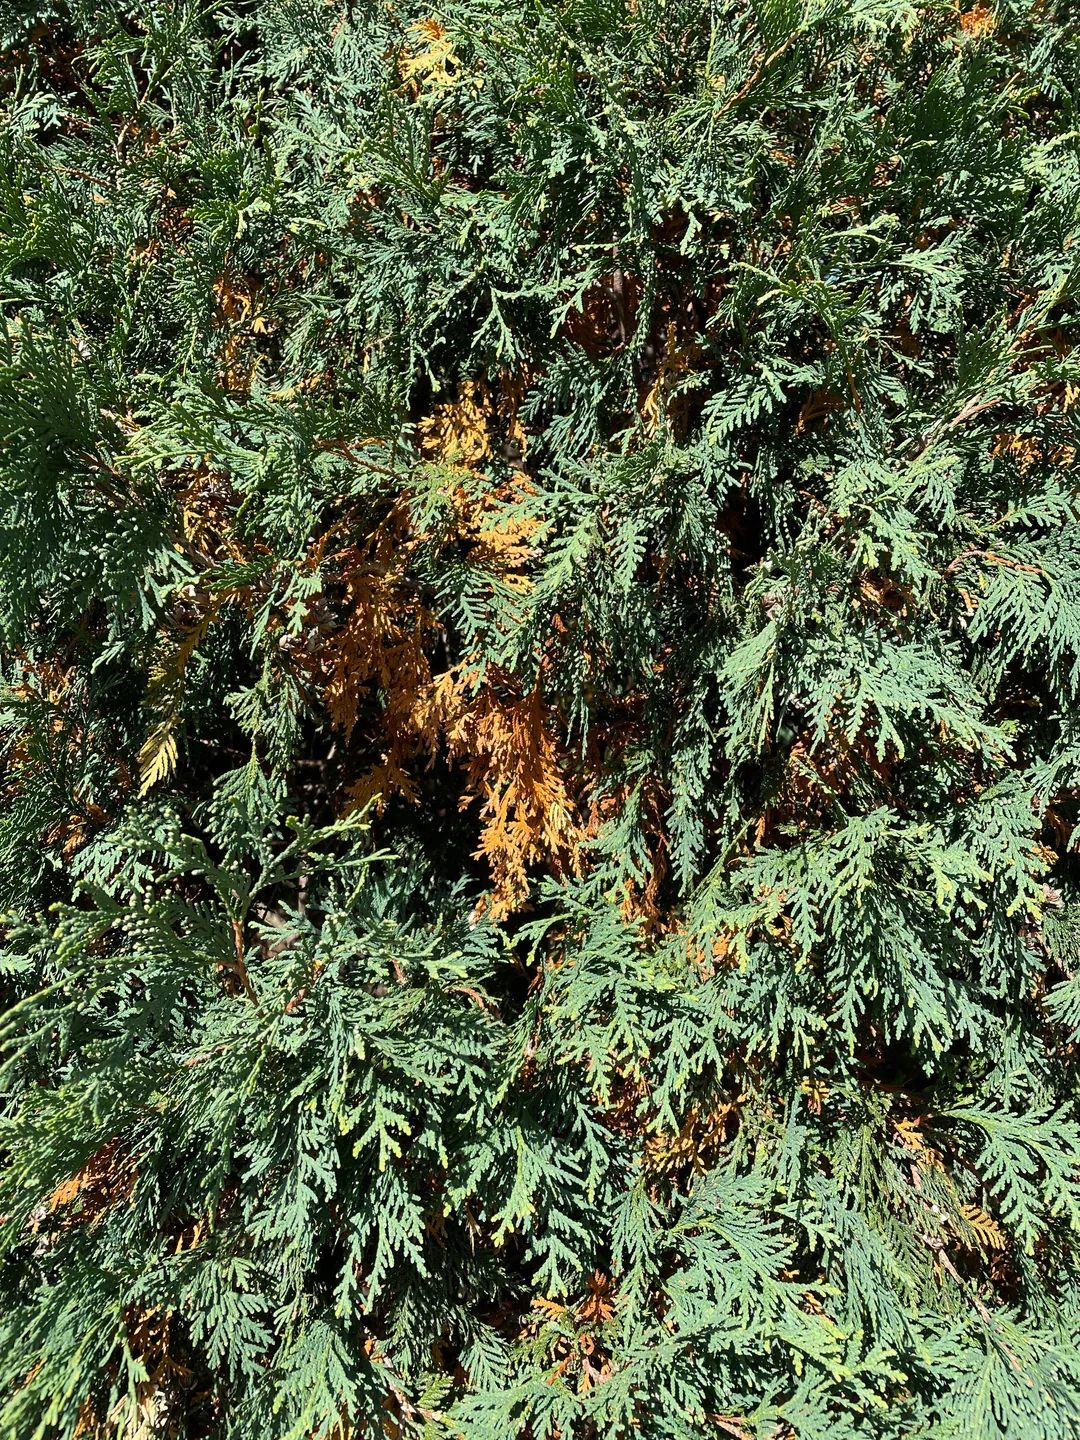
Image source: Bing (Web (fair-use with source credit))
Why Visuals Are the Key to Diagnosing Brown Patches
When you search for "brown patches on arborvitae," you get a flood of possible causes. Winter burn. Fungal disease.
Spider mites. Dog urine. The list goes on.
Each one requires a completely different treatment. And treating for the wrong thing can kill the plant faster than doing nothing.
That's why visual diagnosis matters so much. The way the browning looks, where it appears on the plant, and when it shows up all act like a fingerprint for the underlying problem. As of 2026, the USDA Plant Hardiness Zone Map continues to be a reliable reference for understanding which climate stresses affect your region.
But even without that map, you can narrow down the cause by looking closely at the pattern.
Think of it like a detective game. The arborvitae is giving you clues. You just need to read them right.
The Four Main Browning Patterns (and What Each Tells You)
Every brown patch on an arborvitae falls into one of four categories. Once you identify the pattern, you have eliminated 75 percent of the possible causes. Here is what to look for.
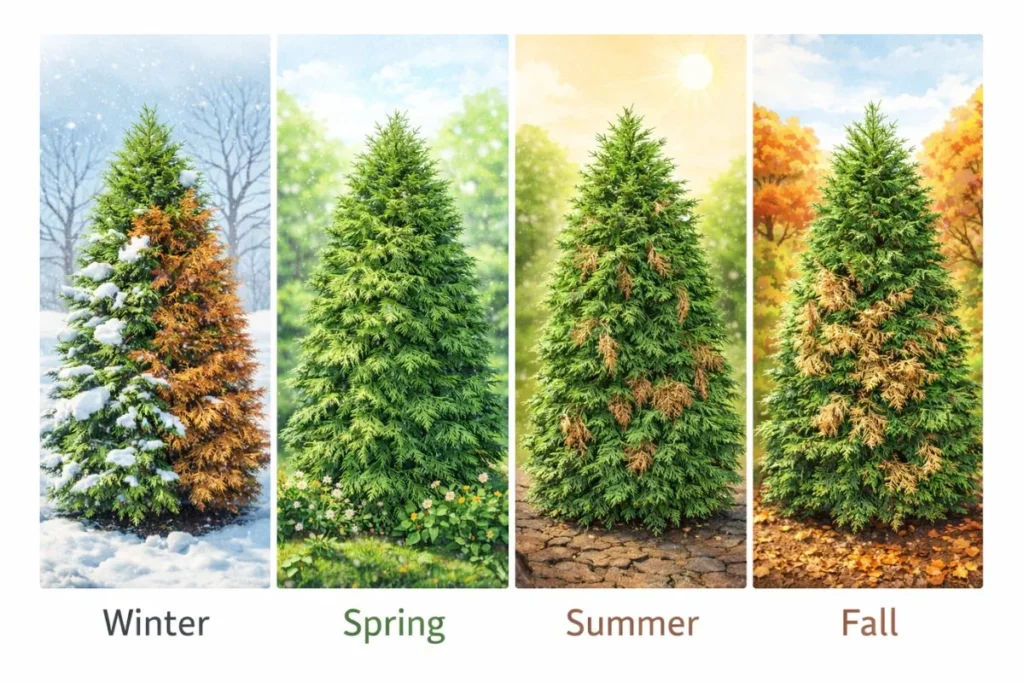
Image source: Bing (Web (fair-use with source credit))
Tip Browning: Winter Burn or Fungal Blight?
If the brown starts at the tips of the branches and works its way back toward the trunk, you are looking at either winter burn or a fungal disease called tip blight.
Winter burn shows up in early spring. It happens when the ground stays frozen but the sun and wind dry out the foliage. The branch tips turn brown, usually on the side facing the sun or wind.
The rest of the plant stays green. This is incredibly common in zones 3 through 5.
Fungal tip blight looks similar but follows a different schedule. It shows up during wet weather in late spring or summer. You will see small black dots on the brown stems if you look closely.
These are the fungal fruiting bodies. Pestalotiopsis and Kabatina are the most common culprits.
Interior Browning: Normal Needle Drop or Something Worse?
Arborvitae naturally shed their inner needles every year. This happens in the fall. The inner foliage turns yellow or brown and drops.
It looks alarming, but it is completely normal.
The trick is timing. If you see interior browning in the spring or summer, that is not normal. It could mean the plant is stressed from drought, poor drainage, or root damage.
Interior browning that spreads outward usually signals a systemic problem like root rot from Phytophthora.
Basal Browning: Root Issues, Dog Urine, or Salt Damage
When the brown starts at the bottom of the plant and moves upward, the problem is almost always at ground level. Root rot from overwatering or compacted soil is the most common cause. But dog urine and road salt produce the same effect.
Check the soil. If it stays wet for days after watering, you have a drainage problem. Improving drainage starts with building better soil.
If the browning is only on one side near a driveway or sidewalk, salt is the likely culprit. If it is a single spot near the ground on a corner of the hedge, a neighbor's dog might be the issue.
One-Sided Browning: Sunscald, Wind, or Deer Rub
Browning on only one side of the plant points to an environmental factor. Sunscald happens when winter sun hits the foliage and the reflected heat damages the cells. It is common on the south or west side of the plant.
Wind desiccation causes a similar pattern. Cold, dry wind pulls moisture out of the foliage faster than the roots can replace it. The side facing the prevailing wind turns brown.
Deer rub is different. You will see stripped bark and broken branches. The browning follows the injury.
Check for deer tracks or droppings nearby.
Key Identifiers: Spots, Webbing, Bags, and Cankers
Once you have identified the pattern, the next step is to look for specific signs on the branches and foliage. These are the details that separate one cause from another.
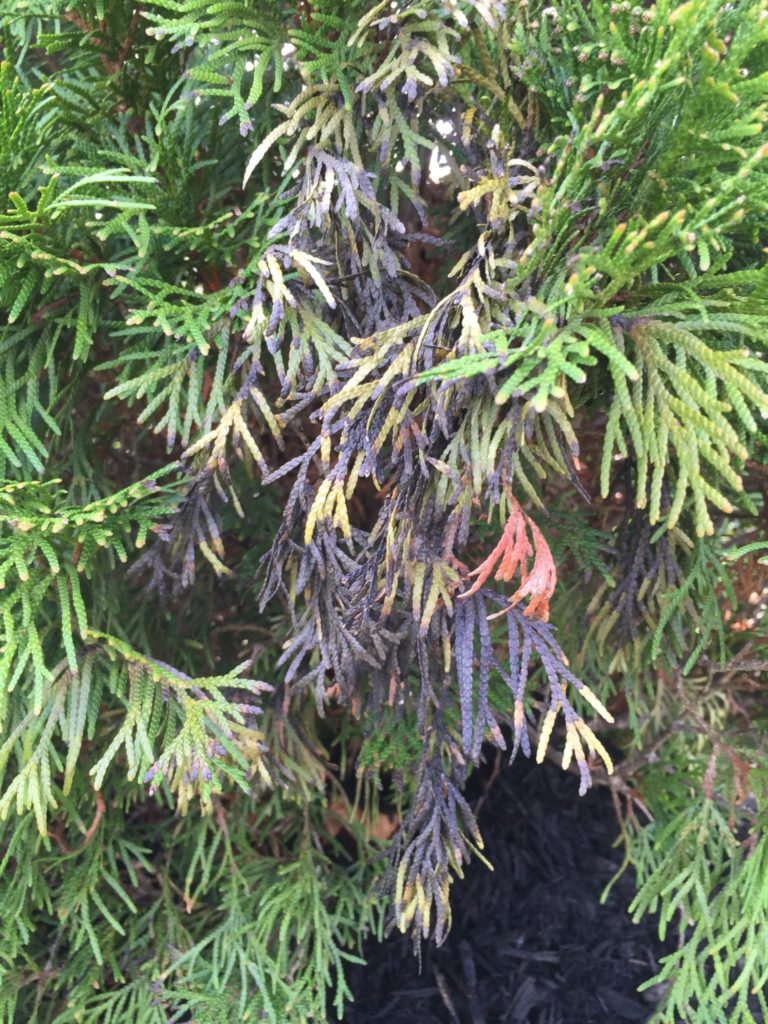
Image source: Bing (Web (fair-use with source credit))
Black Spots on Stems
Tiny black dots, about the size of a pinhead, on the brown stems or leaf scales. These are fungal fruiting bodies. If you see them, you are dealing with a fungal disease, not winter burn.
Pestalotiopsis and Kabatina both produce these spots.
Webbing
Fine, silky webbing on the foliage. This is spider mites. They are almost invisible to the naked eye, but the webbing gives them away.
You might also see tiny yellow or brown specks moving on the foliage. Spider mites thrive in hot, dry conditions.
Silk Bags
Brown, cone-shaped bags hanging from the branches. These are bagworms. The bags are made of silk and plant material.
They look like small pine cones. Each bag contains a caterpillar that feeds on the foliage. A heavy infestation can strip a plant completely.
Cankers
Sunken, discolored areas on the stems or branches. Cankers kill the cambium layer, cutting off the flow of water and nutrients. The branch above the canker turns brown and dies.
Cankers are caused by fungal pathogens or physical damage.
Common Visual Mistakes (and How to Avoid Them)
The most expensive mistake people make is treating for the wrong problem. Here are the three most common mix-ups and how to avoid them.
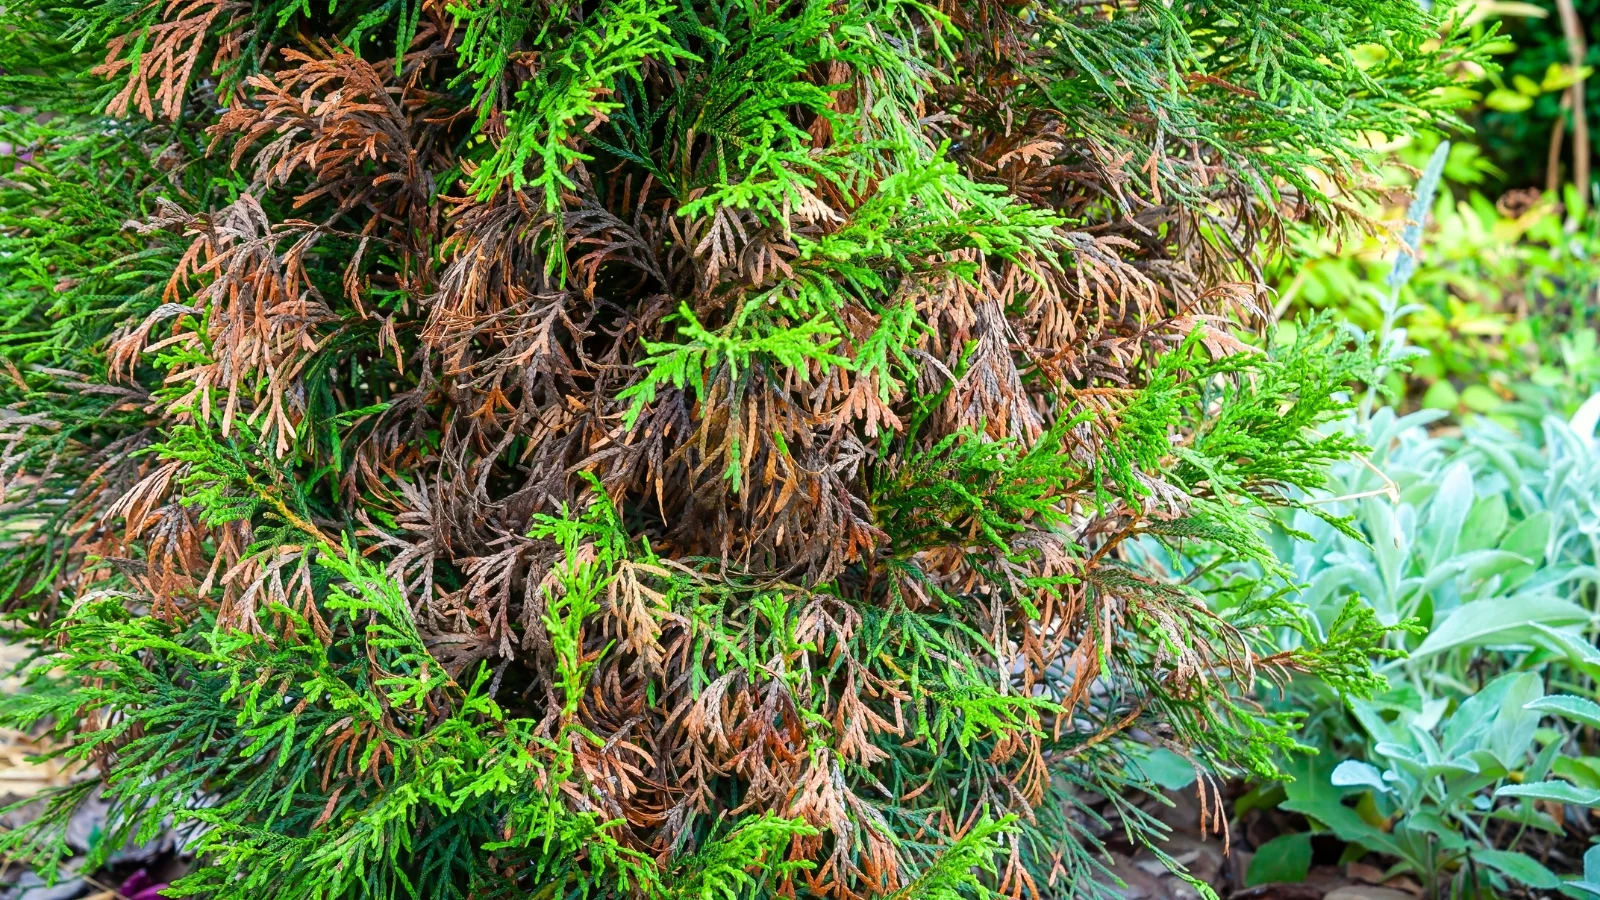
Image source: Bing (Web (fair-use with source credit))
Winter Burn vs. Fungal Blight
These two look almost identical at first glance. Both cause tip browning. But winter burn shows up in early spring, and it is uniform across the affected side.
Fungal blight shows up in summer, and it is patchy. The key is the black dots. If you see them, it is fungal.
If you do not, it is probably winter burn.
Salt Damage vs. Drought Stress
Both cause browning from the tips inward. But salt damage is concentrated on the side facing a road, driveway, or sidewalk. Drought stress is more uniform across the whole plant.
Salt damage also causes the foliage to look crispy and dry. Drought stress makes the foliage look wilted before it turns brown.
Dog Urine vs. Root Rot
Both cause basal browning. But dog urine creates a distinct circular patch at ground level. Root rot affects the whole bottom of the plant evenly.
If the soil is soggy and the plant looks generally unhealthy, it is root rot. If everything else looks fine except one brown spot near the ground, it is probably urine.
How to Diagnose Your Arborvitae in 5 Minutes
You do not need a degree in plant pathology to figure this out. Follow these steps in order. Each step eliminates one or more causes.
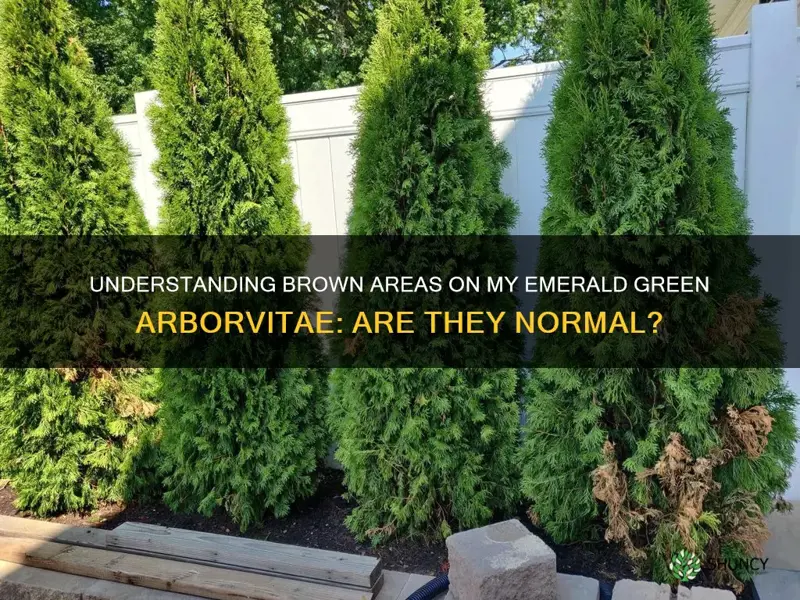
Image source: Bing (Web (fair-use with source credit))
Step 1: Note the Pattern
Stand back and look at the whole plant. Is the browning on the tips, the interior, the bottom, or just one side? Write it down.
This is your first clue.
Step 2: Check the Timing
When did the browning appear? If it was early spring, think winter burn. If it was summer, think fungal or pest issues.
If it was fall, it might be normal needle drop.
Step 3: Inspect the Branches
Take a close look at the brown branches. Use a magnifying glass if you have one. Look for black spots, webbing, silk bags, or cankers.
This step separates the causes more than anything else.
Step 4: Do the Scratch Test
Gently scrape the bark on a brown branch with your fingernail. If the tissue underneath is green, the branch is still alive. If it is brown or dry, the branch is dead.
This tells you how far the damage has spread.
Step 5: Check the Soil
Feel the soil around the roots. If it is wet and compacted, you have a drainage problem. If it is bone dry, you need to water more.
If it is salty or has a white crust, you have salt damage.
Step 6: Make the Call
Based on the pattern, timing, and identifiers, you should now have a clear suspect. If you are still unsure, take a photo and send it to your local county extension office. They can confirm the diagnosis for free.
Your local extension service, like the University of Minnesota Extension, provides free plant disease diagnosis for residents. They can give you a definitive answer without the guesswork.
Treatment by Cause: Fungicides, Pest Control, and Cultural Fixes
Once you have a diagnosis, the treatment becomes straightforward. Each cause has a specific approach. Using the wrong one wastes time and money.
It can also harm the plant further.
Fungal Issues (Pestalotiopsis, Kabatina, Keithia Blight)
Fungal diseases need fungicides, but only if you catch them early. Research from university extension programs shows that fungicides work best as a preventative spray, applied when new growth emerges in spring.
Chlorothalonil and copper-based fungicides are effective against tip blights. Propiconazole works well for Keithia blight. Apply every 7 to 14 days during wet weather.
Stop when the weather dries out.
Do not spray if the browning is already widespread. The fungicide will not bring dead tissue back to life. It only protects new growth.
Prune out the dead branches first, then spray the remaining healthy foliage.
| Fungicide Type | Target Disease | Application Timing |
|---|---|---|
| Chlorothalonil | Pestalotiopsis, Kabatina | Spring, every 7–14 days in wet weather |
| Copper-based | General tip blights | Spring, every 10–14 days |
| Propiconazole | Keithia blight, Cercospora | Spring, repeat every 14 days |
Pests (Bagworms, Spider Mites, Leafminers)
Bagworms are easy to treat if you catch them early. Hand-pick the bags in late fall or early winter. Drop them in soapy water.
For heavy infestations, use Bacillus thuringiensis (Bt) in late spring when the caterpillars are young.
Spider mites need a miticide or insecticidal soap. Spray the undersides of the foliage thoroughly. Repeat every 5 to 7 days until the webbing stops.
A strong blast of water from a hose can knock mites off for light infestations.
Leafminers are harder to treat because the larvae live inside the foliage. Systemic insecticides applied in early spring can help. But for most homeowners, pruning out the affected branches is the most practical approach.
Environmental Stress (Winter Burn, Drought, Salt)
Environmental stress needs cultural fixes, not chemicals. For winter burn, wait until late spring. New growth often emerges from the buds.
Do not prune until you see what survives.
For drought stress, water deeply once a week. Aim for 1 inch of water including rainfall. Use a soaker hose or drip irrigation.
Mulch around the base with 2 to 3 inches of wood chips. Keep the mulch away from the trunk.
For salt damage, flush the soil with plenty of water in the spring. Use a barrier like burlap to block road spray next winter. Consider a soil test if you plan to add any fertilizer.
Adding compost can help improve overall soil health, which supports the plant's recovery.
When to Prune, When to Spray, and When to Replace
This is the most common question people ask. The answer depends on how much of the plant is still alive.
Prune only the dead branches. Use clean, sharp pruning shears. Cut back to healthy wood.
Sterilize the blades between cuts with rubbing alcohol. Do not prune into the green tissue. That stresses the plant further.
Spray only if you have confirmed a fungal or pest problem. Do not spray for environmental stress. It will not help.
If you are unsure, take a sample to your local extension office. They can identify the pathogen under a microscope.
Replace the plant if more than 50 percent of the foliage is dead. Arborvitae cannot regrow from bare wood. If the entire plant is brown, it is gone.
Dig it out and start fresh. Consider a more resilient cultivar like 'Green Giant' for future planting.
If the root system is damaged from root rot, the plant will not recover. You will see stunted growth and continued browning despite good care. Replace it.
Improve the soil drainage at the new site before planting.
Mistakes to Avoid That Make Brown Patches Worse
Some common mistakes turn a treatable problem into a dead plant. Here are the ones to watch for.
Pruning Too Early
Do not prune brown branches in winter or early spring. You might cut off living tissue that would have recovered. Wait until the plant has had a chance to push new growth in late spring.
Then you can see what is truly dead.
Overwatering
People see brown patches and assume the plant needs more water. But many arborvitae problems come from too much water, not too little. Overwatering leads to root rot.
Check the soil moisture before watering. Stick your finger 2 inches into the soil. If it feels wet, do not water.
Using the Wrong Fertilizer
Fertilizer is not medicine. It does not fix browning. In fact, high-nitrogen fertilizer can make fungal problems worse by encouraging soft, vulnerable growth.
Use a slow-release balanced fertilizer only if a soil test shows a deficiency. Otherwise, skip it.
Ignoring the Soil
Many people treat the foliage and ignore the roots. But the roots are where most problems start. Compacted soil, poor drainage, and salt buildup all cause browning from the ground up.
Aerate the soil if it is compacted. Use a soil test to check for salt levels.
Preventing Brown Patches Next Season
Prevention is easier than treatment. A few simple habits can keep your arborvitae healthy year after year.
Choose the Right Cultivar
Some arborvitae varieties handle stress better than others. 'Green Giant' is highly resistant to winter burn and fungal diseases. 'Emerald Green' is more prone to winter damage.
'Techny' is a good middle ground. Match the cultivar to your climate and site conditions.
Water Correctly
Deep, infrequent watering is better than shallow, frequent watering. Water once a week during dry spells. Give the plant 1 inch of water.
This encourages deep root growth. Mulch helps retain moisture and keeps the roots cool.
Protect from Winter Stress
Winter burn is the most preventable cause of brown patches. Water the plant deeply before the ground freezes. Use an anti-desiccant spray on the foliage in late fall.
Wrap the plant in burlap if it is in a windy location. This blocks the sun and wind that cause winter burn.
Monitor for Pests and Diseases
Check your arborvitae once a month during the growing season. Look for bagworms, webbing, and black spots. Early detection makes treatment much easier.
A quick visual inspection takes 5 minutes and can save the plant.
Improve Soil Health
Healthy soil grows healthy plants. Add 2 to 3 inches of organic mulch around the base each year. Do not pile it against the trunk.
Aerate compacted soil in the fall. If you are starting a new hedge, amend the soil with compost before planting.
Frequently Asked Questions
Can brown arborvitae turn green again?
No. Brown foliage is dead and will not turn green again. The plant can push new growth from healthy buds if the cause is addressed.
But the existing brown needles will not recover.
Should I cut off the brown branches?
Yes, but only after the plant has had a chance to grow new foliage in spring. Prune dead branches back to the nearest healthy wood. Use clean pruners to avoid spreading disease.
How long does it take for an arborvitae to recover?
It depends on the damage. Light winter burn may show new growth within 4 to 6 weeks. Severe damage can take a full growing season.
If the plant is slow to recover, check the soil and watering.
What is the best fungicide for arborvitae?
Chlorothalonil and copper-based fungicides are the most common options for tip blights. Apply them preventatively in spring. Follow the label instructions exactly.
Overuse can harm the plant.
When should I give up and replace the plant?
If more than half the foliage is brown and the branch tips are brittle, the plant is unlikely to recover. If the browning extends to the main trunk, the plant is dead. Replace it with a more resilient cultivar.
Final Takeaway: Your Visual Reference Guide
Here is the simple truth about brown patches on arborvitae. The pattern tells you the cause. The timing confirms it.
The visual identifiers seal the deal.
Check the tips for winter burn or fungal blight. Check the interior for drought or root issues. Check the bottom for salt, urine, or poor drainage.
Check one side for sun or wind damage.
Match what you see to the treatment. Prune dead wood. Spray for fungus or pests.
Fix the soil and watering. Replace the plant if more than half is gone.
You do not need to be an expert. You just need to look closely. The arborvitae will tell you what it needs.