
Ever looked at a can of wood stain and a sprayer and wondered if those two things are meant to go together without some intermediary step? For many DIYers, the question of "Does stain need to be thinned in a sprayer?" pops up when they want a faster, smoother finish, especially on larger projects. Getting this right ensures a beautiful result and avoids frustrating clogs or patchy coverage.
Manufacturer specifications often indicate that stains may require thinning for optimal sprayer performance, with specific viscosity targets sometimes falling within a range like 15-30 seconds using a #4 Ford Cup. Getting the consistency just right is key to a professional-looking job. Let's break down when and how you should think about thinning your stain for spray application.
Quick Answer
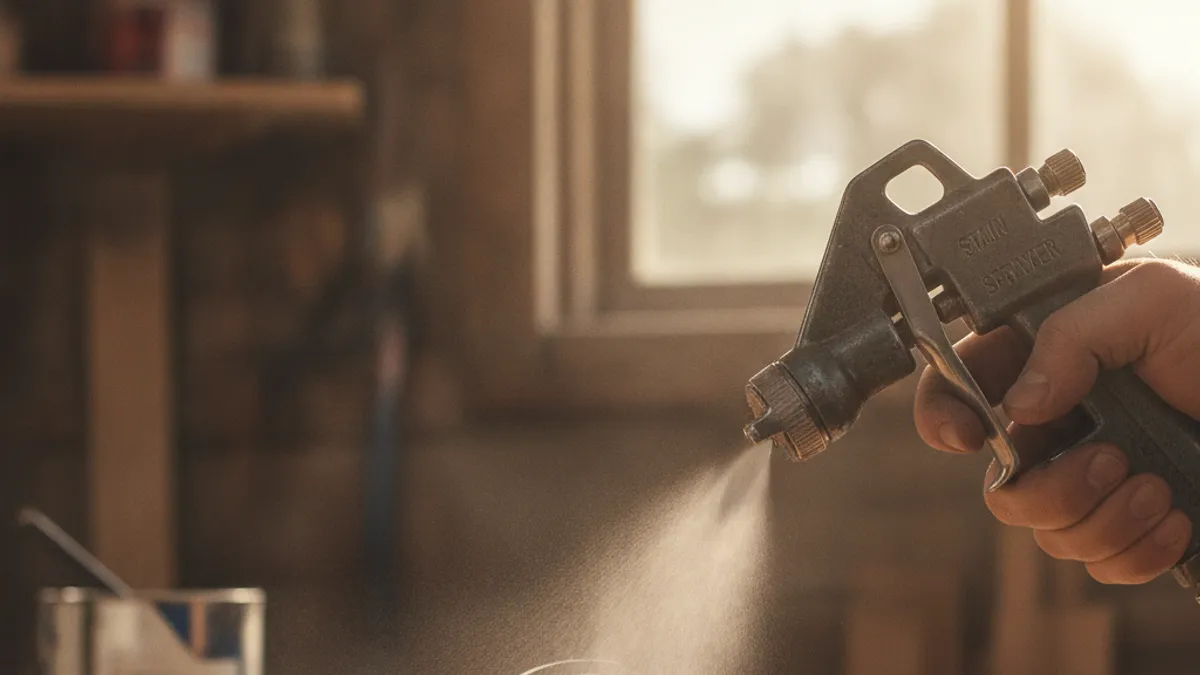
Yes, stain often needs to be thinned for sprayer application, but it's not a universal rule. The necessity depends on the stain type (oil-based, water-based, gel), the specific sprayer being used (HVLP, airless), and the desired finish. Gel stains are almost never thinned for spraying, while oil-based and many water-based stains benefit from thinning to achieve a smooth, consistent spray pattern and prevent equipment clogs.
Always check the product label and perform a test spray on scrap wood.
The Big "It Depends" Factors
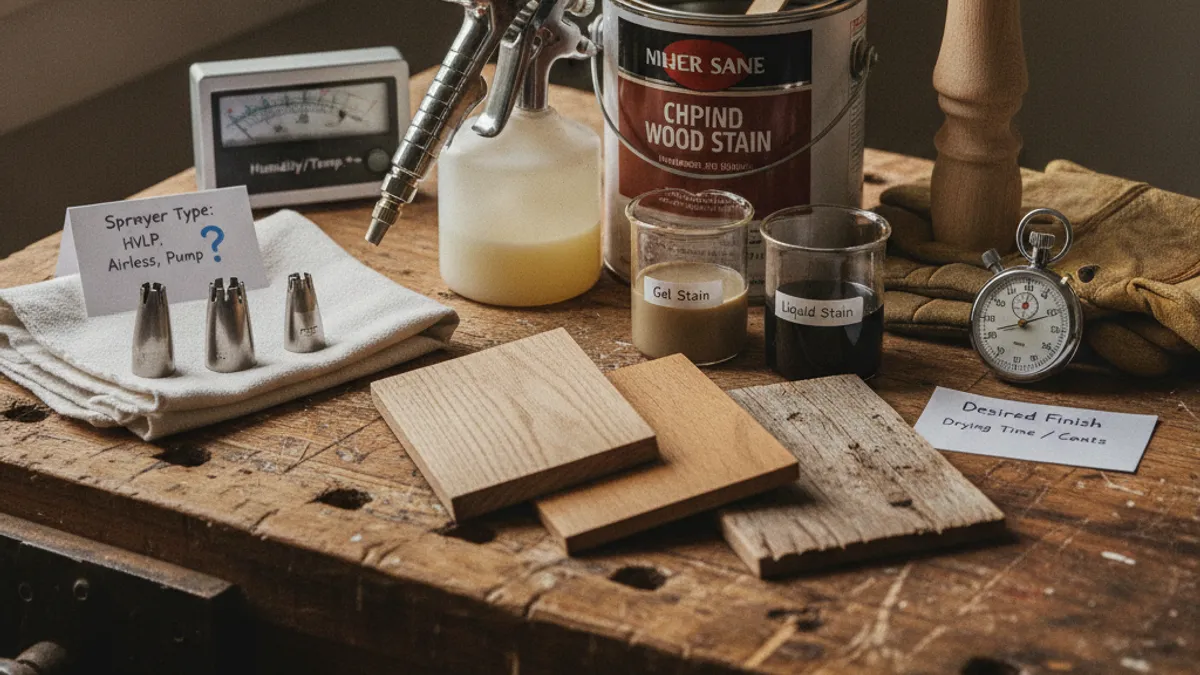
Whether you need to reach for the thinner is heavily influenced by a few critical elements, and understanding these will save you a lot of hassle and ensure a better finish on your project. It’s not just about wanting it thinner; it's about matching the stain's properties to your equipment and goals.
Stain Type: Oil, Water, or Gel?
The formulation of the stain itself plays a starring role in determining if thinning is necessary. They all have different base components and thicknesses, meaning they react differently to spraying.
- Oil-Based Stains: These are typically formulated with a higher viscosity, meaning they are naturally thicker. Many manufacturers recommend thinning oil-based stains when using a sprayer to ensure they atomize properly and flow smoothly through the nozzle. This helps prevent the sprayer from clogging and ensures an even coat.
- Water-Based Stains: The viscosity of water-based stains can vary greatly between brands and product lines. Some are designed to be quite thin already, while others are considerably thicker. It’s essential to consult the product label for specific recommendations regarding sprayer use and thinning. Often, clean water is the recommended thinner for water-based products.
- Gel Stains: These are formulated to be very thick, almost like a jelly. Their primary advantage is their ease of application with a brush or rag, offering great control and minimal dripping, particularly on vertical surfaces. Because of their inherent thickness, gel stains are almost universally not recommended to be thinned for spraying. Thinning them can compromise their ability to cling to the surface, leading to runs, drips, and poor color saturation.
Your Sprayer: HVLP, Airless, or Pump?
The type of sprayer you’re using is equally as important as the stain itself. Different sprayers have different mechanisms for atomizing the finish, which dictates the viscosity they can handle.
- HVLP (High Volume, Low Pressure) Sprayers: These are popular for their fine finish and minimal overspray. They work by moving a large volume of air at low pressure to atomize and propel the finish. Because they operate at lower pressures, HVLP sprayers generally require thinner materials. You'll often find you need to thin your stain more significantly for an HVLP than for other types of sprayers.
- Airless Sprayers: These are powerful tools that use high hydraulic pressure to break the finish apart as it passes through a small tip. Airless sprayers can often handle thicker materials with less or no thinning required compared to HVLP systems. However, even with airless sprayers, extremely thick stains might benefit from a small amount of thinning to ensure a consistent fan pattern and reduce strain on the pump.
- Pump Sprayers (Garden Type): These are basic, often plastic sprayers, typically used for general-purpose applications. They have limited pressure and can clog very easily with thicker materials. For these types of sprayers, thinning the stain is usually a critical step to prevent blockages and achieve any sort of usable spray pattern.
The Finish You're After
Your desired outcome also plays a role in the thinning decision. Are you aiming for a very transparent, light coat that lets the wood grain shine through, or a richer, more opaque finish?
- Light, Transparent Coats: If you want a thin, wiped-on look but are spraying for speed and evenness, thinning the stain is almost always necessary. This allows for multiple light coats to build up color, reducing the risk of drips and achieving that subtle, layered appearance.
- Richer, Deeper Coats: Even for richer finishes, thinning can be beneficial. It might not require as much, but it helps ensure even atomization and transfer of the stain onto the surface, preventing clumps or uneven pigment distribution that can occur with thick, unthinned material. It essentially allows the stain to distribute more evenly in a single pass.
Quick Answer
Yes, stain often needs to be thinned for sprayer application, but it's not a universal rule. The necessity depends on the stain type (oil-based, water-based, gel), the specific sprayer being used (HVLP, airless, pump), and the desired finish. Gel stains are almost never thinned for spraying, while oil-based and many water-based stains benefit from thinning to achieve a smooth, consistent spray pattern and prevent equipment clogs.
Always check the product label and perform a test spray on scrap wood.
Decision Steps for Thinning Stain
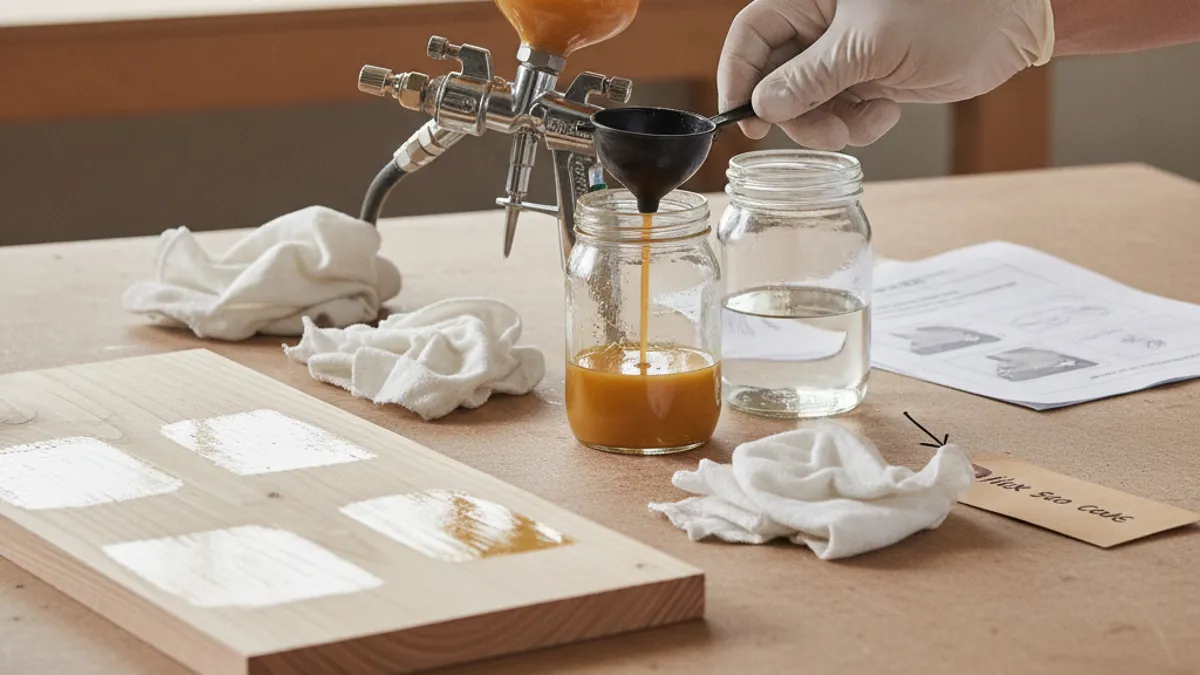
When you're standing there with your can of stain and your sprayer, you need a clear path to figuring out if thinning is the next step. This workflow helps you think through the variables logically, rather than guessing. It's all about making educated decisions based on the specific materials you're working with and your equipment.
- Consult the Stain Manufacturer's Label: This is non-negotiable. Look for instructions specifically related to spraying. Most reputable brands will clearly state if thinning is recommended, what type of thinner to use, and at what ratio. This is your primary source of truth.
- Identify Your Sprayer Type: Know whether you have an HVLP, an airless sprayer, or a basic pump sprayer. This dictates the viscosity your equipment can handle. General guidance suggests HVLP sprayers often require the thinnest materials, while airless can handle more. Pump sprayers usually need the most thinning.
- Consider the Stain Formulation:
- Gel Stain? If it's a gel stain, stop here. It’s designed for thick application and spraying is generally not recommended or requires specialized techniques that don't involve standard thinning.
- Oil-Based Stain? Check the label. Manufacturer data often recommends thinning from 5% to 15% for spray application.
- Water-Based Stain? Check the label. Some are thin enough, others might require 5-10% dilution with water.
- Does the Manufacturer Recommend Thinning?
- YES: Proceed to the next step, using their recommended thinner and ratio.
- NO: Proceed with caution. Even if not explicitly recommended, extremely thick stains might still benefit from a very small amount of thinning if your sprayer is struggling. But err on the side of caution and follow printed advice first.
- If Thinning, What Thinner?
- For Oil-Based Stains: Use mineral spirits or a painter's naphtha recommended by the stain manufacturer.
- For Water-Based Stains: Use clean water.
- Establish a Starting Ratio: If the label doesn't give one, start conservatively. For oil-based, try around 5-10% thinner. For water-based, around 5%. This means for every 100 ounces of stain, add 5-10 ounces of thinner.
- Mix Thoroughly: Stir the stain and thinner gently but completely until fully incorporated.
- Perform a Test Spray: This is the most vital step. Spray a piece of scrap wood that is the same species and prepped in the same way as your project. Observe the spray pattern and coverage.
- Evaluate the Test Spray:
- Sputtering/Uneven Pattern? Stain is likely still too thick. Add a small amount more thinner (e.g., 2-3% more) and re-test.
- Dripping/Running Excessively? Stain might be too thin. If this happens, you'll need to let some thinner evaporate (this is hard to control) or start over with a less thinned batch. It's better to be slightly too thick and re-thin than too thin from the start.
- Ideal Pattern/Coverage? Proceed with your project.
Why Testing is Crucial
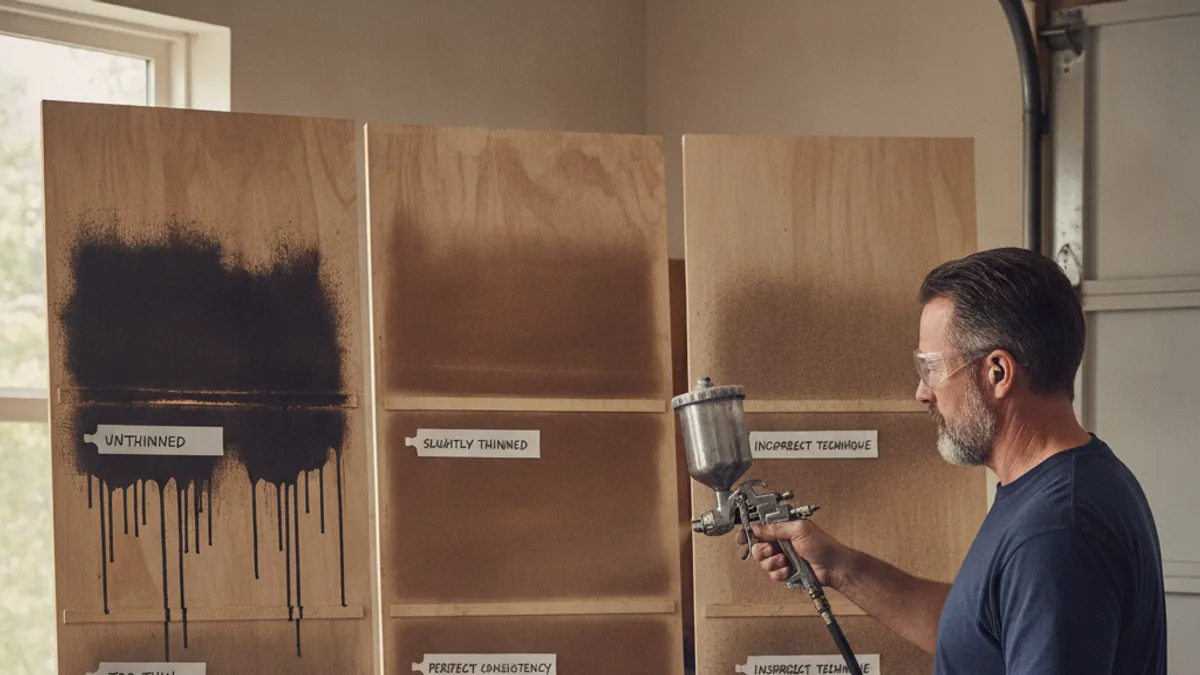
You might think, "I checked the can, I know what I'm doing," but even with the best intentions, skipping the test spray can lead to frustration and wasted material. Testing isn't just a suggestion; it’s a vital part of the process, especially when spraying any finish, including stain. It’s your safety net to ensure your stain, your sprayer, and your technique are all working in harmony.
A small test panel, no bigger than a scrap piece of plywood or a leftover board from your project, can prevent disaster. It allows you to see exactly how the thinned stain will behave from your specific sprayer under your working conditions. This isn't something you can perfectly predict by just reading percentages on a label.
Environmental factors, the exact age and condition of your stain, and minor variations in your sprayer can all impact the final result.
What to Look For in a Test Spray
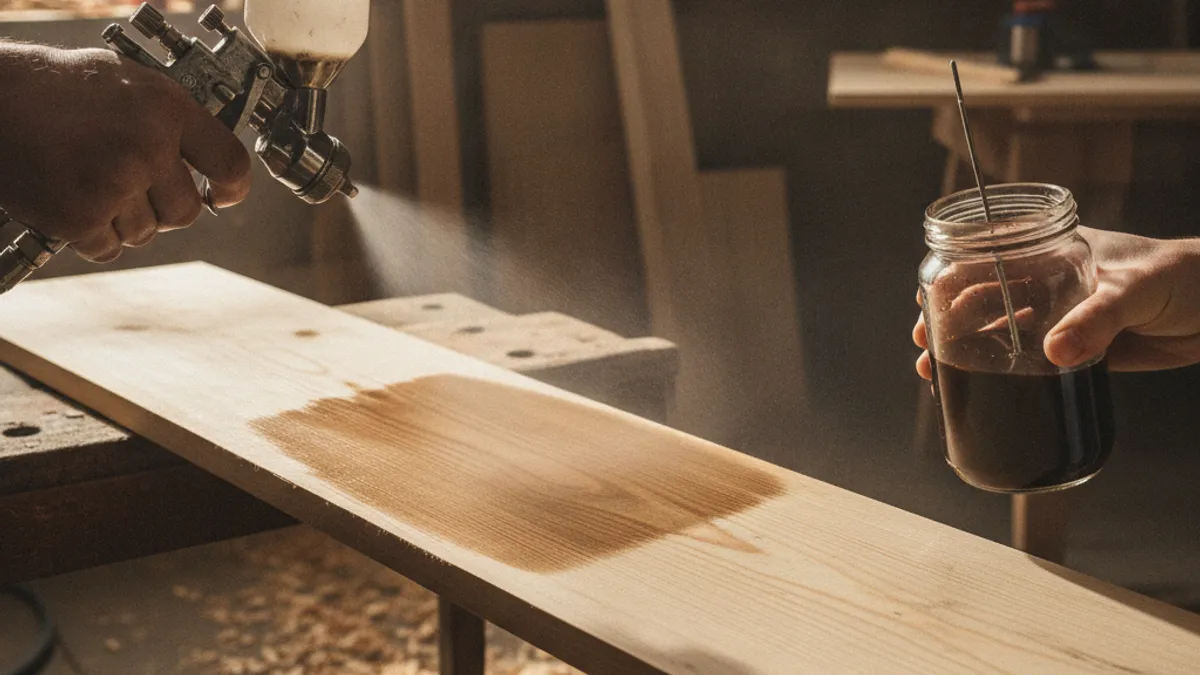
When you’re spraying that test piece, you’re not aiming for perfection on the wood’s appearance just yet. You're looking for performance indicators from the sprayer and stain combination. What you see during this test tells you everything you need to know about whether to adjust your thinning ratio or proceed.
Here’s what we advise looking for, broken down into key areas:
Atomization Quality:
- Good: The spray pattern should be a consistent, finely atomized mist, with clean edges and no visible droplets or "fisheyes" (small circular defects).
- Bad: A sputtering, uneven pattern, or one where you see individual large droplets suggests the stain is too thick or not being broken up properly by the sprayer.
Spray Pattern Shape:
- Good: The pattern should be a smooth, even fan shape (either horizontal or vertical, depending on how you're holding the gun).
- Bad: A "raining" pattern where the middle is heavier than the edges, or vice versa, indicates an inconsistent flow or nozzle issue that thinning might resolve if it relates to viscosity.
Flow Rate and Sagging:
- Good: The stain should lay down smoothly without immediate runs or sags. A slight heaping in the spray zone is acceptable, as you'll spread it evenly, but it shouldn't pool.
- Bad: If the stain is visibly dripping or running down the test board almost instantly after spraying, it might be too thin, or you're holding the sprayer too close. If it’s thick and clumpy, it's definitely still too viscous.
Coverage:
- While the final color intensity will depend on your project and number of coats, your test spray should demonstrate that the stain is laying down evenly. You should be able to see if it’s covering the wood in a uniform manner, or if it’s leaving gaps or heavy stripes because it’s too thick to flow out properly.
If your test spray shows any of the "bad" signs related to consistent flow and atomization, it's a clear signal that you need to adjust your thinning ratio. Adding just a little more thinner and performing another test is the best way to dial it in.
Using the Wrong Thinner
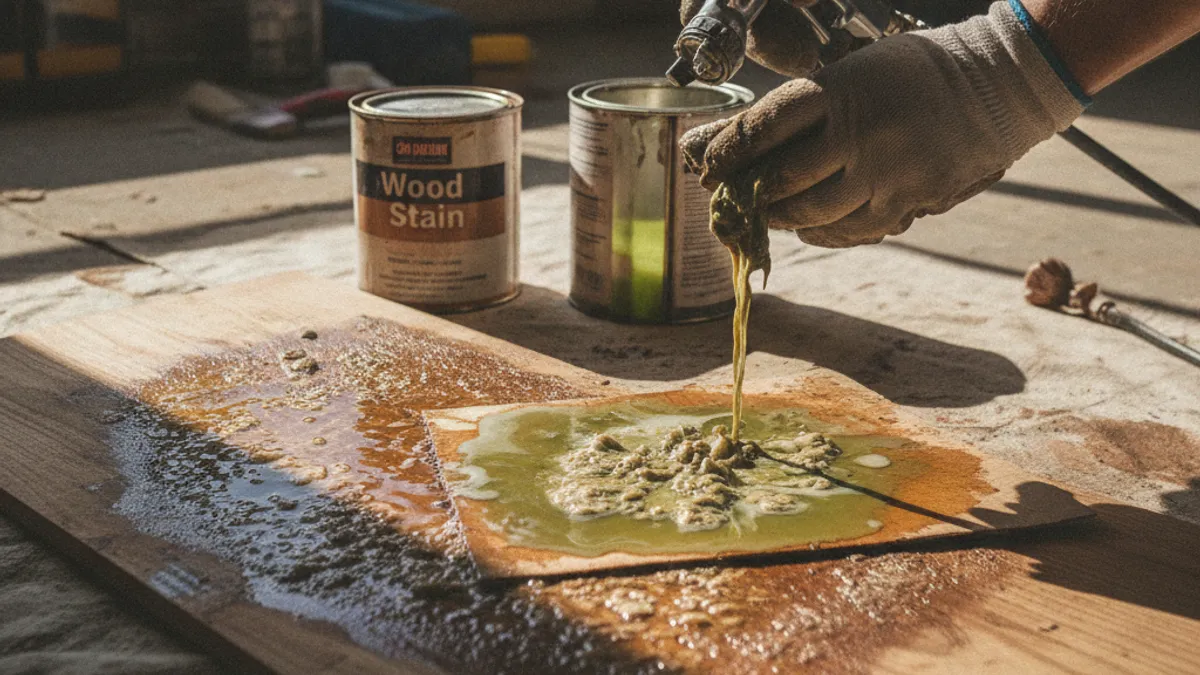
This is one of the most common DIY mistakes when preparing stain for spraying, and it can have consequences ranging from a poor finish to damaged equipment. It's tempting to grab whatever solvent you have handy, but compatibility is paramount. Using the incorrect thinner doesn't just mean the stain won't thin properly; it can actually react negatively with the stain's binders, pigments, and other additives.
- For Oil-Based Stains: These stains are formulated with oil and solvent bases. The proper thinner will be a solvent that is compatible with these oils. Manufacturer specifications and testing confirm that mineral spirits (like OMS, Odorless Mineral Spirits) or specific paint thinners are generally safe and effective. Using water here will simply result in a clumpy, unusable mess because oil and water don't mix.
- For Water-Based Stains: Conversely, these stains use water as their primary carrier. Adding an oil-based solvent (like mineral spirits) to a water-based stain will likely cause the stain to curdle, separate, and become unusable. It can also lead to an uneven, blotchy finish that's nearly impossible to correct. Clean water is almost always the correct thinner for water-based products.
- For Gel Stains: As mentioned, these are rarely thinned. If you attempt to thin them with the wrong solvent, you risk breaking down the gel structure entirely. This can make the stain too watery, leading to severe runs, poor color depth, and an inability to adhere properly.
Beyond just usability, using the wrong thinner can sometimes damage your sprayer seals and components over time, especially if it's a harsh chemical that wasn't designed for that specific plastic or rubber. Always stick to what the stain manufacturer recommends.
Over- or Under-Thinning
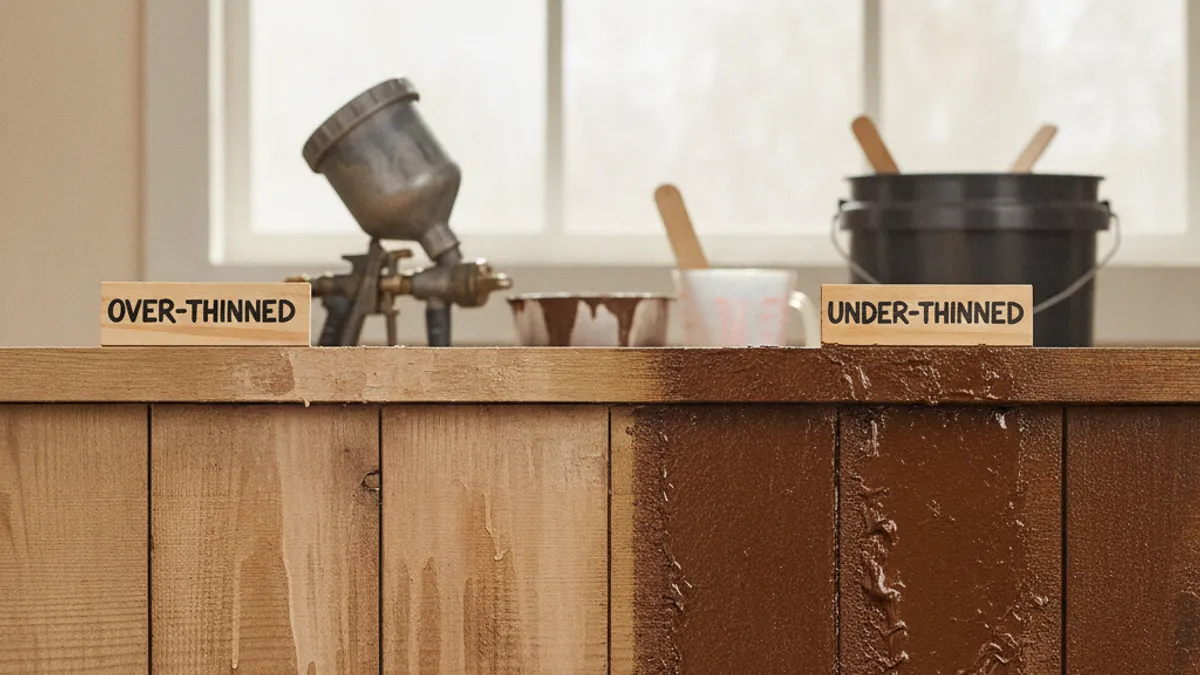
Once you've decided to thin, the next challenge is getting the amount right. Too little thinner and you're back to the original problems; too much and you create a whole new set of issues. It’s a delicate balance that a test spray is designed to help you find.
Problems with Over-Thinning
When you add too much thinner, especially beyond what the manufacturer recommends, you fundamentally change the stain's properties.
- Reduced Color Saturation: The pigments, which give the stain its color, become too diluted. This means you'll need many more coats to achieve the desired depth of color. This is especially noticeable with brands that claim rich, deep tones.
- Poor Adhesion and Durability: The stain's binder, which is what allows it to stick to the wood and cure into a protective layer, can also be diluted. This can lead to a finish that peels, scratches, or wears away much faster than it should. Manufacturer data often shows a significant drop in abrasion resistance when over-thinned.
- Increased Risk of Runs and Sags: Counterintuitively, making the stain too thin can make it more likely to run. A thinner liquid flows more easily, and if applied too heavily or in the wrong conditions, gravity will pull it down the surface in unsightly drips.
- Sprayer Issues: While thinning helps prevent clogs, drastically over-thinning can sometimes lead to the finish not atomizing properly, creating a wispy, uncontrollable spray pattern.
Problems with Under-Thinning
If you don't add enough thinner, or skip thinning when it's recommended, you're likely to encounter more immediate and frustrating practical problems.
- Sprayer Clogs: This is the most common issue. The thicker stain simply can’t pass through the sprayer’s small passages and tip without becoming a sticky, clumpy mess. You'll experience sputtering, inconsistent spray patterns, and frequent need to stop and clean the nozzle.
- Uneven Application: The stain won't atomize properly. Instead of a fine mist, you get larger droplets or streaks of thick stain. This leads to a blotchy, patchy appearance that’s very difficult to correct without sanding and starting over.
- Poor Laydown and Coverage: Thick stain doesn’t flow out evenly across the wood surface. It can sit in heavier patches, creating an inconsistent sheen and color. This defeats the purpose of using a sprayer for a smooth, unified finish.
- Sprayer Strain: Forcing thicker-than-intended material through a sprayer can put excessive strain on the pump and motor, potentially shortening the lifespan of your equipment.
The sweet spot is finding the minimum amount of thinner required for your specific stain and sprayer to achieve a good spray pattern and even coverage without compromising the stain’s performance or durability. This sweet spot is almost always found through diligent testing.
Forgetting Manufacturer Instructions
It sounds simple, but so many people skip this step. The can your stain came in is a goldmine of information, tailored specifically to that product. Manufacturer data sheets often include recommended thinning percentages for spray applications, typically ranging from 5% to 20% depending on the stain’s base and intended use.
Ignoring these instructions is like ignoring a recipe’s measurements, you’re setting yourself up for failure.
If the can says "Do not thin" for sprayers, believe it. Gel stains, for instance, are a prime example. Their unique, thick consistency is what makes them sprayable for some specialty applications, but thinning them usually ruins that characteristic, leading to runs and poor coverage.
Always treat the manufacturer's guidelines as the baseline, and use these percentages as a starting point for your test sprays.
Over- or Under-Thinning
Once you've decided to thin, the amount is critical. Too much thinning can dilute the stain so much that its color becomes faint, or worse, compromise its adhesion and long-term durability. Research from leading wood finish manufacturers indicates that exceeding recommended thinning ratios by more than 10-15% can significantly reduce the finish’s protective qualities and shorten its lifespan.
Conversely, not thinning enough is a fast track to blocked sprayers and uneven finishes. Your sprayer might sputter, give you a weak or splattered pattern, and fail to lay down an even coat. This leads to splotchy results that look amateurish and require sanding and reapplication.
Finding that perfect balance ensures the stain flows smoothly through the sprayer, atomizes correctly, and provides even color coverage without sacrificing its performance.
Expert Tips for Sprayer Success
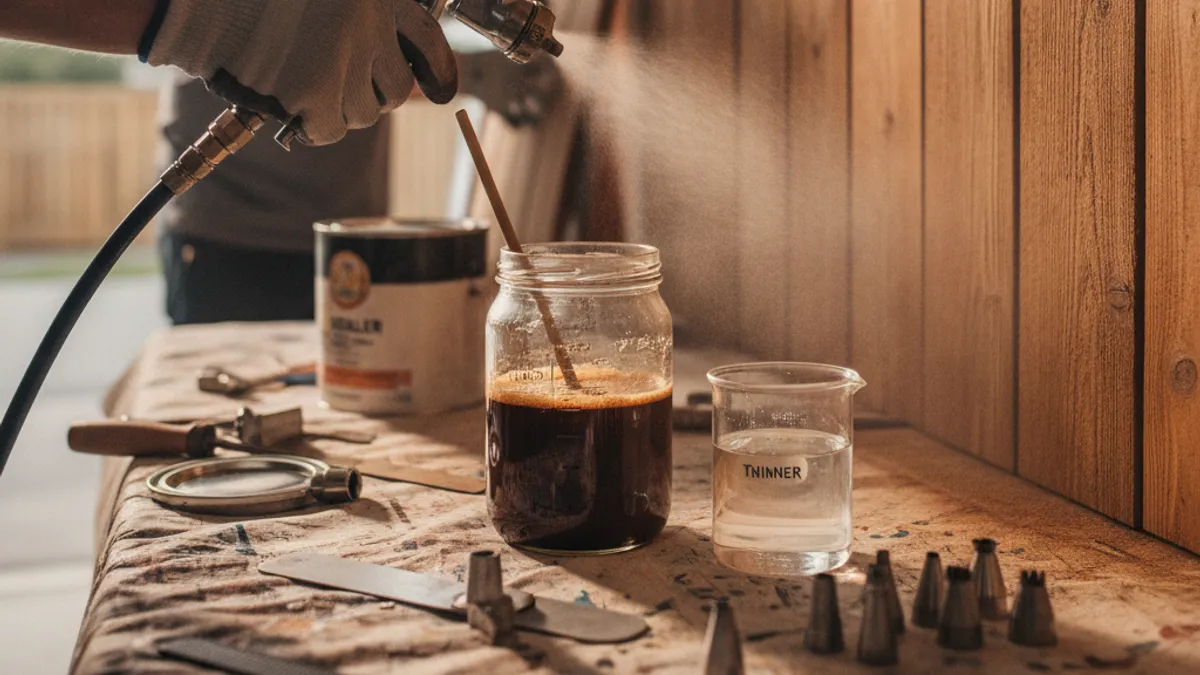
Getting a great finish with a sprayer involves more than just thinning the stain. A few pro insights can elevate your results from okay to outstanding. These tips focus on preparation, material selection, and ongoing maintenance, helping you avoid common pitfalls and achieve a smooth, professional-looking outcome.
Choosing the Right Thinner
Always use the thinner recommended by the stain manufacturer. For oil-based stains, this typically means mineral spirits or a compatible paint thinner. For water-based stains, clean water is your go-to.
Using the wrong type of solvent can cause the stain to separate, curdle, or fail to cure properly. For example, attempting to thin a water-based stain with mineral spirits isn’t just ineffective; it can create an irreversible chemical reaction, rendering the stain unusable.
Adjusting for Different Wood Types
Different wood species have varying porosity and grain structure, which can affect how stain is absorbed and how it appears. Denser woods like oak or maple might accept a slightly thicker stain, or a thinner coat, to avoid blotching. Softer woods like pine or poplar can be more porous and might require a bit more thinning to achieve even coverage without soaking in too deeply too quickly.
Always do your test spray on a piece of the same wood species you’ll be working on.
Maintaining Your Sprayer
Proper sprayer maintenance is crucial for consistent results, regardless of whether you’re thinning your stain. After each use, thoroughly clean all components, the cup, siphon tube, nozzle, and any filters. Dried stain can clog tiny passages, leading to sputtering and uneven patterns on your next use.
Manufacturer specifications invariably highlight the importance of immediate cleaning to prolong equipment life and ensure reliable performance. A quick rinse with the appropriate thinner or cleaner (water for water-based, mineral spirits for oil-based) after each session makes a huge difference.