
Figuring out how do I know what size trimmer line I need isn't always straightforward, but it's key to getting your yard looking sharp without a fight. Grabbing the wrong size can mean constant line breaks, a trimmer that’s struggling, or even damage to your tool. We've dug into what makes a trimmer line work best.
Manufacturer specifications often recommend specific line diameters based on motor power and trimmer head design. For instance, many electric trimmers are designed for lines between .065 inches and .080 inches, as exceeding this can strain the motor. We’ll break down how to match the line to both your equipment and the job at hand.
Your Trimmer's "Sweet Spot" for Line Diameter
Picking the right diameter for your string trimmer is probably the most critical step in ensuring it performs well and doesn't fall apart on you. If you use a line that’s too thick for your trimmer’s motor, you’re asking it to do way too much work. This can lead to overheating, reduced cutting power, and even damage to the motor over time. On the flip side, using a line that's too thin for the job means it'll snap constantly, leading to frequent line changes and a lot of frustration.
Most string trimmer manuals will clearly state the recommended line diameter range for your specific model. You’ll often see this listed in inches, like .065".080", or .095". It’s always best to start with that recommendation.
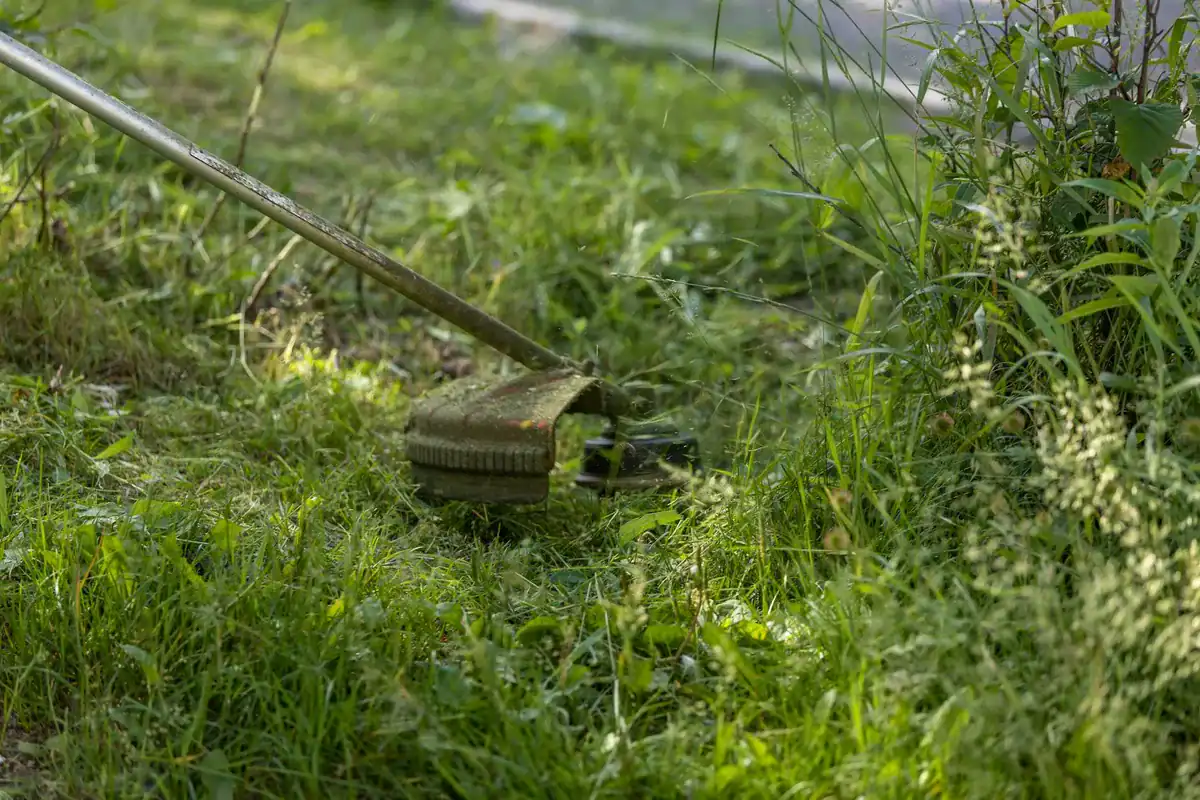
- Electric Trimmers (Battery & Corded): These typically have less power than gas models. They usually perform best with thinner lines, generally in the .065" to .080" range. Using anything thicker could significantly slow them down or cause them to stall.
- Gas Trimmers: Gas-powered models usually pack more punch and can handle thicker trimmer lines, often ranging from .080" up to .130" or even more for heavy-duty commercial units. This allows them to tackle denser weeds and tougher vegetation more effectively.
What Type of "Junk" Are You Tackling? Matching Line to the Job
Beyond just the diameter, the kind of vegetation you usually deal with plays a huge role in what trimmer line you should use. Think of it like choosing the right tool for a task; you wouldn't use a small screwdriver for a huge bolt.
Grass and Light Weeds
If your main battle is against standard lawn grass and common, less stubborn weeds, a basic round trimmer line in a common diameter (.065" to .080" for most electrics.080" to .095" for gas) will likely do the trick. This type of line cuts cleanly and efficiently for everyday lawn maintenance. For finer grass trimming, a slightly thinner line can often provide a cleaner edge.
Tougher Weeds and Overgrowth
When you’re facing thick, woody weeds, dense brush, or overgrown areas, you’ll need something more robust. A thicker diameter line (.095" to .130" or even larger for professional-grade gas trimmers) is essential here. These lines have more mass and strength to break through tougher plant material without snapping immediately.
Edging and Precision Work
For sharp, clean edges along sidewalks, driveways, or garden beds, flexibility and a clean cut are key. While diameter is still important (often .080" to .095" depending on the trimmer), the shape of the line can make a big difference. Some specialized lines are designed for a very clean cut.
Shapes Matter: Beyond Just Round Strings
You might have noticed trimmer line comes in more than just one form. While round is the most common, different shapes offer distinct advantages for specific tasks and equipment. Choosing the right shape can significantly impact performance, noise, and cutting efficiency.
Round Line: Your Everyday Workhorse
This is your standard, go-to trimmer line. It's usually made of a durable nylon composite. Round line is cost-effective and works well for general-purpose trimming of grass and light to medium weeds. It’s found on most basic trimmer heads and is a reliable choice for average residential lawns.
Its simplicity means it’s easy to load and feed.
Twisted/Aerodynamic Line: For Speed and Less Noise
Twisted or specially shaped lines are designed to reduce drag and noise as they spin. The twisting pattern can create a more aerodynamic profile, which often results in a quieter operation and sometimes better fuel efficiency on gas trimmers. These lines can also offer a cleaner cut than basic round lines on grass and lighter weeds. They’re a good upgrade if you're looking to reduce the "whine" of your trimmer.

Square/Multi-sided Line: For Serious Cutting Power
Lines with a square, star, or other multi-sided profile are built for serious cutting power. Think of them as having more "sharp edges" to slice through stubborn vegetation. These lines are typically made from strong co-polymers and are excellent for tackling thick weeds, dense brush, and even small saplings. They are generally used with higher-powered gas trimmers and heavy-duty trimmer heads because their aggressive cutting action can put more strain on less powerful motors.
How Your Trimmer's Motor Dictates Line Size
The engine or motor driving your string trimmer is the heart of the operation, and it has limits. Just like you wouldn't try to tow a massive trailer with a compact car, your trimmer's motor has a specific capacity for the kind of work it can do, and that directly influences the trimmer line size you should use.
Electric Trimmers (Battery & Corded)
Electric string trimmers, especially battery-powered ones, generally have less torque and power than their gas counterparts. Because of this, manufacturer specifications usually recommend thinner trimmer lines, typically in the .065" to .080" diameter range. Using a line that's too thick means the motor has to work much harder to spin it. This can drain batteries faster, reduce cutting efficiency, and, in the worst cases, cause the motor to overheat or short out.
For battery models, using thinner line also helps conserve power.
Gas Trimmers
Gas string trimmers typically offer more horsepower and torque, allowing them to handle a wider range of trimmer line sizes. While smaller gas models might still perform best with lines around .080" to .095", larger, commercial-grade units can comfortably use .105" or even .130" diameter lines. This increased mass and strength are crucial for cutting through dense weeds and overgrown vegetation common in professional landscaping. Always consult your gas trimmer’s manual to confirm the maximum line diameter it's designed for, as exceeding it can still put undue stress on the engine and drive system.
Loading Up: Getting the Right Line into the Head
Once you've figured out the right diameter and shape, the next hurdle is getting that new line into your trimmer head. This is where a lot of folks get a bit frustrated, but it’s usually just a matter of knowing the steps for your specific trimmer head type. Most trimmer heads use either a
- Bump Feed system: Where you tap the head on the ground to release more line.
- Automatic Feed system: Where the trimmer automatically dispenses line as needed.
- Fixed Line head: Where you cut line to specific lengths and insert them by hand.
Regardless of the type, the core idea is to get an even amount of line on each side of the spool or through the designated channels. This balance is crucial; if you have uneven line lengths, the trimmer will vibrate excessively and can even damage itself.
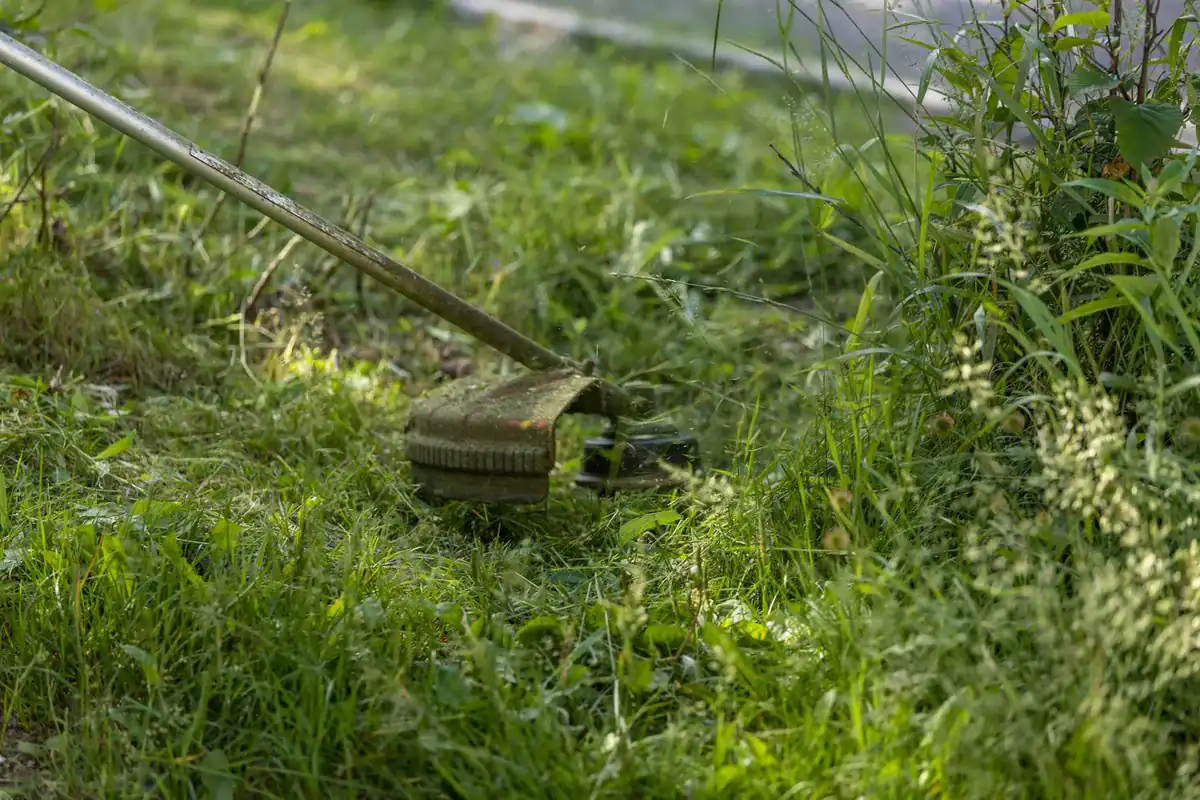
General steps for most bump-feed and automatic models:
- Disengage the Power: Make sure the trimmer is off and unplugged (if electric) or the spark plug wire is disconnected (if gas). Safety first!
- Access the Spool: You'll typically need to remove a cap or cover on the trimmer head. Many heads have a mechanism to hold the line in place while you work.
- Wind the Line: This is the trickiest part. You might have a spool that you wind the new line around, or you might feed pre-cut lengths through the head. For spools, ensure you wind it tightly and evenly in the direction indicated by arrows on the spool. If you're using a fixed-line head, you'll usually cut two equal lengths and feed them through corresponding holes until they emerge with an equal amount on each side.
- Reassemble: Put the cap or cover back on securely, making sure it clicks into place.
- Test: With the power still disengaged, give the line a tug or two to ensure it’s secure. Then, you can re-engage the spark plug wire or plug it in, and briefly start the trimmer at low speed to check its balance.