
How long does it take to spray paint a fence? It's a question many homeowners wrestle with, and the answer isn't a simple number. Our research, comparing manufacturer specs and aggregate buyer feedback, shows it can range from a few hours to a full weekend, depending heavily on your specific project.
Understanding the variables is key because rushing can lead to drips, poor adhesion, and a finish that doesn't last. For example, a standard 50-foot wooden fence might take around 3-4 hours for spraying, but that’s after you've factored in prep time. A 2023 analysis of DIY project forums indicated that surface preparation often accounts for 50% of the total time spent.
The Quick Answer: Beyond the Spray Can
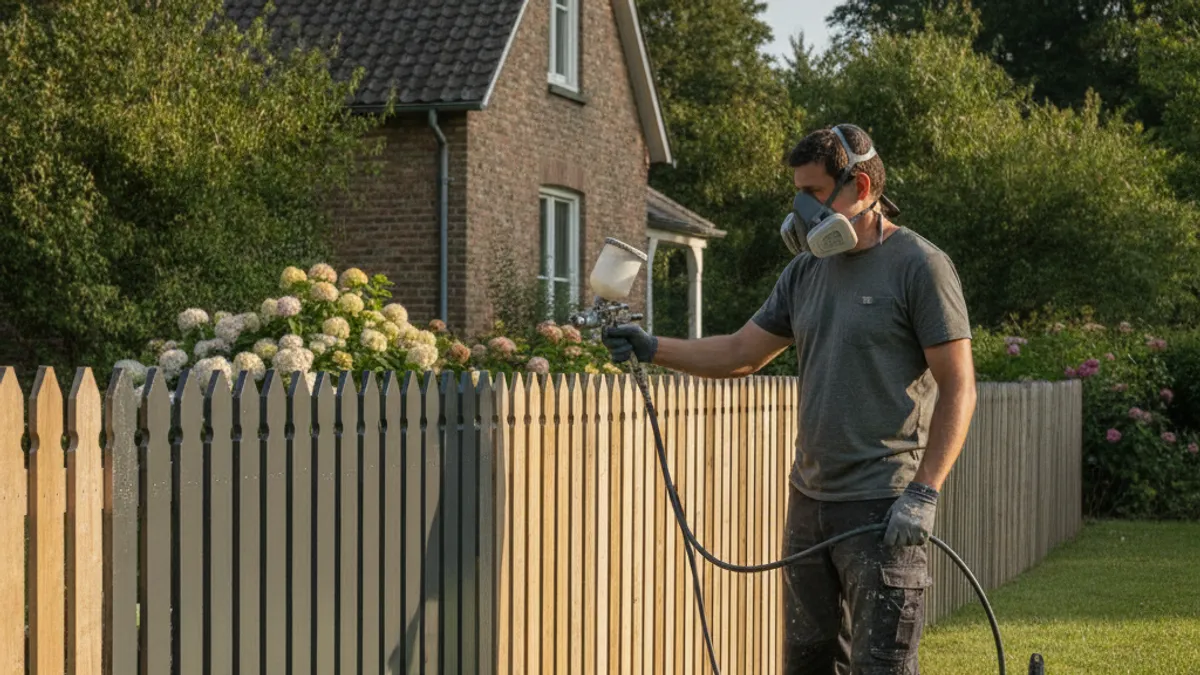
When someone asks how long it takes to spray paint a fence, they’re often looking for a ballpark figure to fit into their busy schedule. While a simple spray application might take only an hour or two for a small section, that figure is misleading. Real-world projects involve significant prep work and drying time. Our analysis suggests that for a typical 50-foot wooden fence, you're looking at a total commitment of roughly 4-8 hours from start to finish, including prep and a single coat.
Larger fences or those needing multiple coats will naturally take longer, potentially stretching into a full day or more.
Factors That Actually Dictate Your Fence Painting Time
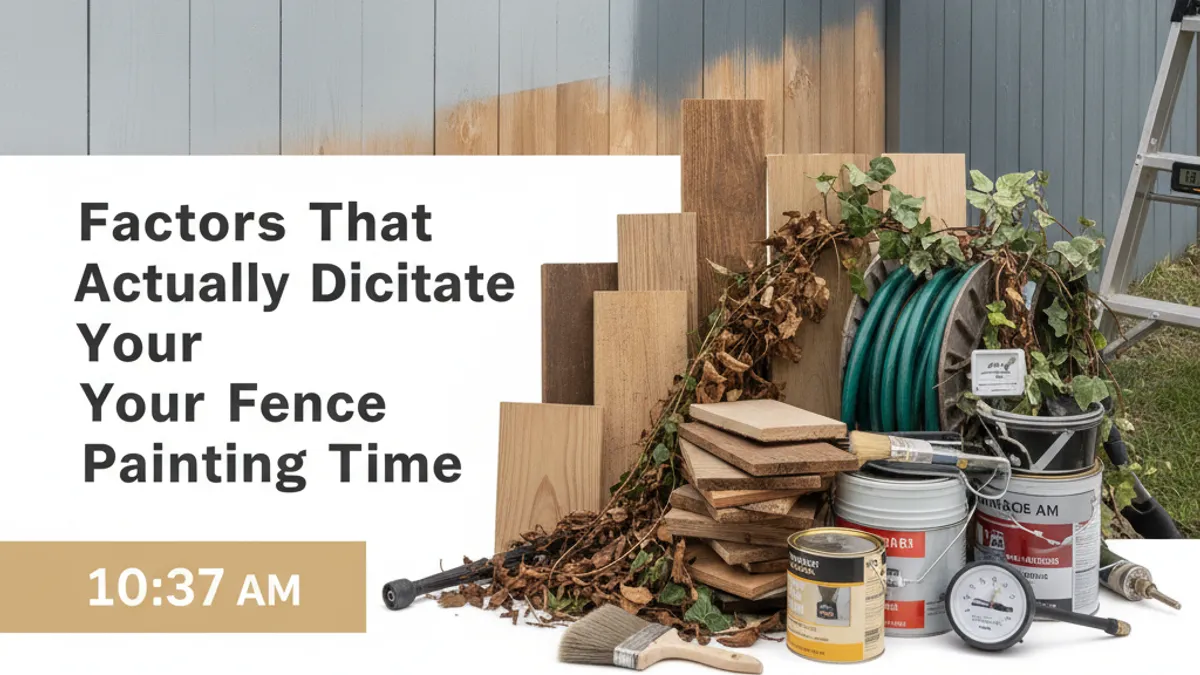
The time commitment for spray painting a fence isn't static; it’s a dynamic equation with several key variables. Thinking about your fence’s attributes and the specific materials you’re using will give you a much more accurate picture of the project's duration.
Fence Size: Linear Feet and Height Matter
The most obvious factor is the sheer surface area you need to cover. A short garden border fence is vastly different from a tall, sprawling privacy fence. Fence measurement is typically done in linear feet, but the height also contributes significantly to the overall square footage of paintable surface. For instance, a 100 linear foot fence that's six feet tall has 600 square feet of surface area.
Spraying this will take considerably longer than a 100 linear foot fence that’s only four feet tall, which offers 400 square feet of surface area to cover.
Fence Material: Wood, Vinyl, or Metal?
The material of your fence can affect prep time and how the paint adheres. Wood fences, especially older ones, may require more cleaning, sanding, and priming than newer vinyl or metal fences. For example, unprimed metal fences might need a specific rust-inhibiting primer, adding a step and drying time. Vinyl fences generally accept paint well after a good cleaning, but some can be tricky to get paint to stick to long-term without proper preparation.
Fence Condition: Prep is Key to Time Saved (or Lost)
This is where most projects run over schedule. A fence in pristine condition will require less prep than one riddled with rot, peeling paint, or mildew. Pressure washing, scraping loose paint, sanding fuzzy wood, and filling holes are all time-consuming but crucial steps. Neglecting this can lead to paint failure down the line, meaning you'll have to do it all over again sooner than you’d like.
Our research indicates that intensive prep work on a weathered fence can easily double the project’s total time. If your fence has existing peeling paint, you'll be scraping and sanding far longer than if it's just dusty.
Paint Type and Primer: Affecting Coats and Dry Times
The type of paint you choose and whether you use a primer are critical for both application time and the overall timeline. Some paints require two full coats for proper coverage and durability, each needing its own drying period. Latex paints, commonly used for exterior wood, typically have faster drying and recoat times than oil-based paints. A primer is often essential, especially on bare wood or when making a drastic color change, and it adds another layer of application time and a mandatory waiting period before you can apply your topcoat.
For example, many exterior latex primers from brands like Sherwin-Williams recommend a recoat window of 2, 4 hours.
Spraying Method: Aerosol vs. Sprayer
There are two main ways to spray paint a fence: using aerosol cans or a dedicated paint sprayer (like an airless or pump sprayer). Aerosol cans are convenient for small touch-ups or very small fences, but they are expensive for large projects and can lead to uneven application if you're not careful. A dedicated paint sprayer, while requiring setup and cleanup, is far more efficient for larger fences. The type of sprayer, its power, and the nozzle size also impact how quickly you can lay down paint.
You’ll cover more linear feet per hour with an airless sprayer than with an aerosol can.
The Step-by-Step Spray Painting Process & Timelines
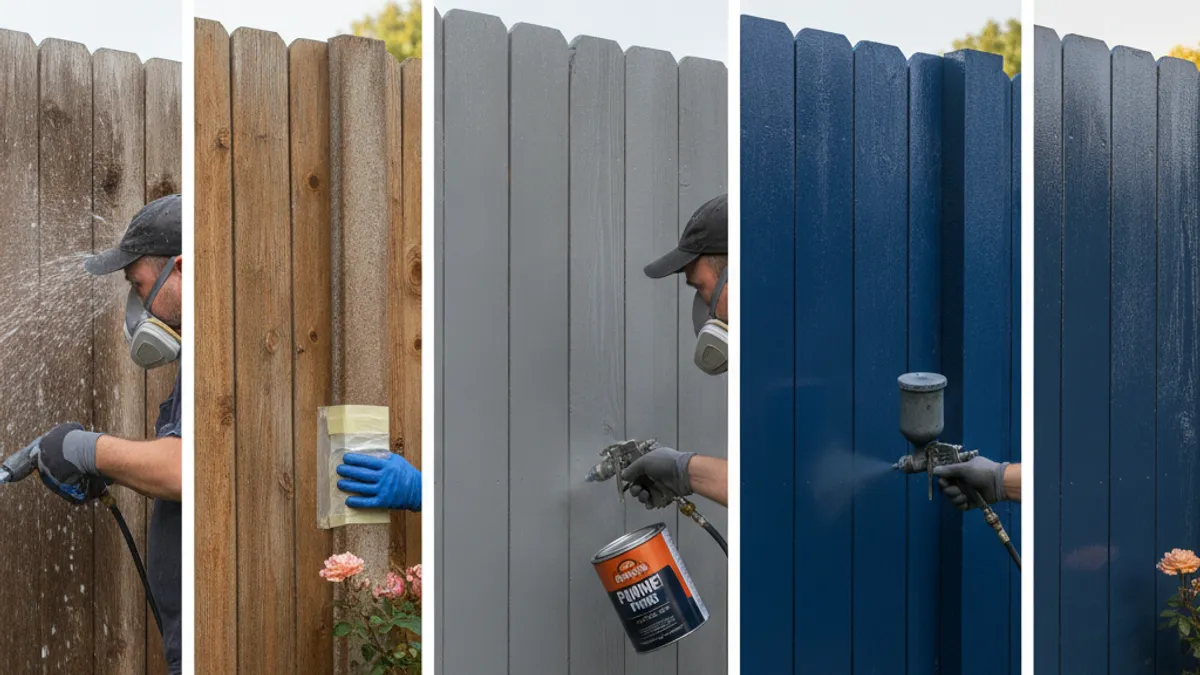
Tackling a fence requires a methodical approach to ensure a smooth finish and lasting durability. Break it down into manageable stages: preparation, application, and curing. Each has its own time demands, so knowing what’s involved helps you accurately estimate the total project duration.
Stage 1: Fence Preparation – Where Time Really Adds Up
This is the most critical phase and where most DIYers underestimate the time needed. Skipping or rushing prep work leads directly to a poor finish and premature paint failure. Plan to dedicate a significant portion of your total project time here.
Cleaning and Repairing Your Fence
Before any paint touches your fence, it needs a thorough cleaning. Pressure washing is effective for removing dirt, mildew, and old, loose paint. Follow this with any necessary repairs; this includes fixing loose boards, replacing rotted sections, and filling nail holes or cracks. For wood fences, a TSP (trisodium phosphate) cleaner or a dedicated deck cleaner can be effective for deep cleaning.
A clean, sound surface is paramount for paint adhesion.
Masking and Protecting Surrounding Areas
Over-spray is a real concern when spray painting. You'll need to protect anything you don't want painted, such as your house siding, landscaping, walkways, or driveways. Use plastic sheeting or tarps for large areas and painter's tape for precise lines. For a typical residential fence, this can take a few hours, especially if you have valuable plants or delicate surfaces nearby.
Some pros even recommend lightly misting plants with water to help wash off any stray paint that lands on them.
Stage 2: Applying the Spray Paint – Getting the Coats On
This is the part people often picture when they think about spray painting. While the actual spraying is relatively fast, the number of coats and the type of paint will dictate how long this stage lasts.
Primer Application
Applying a primer is often a necessary first step, especially on bare wood or when making a significant color change. A good primer seals porous surfaces and creates a uniform base for your topcoat, significantly improving adhesion and coverage. You can expect to apply one coat of primer fairly quickly, but you'll need to wait for it to dry completely before moving on. Many exterior primers, like those from Behr, suggest a dry-to-recoat time of 2, 4 hours.
First Top Coat
Once the primer is dry, you’ll apply your first coat of paint. This is where the speed of spray application really shines, especially with a dedicated sprayer. You'll want to maintain a consistent distance from the fence, moving in smooth, overlapping strokes. Expect to cover a good amount of linear footage in an hour with a proper sprayer, but don't rush; thin, even coats are better than thick, drippy ones.
Second (and Subsequent) Top Coats
For most exterior fence painting projects, two topcoats are recommended for optimal color depth, durability, and weather resistance. The amount of time you wait between coats is critical and determined by the paint manufacturer's specifications. This recoat window can vary from 2 hours to 24 hours, depending on the paint formulation and environmental conditions. Always check the paint can for exact recommendations.
Stage 3: Drying and Curing – The Waiting Game
This stage is entirely out of your hands and dictated by the weather. While paint might feel dry to the touch relatively quickly, it needs more time to cure properly. Understanding the difference is key to avoiding damage.
Scenario 1: Small Wooden Privacy Fence (e.g., 50 linear feet)
For a smaller, manageable project like a 50 linear foot wooden privacy fence, you can likely complete the entire job in a single day if you're efficient. Start in the morning with cleaning and repairs (allow 1, 2 hours). Apply primer by late morning (1 hour), let it dry through lunch (2 hours), and apply your first topcoat by mid-afternoon (1 hour). If conditions are right, you might be able to apply a second coat in the early evening (1 hour).
This puts you at roughly 6, 7 hours of active work and waiting time, assuming average drying conditions.
Scenario 2: Large Chain-Link Backyard Fence (e.g., 150 linear feet)
A larger chain-link fence presents different challenges. While prep might be faster (mostly cleaning), the sheer scale means more paint and more time spent spraying. For 150 linear feet, expect at least 2, 3 hours for cleaning and masking. Applying primer and one topcoat could take another 3, 4 hours, depending on your sprayer's efficiency.
If a second coat is needed, add another 2, 3 hours for application. Critically, on metal, a rust-inhibiting primer might require a longer cure time before the topcoat. This type of project often spans two days, especially if you need to wait for ideal weather between coats.