
Dealing with persistent garden pests or unwelcome guests in your houseplants can be a real headache. If you're looking for a way to wipe out bugs and their eggs naturally, understanding how to bake soil to kill bugs is a game-changer. This method uses heat to create a sterile potting medium, setting the stage for healthier plants and crops.
Our research shows that achieving this sterile state usually involves precise temperature and time, with typical oven settings ranging from 180°F to 200°F (82°C to 93°C) for at least 30 minutes for smaller batches. This process can effectively target a wide array of common soil-dwelling nuisances, from fungus gnat larvae to weed seeds, without resorting to chemicals.
Quick Answer
Baking soil kills bugs by using heat to sterilize the potting mix. You'll need an oven-safe container and temperatures around 180°F to 200°F for 30 minutes minimum. This method eliminates pests and weed seeds.
Why Bake Your Soil to Kill Bugs?
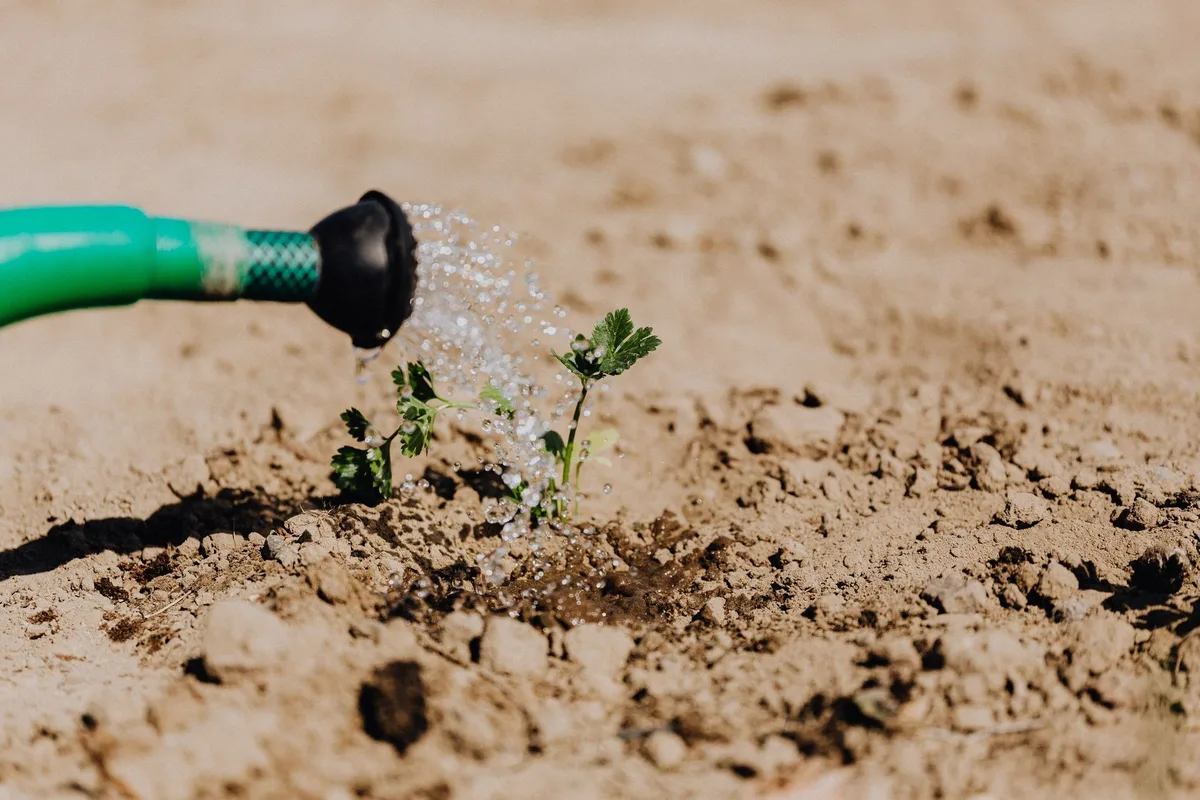
When you’re starting seeds, repotting houseplants, or preparing new garden beds, the last thing you want is to introduce an infestation. Unseen pests and disease pathogens lurk in soil, waiting for the right conditions to thrive. Baking soil is a straightforward, chemical-free approach that tackles these problems head-on.
It's about creating a clean slate for your plants.
Think of it like sterilizing equipment in a kitchen before cooking a sensitive dish. You wouldn't want stray bacteria to ruin your meal. Similarly, baking soil eliminates a host of unwanted occupants.
This includes insect eggs, larvae, and even dormant weed seeds that could later sprout and compete with your desired plants. This natural sterilization is particularly useful when you're dealing with delicate seedlings or plants that are sensitive to chemical treatments. Plus, it’s an accessible method for most home growers, requiring little more than your kitchen oven and some basic supplies.
What Baking Soil Actually Does (and Doesn't Do)
At its core, baking soil is about applying heat to kill living organisms. High temperatures, specifically within the 180°F to 200°F range, are generally lethal to most common garden and houseplant pests, their eggs, and many pathogenic fungi and bacteria. This heat effectively denatures proteins and enzymes essential for life.
However, it's crucial to understand what baking doesn't do. It doesn't selectively target just the "bad" microbes or insects. Beneficial soil organisms, like mycorrhizal fungi and certain bacteria that help plants absorb nutrients, are also destroyed in the baking process.
This means that baked soil is essentially sterile, lacking the microbial life that contributes to a healthy soil ecosystem. For this reason, baking soil is often best suited for specific applications like seed starting or dealing with a known infestation, rather than as a general amendment for all your planting needs. You might need to reintroduce beneficial microbes later, or use it in conjunction with other soil-building practices.
How to Best Bake Soil: The Step-by-Step Process
Baking soil is a process that requires attention to detail, but it’s not complicated. Following these steps will help you achieve a sterile, pest-free medium effectively and safely.
Getting Your Soil Ready
First, gather the soil you intend to bake. If it’s dry and compacted, break it up a bit. You want a loose, friable texture so heat can penetrate evenly.
It’s also wise to moisten the soil slightly before baking. Damp soil retains heat better than dry, dusty soil, making the sterilization process more efficient. You don't want it soaking wet, just evenly, lightly moist.
This also helps prevent the soil from becoming overly dusty during baking. If you’re dealing with a severe infestation, consider isolating the affected soil in a dedicated container.
Oven Setup and Temperature
Preheat your oven to the target temperature, typically between 180°F and 200°F (82°C to 93°C). It's essential to use an oven-safe container for the soil. Heavy-duty aluminum foil pans, oven-safe glass dishes, or sturdy metal baking sheets lined with foil work well.
For larger quantities, you can often use thick oven bags designed for cooking. These bags help trap moisture and heat, ensuring a more thorough sterilization.
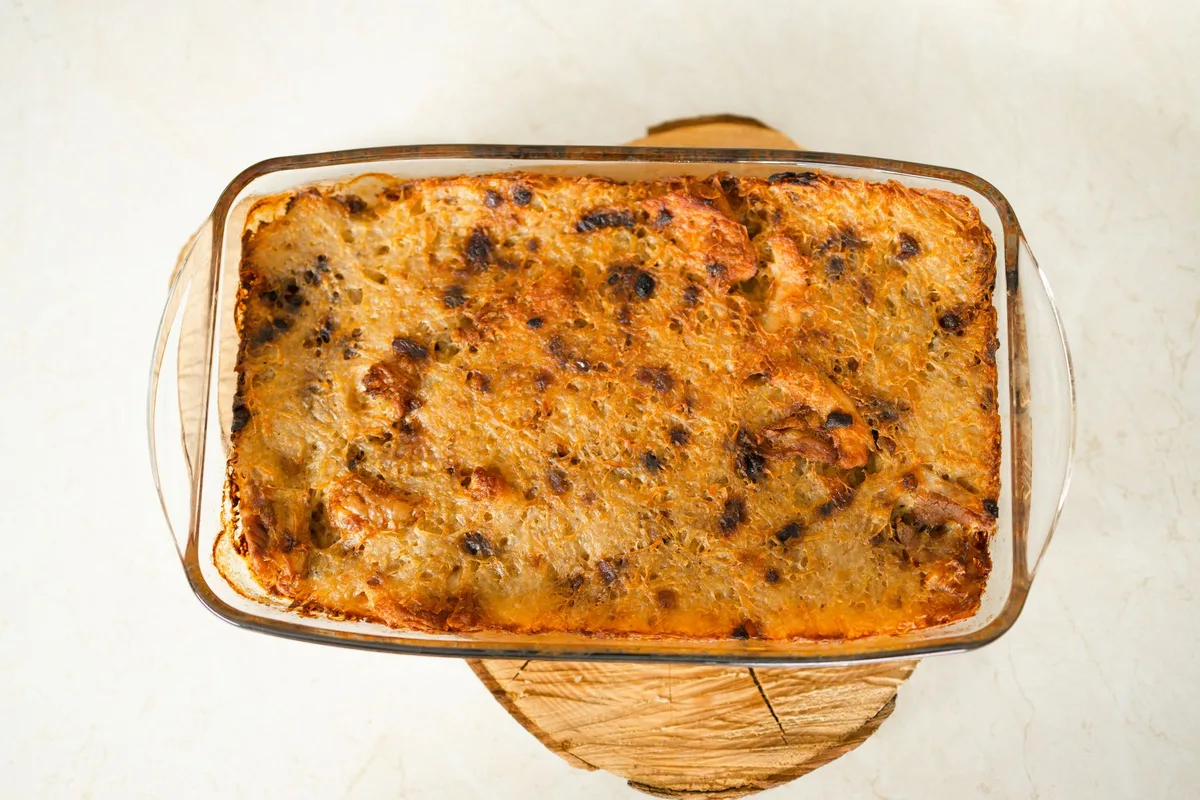
Avoid using plastic containers that are not rated for high oven temperatures, as they can melt or release harmful fumes. Ensure the container is large enough to hold the soil without being overly packed, allowing for heat circulation. If using a food oven, it's a good practice to place a baking sheet on the rack below your soil container to catch any potential drips or spills, protecting your oven.
Baking Time: How Long is Long Enough?
This is where many people wonder about the specifics. While minimal heat is lethal, consistent, prolonged exposure is key. For smaller quantities of soil, like a few cups for repotting a single houseplant, 30 minutes at 180°F is often sufficient.
For larger batches, or if you're targeting a wider range of pests, you might need to bake for an hour or even longer. Some horticultural guides recommend maintaining the target internal soil temperature of at least 180°F for at least 30 minutes.
The total baking time can range from 30 minutes to several hours, depending on the volume of soil and the oven's efficiency. For larger amounts, it's more about ensuring the core of the soil mass reaches and maintains that lethal temperature. If you’re using oven bags, you might find a slightly longer baking time or a slightly higher temperature, around 200°F, is more effective.
It’s better to err on the side of caution and bake a little longer to ensure thorough sterilization.
Cooling and Using Your Baked Soil
Once the baking time is complete, turn off the oven and allow the soil to cool completely inside the oven with the door slightly ajar, or remove it carefully and let it cool on a heat-resistant surface. This cooling process can take several hours, depending on the volume of soil. Do not handle the soil while it's still hot.
It's important for safety reasons and to prevent recontamination.
Once cool, the soil is ready to use. You’ll find it has a light, fluffy texture. Because it's now sterile, it’s an excellent medium for starting seeds, propagating cuttings, or repotting plants that are sensitive to soil-borne diseases or pests.
If you baked a larger quantity than you need immediately, store the cooled, sterile soil in clean, airtight containers or bags to prevent recontamination from airborne pests or dust.
Common Mistakes When Baking Soil (And How to Dodge Them)
While the concept of baking soil is simple, there are a few pitfalls that can lead to either ineffective sterilization or damaged soil. Being aware of these common mistakes can save you time and frustration.
- Not moistening the soil: Dry soil heats up too quickly and unevenly. It can also become very dusty and difficult to manage. Lightly dampening the soil before baking helps it retain heat better, leading to more effective sterilization.
- Incorrect temperature or time: Baking at too low a temperature or for too short a duration means pests won't be fully eliminated. Conversely, baking at excessively high temperatures for too long can alter the soil structure, potentially making it less hospitable for plant roots and damaging beneficial organic matter.
- Overcrowding the oven: If you pack too much soil into one container or cram too many containers into the oven, heat won't circulate adequately. This can result in pockets of unsterilized soil. Work in batches if necessary.
- Recontamination: The biggest mistake after baking is allowing the sterile soil to become recontaminated. Use clean tools, clean containers, and seal any unused baked soil tightly to keep out pests and pathogens.
Who Should (and Shouldn't) Be Baking Their Soil?
Baking soil is a powerful tool, but it's not for every gardening situation. Understanding who benefits most can help you decide if this method is right for your needs.
Who Benefits Most?
- Seed Starters: For those delicate seedlings, baking soil creates a clean, sterile environment free from fungi and pests that can decimate young plants. It’s a proactive step to ensure your germination rates are as high as possible.
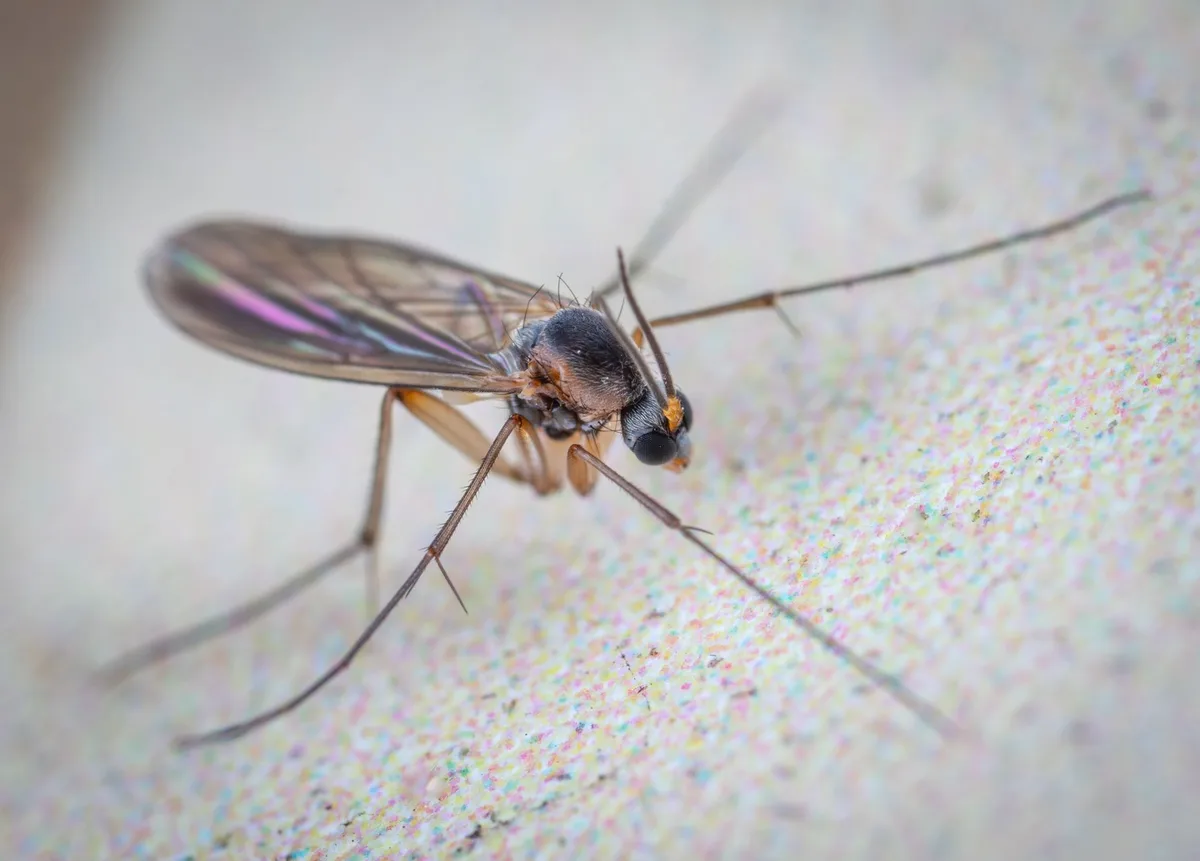
- Houseplant Enthusiasts: If you're battling persistent issues like fungus gnats, mealybugs, or root rot in your indoor plants, baking soil for repotting can be a highly effective intervention. It offers a chemical-free solution for troublesome infestations.
- Gardeners Facing Specific Pests: When you know you have a recurring problem with certain soil-borne pests or diseases, or even persistent weed seed populations, baking your soil can be a targeted solution. It's a proactive measure to clear out known issues before they take hold.
Who Should Be Cautious?
- Organic Gardeners Focused on Soil Biology: As mentioned, baking kills beneficial microbes. If your primary goal is to build and maintain a thriving soil ecosystem teeming with life, baking might not be your go-to method for routine soil preparation. You'll need to find ways to reintroduce beneficials.
- Those with Limited Time or Space: Baking soil requires oven time, which can be inconvenient if your oven is in high demand. You also need suitable oven-safe containers. If you’re growing on a very large scale, this method might be too labor-intensive and costly compared to other professional sterilization techniques.
- Anyone Uncomfortable with Oven Use: If you're not comfortable using your kitchen oven for this purpose, or if there are strict household rules about using it for non-food items, it might be best to explore alternative sterilization methods.
Is Baking Soil the Only Way? Looking at Alternatives
While baking soil is a potent method for sterilization, it's not the only option available to gardeners and plant enthusiasts. Depending on your specific needs, available resources, and tolerance for heat treatment, other methods might be more suitable. Understanding these alternatives helps you choose the best approach for your situation.
One common alternative is steam sterilization. This involves heating the soil using steam, which can reach temperatures even higher than baking, potentially killing a broader spectrum of pathogens and pests. Another approach is solarization, where you cover moist soil with clear plastic sheeting during warm, sunny weather.
The sun's rays then heat the soil to lethal temperatures. Both methods have their own pros and cons regarding effectiveness, effort, and impact on beneficial soil microbes.
Safety First: What You Need to Know Before You Bake
Baking soil in a kitchen oven involves heat and can produce odors. Prioritizing safety during this process is essential for both your well-being and the integrity of your home. Ensure proper ventilation by opening windows or using your range hood during and after baking.
The scent of baking soil, especially if it contains organic matter, can be quite strong and lingering.
Always use oven-safe containers, preferably those not used for food preparation if you're concerned about cross-contamination, or ensure thorough cleaning afterward. Never leave a baking soil process unattended. Allow the soil and containers to cool completely before handling to avoid burns.
If you're dealing with a significant pest problem in your houseplants, after baking the soil, consider treating the plant itself with appropriate methods to eliminate any remaining pests on the foliage or stems. If you're ever unsure about potential risks, consulting resources from university extension offices can provide additional safety guidance.
Pro Tips for Baking Soil Like a Seasoned Gardener
Seasoned gardeners often have a few tricks up their sleeves to make processes like baking soil even more effective and less troublesome. One key tip is to pre-package your soil into oven-safe bags or containers before baking. This makes handling easier after sterilization and helps maintain sterility when storing unused portions.
Another useful practice involves adding a few new, unbaked amendments like compost or beneficial inoculants after the soil has cooled completely. This helps to reintroduce some of the healthy microbial life that was lost during baking, creating a more balanced soil ecosystem for your plants to thrive in. If you're frequently baking soil, you might also consider dedicating a specific inexpensive metal baking pan solely for this purpose to avoid any lingering odors in your food pans.
This simple step can make the process much more convenient.