
You've lost the key to a tubular lock, the machine is out of service, and a replacement cylinder is the only way forward. Knowing how to drill a tubular lock properly means getting that cylinder out cleanly without wrecking the housing. Get it right and you're back in business in under five minutes.
Get it wrong and you're looking at a damaged housing and a bigger repair bill.
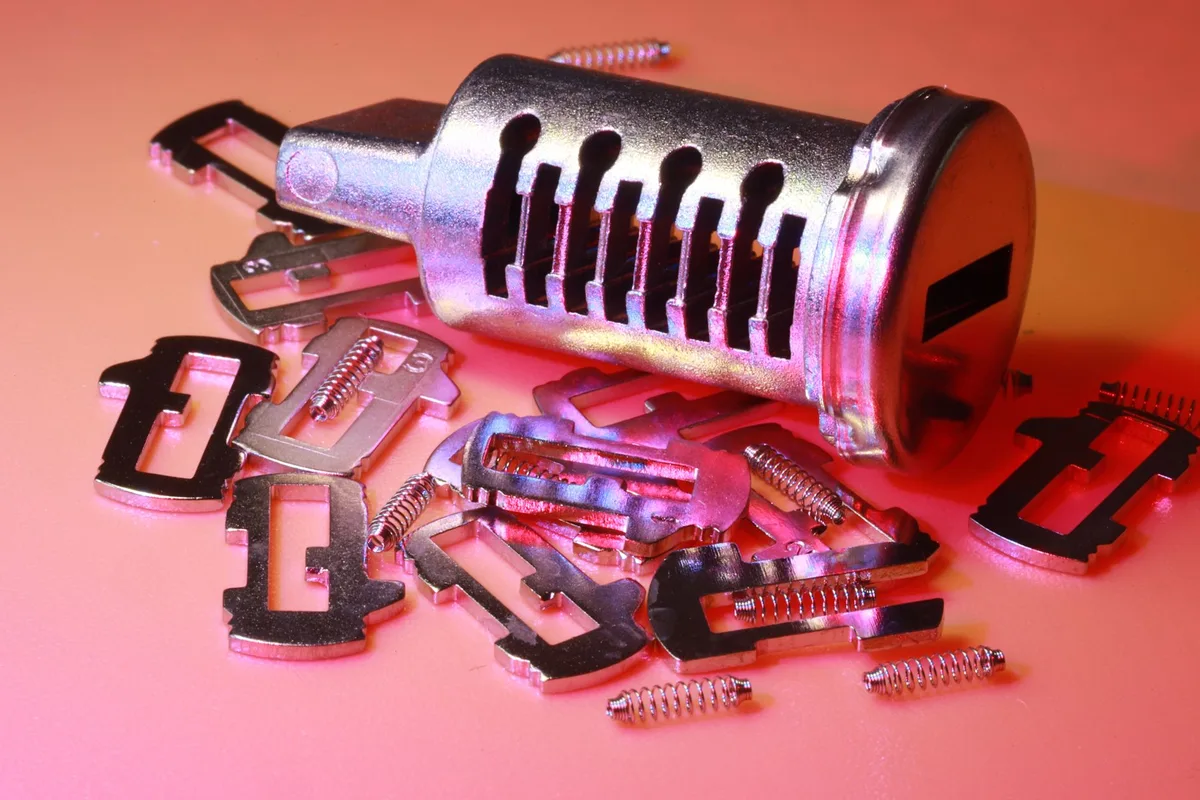
Most tubular locks conform to a standard face diameter of 10 mm (0.394 in), with either 7 or 8 radially arranged pins sitting around a central post. That layout is exactly why drilling a tubular lock demands a different approach from drilling a standard pin tumbler. Here's what you need to know before you touch the drill.
Quick Answer
Drilling a tubular lock destroys the pin stacks so the cylinder spins freely. Use a carbide-tipped bit matched to the lock face diameter. Centre the bit precisely on the central post.
Drill at 300 to 600 RPM with steady, even pressure. Test rotation with a flathead screwdriver once the stacks shear.
What Is a Tubular Lock and Why It's Different From a Standard Pin Tumbler Lock
A tubular lock, also called a radial pin tumbler lock or ace lock, is the circular-keyhole lock you find on vending machines, laundry equipment, bicycle U-locks, and arcade cabinets. The key is a hollow barrel with notches cut around its circumference, not a flat blade.
That design makes tubular locks compact and hard to pick without specialist tools. It also means drilling one requires a completely different strategy.
How the Radial Pin Stack Layout Changes Everything
In a standard pin tumbler lock, the pins line up in a single row. You can drill along that row with a standard bit and break the shear line cleanly.
A tubular lock arranges 7 or 8 pin stacks in a ring around a central post. The shear line is circular, not linear. Every pin stack sits at a different clock position around that ring.
This matters because your drill bit has to attack all the pin stacks at once. The bit must sit concentrically on the central post so it removes material in a circle that crosses every single pin channel simultaneously. Any offset and you'll shear some pins while leaving others intact.
The cylinder won't turn.
Tubular vs. Disc Detainer: Don't Drill the Wrong Lock
This is one of the most expensive mistakes a first-timer makes. Tubular locks and disc detainer locks both have circular keyholes and look nearly identical from the front.
A disc detainer lock uses rotating discs, not spring-loaded pins. Drilling it the same way as a tubular lock damages the housing without opening it.
| Feature | Tubular Lock | Disc Detainer Lock |
|---|---|---|
| Key type | Hollow barrel (circular) | Flat disc key (usually slotted) |
| Keyhole interior | Visible pin channels in a ring | Smooth or slotted disc visible |
| Common on | Vending machines, laundry, bike locks | High-security bike locks, safes |
| Resistance when probing | Spring pressure on multiple positions | Rotating resistance, no spring feel |
Hold the keyhole up to a light source before committing. A tubular lock shows small rectangular channels arranged in a ring around the central post. If the interior looks smooth or shows a flat rotating disc, stop and investigate before drilling.
When Drilling Is the Right Call (and When It Isn't)
Drilling is destructive and non-reversible. Once drilled, the cylinder is scrap. Spend sixty seconds deciding if it's actually the right move before you start.
Situations Where Drilling Makes Sense
- Lost key with no spare available. No tubular key, no realistic way to get one cut quickly.
- Security-pinned cylinder. Some tubular locks use spool or serrated driver pins that defeat picking. Drilling bypasses those features entirely.
- Already-damaged cylinder. A broken key snap or prior forced entry attempt leaves picking off the table.
- Low-cost cylinder on owned equipment. Standard replacement tubular cylinders cost $10 to $40. Drilling is financially sensible when you own the equipment and the cylinder is cheap.
- Time pressure. A clean drill takes 2 to 5 minutes. A locksmith callout, as of 2026, typically runs $75 to $250 or more depending on location.
Situations Where a Tubular Lock Pick or Locksmith Is the Better Move
A tubular lock pick is a circular jig that sets all the pins to the shear line simultaneously by finding the correct depth on each channel. For standard 7-pin or 8-pin tubular locks without security pins, an experienced user can open one non-destructively in under two minutes.
Choose the pick tool when you need to reuse the existing cylinder. Choose a licensed locksmith when you need documented proof of authorised entry, when dealing with equipment under a commercial service contract, or when you're not confident in your drilling alignment.
Drilling is a last resort, not a first step.
Tools You Actually Need Before You Start
Showing up with the wrong bit wastes the bit and damages the housing. Get these together before you start.
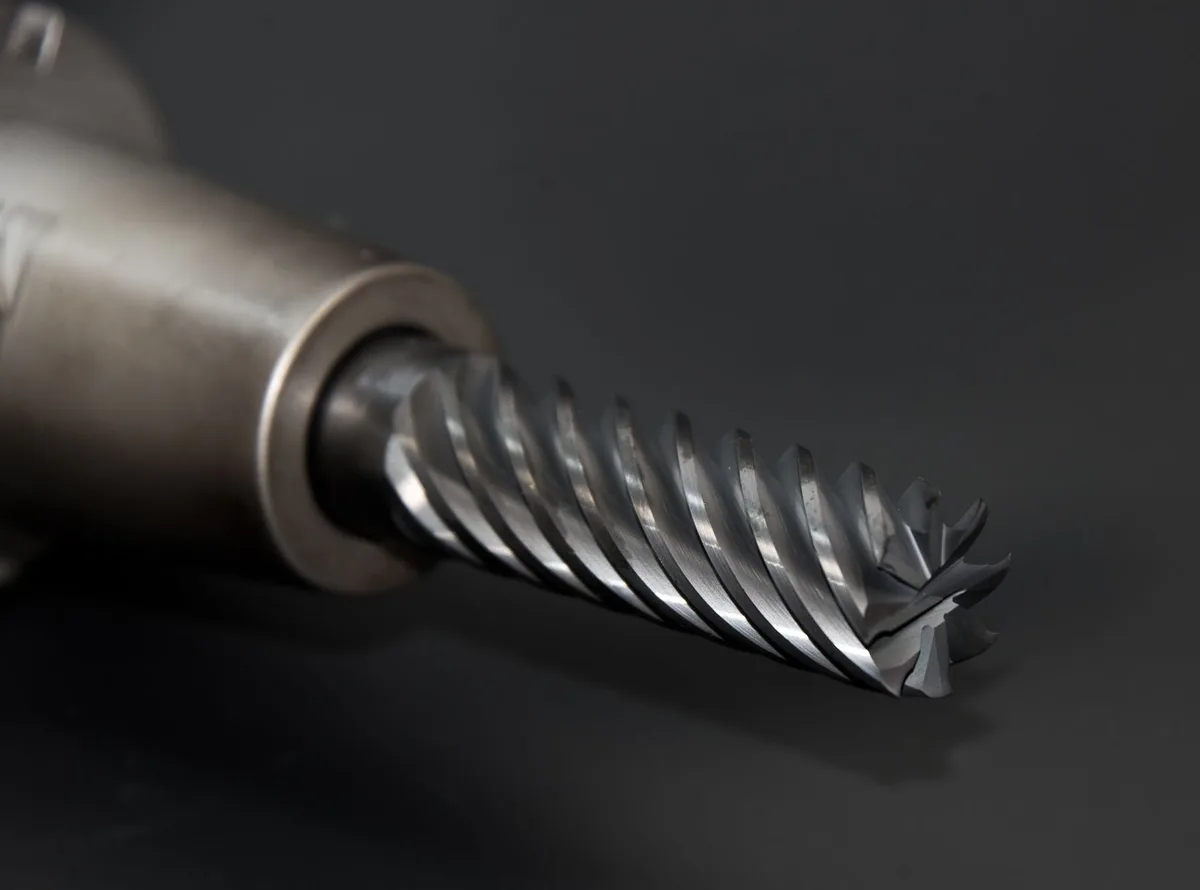
The Right Drill Bit: Carbide-Tipped vs. HSS and Why Size Matters
The choice between carbide-tipped and high-speed steel (HSS) isn't really a choice. Carbide wins.
Tubular lock cylinders are usually brass or zinc alloy, which isn't particularly hard. But many cylinders include hardened steel anti-drill inserts or steel ball bearings designed specifically to stop HSS bits. A carbide-tipped bit keeps cutting through those inserts.
An HSS bit blunts against them and stops dead.
For diameter, most standard tubular locks have a 10 mm face. A 7/16-inch bit (approximately 11 mm) works well for the majority of standard units. If you're unsure of your alignment, start with a 1/4-inch pilot bit to establish your centre point, then step up to the larger bit.
Supporting Tools: What to Have Ready on the Bench
| Tool | Purpose |
|---|---|
| Electric or cordless drill (variable speed) | The driver. Variable speed is essential for controlling bit walk. |
| Carbide-tipped bit, 7/16 in | Primary cutting tool |
| 1/4-in pilot bit | Optional, helps with centre alignment |
| Clamp or vice | Keeps the object stable during drilling |
| Safety glasses | Mandatory. Metal swarf travels fast. |
| Centre punch or nail | Creates a starting divot on the lock face |
| Flathead screwdriver | Tests cylinder rotation after drilling |
| Damp cloth | Controls heat build-up on the bit |
Variable speed matters more than drill power here. A single-speed drill that runs at full RPM from the start gives you almost no control. A trigger-controlled drill lets you start slow, confirm your alignment, and then increase pressure gradually.
Safety and Legal Checks Before You Touch the Drill
Drilling a lock is lawful when you own what you're drilling. It's something else entirely when you don't. This isn't boilerplate.
It's a step.
Proof of Ownership and Why It Matters
If anyone questions what you're doing, documentation does the work that your word alone can't. For personal property, a receipt, title, or rental agreement naming you as the owner is sufficient.
For commercial equipment, carry a work order or service contract from the equipment owner. Law enforcement responding to a report won't distinguish between a legitimate service call and a break-in based on your account alone.
If you have any doubt about your legal right to drill the lock, contact a licensed member of the Associated Locksmiths of America. They're trained in authorised entry and can document the job properly.
Eye Protection, Heat Risk, and Electrified Panels
Wear safety glasses. Metal swarf from a tubular lock is extremely fine and moves fast. It reaches eye level even when you're not leaning directly over the lock face.
Heat builds up quickly at drilling pressure. A bit can get hot enough to burn skin within a minute of continuous contact. Press a damp cloth against the bit every 30 to 60 seconds on stubborn cylinders.
One specific hazard that gets overlooked: ATM panels, elevator control panels, and some commercial equipment have live electrical components directly behind the lock. Before drilling any panel-mounted tubular lock, confirm the power supply is isolated. This isn't theoretical.
How to Identify the Central Post: The Most Critical Visual Step
If there's one thing to get right before the bit touches metal, it's this. The central post is the small protruding pin at the exact centre of the lock face. Your drill bit must sit concentric with that post.
Even a few millimetres off-centre means partial shearing and a cylinder that won't turn.

What You're Looking at on the Lock Face
Look directly at the front face of the tubular lock. You'll see a circular face with small rectangular keyway channels arranged in a ring. At the exact centre of that ring sits the post, a small cylinder that the tubular key's hollow barrel slots over when inserted.
Think of the lock face like a dartboard. The central post is the bullseye. The pin channels are arranged in the first scoring ring around it.
The shear line is the invisible boundary between that inner ring and the outer cylinder body.
Your bit, positioned correctly, starts at the bullseye and removes material in an expanding circle. That circle has to cross every pin channel. Miss the centre and some channels stay intact.
How to Mark the Centre Without Letting the Bit Walk
The polished, curved surface of a tubular lock face is exactly the wrong surface for a drill bit to start on. Without a starting point, the bit slides outward the moment it makes contact.
Here's how to prevent that:
- Use a centre punch to make a small divot directly on the central post. Light hand pressure is enough. You don't need a hammer strike.
- Without a punch, press a small square of gaffer tape over the lock face. The texture gives the bit enough grip to start without sliding.
- Some locksmiths use a worn-down tubular key as an improvised alignment guide. The key sits in the keyway channels and holds the bit concentric while you apply initial pressure.
Start the drill at the lowest speed setting. Let the bit find its seat in the divot before you increase pressure. Those first few seconds of contact are when alignment failures happen.
How to Drill a Tubular Lock: Step-by-Step
With your tools ready, your alignment mark in place, and ownership confirmed, here's the actual process from start to finish.
Step 1: Secure the Object So It Can't Move
Clamp the item in a vice or brace it firmly against a solid surface. Any lateral movement shifts the bit off-centre mid-cut. For small padlocks, a workbench vice is ideal.
For vending machines and laundry units, the unit's weight keeps it stable, but hold the panel firmly with your free hand.
Step 2: Set Your Drill Speed and Bit Depth
Set the drill to its lowest speed before the bit contacts the lock. 300 to 400 RPM is your starting target. You can increase to 600 RPM once the bit is seated and tracking true.
If your drill has a depth stop, set it to 10 mm. The shear line on most tubular locks sits 5 to 8 mm from the face. Going past 12 mm risks contacting the cam or tailpiece behind the cylinder.
Step 3: Align the Bit on the Central Post
Place the bit tip in your centre divot directly over the post. Apply gentle forward pressure and run the drill slowly for the first 3 to 5 seconds. Watch the bit.
If it tracks toward any edge of the lock face, stop and reposition before going further.
Once the bit has started a visible groove and is seated squarely, you're clear to increase pressure.
Step 4: Apply Steady Pressure and Listen for Feedback
Apply firm, consistent forward pressure. Don't push hard in bursts and don't ease off completely. You want even axial force throughout.
You'll feel distinct resistance changes as the bit reaches each pin stack. Maintain your speed and pressure through those changes. Pause every 30 to 60 seconds, press a damp cloth against the bit to manage heat, and resume.
Step 5: Test Cylinder Rotation With a Flathead Screwdriver
When resistance drops noticeably and the bit feels like it's cutting through softer material, stop drilling. Insert a flathead screwdriver into the keyway channels and apply rotational pressure.
If the cylinder turns, the pin stacks have sheared and you're done. If it doesn't turn, resume drilling in 5-second passes and test again after each one.
Step 6: Extract the Drilled Cylinder
Once the cylinder rotates freely, insert the screwdriver or needle-nose pliers and pull the cylinder out of the housing. Clear any metal swarf from the housing with a cloth before fitting the replacement.
What You'll See, Hear, and Feel as the Pin Stacks Shear
Most people drilling their first tubular lock don't know what success actually feels like, and that uncertainty leads to over-drilling.
Here's what to expect at each stage:
- Visual: Fine metal shavings accumulate around the drill entry point. This is normal and expected.
- Sound: The drill tone shifts slightly as it moves from the softer plug material into the harder pin stacks. A slightly higher pitch indicates you're cutting through the stack.
- Feel: Each pin stack creates a brief increase in resistance, then gives way. Seven or eight micro-events happen as you advance. The final one is followed by a clear drop in resistance.
When resistance drops and the drill sounds like it's cutting almost nothing, stop. That's your cue to test rotation, not to keep drilling.
Drilling Through Anti-Drill Security Pins and Hardened Inserts
You'll know you've hit an anti-drill insert when the bit stops cutting and spins in place without advancing.
Don't increase pressure or speed. That only generates heat and blunts the carbide tip. Instead, reduce pressure slightly and let the bit work at its own pace.
The carbide edge will grip the hardened material and cut through it given time.
If the bit is genuinely stalled after 60 seconds, withdraw it, let it cool, and apply a drop of cutting oil to the entry point. Resume with steady pressure. Aggregate locksmith feedback indicates most anti-drill inserts yield within 30 to 90 additional seconds when using a quality carbide-tipped bit.
Common Drilling Mistakes and How to Avoid Them
Letting the Bit Walk Off-Centre
This is the most common failure, and starting without a centre divot on a polished lock face is the cause in nearly every case. The fix is the same every time: punch a starting point and begin at the lowest speed setting.
Drilling Too Fast
High RPM generates heat, blunts the bit quickly, and reduces control over alignment. Keep it between 300 and 600 RPM throughout. Faster doesn't mean faster results here.
Going Too Deep
Drilling past 12 mm risks hitting the cam or tailpiece and damaging the mechanism behind the cylinder. Wrap a strip of tape around the bit shaft at the 10 mm mark as a visual depth guide if your drill lacks a depth stop.
Mistaking Housing Movement for a Sheared Cylinder
Sometimes the outer housing rotates slightly, giving the false impression the cylinder is free. Always test with a screwdriver inserted firmly into the keyway channels, not by watching the outer housing.
Use Case Scenarios: Vending Machines, Bike Locks, Laundry Units, and Cabinets
7-Pin vs. 8-Pin Configurations Across Common Machines
The application changes how accessible the lock face is, what material the cylinder is made from, and how easy alignment will be. Here's how the most common scenarios compare:
| Application | Typical Pin Count | Cylinder Material | Access Challenge |
|---|---|---|---|
| Vending machine | 7-pin | Brass / zinc alloy | Easy front panel access |
| Coin-op laundry unit | 7-pin | Brass | Often recessed in housing |
| Bicycle U-lock | 7 or 8-pin | Standard inside hardened body | Stabilising the lock while drilling |
| Arcade / gaming cabinet | 7-pin | Zinc alloy | Panel-mounted, tight clearance |
| Display cabinet | 7-pin | Brass | Frequently flush-mounted |
For bicycle U-locks, the challenge isn't the cylinder material. It's keeping the lock body stable while you drill. A vice or a second person bracing the bike frame solves this.
For recessed laundry unit locks, you may need a drill extension to reach the lock face at the correct angle. Misalignment is far more likely in tight spaces, so slow down and verify your angle before applying pressure.
Replacing the Cylinder After Drilling
Measuring for the Right Replacement Tubular Lock
Measure the face diameter of the drilled cylinder before ordering. Most standard units use a 10 mm cylinder. OEM suppliers produce direct replacements for most vending machines and laundry equipment, and a standard replacement typically costs $10 to $40.
Cost of a New Cylinder vs. Full Unit Replacement
Full unit replacement is rarely necessary after a clean drill. The housing stays intact. Only the cylinder needs swapping, which makes drilling a far cheaper fix than pulling the whole machine out of service.
Frequently Asked Questions
Can you drill a tubular lock with a regular HSS drill bit?
You can, but HSS bits blunt against anti-drill inserts found in many cylinders. A carbide-tipped bit cuts through both standard brass and hardened steel inserts without stalling. Use carbide whenever there's any chance the cylinder has security reinforcement built in.
How long does it take to drill a tubular lock?
With the correct carbide bit, an experienced person typically takes 2 to 5 minutes. First-timers should allow 10 to 15 minutes, mostly because alignment and pacing take longer when you're working through the process for the first time.
Is drilling a tubular lock legal?
Drilling is legal on property you own or have documented authorisation to service. Carry a receipt, title, or work order before starting, especially on commercial equipment. Without documentation, you can't prove authorised access if questioned.
What size drill bit do I need for a standard tubular lock?
A 7/16-inch carbide-tipped bit works for most standard tubular locks with a 10 mm face. Start with a 1/4-inch pilot bit if you want help establishing your centre point before stepping up to the larger diameter.