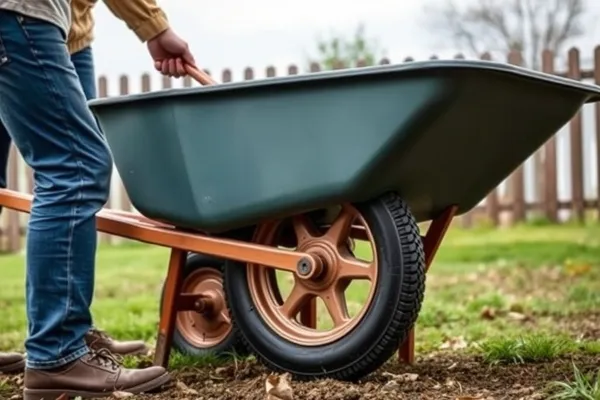
Getting a wheelbarrow tire onto a rim can feel like a wrestling match, especially when you're just trying to get your garden chores done. If you've ever struggled to get that stubborn rubber bead to seat properly, you're not alone. Figuring out how to get a wheelbarrow tire on a rim is a common hurdle, but with the right approach and a few key tricks, you can conquer it.
Our research indicates that most people who experience difficulty are missing a simple lubrication step or aren't using the correct technique to coax the final section of the tire onto the rim. Manufacturer guidelines often recommend a specific type of soap solution for easier mounting, which can reduce the required force significantly. As of 2026, this basic preparation remains a cornerstone of successful tire installation across many recreational vehicle types.
Quick Answer
To get a wheelbarrow tire on a rim, first clean the rim and lubricate the tire bead and rim flange. Start the tire by hand, then use tire levers for the last bit. Seat the bead by rapidly inflating, aiming for that audible pop.
What You'll Need to Get That Wheelbarrow Tire Mounted
Before you start, having the right tools and materials makes a world of difference. This isn't a job that requires a full mechanic
Step 2: Getting the Tire On the Rim (The Tricky Part)
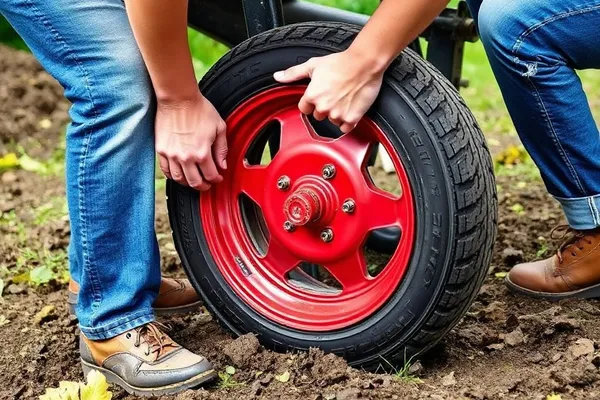
This is where things can get a bit frustrating, but patience is key. Start by placing one side of the tire bead onto the rim. You'll want to work your way around the rim, pushing as much of the tire onto the flange as you can with just your hands.
Remember, the tire is designed to be a tight fit, so don't be surprised if it takes some effort.
Once you've got as much of the tire on as possible by hand, you'll likely have a section that's still off the rim. This is where some strategic maneuvering comes in. You might need to use tire levers, similar to those used for bicycle tires, but be
and some lubricant to help it slide into place.
Starting by Hand
Lay the wheelbarrow rim flat on the ground. Take your new tire and position one bead over the rim flange. Start by pushing down on the tire with your palms, working your way around the rim.
You might be able to get a good portion of it on this way.
Using Lubrication (What Kind and Why)
This is where a little bit of liquid goes a long way. Mix some dish soap (like Dawn) with water. You can also use a dedicated tire mounting lubricant if you have it.
Apply this mixture generously to the tire bead and the rim flange where the tire will sit. This reduces friction, making it much easier to get the tire to slide into place.
Technique for Getting the Last Bit On
When you get to the last section of the tire that won't go on, it's time to be strategic. Try to push the tire bead opposite the section you're working on down into the center channel of the rim. This creates a bit more slack in the bead you're trying to mount.
For this final push, you may need to use tire levers.
Step 3: Seating the Tire Bead
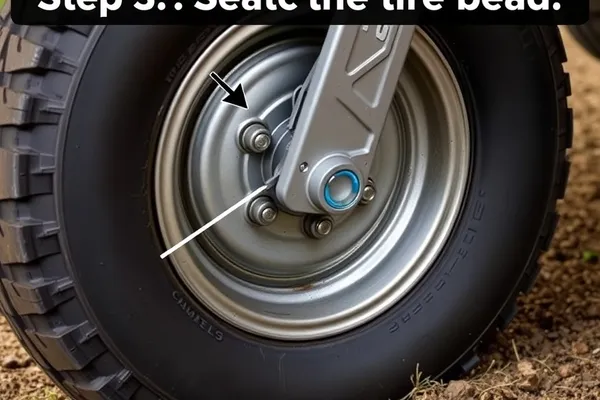
Seating the bead means getting the edge of the tire to pop outwards and lock securely against the rim flange. This creates an airtight seal. It's a crucial step, and you'll usually hear a distinct "pop" or "snap" when it happens correctly.
The "Pop" You're Listening For
This audible "pop" is the sound of success. When you inflate the tire, especially with a good amount of air delivered quickly, the tire bead forces itself outwards against the rim. It's a satisfying sound, confirming the tire is properly seated and ready for its full recommended pressure.
What if the Bead Won't Seat?
If the bead doesn't seat after a few tries, don't force it. First, ensure you've used enough lubrication and that the opposite side of the tire bead is pushed down into the rim's center channel. Sometimes, deflating the tire completely and restarting the inflation process can help.
If it still resists after these steps, check for any debris on the rim or tire bead that might be preventing a proper seal.
Step 4: Inflating Your Wheelbarrow Tire
With the tire seated, it's time to put air in it. You'll need a bicycle pump or an air compressor for this. Make sure you're using the correct tire pressure, which is usually printed on the side of the tire itself.
Overinflating can damage the tire, while underinflating will make it perform poorly and wear out faster.
Proper Valve Stem Placement
As you inflate, ensure the valve stem is straight and not binding against the tire or rim. Some tires have a small cutout in the rim to accommodate the valve stem; make sure it's seated correctly there. A crooked valve stem can lead to leaks or be difficult to attach a pump to.
Reaching the Correct Tire Pressure
Check the sidewall of your wheelbarrow tire for the recommended tire pressure, usually measured in pounds per square inch (PSI). For most standard wheelbarrow tires, this is often between 20 and 30 PSI. Use your pump's gauge to reach the target pressure accurately.
Over-inflation can cause a harsh ride and make the tire more prone to damage.
Common Pitfalls: Why Tire Mounting Fails
Even with good intentions, certain mistakes can turn a simple tire change into a frustrating ordeal. Recognizing these common pitfalls beforehand can save you a lot of hassle and prevent damage to your new tire or rim. Our research of common user complaints points to a few recurring issues.
Not Enough Lubricant
Skipping or skimping on lubrication is perhaps the most common reason tires won't go on or the bead won't seat. The friction between the rubber bead and the metal rim can be immense, making it nearly impossible to slide or pop into place without help. Always use a generous amount of soapy water or tire mounting paste.
Forcing It Too Hard
While some force is necessary, brute strength alone can cause damage. Prying too hard with tire levers can pinch the inner tube, resulting in a new leak even before you're done. It can also damage the tire bead itself, making it impossible to seat correctly or leading to premature failure.
Patience and technique are better than brute force.
Incorrect Bead Seating Technique
If the bead won't seat, it's often because the opposite side of the tire isn't pushed into the rim's center channel. This channel allows the tire to flex enough to get that final section onto the rim. Similarly, when inflating, ensuring air can flow freely past the bead is critical for it to pop into place.
Anything blocking this flow, like a misplaced valve stem or debris, will prevent seating.