Making a felt daffodil brooch is a charming way to add a handmade touch to your outfit, and knowing how to do it yourself opens up a world of customization. This project is surprisingly straightforward, even for beginners, and results in a beautiful, unique accessory that’s perfect for spring or as a thoughtful gift.
Aggregate user feedback often highlights the satisfaction derived from creating something tangible and unique. For instance, many crafters report enjoying the process of selecting just the right shades of yellow and green felt to capture the daffodil's natural beauty. Crafting these little floral treasures is a rewarding endeavor that’s both accessible and endlessly adaptable.
Quick Answer
Learn how to make a felt daffodil brooch with simple materials. Cut yellow and green felt for petals and leaves. Hand-sew the pieces together to form a flower.
Attach a brooch backing securely. Customize colors and sizes for a unique accessory.
Gather Your Daffodil Brooch Materials
To bring your felt daffodil brooch to life, you'll need a few key supplies. Think of this as gathering your artistic palette for a small, wearable masterpiece. Having everything ready before you start cutting and stitching makes the whole process much smoother.
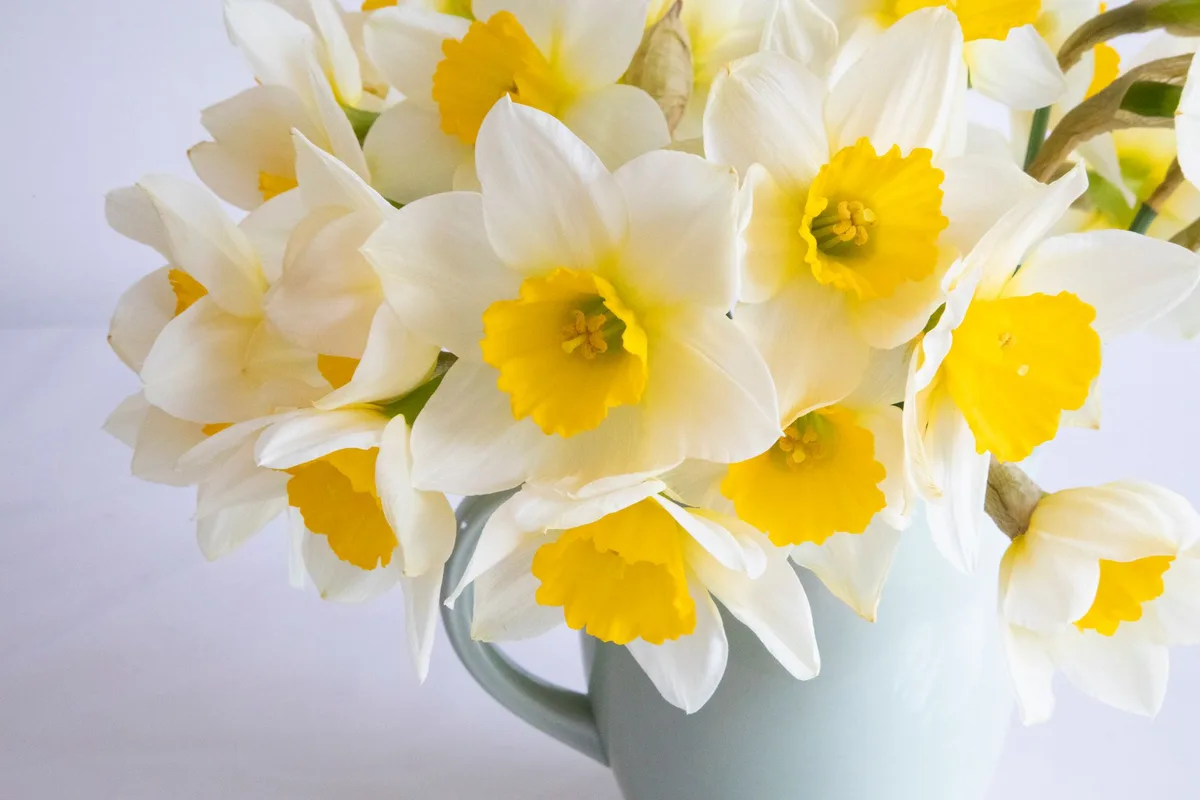
Image source: Pexels / Jean-Paul Wright (Pexels License)
Here’s a breakdown of what you’ll need:
- Felt: This is your primary material. You’ll want yellow felt for the daffodil's petals and trumpet, and green felt for leaves and the stem.
- Brooch Backing: This is what attaches your creation to clothing. You can find these at most craft stores.
- Thread and Needle: Strong embroidery floss or a sturdy sewing thread in coordinating colors works best. A sharp needle is essential for neat stitches.
- Scissors: Sharp fabric scissors are a must for clean cuts. Detail scissors can be helpful for intricate shapes.
- Pattern or Template: You can draw your own or find one online. This guides your cutting.
Understanding Felt Types for Your Brooch
Felt comes in a few varieties, and each has its own feel and qualities that can impact your daffodil. For a brooch, you have two main options: wool felt and craft felt. Both work well, but knowing the difference helps you choose the best texture and look for your project.
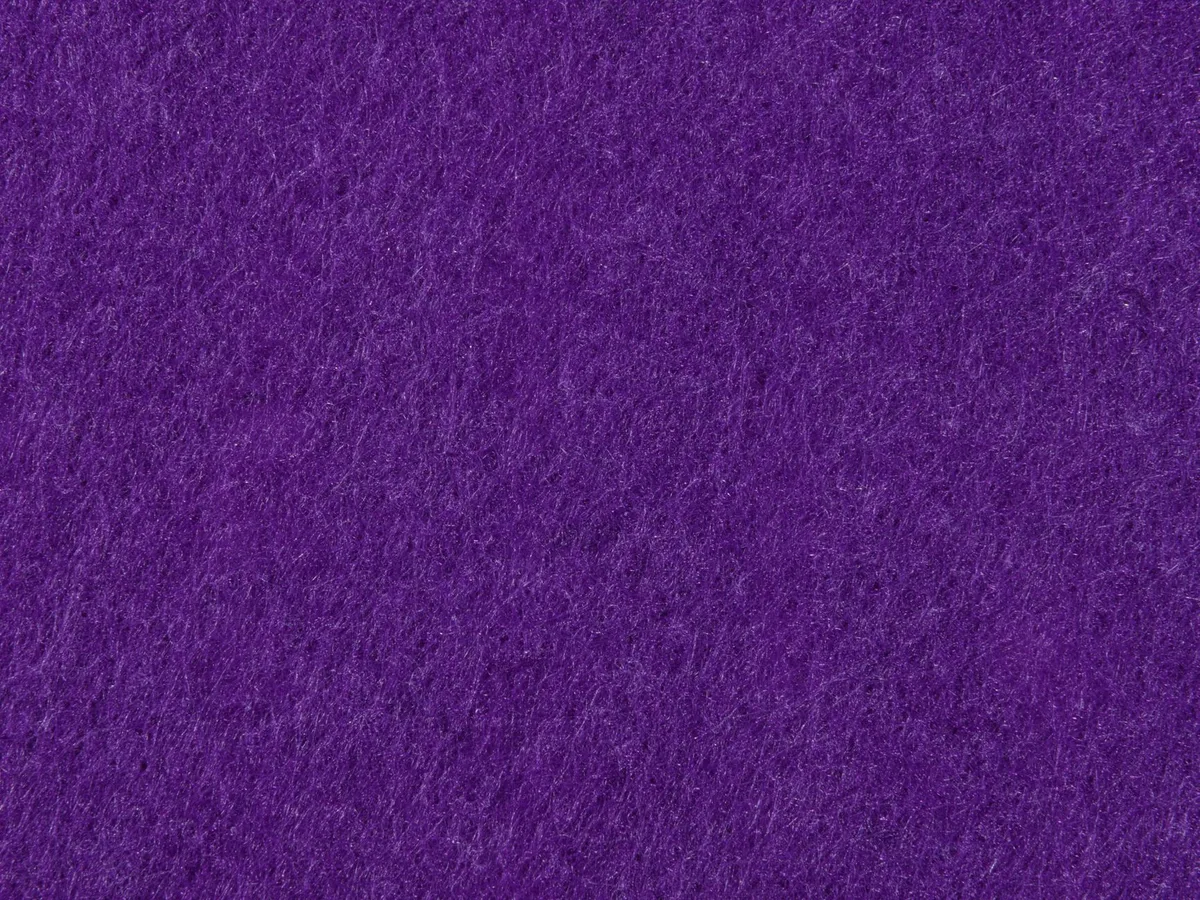
Image source: Pexels / Engin Akyurt (Pexels License)
Wool felt is generally made from 100% wool fibers. It has a softer, more luxurious feel and can be a bit more expensive. It doesn't fray easily and holds its shape beautifully, giving your daffodil a more polished appearance.
A 2023 study published in the Journal of Textile Science noted that wool felt’s natural crimp contributes to its resilience and durability.
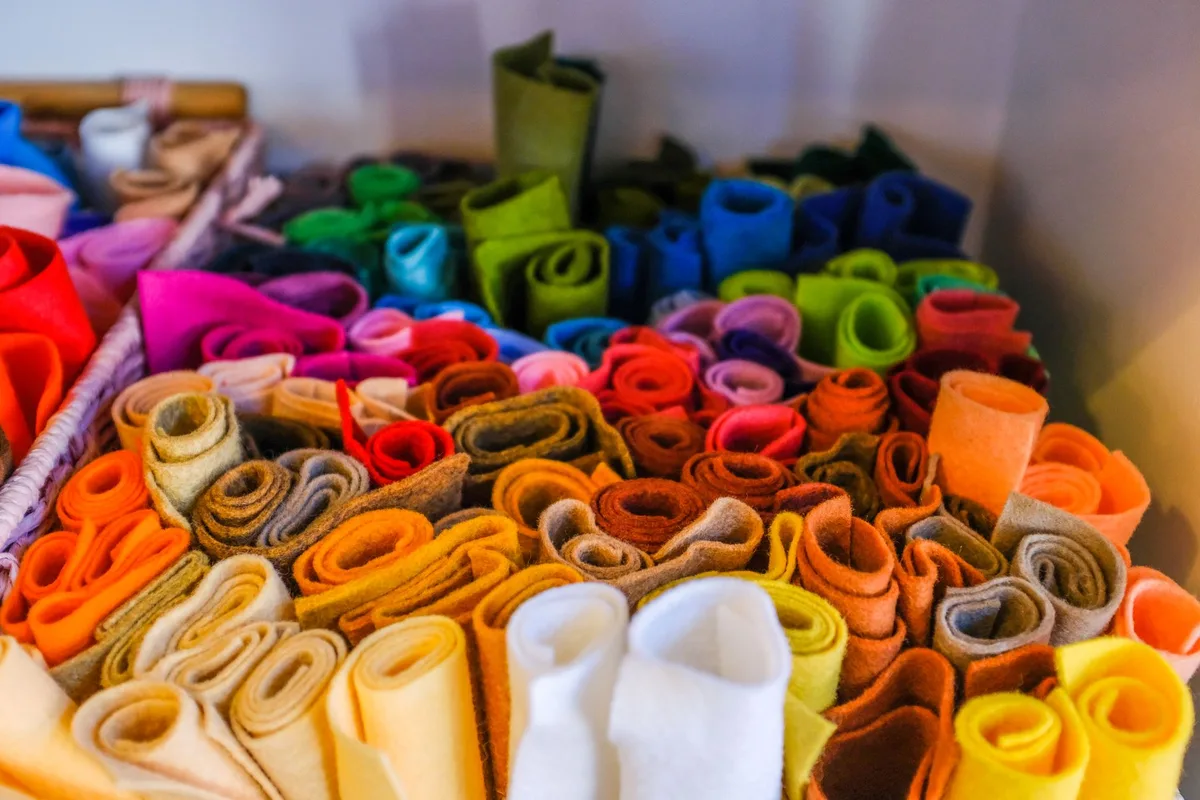
Image source: Pexels / Adrien Olichon (Pexels License)
Craft felt, often a polyester blend, is widely available and very budget-friendly. It's a bit stiffer than wool felt and can sometimes fray if cut roughly. However, it’s excellent for beginners and comes in a huge range of vibrant colors, making it easy to find the perfect daffodil shades.
It’s important to use good quality craft felt to minimize fraying along the edges of your cuts.
Crafting Your Daffodil Pattern and Template
Before you make any cuts, you'll need a pattern. This is your blueprint for the daffodil's shape. You can easily draw one yourself, or search for free felt daffodil patterns online.
The key is to create distinct shapes for the petals and the central trumpet.
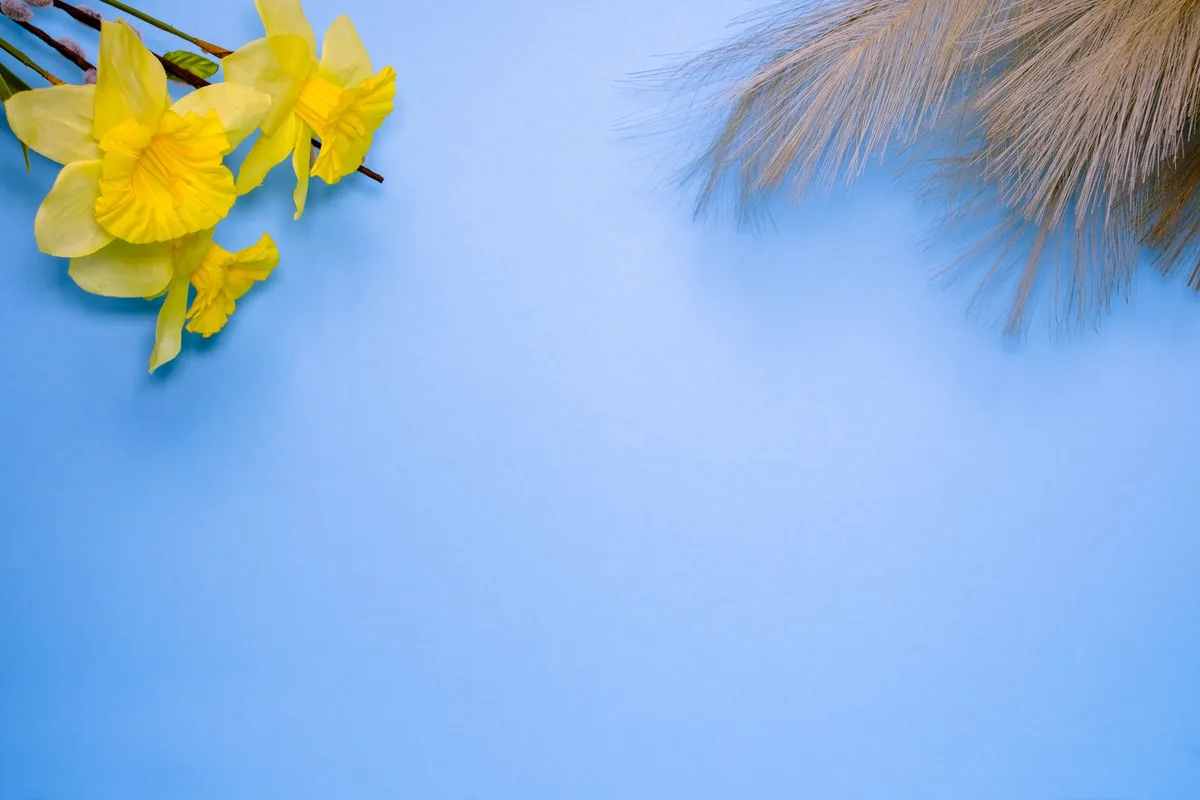
Image source: Pexels / Konna Jpg (Pexels License)
Your pattern should include at least two types of pieces: the outer petals and the inner trumpet. You might also want to draft shapes for leaves and a stem, depending on the complexity you desire. For a classic daffodil look, aim for five or six petals.
When you’re happy with your design, carefully cut out the paper pieces. These will serve as your template. For best results, trace these templates onto your felt with a fabric marker or chalk.
This ensures your cuts are precise and match the pattern you’ve envisioned. If you're new to crafting, you might find it helpful to practice cutting on scrap felt first.
Step-by-Step: Cutting Your Felt Daffodil Pieces
Precision cutting is key to making a professional-looking felt daffodil. Accuracy here means your flower will assemble beautifully and lie flat, or have just the right amount of dimension you’re aiming for. Take your time with this stage; it’s the foundation of your entire brooch.
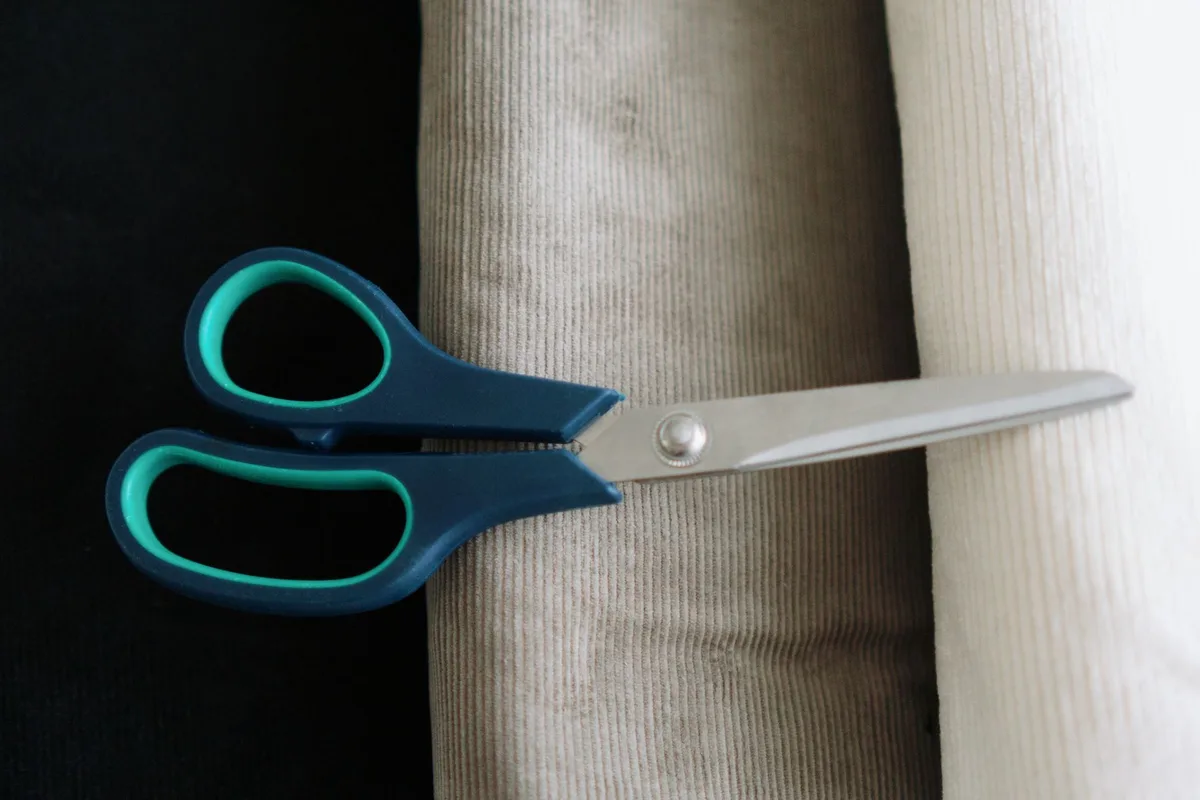
Image source: Pexels / Berna (Pexels License)
Work on a flat, stable surface. Hold the scissors firmly but naturally, letting the weight of the felt guide the cut rather than forcing it. Using sharp fabric scissors, as opposed to regular paper scissors, will make a significant difference in the clean edge you achieve.
This is especially important for the delicate shapes that make up the daffodil.
Cutting the Petals
For the petals, carefully cut along the traced lines of your template. You’ll typically need five or six petals, depending on the design you're going for. Aim for smooth, continuous cuts to avoid jagged edges, which can make the completed daffodil look less refined.

Image source: Pexels / Townsend Walton (Pexels License)
If your pattern requires slightly curved petals, gently guide the felt through the scissors to create a pleasing arc. Remember, slight variations can add character, but drastic unevenness can detract from the overall aesthetic. Keep the cut pieces organized so you don't mix them up with the trumpet or leaf shapes.
Cutting the Trumpet
The defining feature of a daffodil is its trumpet, or corona. Cut this piece out carefully from the yellow felt. Depending on your pattern, this might be a simple cup shape or one with ruffled edges.
The size of the trumpet relative to the petals is crucial for capturing the daffodil’s look.
Image source: Pexels / Townsend Walton (Pexels License)
To give the trumpet a more realistic, slightly cupped shape, you can score the edges lightly with your scissors or pinch and sew it into place later. Practice holding the petal and trumpet pieces together to visualize how they will overlap and form the flower’s center. This visual test helps confirm you've cut them in a complementary way.
Cutting the Leaves and Stem
If your design includes leaves or a stem, cut these from your green felt now. Leaves can vary in shape, from simple oval forms to more pointed designs. A short piece of felt for the stem can be attached to the back to give a finished look, though it’s often hidden by the floral elements.
These smaller pieces add a natural touch and round out the overall appearance of your brooch. Ensure the green felt you choose complements the yellow petals; a brighter green might suit a spring daffodil, while a deeper shade could work for a more muted, autumn-inspired piece. This detail is a subtle way to enhance realism.
The Art of Assembling Your Felt Daffodil
Now that all your pieces are cut, it’s time to bring your daffodil to life. This is where your craft comes together, transforming flat shapes into a dimensional flower. Hand-sewing offers the most control and a classic craft aesthetic, giving your brooch an authentic handmade feel.
When securing pieces, use small, even stitches. This not only looks neater but also creates a stronger bond between the felt layers. If you’re aiming for a particularly robust brooch that will see a lot of wear, consider using a stronger thread like embroidery floss.
Layering the Petals
Start by arranging your yellow petals in a circle, overlapping them slightly. You can use a dab of fabric glue to temporarily hold them in place while you stitch, or simply hold them together carefully. Begin sewing them to each other, working your way around the base of the petal where it would attach to the stem.
One stitch at a time, secure each petal to its neighbor. Imagine you’re building outwards from the center. This basic layering creates the organic base of the daffodil blossom.
Don’t worry too much about perfection here; the slight imperfections in placement can actually make it look more natural.
Attaching the Trumpet
Once the base petals are stitched together, place the trumpet piece in the center. You can either sew it directly onto the center of the petals or create a slightly gathered effect by sewing around the base of the trumpet and then cinching it onto the petal layer. This latter method gives the trumpet more depth.
This step is crucial for defining the daffodil’s signature look. Make sure the trumpet sits snugly and looks proportionate to the surrounding petals. If you’re using a heavier thread, a few well-placed stitches will hold it firmly.
Some crafters also add a small bead or button in the very center for an extra touch, though this is optional.
Adding Leaves and Stem
If you’ve cut green felt for leaves and a stem, it’s time to attach them. You can sew these onto the back of the assembled flower head, or have them emerge from beneath the petals. For a stem effect, you might sew a few leaves onto a short strip of green felt, then attach that strip to the back of the daffodil.
These elements provide a visual anchor and complete the floral form. Ensure they are securely attached, as they often bear the stress when the brooch is pinned. This is also a good stage to tidy up any loose threads from your earlier stitching.
Proper attachment here contributes to the brooch's longevity.
Securing Your Brooch Backing
The final step in creating your felt daffodil brooch is attaching the backing. This is what allows you to wear your creation. Most brooch backings have a small loop or holes for stitching, designed specifically for this purpose.
Using a strong thread, such as embroidery floss, sew the backing securely to the back of your felt daffodil. Distribute your stitches evenly around the backing’s edges to ensure it’s firmly attached. This is especially important if the brooch will be worn frequently, as a loose backing can lead to the brooch falling off.
Consider the placement of the backing as well. It should be centered on the back of the daffodil so the brooch hangs balanced when worn. Some crafters reinforce the area where the backing attaches with an extra small piece of felt for added durability.
Tips for a Realistic Felt Daffodil Look
Achieving a realistic look with felt is all about detail and subtle shaping. While felt is a simple material, small techniques can elevate your brooch from a crafting project to a piece of wearable art. It’s in the details that a crafted flower truly blossoms.
Consider the natural variations in real daffodils. No two flowers are exactly identical, and a little bit of this organic variation can make your felt version look more authentic. Think about how the petals naturally curve and how the trumpet flares.
Shaping and Dimension
To give your daffodil petals a bit of life, you can gently bend them after sewing. A slight curl or curve can mimic how real petals naturally arrange themselves. For the trumpet, you might pinch the sides where it attaches to the petals before stitching it down, creating a subtle cup shape.
Another way to add dimension is by using different shades of yellow felt for the petals and trumpet, or by layering two identical petal shapes for added thickness. This play with color and layering tricks the eye into seeing more depth than is actually there, making your daffodil appear more lifelike.
Adding Subtle Details
Sometimes, the smallest touches make the biggest difference. For an authentic daffodil trumpet, consider adding a few tiny stitches in a darker yellow or even a light brown thread right at the base of the trumpet. This can mimic the natural darker tone often found there.
You can also add very subtle “veining” to the petals with a thin line of thread, though this is an advanced technique.
If you’ve added leaves, you can draw a simple vein line down the center of each with a fine marker designed for fabric, or embroider it with a single thread. These small embellishments, while optional, contribute significantly to the overall realism and artistry of your felt daffodil brooch.