
Ugh, nothing kills a gardening project faster than a flat wheelbarrow tire. You’re ready to haul dirt, mulch, or maybe that heavy bag of paver stones, and BAM, you’re looking at a sad, deflated wheel. It's a common hassle, but the good news is, you don't have to live with it.
As editorial researchers, we’ve compiled practical solutions to make your wheelbarrow road-ready (or at least garden-path-ready) for good. We’re talking about straightforward ways to banish those pesky flats, based on manufacturer specifications and aggregate repair data.
Quick Answer
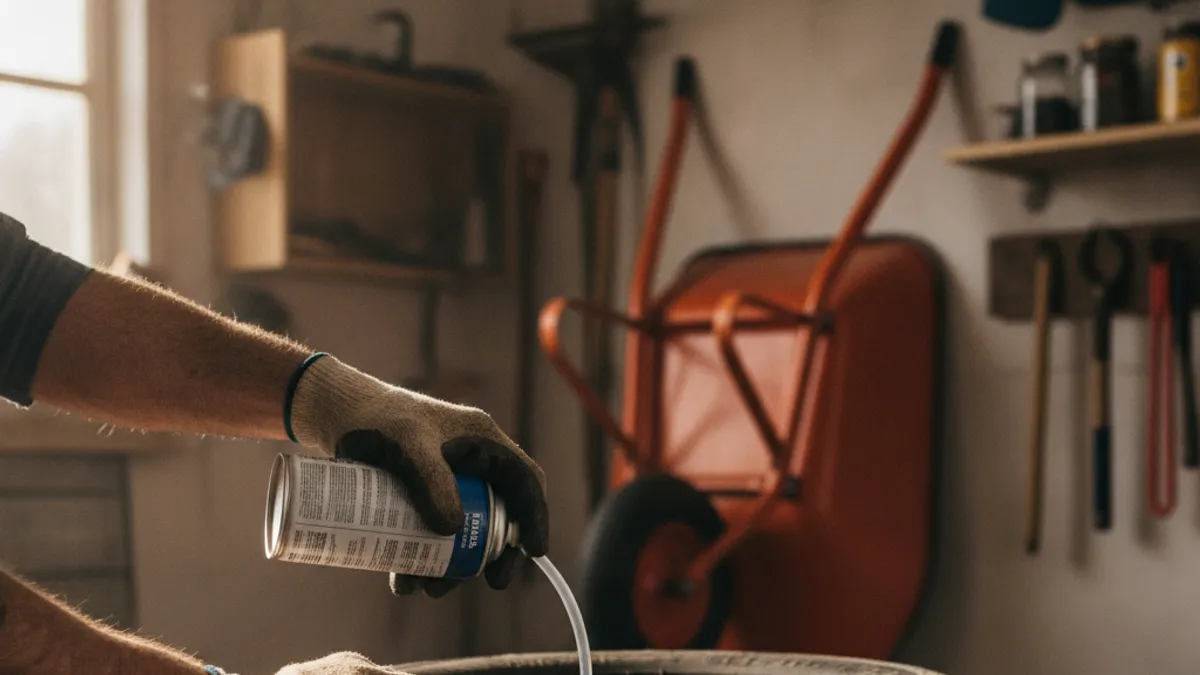
You can make a wheelbarrow tire flat-free by replacing the pneumatic inner tube with a solid alternative. Options include injecting foam sealant into the tire or replacing the entire tire with a solid rubber or polyurethane model. This eliminates the risk of punctures.
As of 2026, these methods provide reliable, maintenance-free performance for your wheelbarrow.
Why Wheelbarrow Tires Go Flat (And Why It's So Annoying)
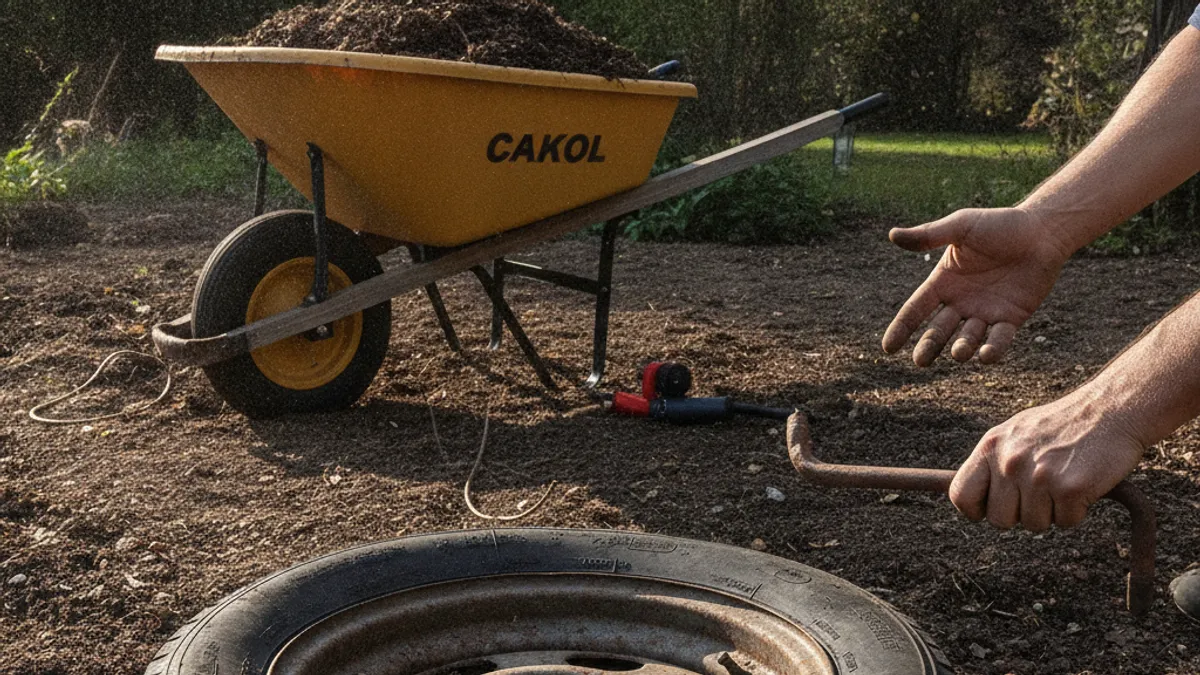
Most standard wheelbarrow tires are pneumatic, meaning they’re filled with air held by an inner rubber tube. This design offers some shock absorbency but makes them vulnerable to punctures. Sharp rocks, thorns, or even stray nails can leave you with a deflated tire mid-job.
Valve stem issues or the simple aging of rubber can also lead to leaks, turning what should be a simple task into a frustrating repair session.
Punctures, Old Age, and Other Tire Troubles
The most frequent culprit for a flat wheelbarrow tire is a puncture. Garden environments are often littered with debris that can easily pierce a rubber tire and inner tube. Beyond that, the rubber inner tube itself can degrade over time.
Manufacturer specifications often cite a lifespan of 3-5 years for pneumatic tubes under normal use, after which they become more prone to developing micro-cracks. The valve stem, where you add air, is another common failure point. If it gets damaged or cracked, air escapes, leading to a flat.
Your Paths to a Flat-Proof Wheelbarrow: Options at a Glance
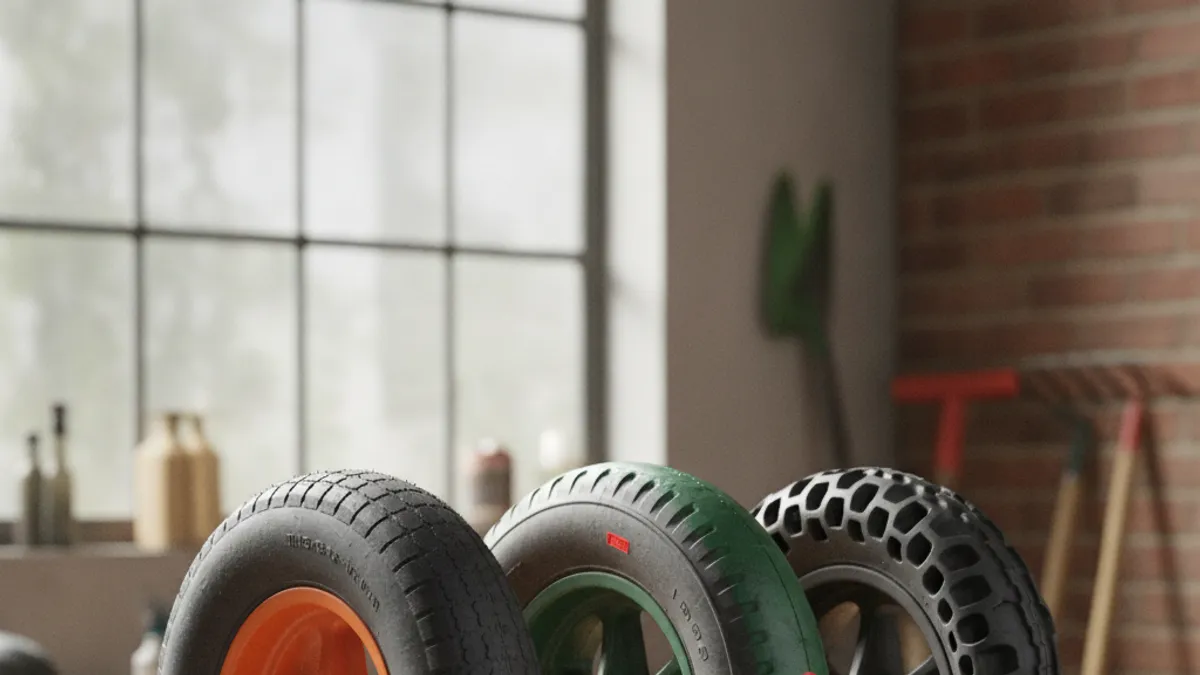
So, you've got a flat, or you're just tired of dealing with them. You've got a few main paths you can take to ensure your wheelbarrow stays ready for action. Each offers a different balance of cost, effort, and long-term convenience, fitting various user needs and preferences.
Here’s a quick look at your primary choices for achieving a flat-free wheelbarrow:
- Patching the Inner Tube: This is the most basic fix, suitable for immediate needs but often temporary.
- Foam-Filling the Tire: Injecting a special foam sealant into the existing tire transforms it into a solid, puncture-proof unit.
- Replacing with a Solid Tire: This involves swapping the entire pneumatic tire for one made of solid rubber or polyurethane.
- Using Tire Sealant: A liquid sealant can be added to the inner tube, offering a level of protection against smaller punctures.
Option 1: The Patch-Up Job for Tubes (Temporary Fix)
When a flat hits, your first instinct might be to grab a patch kit. This method involves repairing the inner tube itself, much like you would for a bicycle tire. It’s a straightforward process that can get you back to work relatively quickly.
How to Patch Your Inner Tube
Before you start, gather a bicycle inner tube patch kit, tire levers (or a sturdy flathead screwdriver), a pump, and possibly a bucket of water.
Here are the typical steps:
- Remove the Wheel: Unbolt the wheel from the wheelbarrow frame.
- Deflate Completely: Ensure any remaining air is out of the tube.
- Pry Off the Tire: Use tire levers to carefully work the tire bead off the rim. This can be tough; try to avoid pinching the inner tube with the tool.
- Locate the Puncture: Inflate the tube slightly and listen for hissing air or submerge sections in water to spot escaping bubbles. Mark the hole.
- Prepare for Patching: Roughen the area around the puncture with the provided sandpaper. Clean off any dust.
- Apply Adhesive: Spread a thin, even layer of the tire cement (glue) over an area slightly larger than the patch. Let it dry until it’s tacky to the touch.
- Apply the Patch: Peel the backing off the patch and press it firmly onto the cemented area, ensuring good adhesion.
- Reassemble: Fit the repaired tube back into the tire, seat the tire back onto the rim, and inflate to the recommended pressure. This process might require another mention of the importance of proper wheel maintenance to keep related equipment running smoothly.
Pros and Cons of Patching
Patching is an accessible solution for a flat, but it has its limitations.
Pros:
- Low Cost: Patch kits are inexpensive.
- Quick Fix: Can often be done in under an hour.
- Readily Available: Kits are common at hardware and auto stores.
Cons:
- Temporary: Patches can fail over time, especially under heavy use or if the puncture is large or on a stressed part of the tube.
- Labor Intensive: Requires disassembling the wheel and wrestling with the tire.
- Risk of Recurrence: It’s easy to pinch the tube again during reinstallation, creating a new leak.
Option 2: Going Solid! The Permanent Fix
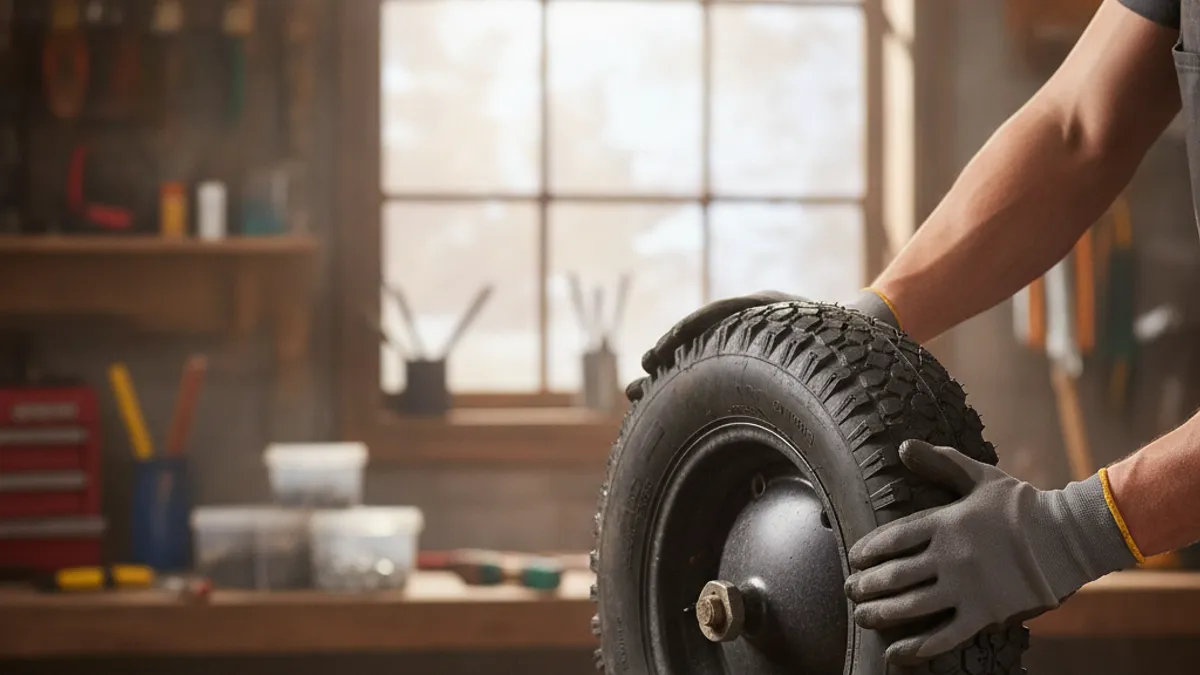
For a truly "set it and forget it" solution, ditching the pneumatic tire altogether is the way to go. This means replacing your air-filled tire with a solid alternative that simply cannot go flat. This is the ultimate convenience for anyone who uses their wheelbarrow frequently or wants to minimize ongoing maintenance distractions.
What Are Foam-Filled and Solid Tires?
There are two main types of solid alternatives that eliminate the need for air:
- Foam-Filled Tires: These are essentially pneumatic tires where the air inside has been replaced by a dense, flexible foam sealant. This foam is injected into the tire cavity, creating a solid mass that remains resilient and puncture-proof. They offer a ride quality that is quite similar to a properly inflated pneumatic tire.
- Solid Rubber/Polyurethane Tires: These tires are manufactured entirely from dense rubber or polyurethane material. They have no inner tube and no air cavity. While they are incredibly durable, they can sometimes offer a slightly firmer ride compared to foam-filled options, especially on rough, uneven terrain.
How to Switch to a Solid or Foam-Filled Tire
The process for converting to a flat-free tire involves obtaining the correct replacement part and then performing the installation. This might be a more involved task than simple patching, but the long-term benefits usually outweigh the initial effort.
Step-by-Step: Installing a Foam-Fill Kit
For this method, you'll need a foam-fill kit designed for wheelbarrow tires, which typically includes the foam sealant and an injector.
- Remove Wheel and Tire: As with patching, you’ll need to detach the wheel from the frame and then remove the old tire from the rim. For foam-fill, you may still have a tube inside that needs to be either removed or punctured if the kit directs you to do so.
- Prepare for Injection: Follow the kit’s specific instructions. Often, this involves attaching the injector to the tire’s valve stem (or directly into the tire if instructed) after ensuring the original tube is completely deflated or removed.
- Inject the Foam: Carefully inject the foam sealant into the tire cavity. This can take some time and requires consistent pressure. Manufacturer specifications for sealant volume are crucial here.
- Curing Process: Once injected, the foam needs time to cure and expand fully. This curing period can range from 12 to 48 hours, during which the tire should remain stationary and at ambient temperature.
- Reinstall Wheel: After the foam has cured, reattach the wheel to the wheelbarrow frame.
Step-by-Step: Installing a Solid Rubber/Polyurethane Tire
This usually involves replacing the entire tire, and sometimes the rim as well if you buy a complete wheel assembly.
- Remove Wheel and Old Tire: Detach the wheel. Prying off a solid, non-pneumatic tire from a rim is often the most challenging part of this upgrade. Significant force or leverage may be required.
- Prepare the Rim: Ensure the rim is clean and free of debris.
- Mount the New Tire: This is where the physical effort comes in. Solid tires are less flexible than pneumatic ones.
- Tip: Warming the solid tire slightly with a heat gun can make the material more pliable and easier to stretch over the rim.
- Use tire levers or a strong pry bar. Working in sections, leverage the tire bead over the rim edge. A second person can be helpful here to hold the tire in place. Ensure the tire is seated evenly all around the rim.
- Reassemble Wheel: Once the tire is fully seated, reattach the wheel to the wheelbarrow frame.
Pros and Cons of Solid Tires
Making the switch to a solid tire offers significant advantages but also some points to consider.
Pros:
- Absolute Flat-Proofing: The primary benefit; you'll never have to worry about punctures again.
- Durability: Solid tires are generally very long-lasting and resistant to wear and tear.
- Low Maintenance: No checking air pressure, no patching.
- Consistent Performance: Always ready to go.
Cons:
- Installation Difficulty: Can be physically demanding and may require specialized tools or significant effort.
- Ride Comfort: Solid rubber tires can sometimes provide a bumpier ride, especially on uneven or hard surfaces.
- Initial Cost: Often more expensive upfront than a patch or a basic pneumatic tire.
- Weight: Solid tires can sometimes be heavier than pneumatic ones.
Option 3: Tire Sealant for Extra Protection (Hybrid)
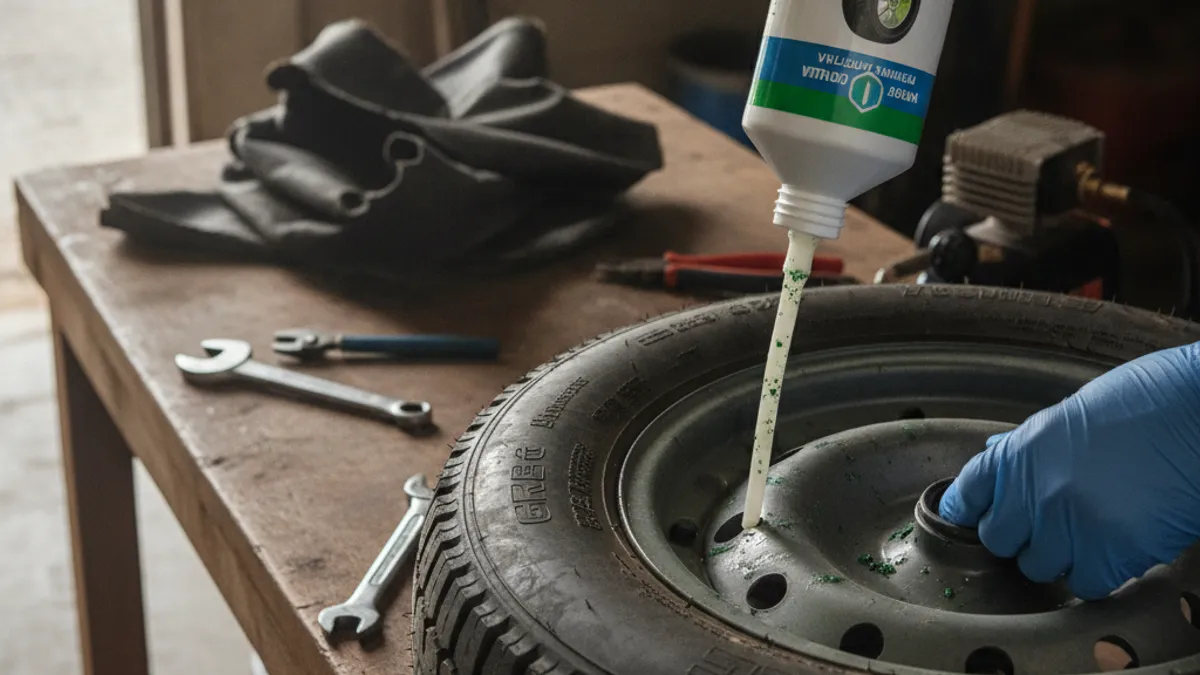
For those who want an added layer of defense without fully committing to a solid tire, liquid tire sealant offers a middle ground. This approach keeps your existing pneumatic tire system but introduces a substance that can automatically seal small punctures as they happen. It’s a way to potentially extend the life of your current tire and reduce the frequency of flats, especially from common garden thorns.
How Tire Sealant Works
Tire sealant contains a viscous liquid mixed with small particles. When your tire experiences a puncture, the escaping air forces this liquid and its particles into the hole. The particles then build up and form a plug, effectively sealing the leak.
This is an automatic process that occurs immediately upon puncture. The sealant is designed to remain liquid within the tire, so it’s ready to act again if another small puncture occurs. As of 2026, many sealants are formulated to work across a wide range of temperatures and won't harm the rubber.
Applying Sealant to Your Tire
Applying sealant is generally straightforward, but it’s critical to follow the product’s instructions precisely.
- Remove Valve Core: You'll usually need a valve core removal tool (often included with the sealant or a common bicycle pump accessory) to unscrew the small metal piece in the center of your tire’s valve stem. This allows the thicker sealant to flow in.
- Inject the Sealant: Connect the sealant bottle or injector to the valve stem and squeeze the recommended amount of sealant into the inner tube. The quantity needed typically depends on the tire size; for a standard wheelbarrow tire, this might be around 4-6 ounces (approximately 120-180 ml).
- Replace Valve Core and Inflate: Screw the valve core back in securely. Then, inflate the tire to its normal operating pressure. Spin the wheel to help distribute the sealant evenly inside the tube.
Pros and Cons of Sealant
Using tire sealant can be a convenient way to combat minor tire issues.
Pros:
- Automatic Sealing: Seals small punctures on its own, reducing immediate air loss.
- Easy Application: Relatively simple to inject into the tire.
- Cost-Effective: Generally cheaper than a full solid tire replacement.
Cons:
- Not for Large Punctures: Most effective on small holes from thorns or staples; larger cuts or sidewall damage are unlikely to be sealed.
- Messy Cleanup: If a major leak occurs or when you eventually need to change the tire, the sealant can create a significant mess.
- Periodic Replenishment: Sealant can dry out over time, potentially requiring reapplication every 6-12 months, depending on the product and conditions.
- Potential for Valve Clogging: If not properly installed or if the sealant dries, it can clog the valve stem.
Which Flat-Free Solution Is Right for You?
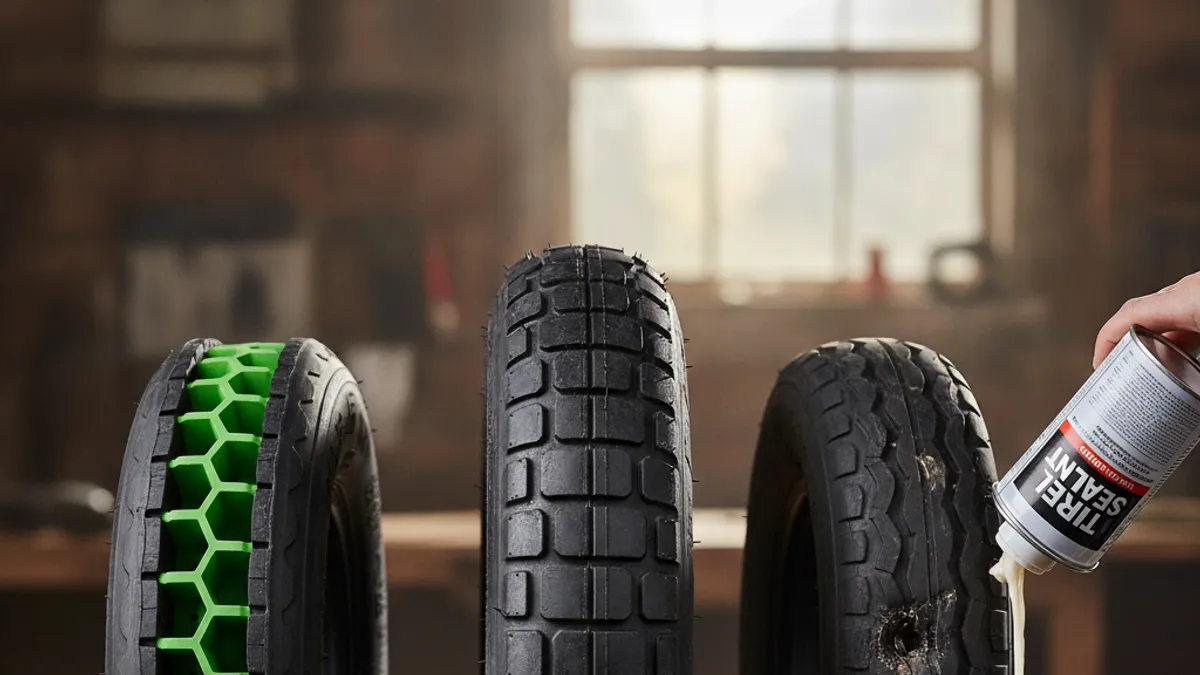
Deciding between patching, foam-filling, or getting a solid tire depends on your priorities. If a quick, cheap fix is your only goal, patching might seem appealing, but remember, it’s usually a temporary band-aid. For those who value their time and want a hassle-free experience with their wheelbarrow, investing in a permanent solution becomes the clear choice.
Let’s look at who each option typically suits best:
- Occasional User, Budget-Conscious: If you only use your wheelbarrow a few times a year and want the lowest upfront cost, patching might be sufficient. However, be prepared for potential repeat repairs.
- Frequent User, Time-Sensitive: If your wheelbarrow is an essential tool for daily chores or a demanding hobby, a foam-filled or solid tire is ideal. The initial investment pays off by saving you time and frustration. A foam-filled tire offers a good balance between performance and convenience, closely mimicking a pneumatic tire’s ride.
- DIY Enthusiast, Seeking Durability: If you don't mind a bit of a wrestling match with installation and want the absolute toughest solution, a solid rubber or polyurethane tire is the ultimate commitment to flat-proofing.
Decision Guide: Choosing Your Best Path
Here’s a way to think through your options:
- Assess Your Usage: How often do you use your wheelbarrow? Daily, weekly, or seasonally?
- High Frequency: Lean towards foam-filled or solid tires.
- Low Frequency: Patching or sealant might suffice, but consider the long-term value of a solid tire.
- Consider Installation Effort: Are you comfortable with tools and a bit of physical labor?
- Yes: Foam-fill or solid tire replacement is doable.
- No: You might prefer sealant or getting professional help for solid tire installation.
- Evaluate Your Budget: What's your spending limit?
- Very Low: Patch kits are cheapest, but least reliable long-term.
- Moderate: Sealant is a step up, or a basic pneumatic tire with a patch.
- Higher Investment for Long-Term Gain: Foam-filled or solid tires are the most expensive upfront but offer the best value over time.
If your goal is to eliminate flats entirely and minimize ongoing maintenance, the decision naturally points towards a foam-filled or a solid rubber tire. This eliminates the risk of punctures, which can sideline your work when you least expect it.
When Installation Gets Tough: Tips and Help
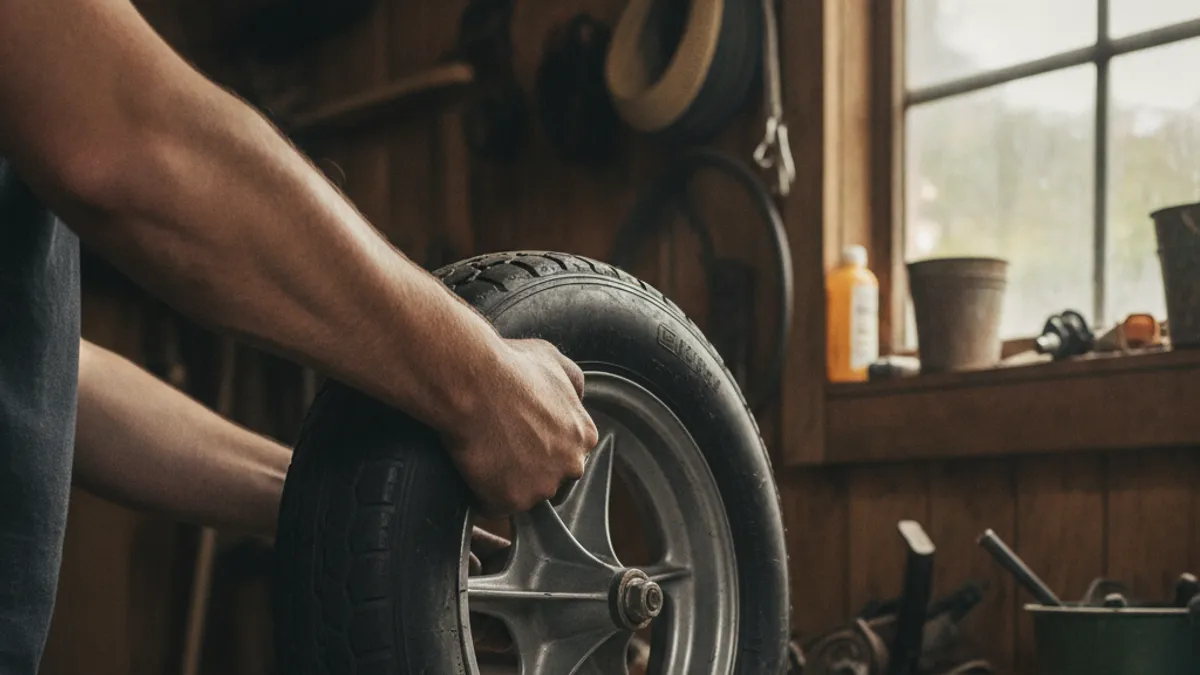
Installing solid tires, or even getting pneumatic tires back on rims, can be surprisingly tough. The rubber can be stiff, and rims can have tight tolerances. You might find yourself fighting to get that last bit of tire bead over the rim.
What can help?
- Soapy Water: A liberal application of dish soap and water on the tire bead and rim can act as a lubricant, making it easier to slide the tire into place.
- Tire Levers: Invest in a good set of sturdy tire levers, especially those designed for heavier-duty applications. They provide the leverage you need.
- Heat: Gently warming a solid rubber tire with a heat gun can make it more pliable, allowing it to stretch more easily over the rim. Be cautious not to overheat or scorch the rubber.
- Proper Inflation (for pneumatic): When remounting pneumatic tires, ensuring the tube isn't pinched is key. Inflate the tube slightly first to give it some shape, then work the tire onto the rim.
If you're struggling, don't hesitate to seek help. Many bicycle shops or small engine repair services can perform tire changes or installations for a reasonable fee. This is especially true if you've purchased a complete wheel assembly, which simplifies installation significantly.
Common Installation Mistakes to Avoid
A few common errors can lead to frustration or damage during installation:
- Pinching the Inner Tube: This is the most frequent mistake when reinstalling pneumatic tires. The tube can get caught between the tire bead and the rim, leading to an immediate leak or a failure down the line. Always check that the tube is tucked neatly inside the tire, not trapped under the bead.
- Using the Wrong Tools: Trying to force a tire on or off with insufficient leverage can damage both the tire and the rim, or even cause injury. Using appropriate tire levers or pry bars is essential.
- Not Seating the Bead Properly: For pneumatic tires, ensure the bead is seated evenly all around the rim before inflating to full pressure. If one side is higher than the other, it can lead to an unbalanced wheel or a leak.
- Over-Inflating: Always check the recommended tire pressure for your wheelbarrow. Over-inflation can put undue stress on the tire and rim. Manufacturer specifications for tire pressure often range from 20 to 30 PSI.
Making the Smart Choice for Your Wheelbarrow
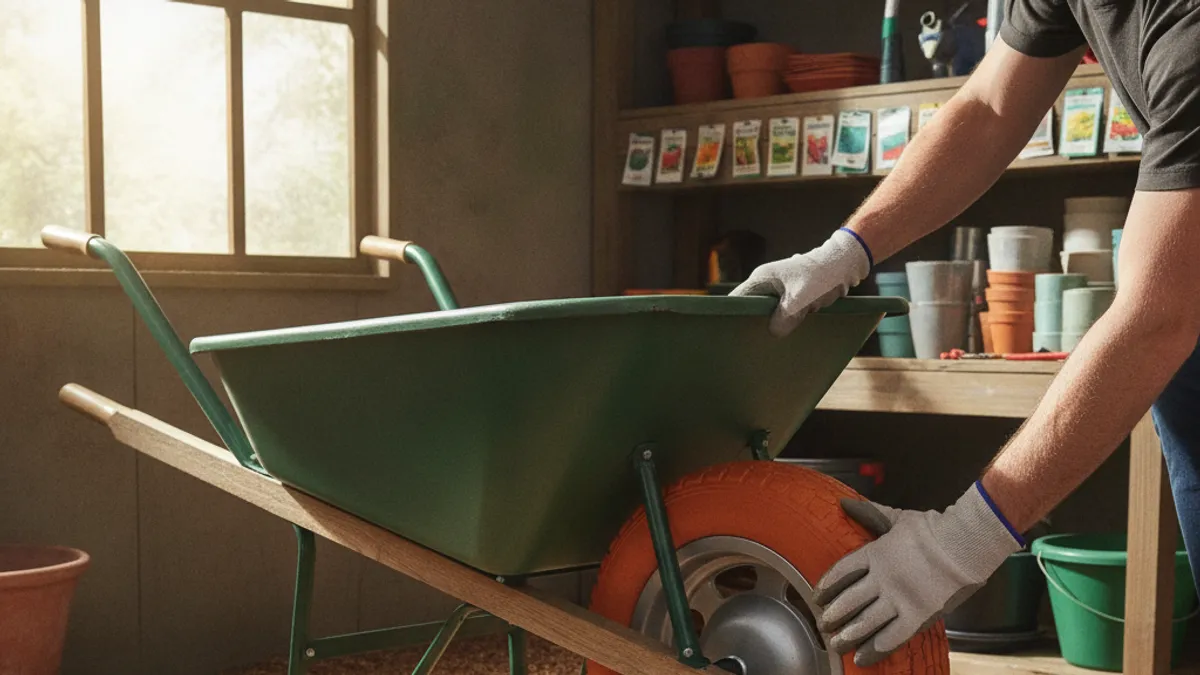
Choosing to make your wheelbarrow tire flat-free is an investment in convenience, reliability, and efficiency. While patching might seem like the easiest fix in the moment, it rarely solves the problem permanently. The ongoing struggle with flats can derail projects and add significant frustration to your workload.
For most users who rely on their wheelbarrow for regular tasks, the long-term benefits of a foam-filled or solid tire outweigh the upfront cost and installation effort. Think about the time saved by not having to deal with repairs, the reliability of knowing your wheelbarrow is always ready, and the sheer convenience of eliminating a persistent problem. It's about making your tools work for you, not against you.