Learning how to make simple paper daffodils is a rewarding way to bring a touch of eternal spring into your home. This craft project requires only basic materials and produces charming, long-lasting flowers that brighten any workspace or tablescaping arrangement.
Gardeners often enjoy this activity when the weather is too cold for planting or when they are finishing up a spring start-up for their outdoor equipment. As of 2026, many DIY enthusiasts are turning toward paper crafts as a sustainable, low-cost hobby. We have compiled these steps based on general craft assembly techniques to help you create professional-looking blooms.
Quick Answer
You can learn how to make simple paper daffodils using basic cardstock. Cut six petal shapes from yellow paper and one rectangular strip for the center. Roll the center strip into a small tube.
Glue the yellow petals to the base of the tube. Finally, attach a green pipe cleaner for the stem.
Why Paper Daffodils Are a Perfect Spring DIY
Paper flowers offer a creative outlet that remains vibrant regardless of the growing season outside. Unlike fresh blooms that wilt, your paper creation will maintain its structure and color indefinitely. It is a fantastic project to tackle after you finish simple DIY repairs around the house.
Image source: Bing (Web (fair-use with source credit))
Many people enjoy making these during the early months of the year. It provides a sense of seasonal transition while your garden is still dormant. If you are preparing your landscape, you might also be considering the right fertilizer to use once the soil warms up.
What You’ll Need to Get Started
Gathering your tools ahead of time ensures that your workflow remains uninterrupted once you begin folding and gluing. A well-prepared workspace is just as important as the materials themselves. You may find that organizing your craft zone feels as satisfying as a structured grow tent setup.
Image source: Bing (Web (fair-use with source credit))
| Material | Primary Purpose |
|---|---|
| Yellow Cardstock | Forms the main perianth petals. |
| Orange Paper | Creates the iconic center corona. |
| Pipe Cleaners | Provides a bendable green stem. |
| Glue Stick | Secures paper without excessive moisture. |
Selecting the Best Paper for Realistic Petals
The secret to realistic paper flowers lies in the weight and texture of your paper. Cardstock holds its shape well, which is vital for the structure of the trumpet, but it can be rigid for delicate petals. Tissue paper or lightweight construction paper works better if you want a softer, more natural look.
Choose paper with matte finishes to mimic the natural texture of petals. Glossy paper often catches light in a way that makes the flower look artificial. If you have been looking for special considerations in your home hobby projects, you know that the right materials make a significant difference in the final product.
Preparing Your Templates and Shapes
Consistency in your petal sizing will give your final flower a balanced look. Create a simple cardboard stencil for your petal shape and trace it onto your yellow paper. Using a professional template ensures you aren't wasting paper.
Keep in mind that daffodils in nature are rarely perfect. Slightly varying the size of your petals can actually add to the realism of the finished piece. After tracing, cut your shapes carefully, keeping your scissors sharp to avoid fraying the edges of the paper.
Step-by-Step: Forming the Classic Trumpet Center
The center trumpet, also known as the corona, is the defining feature of a daffodil. Take your orange rectangle and roll it around a pencil to create a cylinder shape. Glue the edge of the paper to secure the cylinder in place.
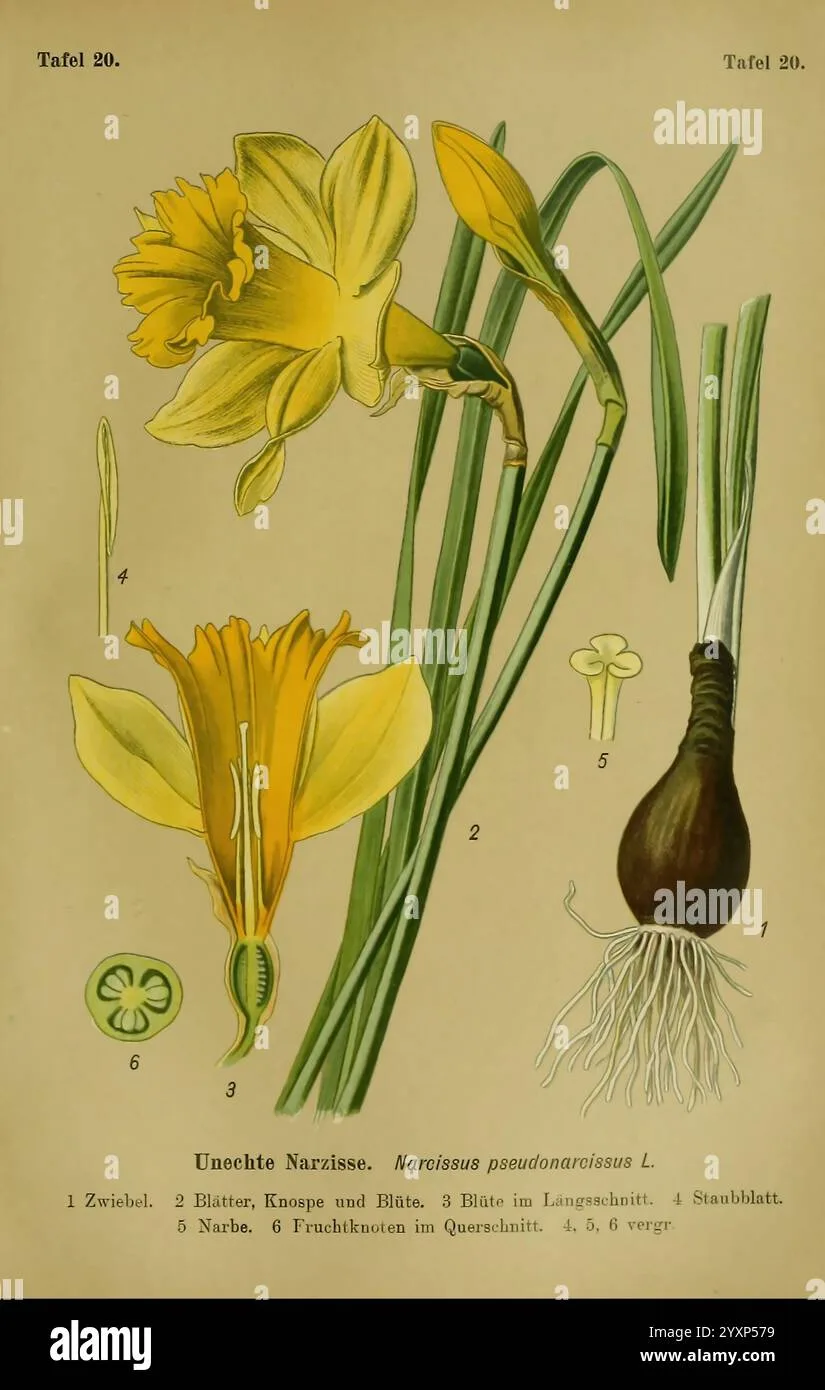
Image source: Bing (Web (fair-use with source credit))
Once the glue dries, gently flare one end of the cylinder outward with your fingers. This creates the ruffled effect characteristic of Narcissus botanical specimens. You should apply a thin layer of glue to the base of this tube before attaching it to your layer of petals.
Step-by-Step: Cutting and Curling Your Perianth Petals
Petals provide the main surface area for your paper daffodil, and curling them transforms a flat shape into a three-dimensional form. Use a standard pencil or a wooden dowel to create a gentle curve along the edges of every petal. You will notice that by curling the tip of the paper outward, you mimic the organic, wind-swept look of flowers found in nature.

Image source: Wikimedia Commons / Unknown artistUnknown artist
Hold the petal against the pencil and press firmly with your thumb as you pull the paper across the barrel. This simple technique, often used in professional floral papercraft, creates a permanent memory in the material. Make sure you don’t press so hard that you crease the cardstock permanently, as you want a fluid, soft bend rather than a sharp fold.
Assembling the Bloom for Maximum Stability
A secure bloom requires a balanced application of adhesive between the six petals and the central trumpet. Start by arranging your petals in an overlapping offset pattern to ensure the flower looks full from every side. You might find that working in stages allows you to manage the drying time of your glue more effectively.
If you struggle with alignment, imagine the center of the flower as a clock face. Place petals at the 12, 4, and 8 o’clock positions first to build a solid foundation. Then, fill in the gaps at the 2, 6, and 10 o’clock spots to create a dense, symmetrical display.
Adding Stems and Creating Floral Movement
The stem bridges the gap between your handcrafted bloom and the container you plan to use for display. Using green-coated pipe cleaners allows you to bend the flower head to face different directions, creating a much more natural arrangement. You can even consider using a lawn roller if you needed to level the ground for a real garden display later.
Image source: Openverse / Jelleff's, American, 1910, 1979
To attach the stem securely, poke a small hole through the center of your base petals before gluing the trumpet on top. Run the pipe cleaner through the hole, creating a small loop or knot inside the trumpet to prevent it from sliding out. Wrapping the base with a little bit of green floral tape will hide the connection point completely.
Three Expert Techniques to Make Paper Look Real
Real flowers achieve beauty through variation and subtle shifts in color or form. One expert approach involves using a soft, dry pastel to shade the base of the petals toward the center. This slight darkening adds depth that makes the light yellow cardstock appear much more like the soft tissue of a living bloom.
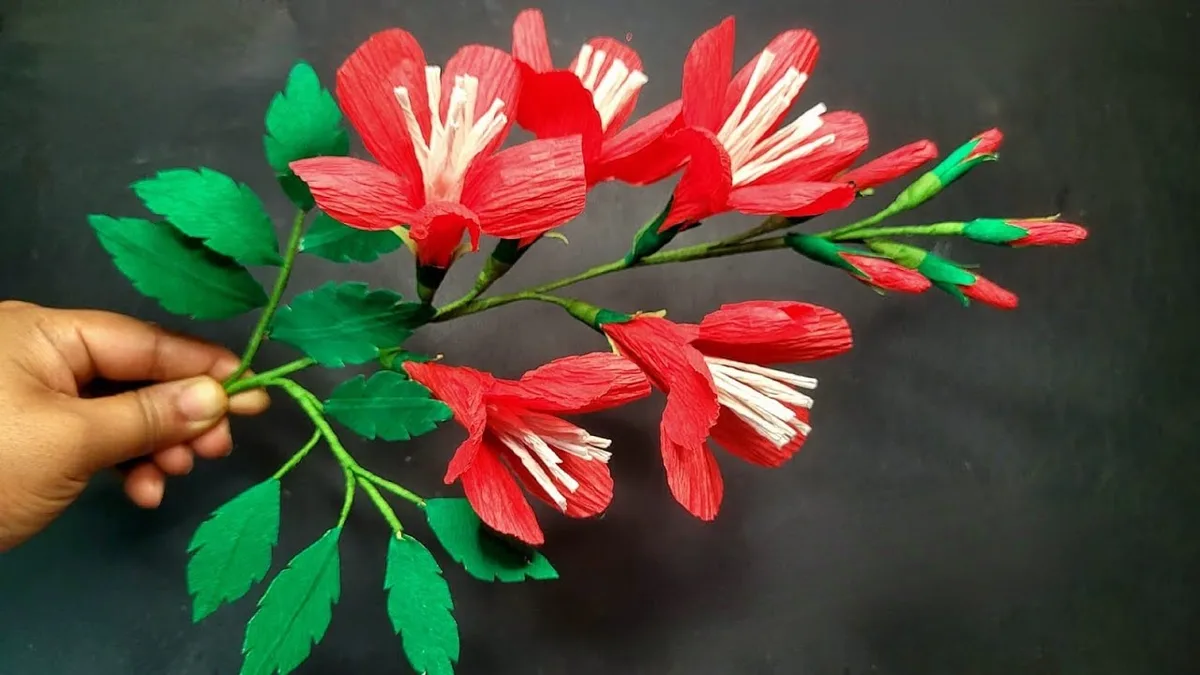
Image source: Bing (Web (fair-use with source credit))
Another technique involves subtle folding of the petal edges. Instead of a single outward curve, try adding a tiny secondary inward fold to the very tip. It creates a crisp, professional finish that elevates the project beyond basic school-level crafts.
You wouldn't want to use these for heavy-duty work, similar to how cheap grow tent kits have limitations compared to high-end versions.
Common Crafting Mistakes and How to Fix Them
Accidentally tearing your paper is the most frequent setback, but it is rarely a reason to scrap the entire flower. If a petal tears at the base, you can reinforce the connection using a small piece of matching cardstock glued to the back as a splint. You will find that masking such repairs is quite easy once the flower is angled against its stem.
Another common mistake involves using too much glue, which leads to warping and visible, shiny spots. Use a fine-tipped glue applicator or apply a very thin layer to a scrap piece of paper first. If your paper begins to bubble, lay it flat under a heavy book for ten minutes to reset the fibers before continuing your assembly.
Practical Use Cases for Your Paper Bouquet
Paper daffodils serve as excellent decor for indoor events where fresh flowers might trigger allergies or prove too costly. Because these blooms are scentless, they are popular for tablescaping at events where food is served. You might arrange them in a ceramic vase to add a pop of color to a kitchen island or an entryway console.
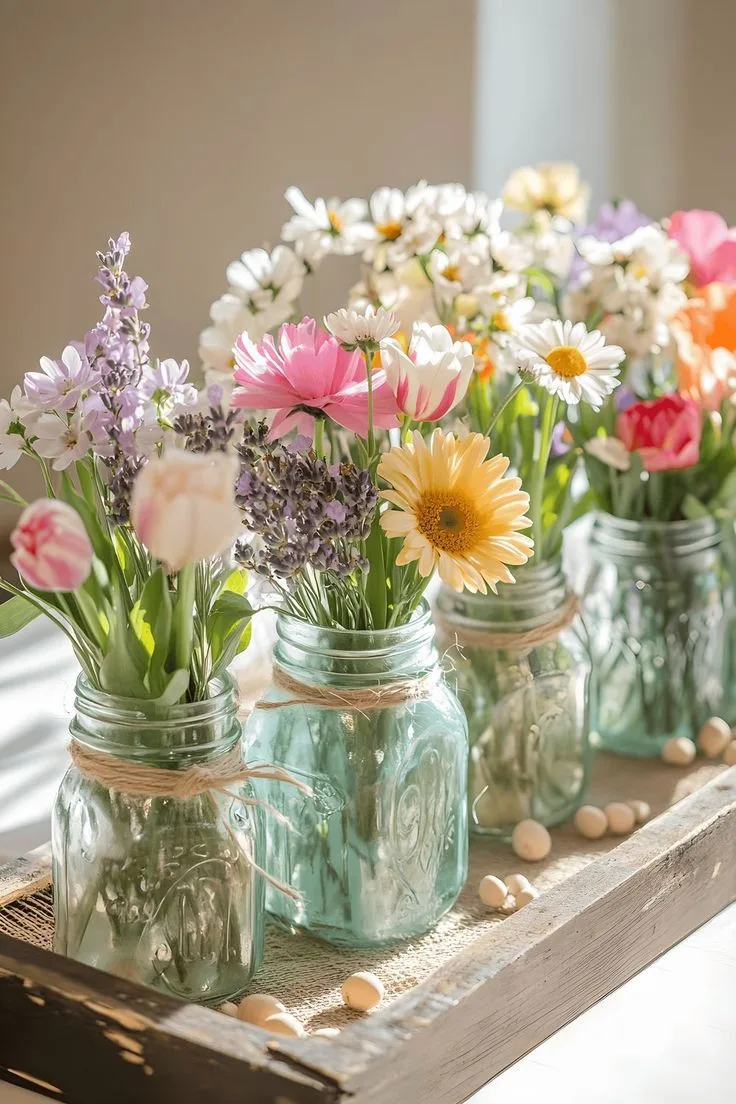
Image source: Bing (Web (fair-use with source credit))
They also work well as custom gift toppers for birthdays or spring holidays. Simply tie a single stem to a gift box with twine for a thoughtful, handmade touch. If you prefer to focus on your outdoor space during the growing season, remember that managing garden weeds requires consistent seasonal focus.
Safety Considerations for Paper Craft Supplies
Most paper crafting materials like cardstock and non-toxic glue bars are safe for household use. However, you should always keep sharp tools like craft knives and scissors out of reach of young children. If your project involves floral wire or pipe cleaners, ensure the cut ends are tucked inward to prevent accidental scratches.
For those curious about the plants themselves, remember that live Narcissus bulbs contain alkaloids like lycorine, which can be toxic to pets and humans if ingested. Using paper versions is a safe, family-friendly way to enjoy the aesthetics of the flower without the risk. Per general household safety guidelines, always supervise children during any project involving small parts that pose a choking hazard.
Frequently Asked Questions About Daffodil Crafting
How long does it take to make one paper daffodil?
Most crafters find that a single daffodil takes between 10 and 15 minutes to assemble once the shapes are cut. Initial attempts might take longer as you get comfortable with the folding technique. Efficiency naturally improves as you build your memory for the process.
Is cardstock better than construction paper for this project?
Cardstock provides superior structural integrity and longevity for your finished flowers. It resists sagging better than thinner construction paper when the material is manipulated into 3D shapes. If you need a softer look for a large volume of flowers, standard construction paper remains a viable, lower-cost alternative.
Can I use hot glue instead of a glue stick?
You can use a low-temperature hot glue gun for faster drying times during the assembly phase. Be cautious, as hot glue creates more volume and might show through thinner paper layers. A glue stick is generally safer for beginners and provides a cleaner, flatter surface.
Do I need to water or mist my paper flowers?
Paper flowers should never be exposed to moisture or direct water. Humidity can cause the paper to warp and the adhesive to degrade over time. Display them in a dry, room-temperature environment to keep them in top condition for years.
How can I make the stems stand up straight in a vase?
If your stem feels too floppy, you can insert a rigid floral wire inside the pipe cleaner or use two pipe cleaners twisted together. Placing decorative filler or pebbles at the bottom of your vase will also provide the necessary lateral support. Adding a heavy base to your container ensures the bouquet won't tip over easily.