
When you're ready to paint your fence, especially if you're aiming for a smooth, professional finish with a sprayer, getting the paint consistency just right is key. Knowing exactly how to mix fence paint for spraying can make the difference between a beautiful, durable coat and a frustrating mess of drips, clogs, and uneven coverage. This isn't just about thinning paint; it's about understanding your materials and tools for optimal results.
Manufacturer specifications for many exterior paints, like those from Sherwin-Williams or Behr, often provide guidance on thinning for spray application, but the exact ratio can vary. Factors such as the specific paint's formula and the type of sprayer you're using will dictate the precise dilution needed. Getting this balance wrong is a common pitfall that can lead to costly mistakes and wasted time.
Why Mixing Fence Paint for Spraying Matters

Getting the paint mix right is more than just a suggestion; it's fundamental to a successful fence painting project. If the paint is too thick, your sprayer might clog, leading to inconsistent spray patterns or even damage to the equipment. Too thin, and you'll experience excessive drips, runs, and poor coverage, meaning you'll likely need more coats than anticipated. Aggregate buyer feedback often highlights frustration with sprayers malfunctioning or paint job quality suffering due to improper thinning.
Ultimately, the goal is a smooth, even finish that protects your fence and looks great. Achieving this requires understanding the relationship between paint viscosity, your specific sprayer, and the environment. It's about making your tools work with the paint, not against it.
Understanding Paint Viscosity for Sprayers

Paint viscosity is essentially a measure of how thick or thin a liquid is. For spraying, it dictates how easily the paint flows through your sprayer and how well it atomizes, or breaks down into fine droplets, as it leaves the nozzle. Think of it like honey versus water; they flow very differently.
What is Paint Viscosity?
Paint viscosity is a liquid's resistance to flow. In simpler terms, it's how thick or runny the paint is. This property is critical when you're using a paint sprayer because the sprayer is designed to handle liquids within a specific range of thickness.
Why is the Right Viscosity Crucial for Spraying?
When paint is properly thinned to the correct viscosity, it flows smoothly through the sprayer's internal components and exits the nozzle as a fine, consistent mist. This allows for even application across the fence surface. If the paint is too thick, it can overwhelm the sprayer's pump, leading to sputtering, clogs, or a weak spray. Conversely, paint that is too thin can create an overly wet spray pattern, resulting in runs and drips, and potentially wasting paint by making it overspray too heavily.
Manufacturer specs often recommend a specific viscosity range for spraying certain paint types.
Types of Fence Paint and Their Mixing Needs
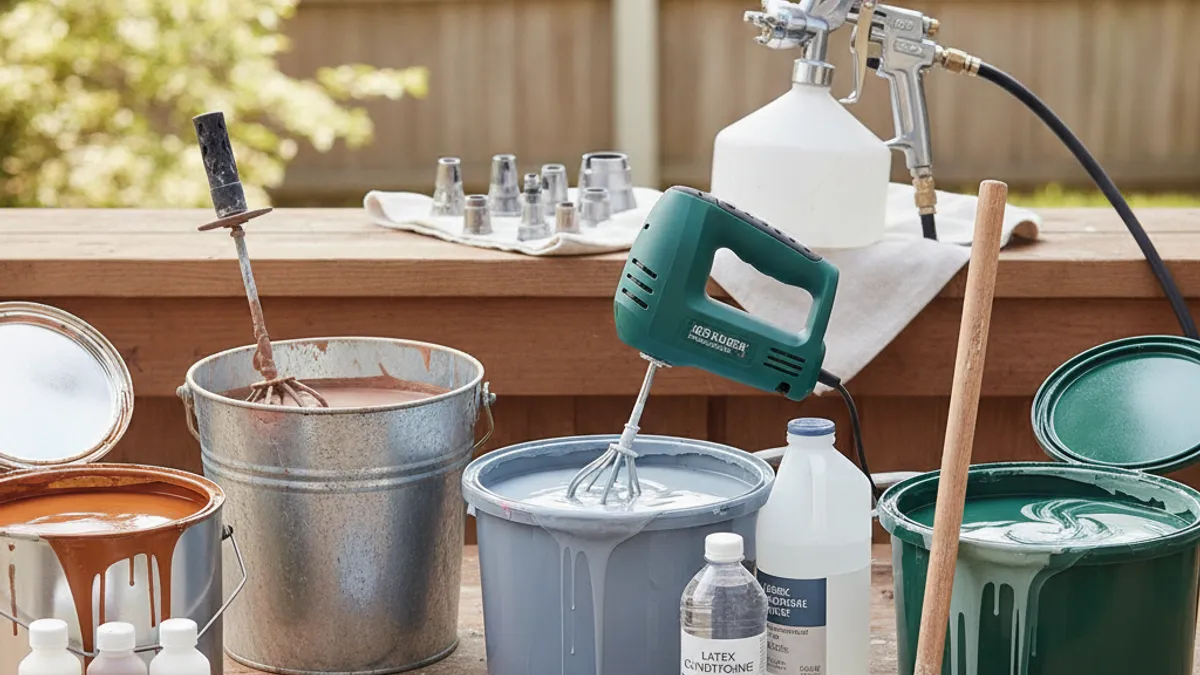
Not all fence paints are created equal, and their base ingredients significantly impact how they should be thinned for spraying. Understanding your paint type is the first step in knowing what thinner to use, if any.
Latex and Acrylic Paints: Water-Based Dilution
Most exterior latex and acrylic fence paints are water-based. This means water is usually the go-to thinner. You can typically add a small percentage of clean water to these paints to achieve the desired spraying consistency. Always start with a very small amount, stir thoroughly, and re-check your viscosity.
Adding too much water can compromise the paint's adhesion, durability, and water resistance, affecting its ability to protect the fence over time. Per industry best practices, rarely should more than 10% water be added.
Oil-Based Paints: Solvent Thinning Explained
Oil-based paints, while less common for fences these days due to VOC regulations and cleanup challenges, require specific solvents for thinning. Mineral spirits are a common choice for many oil-based enamels and stains. Similar to water-based paints, thinning should be done incrementally and with caution. Using the wrong solvent can break down the paint's binders, leading to a failure of the coating and potential damage to your sprayer's seals.
Always refer to the manufacturer's can or SDS for the correct solvent recommendation.
Choosing the Right Paint Sprayer
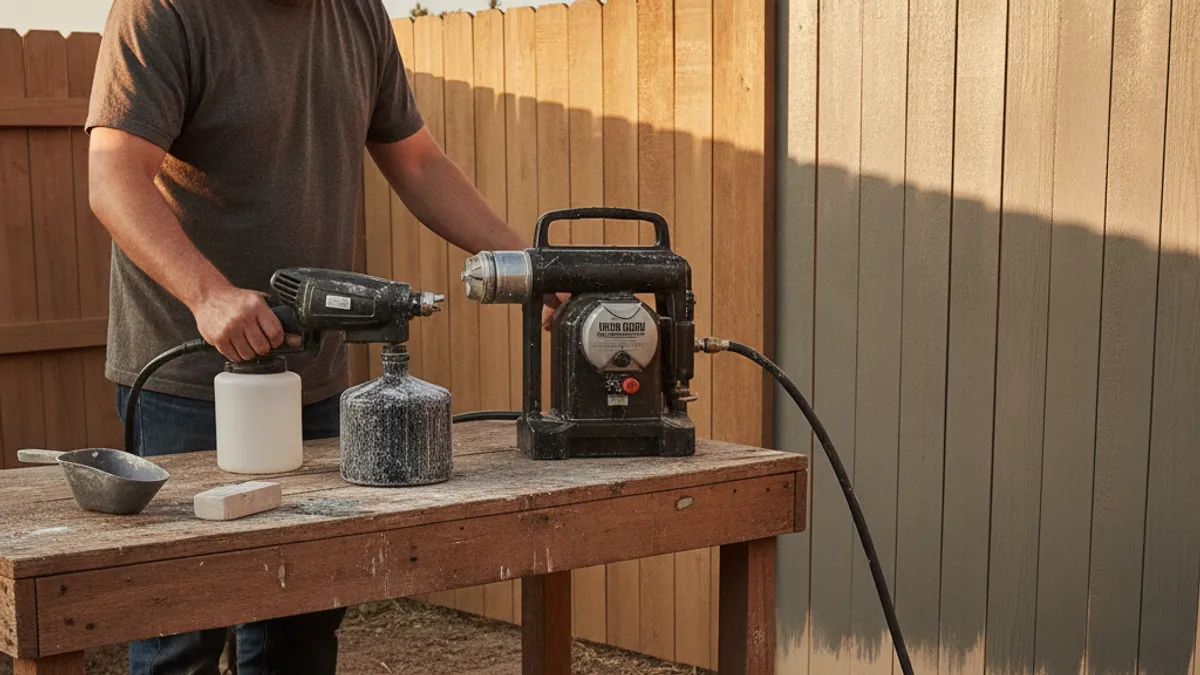
The type of paint sprayer you use plays a big role in how paint consistency affects the outcome. Different sprayers have different capabilities and requirements for paint flow.
Airless Sprayers: Power and Flow
Airless sprayers are workhorses for large projects like fences. They use high pressure to force paint through a small nozzle, creating a powerful spray. Because they operate at high pressure, they can often handle slightly thicker paint mixtures than other types. However, even with airless sprayers, thinning can be necessary for optimal atomization and to prevent excessive wear on the pump and tip.
Manufacturer specifications for airless tips, like those from Graco, often list recommended GPM (gallons per minute) flow rates that are influenced by paint viscosity.
HVLP Sprayers: Control and Finish
High Volume Low Pressure (HVLP) sprayers use a large volume of air at a lower pressure to atomize the paint. They offer more control and less overspray, making them excellent for achieving a very fine finish. However, HVLP sprayers generally require thinner paint mixtures than airless units because their lower pressure system is more sensitive to paint thickness. If you're using an HVLP sprayer for your fence, paying close attention to viscosity is even more critical.
How to Measure Paint Viscosity
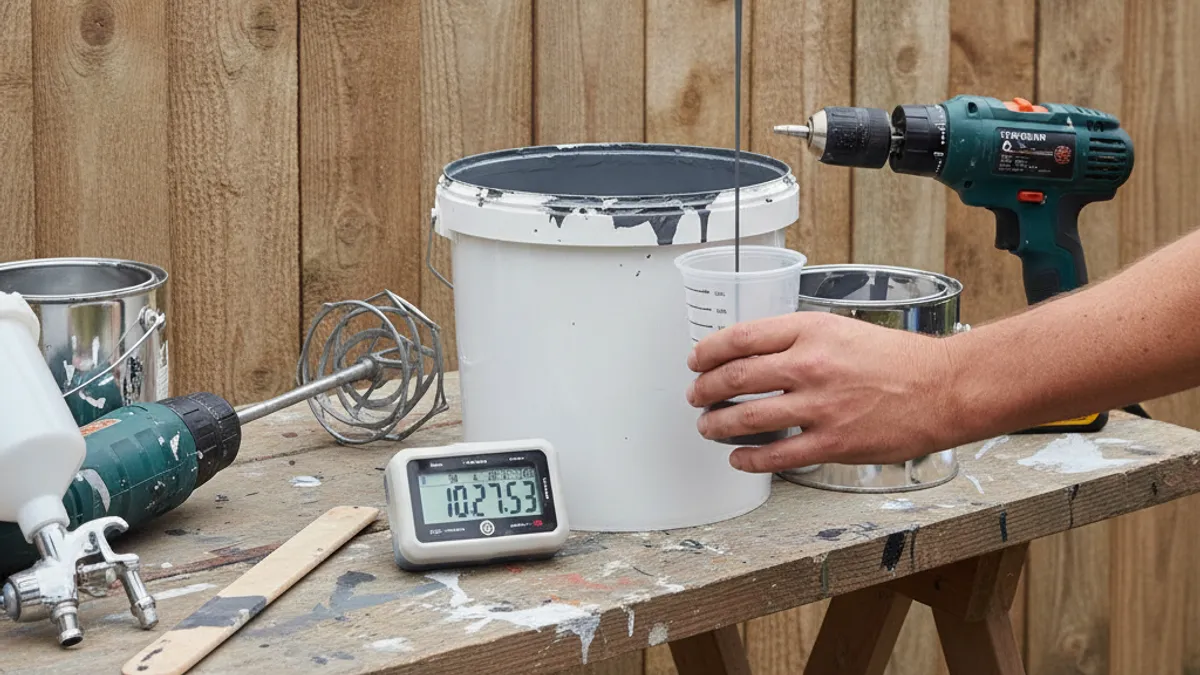
You can't just eyeball paint thickness and know if it's right for spraying. Using a dedicated tool to measure viscosity is essential for replicating the correct consistency every time.
Using a Viscosity Cup (Zahn, Ford)
A viscosity cup is a simple yet effective tool for measuring how quickly paint flows out of a small, precisely sized orifice. The most common types are the Zahn cup and the Ford cup. You simply dip the cup into the paint, fill it completely, and then time how long it takes for the stream of paint to break and stop flowing. Different cup sizes are designed for different viscosity ranges, so choosing the right one for your paint is important.
Many paint manufacturers will recommend a specific test method or cup type.
Understanding the Results (Seconds Per Cup)
The result you get is typically in seconds, representing the time it took for the paint to drain through the orifice. For example, a common recommendation might be for the paint to flow out of a #4 Ford cup in 15, 20 seconds. This measurement gives you a quantifiable target. If your paint takes much longer than the recommended time, it's too thick and needs thinning.
If it flows out too quickly, it might be too thin and could lead to overspray. This quantitative method helps you achieve consistent results spray after spray.
The Step-by-Step Guide to Mixing Fence Paint for Spraying
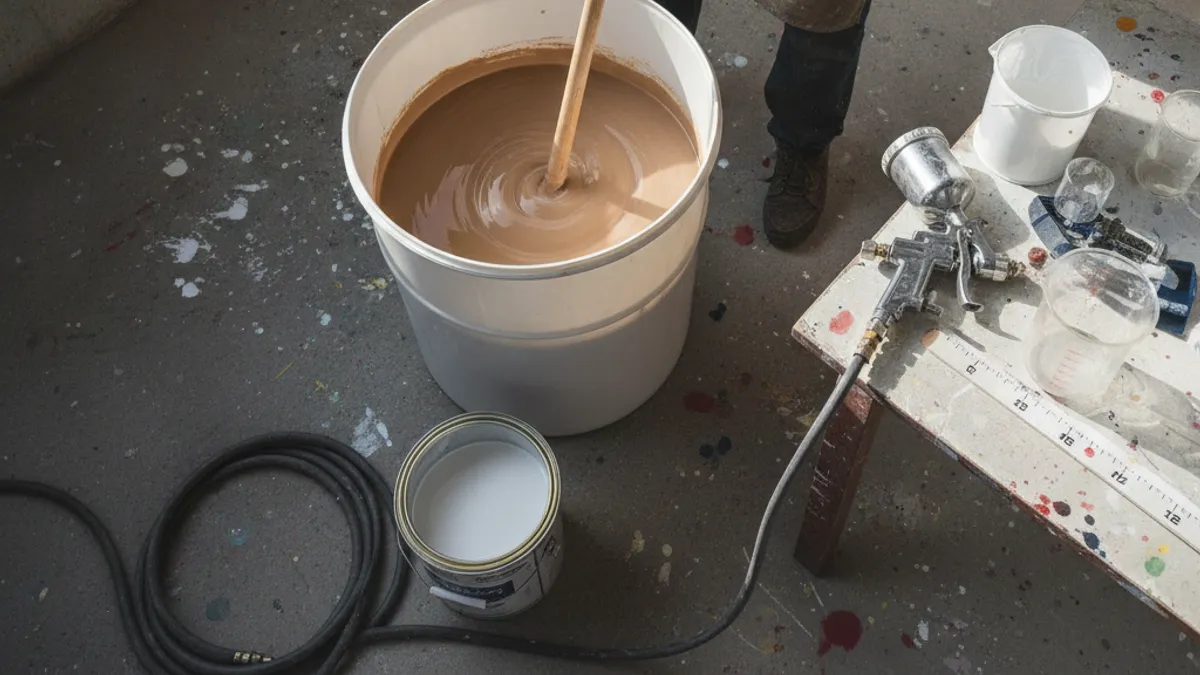
Following a structured process ensures you get the paint viscosity just right. This isn't complicated, but it does require attention to detail and a systematic approach. Having a plan prevents guesswork and potential mistakes.
Step 1: Read the Paint Can Label
Your paint can is your first and most important guide. Most manufacturers provide specific instructions for spray application, including recommended thinning percentages and sometimes even acceptable viscosity ranges. These instructions are based on the paint's formulation and are crucial for achieving good results without compromising the paint's integrity. Pay close attention to any warnings about over-thinning.
Step 2: Gather Your Tools (Paint, Thinner, Stirrer, Cup)
Before you start mixing, have everything ready. You'll need the paint itself, the appropriate thinner (water for latex/acrylic, solvent for oil-based), a sturdy stirrer, and your viscosity measuring tool, typically a Ford or Zahn cup. Having your sprayer set up and ready nearby can also help visualize the end goal.
Step 3: Perform a Test Mix
Start with a small amount of paint in a separate, clean container. This test batch allows you to experiment without diluting your entire can if you get it wrong. Add a very small amount of thinner, often less than 5% of the paint volume to start. Stir the mixture gently but thoroughly for at least a minute.
Step 4: Add Thinner Incrementally and Stir
Once you've added a small amount of thinner to your test batch, stir it vigorously for a full minute or two. Ensuring the thinner is fully incorporated is vital. You want a homogenous mixture, not just a layer of thinner on top. If the paint still seems too thick, add another small increment of thinner, stirring again.
Step 5: Test Viscosity Again
Now, use your viscosity cup to measure the thinned paint. Fill the cup completely, and time how long it takes for the paint to drain completely through the orifice. Compare this time to the manufacturer's recommended range or a known good time for your sprayer type.
Step 6: Adjust As Needed
If the paint drains too quickly, it's too thin. You might need to add a bit more paint to the test batch or, if you have a large batch ready, accept that it's slightly thinner and adjust your spraying technique. If it drains too slowly, add a tiny bit more thinner and stir again, then re-test. Repeat this process until you achieve the target viscosity.
Common Mixing Mistakes to Avoid
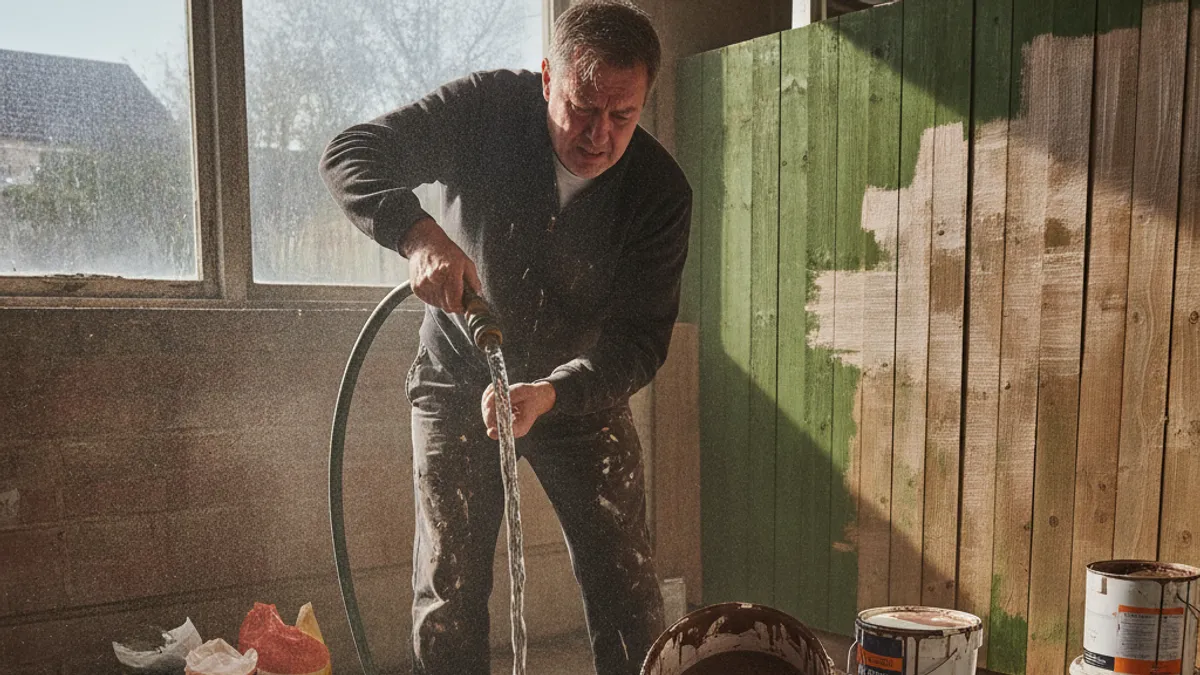
Even with the best intentions, some common errors can derail your efforts. Knowing these pitfalls can help you steer clear of them and ensure a better painting experience.
Over-Diluting the Paint
This is probably the most frequent mistake. Adding too much thinner weakens the paint's binders, reducing its adhesion, durability, and ability to hide the surface. A common signal that paint is over-diluted is when it runs excessively down the fence or creates a very thin, almost transparent film that doesn't offer much protection. Some buyers report needing to repaint within a year due to premature coating failure caused by over-thinning.
Using the Wrong Thinner
Forgetting to check if your paint is water-based or oil-based is a big one. Using water on an oil-based paint won't mix the two, and using a solvent on a latex paint can cause it to "fisheye" or clump, ruining the finish and potentially damaging your sprayer. Always confirm the paint type and its specified thinner, typically found on the product label.
Inadequate Stirring
Simply swirling the thinner around won't do. Thorough stirring for at least a minute or two is necessary to ensure the thinner is fully integrated into the paint. Without proper stirring, You might get a mix that's too thick in some areas and too thin in others, leading to inconsistent spraying and an uneven finish.
Skipping the Viscosity Test
Trusting your gut without measuring is risky. Viscosity cups provide an objective measurement that removes guesswork. Relying on feel alone can lead to inconsistencies, especially if you're trying to match a previous mix or work with different paint batches. This test is simple, fast, and makes a huge difference.
Spraying Technique for a Smooth Finish
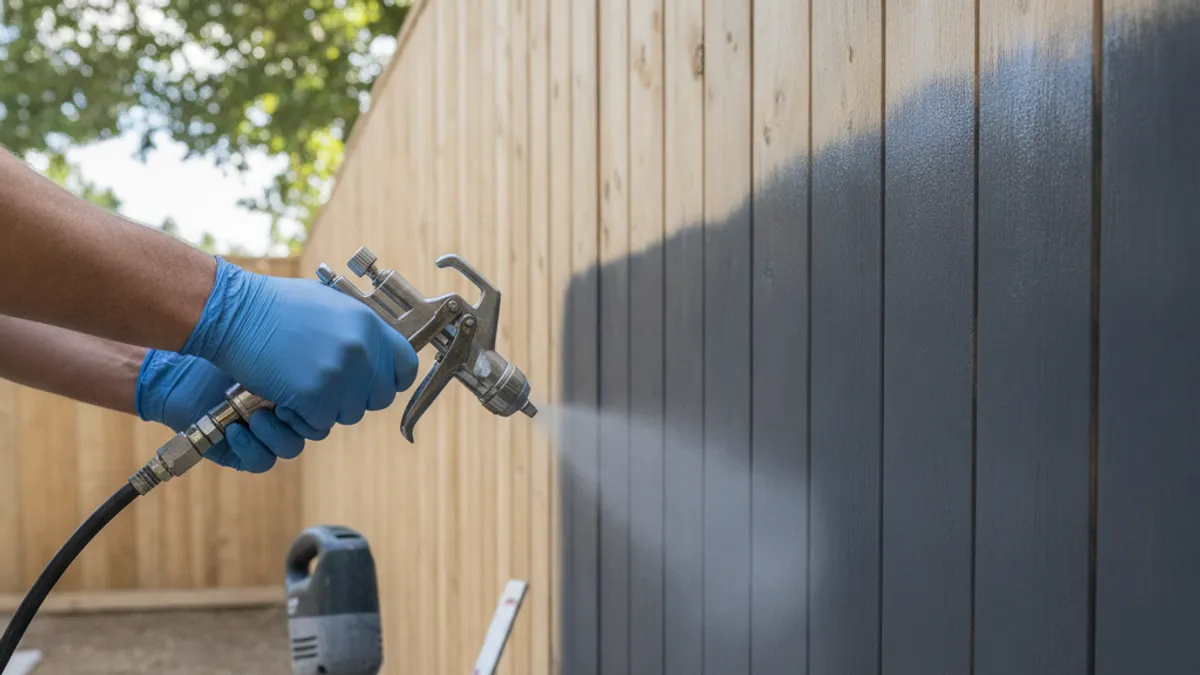
Once your paint is mixed to the right consistency, how you apply it with the sprayer is just as important for achieving that professional look. Good technique ensures even coverage and avoids common spraying blemishes.
Sprayer Settings and Nozzle Selection
Your sprayer's settings, particularly the pressure and the nozzle size, need to be appropriate for your paint's viscosity and the fence material. A common recommendation for airless sprayers is to set the pressure just high enough to achieve a clear, well-defined spray pattern without "tails" or a fuzzy edge. For HVLP, you'll focus on balancing air and fluid flow. The nozzle orifice size, like a 0.015" or 0.017" for many fence paints with an airless sprayer, is also critical; a tip that's too small for the paint's viscosity can lead to clogs.
Proper Spraying Distance and Motion
Hold the spray gun at a consistent distance from the fence, typically 10, 12 inches for an airless sprayer. Move your arm and the gun in smooth, parallel strokes, overlapping each stroke by about 50% to ensure complete coverage without holidays (missed spots). Start and stop the spray trigger before and after your stroke, not while moving over the fence surface itself, to avoid heavy spots at the beginning and end of passes.
Cleaning Your Paint Sprayer After Use
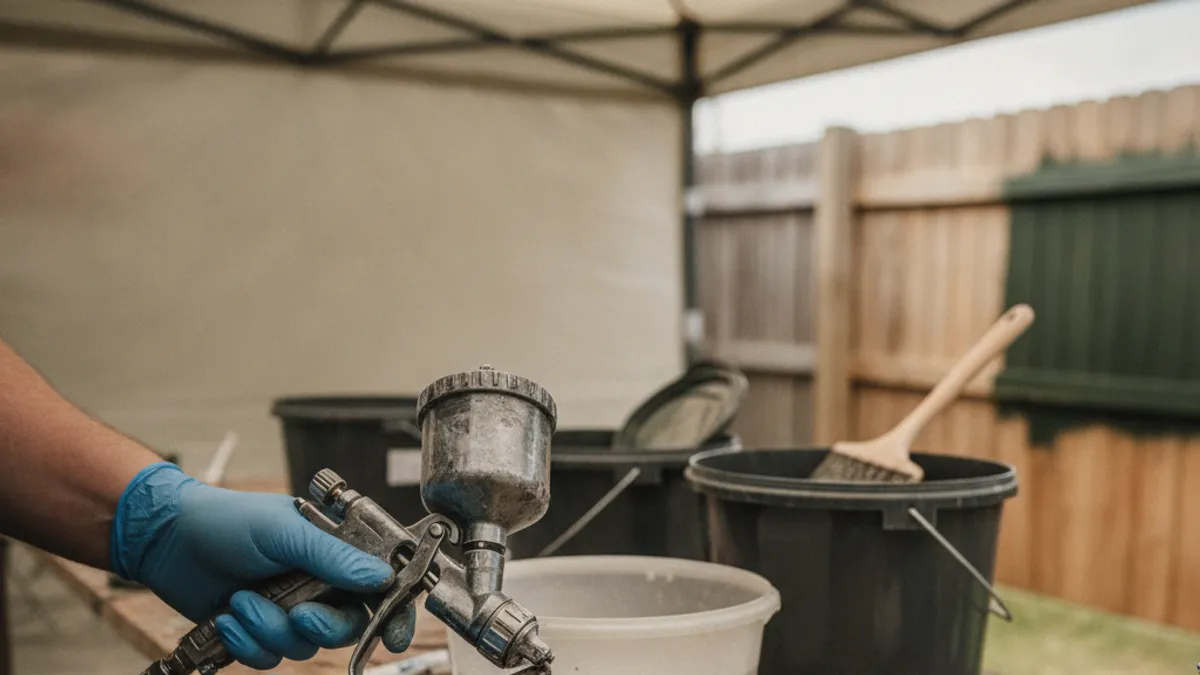
This might seem like an afterthought, but it's crucial for the longevity of your sprayer and for future projects. If paint dries inside your sprayer, it can cause blockages that are difficult or impossible to clear, often rendering the tool useless.
Immediately after you finish spraying, flush the sprayer thoroughly with the appropriate cleaning solution. For water-based paints, this means clean water. For oil-based paints, you'll need the recommended solvent. Run the cleaning fluid through the system until the spray pattern is clean and clear.
Disassemble and clean any parts that came into contact with paint according to the manufacturer's instructions.
Troubleshooting Common Spraying Issues
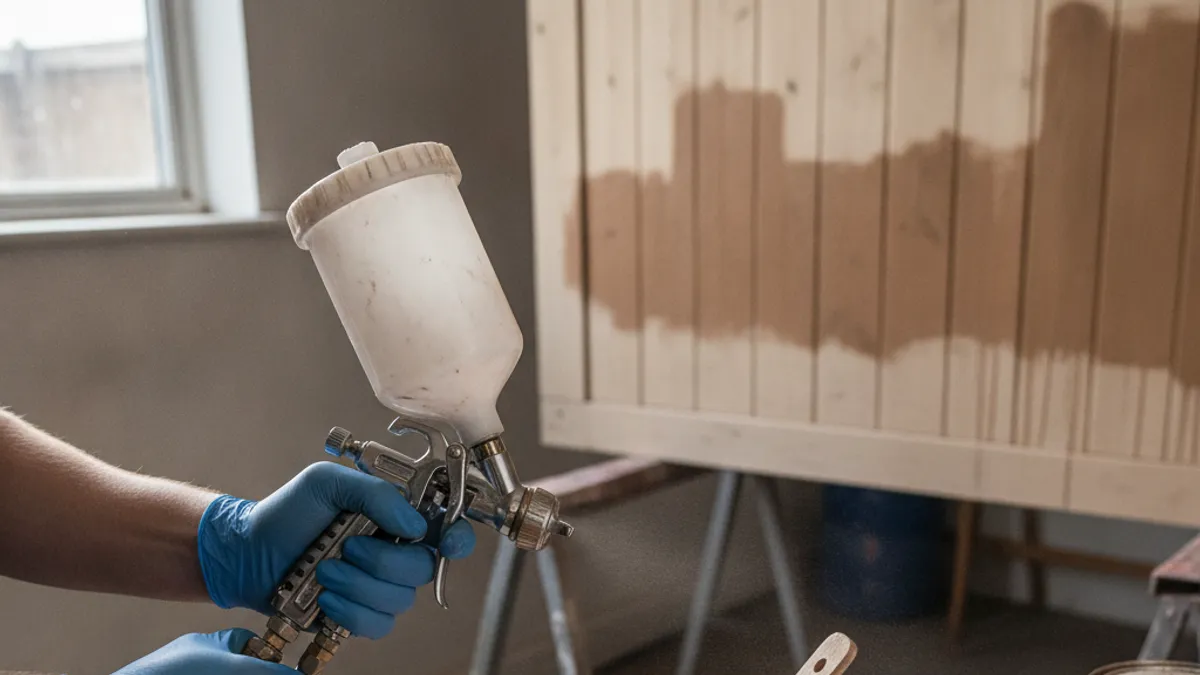
Even when you've followed all the steps, you might encounter issues. Knowing how to diagnose and fix them quickly will save you time and frustration.
Paint Clogging the Sprayer
This usually means the paint is too thick for the sprayer or nozzle, or there's debris in the system.
- If it happens during spraying: Stop, relieve pressure, and check the spray gun's inlet screen and the nozzle for clogs. Clean them thoroughly. If the paint is still too thick, you may need to thin it further (re-testing viscosity!).
- If it happens intermittently: Ensure your paint is well-strained before putting it in the sprayer, and that you're using the correct nozzle size for the paint viscosity.
Runs and Drips on the Fence
This is a classic sign of paint being too thin, or the application being too heavy in one spot.
- Too thin: You might have over-diluted the paint. In some cases, if it's only slightly too thin, you can try adding a bit more unthinned paint to your mix. Otherwise, you may need to accept a lighter coat and apply a second one.
- Application too heavy: This happens when you spray too close to the fence, stop and start your spray stroke on the surface, or apply too much paint in one pass. Focus on keeping your gun at a consistent distance and moving in smooth, even strokes, overlapping each time.
Uneven Coverage
An uneven finish can stem from a few things. It might be an inconsistent spray pattern from the nozzle, or the paint itself might not be mixing properly.
- Spray pattern issues: Check your nozzle for wear or blockages. A worn tip can cause poor atomization and uneven laydown.
- Paint consistency: Ensure you've stirred and tested the viscosity properly. If paint separates in the can during a long project, stir it periodically. A uniform viscosity is key to a uniform spray.
When to Consider Fence Stain Instead
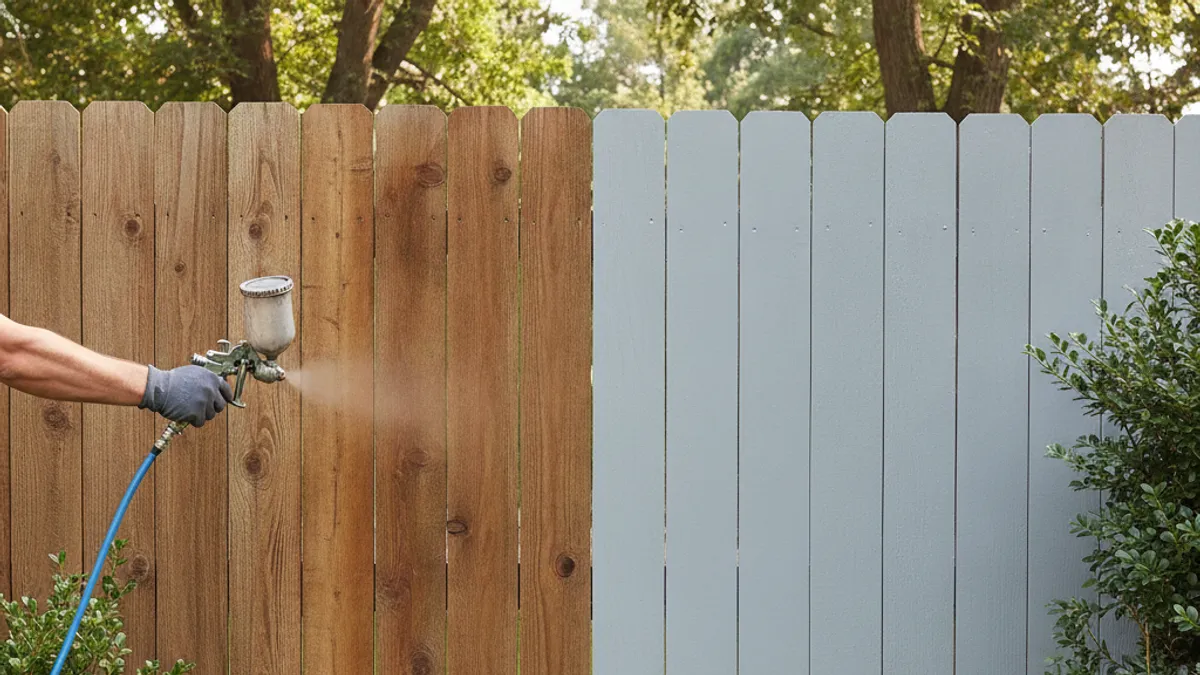
While this guide focuses on mixing fence paint for spraying, it's worth touching on when a fence stain might be a better choice. Stains penetrate the wood rather than forming a surface film like paint does. This can offer a more natural look, especially for wooden fences, and sometimes requires less maintenance if the wood grain should show through.
Stains typically have different viscosity requirements for spraying compared to paints. Many oil-based and some water-based stains are designed to be sprayed directly or with minimal thinning. It's essential to check the product label, as over-thinning a stain can diminish its protective qualities. If you're aiming for a more natural wood finish or a project where the wood grain is a key aesthetic feature, a stain might be worth exploring.
For a complete overhaul of fence appearance or for vinyl fences, paint is usually the preferred option.
Spraying Technique for a Smooth Finish
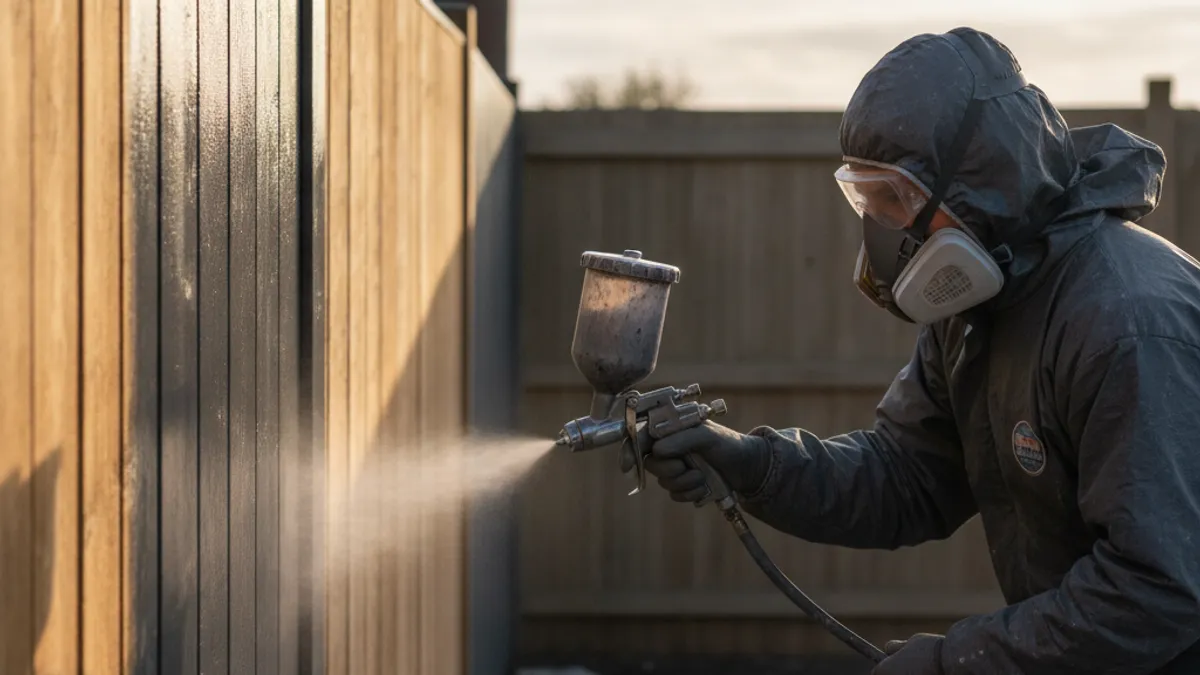
Once your paint is mixed to the right consistency, how you apply it with the sprayer is just as important for achieving that professional look. Good technique ensures even coverage and avoids common spraying blemishes.
Sprayer Settings and Nozzle Selection
Your sprayer's settings, particularly the pressure and the nozzle size, need to be appropriate for your paint's viscosity and the fence material. A common recommendation for airless sprayers is to set the pressure just high enough to achieve a clear, well-defined spray pattern without "tails" or a fuzzy edge. For HVLP units, you'll focus on balancing air and fluid flow. The nozzle orifice size, like a 0.015" or 0.017" for many fence paints with an airless sprayer, is also critical; a tip that's too small for the paint's viscosity can lead to clogs.
Graco, a leading manufacturer of airless sprayers, provides detailed charts for selecting the correct tip based on paint type and sprayer model.
Proper Spraying Distance and Motion
Hold the spray gun at a consistent distance from the fence, typically 10, 12 inches for an airless sprayer. Move your arm and the gun in smooth, parallel strokes, overlapping each stroke by about 50% to ensure complete coverage without holidays (missed spots). Start and stop the spray trigger before and after your stroke, not while moving over the fence surface itself, to avoid heavy spots at the beginning and end of passes. This consistent motion is what creates that uniform, factory-like finish you're aiming for.
Cleaning Your Paint Sprayer After Use
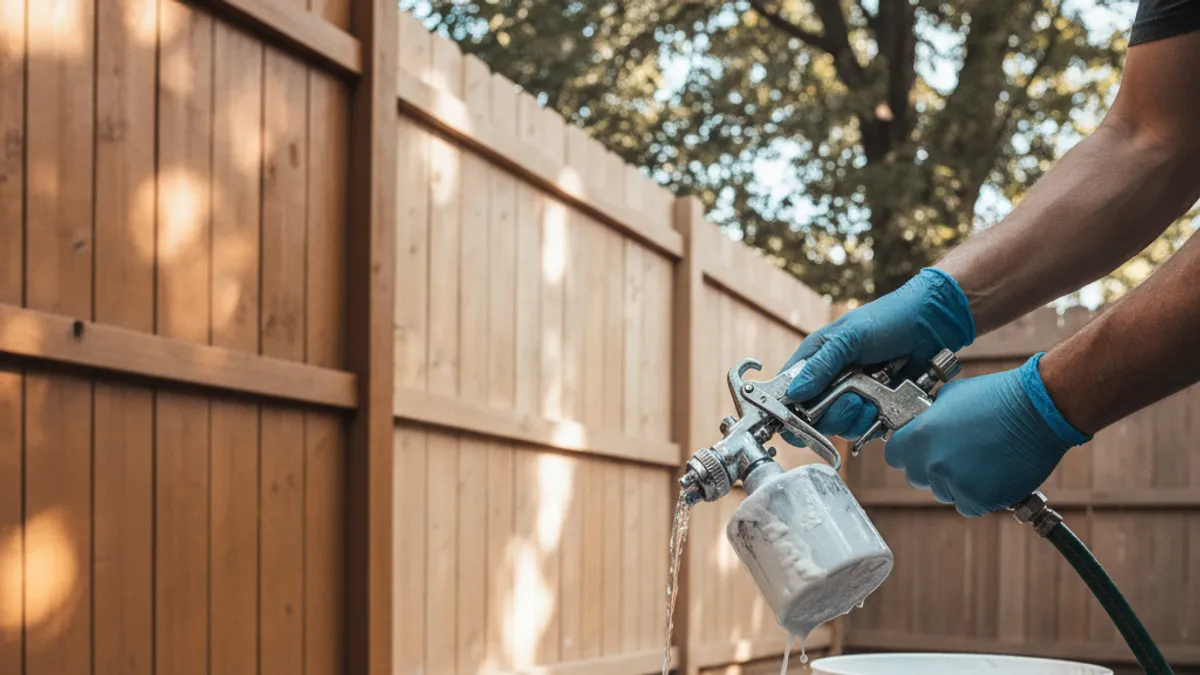
This might seem like an afterthought, but it's crucial for the longevity of your sprayer and for future projects. If paint dries inside your sprayer, it can cause blockages that are difficult or impossible to clear, often rendering the tool useless.
Immediately after you finish spraying, flush the sprayer thoroughly with the appropriate cleaning solution. For water-based paints, this means clean water until the discharged fluid runs clear. For oil-based paints, you'll need the recommended solvent, such as mineral spirits, and follow the manufacturer's specific flushing procedure. Disassemble and clean any parts that came into contact with paint according to the manufacturer's instructions to prevent calcification and ensure reliable performance.
Troubleshooting Common Spraying Issues
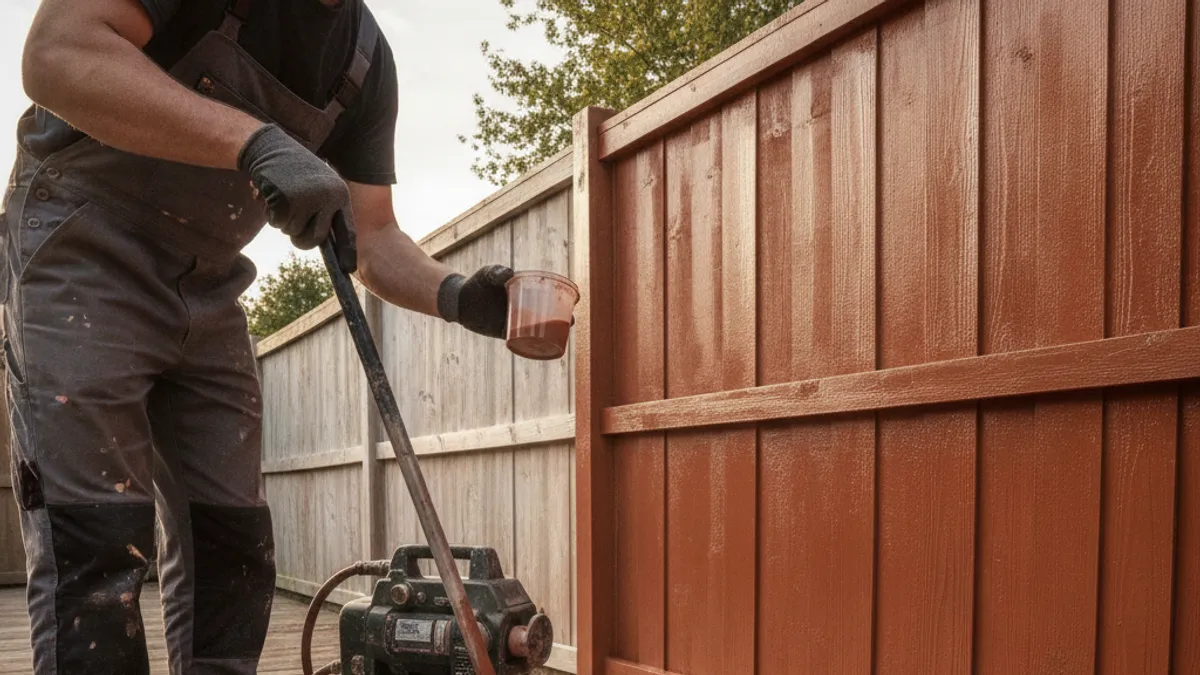
Even when you've followed all the steps, you might encounter issues. Knowing how to diagnose and fix them quickly will save you time and frustration, and prevent project delays.
Paint Clogging the Sprayer
This usually means the paint is too thick for the sprayer or nozzle, or there's debris in the system.
- If it happens during spraying: Stop spraying, relieve pressure from the system, and check the spray gun's inlet screen and the nozzle for any obstructions. Clean them thoroughly. If the paint is still too thick or the issue persists, you may need to thin the paint further, always re-testing viscosity.
- If it happens intermittently: Ensure your paint is well-strained before putting it in the sprayer. Also, verify you're using the correct nozzle size for the paint viscosity and sprayer model. A worn nozzle can also contribute to inconsistent flow.
Runs and Drips on the Fence
This is a classic sign of paint being too thin, or the application being too heavy in one spot.
- Too thin: You might have over-diluted the paint, reducing its solids content and its ability to cling properly. In some cases, if it's only slightly too thin, you can try adding a bit more unthinned paint to your mix to increase viscosity.
- Application too heavy: This happens when you spray too close to the fence, stop and start your spray stroke on the surface, or apply too much paint in one pass. Focus on keeping your gun at a consistent distance and moving in smooth, even strokes, overlapping each time to distribute the paint evenly.
Uneven Coverage
An uneven finish can stem from a few things, often related to the spray pattern or paint consistency.
- Spray pattern issues: Check your nozzle for wear or blockages. A worn tip can cause poor atomization and laydown, leading to streaks. Some manufacturers, like Wagner, offer replacement kits for common wear parts.
- Paint consistency: Ensure you've stirred and tested the viscosity properly. If paint separates in the can during a long project, stir it periodically. A uniform viscosity is key to a uniform spray pattern, preventing lighter or heavier spots on the fence.