
Painting your fence can feel like a big job, but knowing how to paint a fence with a paint sprayer can make it go from an all-day chore to a few hours of work. You're likely looking for a way to achieve a smooth, consistent finish without the arm fatigue of brushing.
Aggregate reviews show that using a sprayer can cut down your fence painting time by as much as 50% compared to traditional methods. This guide breaks down everything you need to know to get that professional look.
Why You're Thinking About a Paint Sprayer for Your Fence
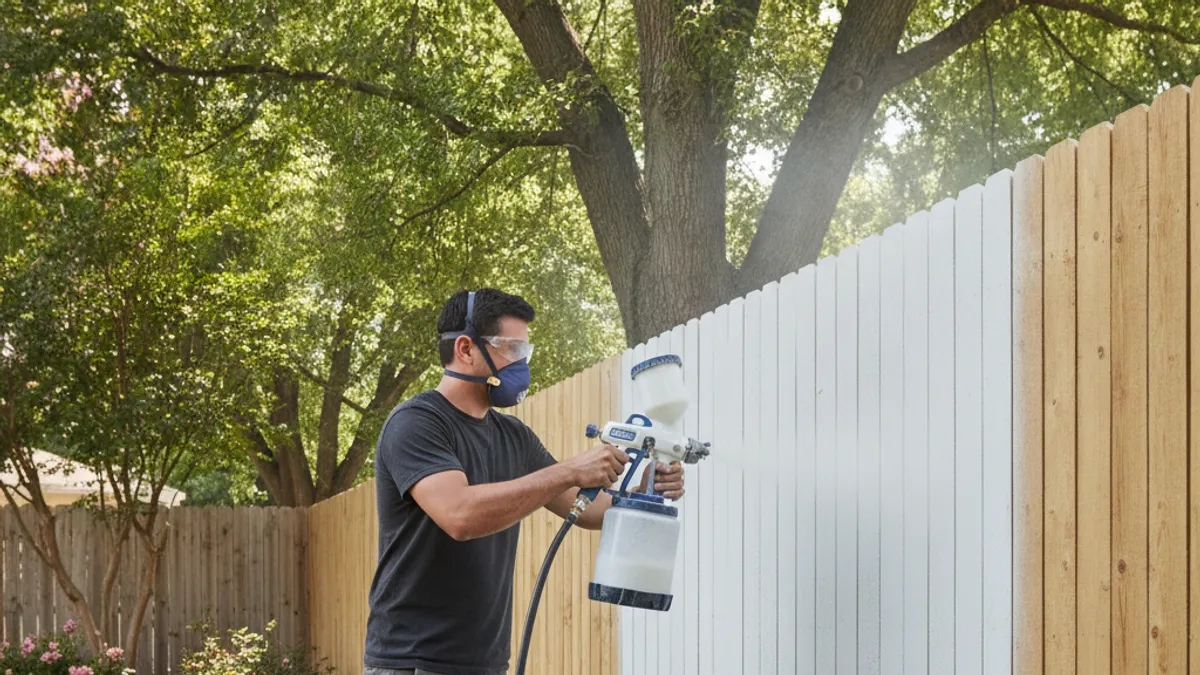
When you look at a long stretch of fence, the idea of brushing every slat can be daunting. You’ve probably seen paint sprayers in action and wondered if they’re really as fast and effective as they appear, especially for outdoor projects. The promise is a coatings job that’s significantly quicker and that might even look more uniform than rolling or brushing. It's less about the speed of the trigger finger and more about the overall efficiency gained by laying down a broad, even coat.
Is a Paint Sprayer Really Faster Than Brushing Your Fence?
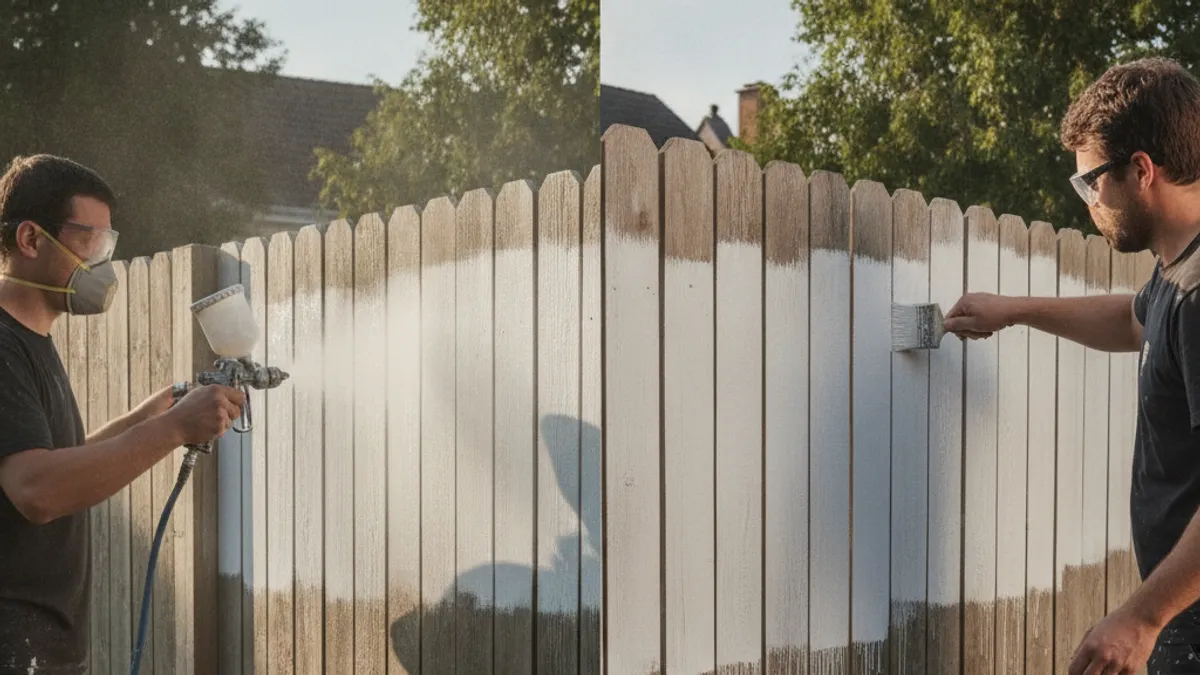
Yes, in most cases, a paint sprayer is considerably faster than brushing a fence. Aggregate user feedback across multiple DIY forums and manufacturer specifications indicate that where brushing might take an entire weekend, spraying can often be completed in a single afternoon. This isn't just about applying paint; it's about the reduced physical effort and the continuous motion achieved with a sprayer.
- Brushing: Requires individual strokes for each section of the fence, leading to slower coverage and increased fatigue over time.
- Sprayer: Lays down a wide fan of paint in a single pass, covering large areas of the fence much more rapidly.
This speed advantage is the primary driver for many homeowners considering a sprayer for their fence.
Choosing the Right Paint Sprayer: Airless vs. HVLP for Fences
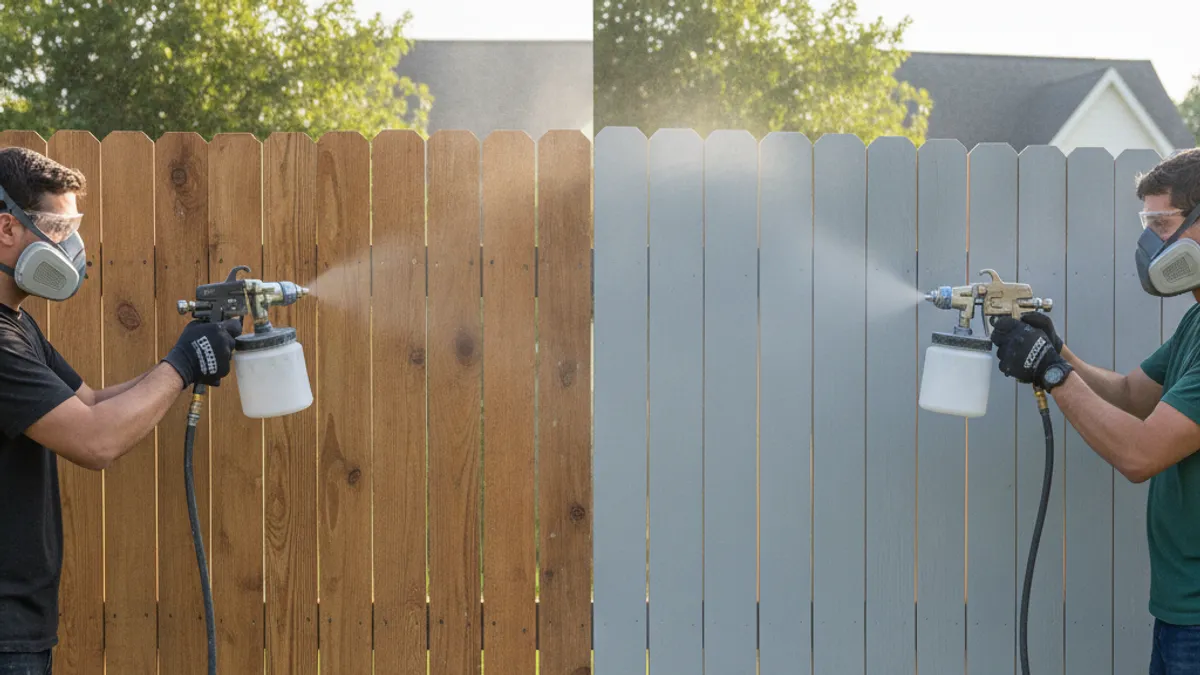
When you're ready to spray, you'll encounter two main types: airless and High Volume Low Pressure (HVLP). For painting a fence, an airless paint sprayer is generally the preferred choice due to its power and speed.
- Airless Paint Sprayers: These use high pressure to atomize paint, meaning they can spray thicker materials like exterior latex paints and stains with ease. They deliver a very fast application rate, making them ideal for large, open surfaces like fences. Manufacturer specifications often tout their ability to cover hundreds of square feet per minute.
- HVLP Paint Sprayers: These use a lower pressure and a higher volume of air to push paint. While great for smooth, detailed finishes on furniture or cabinets, they typically require thinner paints and can clog more easily with heavier exterior coatings. They also tend to have more overspray than airless models when used for large fence projects.
Our research suggests that an airless sprayer is the tool to reach for when tackling a fence, especially for exterior wood or vinyl.
What Kind of Paint Works Best with a Sprayer on a Fence?
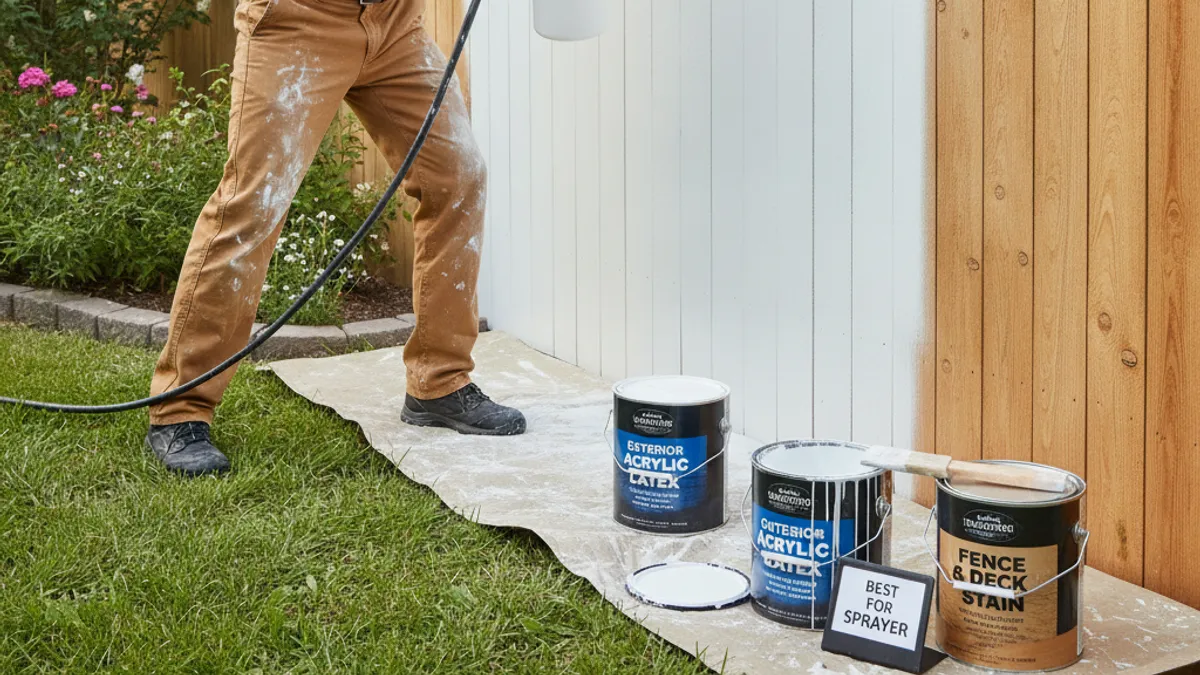
Not all paints are created equal when it comes to spray application, and using the wrong type can lead to frustration, clogs, and a poor finish on your fence. For most exterior fences, you'll want to use paints and stains that are specifically designed for outdoor use and have a suitable viscosity.
The most common choice is exterior latex paint. However, it's crucial to check the paint can or the manufacturer's website for specific spraying recommendations. Many exterior paints can be sprayed straight from the can or may require slight thinning. You’ll also want to consider if the fence material requires a special primer first.
If you're staining, many exterior stains are also formulated to be sprayed effectively. Always read the product label; it will usually specify if it's suitable for spraying and if thinning is recommended.
Getting Your Fence Ready for Spray Painting: Cleaning, Repair, and Masking
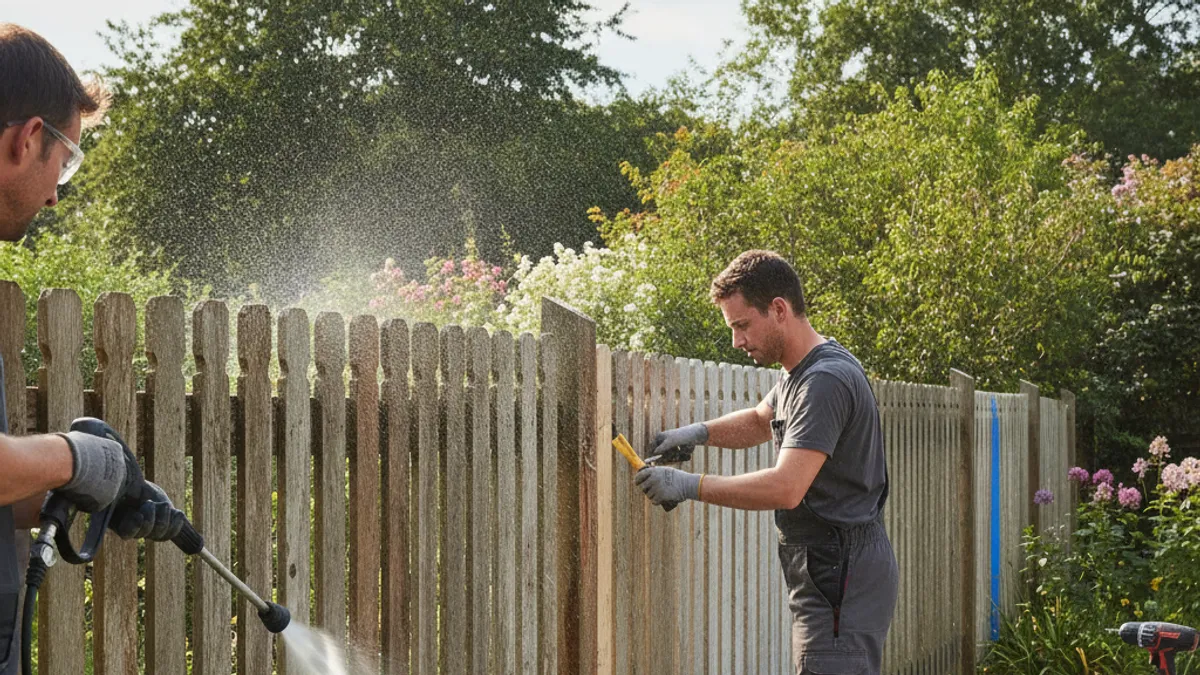
Before any paint ever touches your fence, proper preparation is non-negotiable. This is where a lot of the real work happens, but skipping these steps will lead to a subpar finish, premature peeling, or paint where you absolutely don't want it. Think of it as setting the stage for success.
Cleaning Your Fence
Start by thoroughly cleaning the fence. A power washer can work wonders, effectively removing dirt, mildew, and old flaking paint. If you don't have a power washer, a stiff brush and an appropriate cleaner (like a TSP substitute or a dedicated fence cleaner) will do the job. Ensure the fence is completely dry before proceeding, moisture trapped under paint is a recipe for failure.
Fence Repairs
Now’s the time to fix any loose boards, replace rotten sections, or reinforce wobbly posts. A paint sprayer covers evenly, but it can't hide structural issues. Investing a little time here ensures your fence looks good and remains sturdy for years to come.
Masking Surrounding Areas
This is crucial to prevent unwanted overspray from landing on your house siding, landscaping, walkways, or vehicles.
- Drop cloths: Use plastic sheeting or canvas drop cloths to cover the ground directly around the fence where overspray might drift.
- Painter's tape: Use high-quality painter's tape to protect any adjacent structures if they are too close to spray.
- Plastic or paper: For delicate plants or areas you want to shield completely, consider using plastic sheeting or large paper rolls.
Getting this right saves you a lot of cleanup later.
The Sprayer Setup: Nozzle, Viscosity, and What You Need to Know
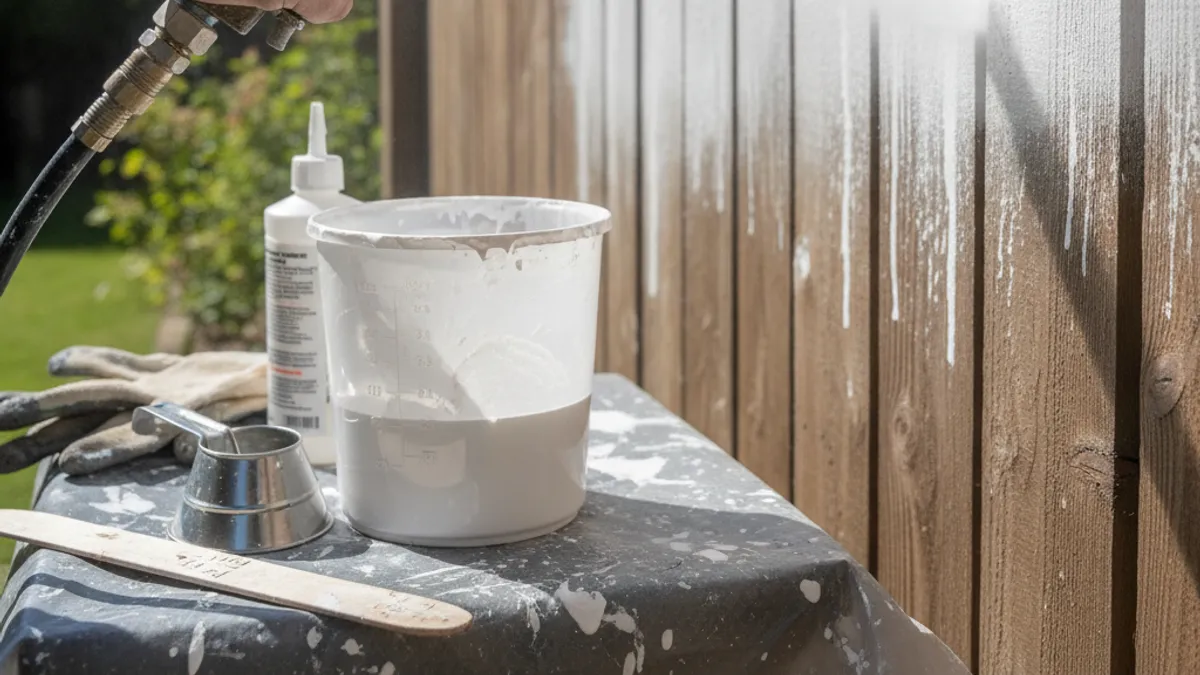
Setting up your paint sprayer correctly is paramount to achieving a professional, even coat on your fence. It’s not just about plugging it in and pulling the trigger. The right choices here prevent frustration and ensure your paint lays down beautifully.
Choosing the Right Nozzle
The nozzle tip is like the paintbrush of your sprayer. It dictates the flow rate and the spray pattern width. For fences, you generally want a wider fan pattern (typically 8 to 12 inches) to cover more area efficiently.
- Nozzle Size: Check your paint’s specifications. Thicker paints require larger orifice nozzles. For example, a common tip size for exterior latex might be a 517 (where the '5' indicates a 10-inch fan when spraying 12 inches away, and the '17' indicates the orifice size in thousandths of an inch).
- Manufacturer’s Guide: Always consult your paint sprayer’s manual and the paint manufacturer's guidelines for recommended tip sizes.
Checking and Adjusting Paint Viscosity
Viscosity refers to how thick or thin a liquid is. If your paint is too thick for the sprayer, it won't atomize properly, leading to clogs and a poor spray pattern. Some paints are ready to go, while others might need thinning.
- Paint Strainer: Always strain your paint to remove any lumps or debris that could clog the sprayer.
- Viscosity Cup: If thinning is required, a Zahn cup (or similar viscosity measuring device) is highly recommended. The manufacturer will specify a target time in seconds for the paint to drain through the cup. Add thinner (usually water for latex, mineral spirits for oil-based) gradually, stirring thoroughly until the desired viscosity is achieved.
Getting this viscosity just right ensures the paint flows smoothly through the sprayer and creates that desired fine mist.
Step-by-Step: How to Spray Paint Your Fence Like a Pro
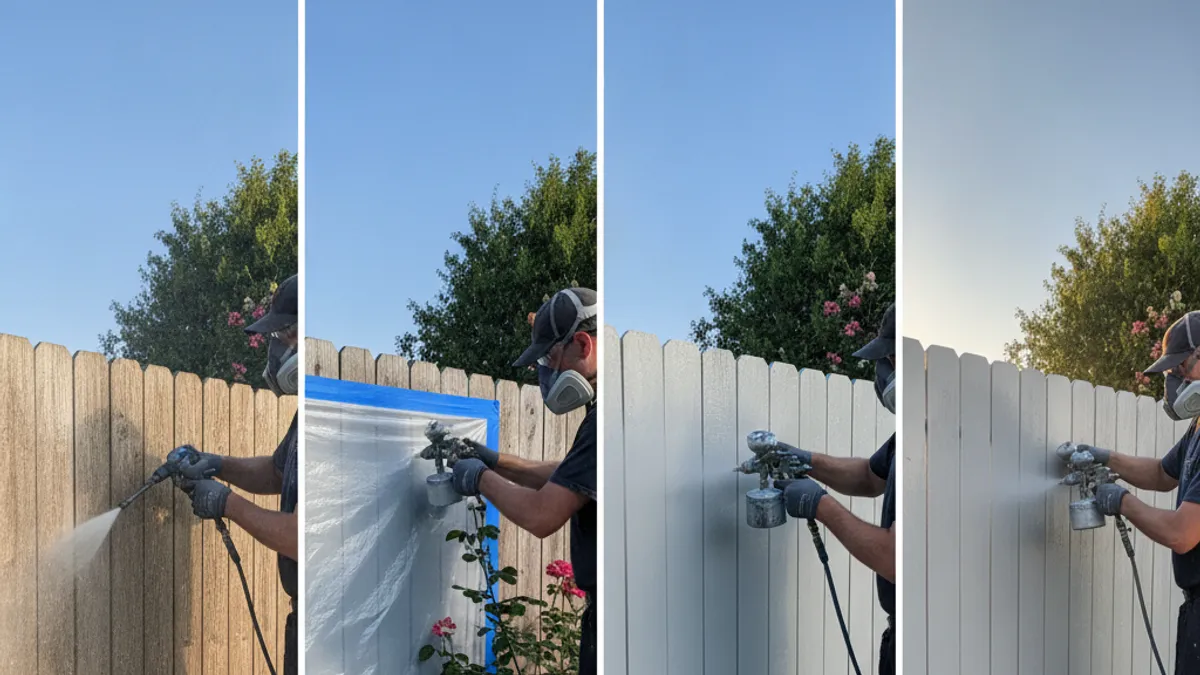
Now that your fence is prepped and your sprayer is ready, it's time for the main event. Painting with a sprayer is a fluid motion game, and getting the technique right the first time makes all the difference. We're aiming for a consistent, beautiful finish without the headaches of drips or missed spots.
Technique for a Smooth, Even Coat
The key to a great spray finish is steady, consistent movement and maintaining the correct distance. Think of it like laying down broad, overlapping strokes.
- Distance: Hold the spray gun about 10-12 inches from the fence surface. Too close, and you'll get runs; too far, and the paint will be oversprayed and uneven.
- Trigger Control: Start moving the gun before you pull the trigger, and release the trigger after you finish your pass. This prevents paint buildup at the start and end of each stroke.
- Consistent Speed: Move your arm at a steady, predictable pace across the fence. Don't rush, but don't linger either.
- Overlapping Passes: Each new pass should overlap the previous one by about 50%. This eliminates thin spots and ensures full coverage. Work from top to bottom or across in consistent horizontal or vertical lines, depending on your fence's design.
Avoiding Drips, Runs, and Overspray
These are the most common frustrations when spraying. Fortunately, they're largely preventable with a good technique and the right setup.
- Drips and Runs: These happen when too much paint is applied in one spot or the paint is too thin. Ensure you’re maintaining consistent distance and speed. If you see a drip forming, immediately feather it out with a light pass of the sprayer or a brush while the paint is still wet.
- Overspray: This is paint that misses the fence and settles on surrounding areas. Proper masking, as discussed earlier, is your first line of defense. Second, ensure your sprayer's pressure is set appropriately and you're not holding the gun at an extreme angle.
When researching sprayer performance, manufacturer specs often detail optimal GPH (gallons per hour) rates for different paints, indicating how much material the machine can reliably atomize and apply without causing such issues.
Common Fence Spray Painting Mistakes (and How to Fix Them)
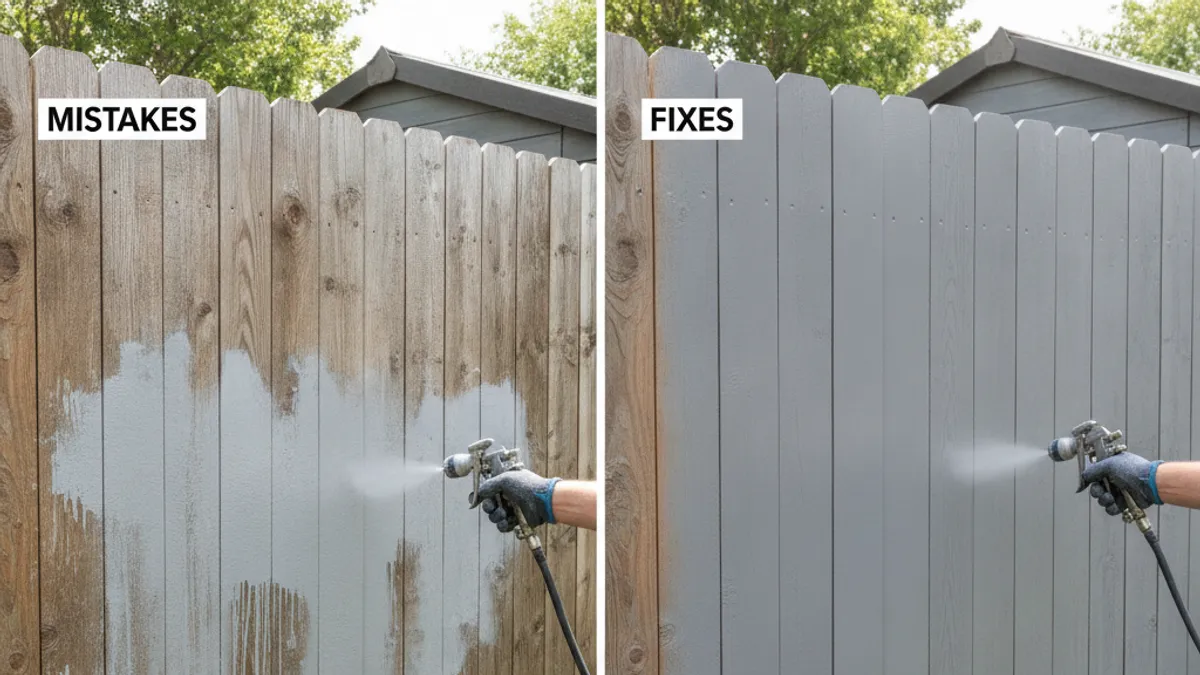
Even with the best intentions, mistakes happen. Understanding these common pitfalls means you can either avoid them or quickly correct them if they occur. Catching a problem early saves you a lot of rework later.
- Skipping the Prep Work: This is the number one mistake, leading to peeling paint and a messy finish. Always clean, repair, and mask thoroughly.
- Not Thinning Paint (When Needed): If the paint is too thick, your sprayer will struggle, clog, and produce a poor spray pattern. Check the paint can or manufacturer's advice. A viscosity cup can be invaluable here.
- Holding the Sprayer Too Close or Too Far: As mentioned, this leads to runs or an uneven, dusty finish. Consistent distance is key.
- Uneven Stride: If your arm movement isn't consistent, you'll get areas with too much paint next to areas with too little. Practice a steady sweep.
- Not Overlapping Enough: This creates thin stripes where the spray patterns meet, leaving gaps in coverage. Aim for that 50% overlap on every pass.
- Spraying in Windy Conditions: Outdoor spraying is always challenging, but high winds will blow your paint everywhere. If it's too breezy, wait for calmer weather.
If you notice overspray on a nearby surface, address it immediately before it dries. For minor dry overspray on unintended spots, a gentle scrub or specialized cleaner might be needed.
Cleaning Up Your Paint Sprayer: It's Easier Than You Think
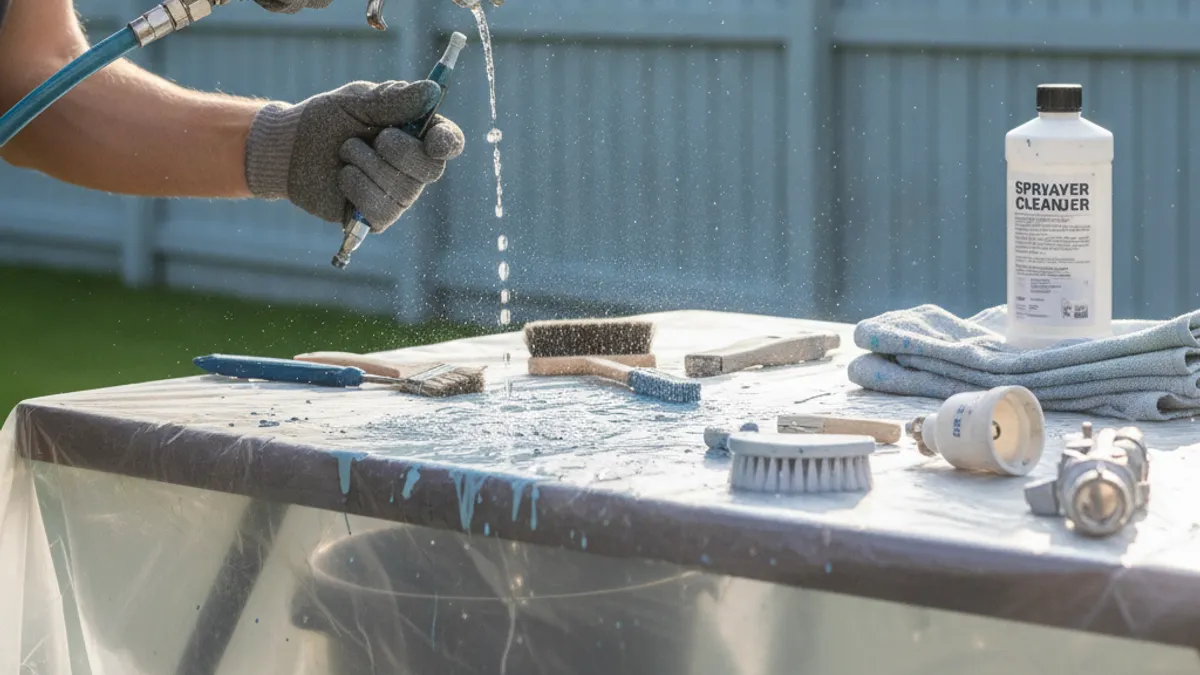
Cleaning your paint sprayer properly is essential to its longevity and performance. Neglecting cleanup can lead to clogs that are incredibly frustrating to deal with later. The process is straightforward, especially for latex-based paints.
For latex paints, the primary cleaning agent is water.
- Empty Excess Paint: Remove any remaining paint from the sprayer's hopper or hose.
- Flush with Water: Fill the paint reservoir (or cup) with clean water.
- Spray Water: Spray the water through the gun until it runs clear. You may need to place the intake hose in a bucket of water for this step.
- Disassemble and Wipe: Carefully disassemble the spray gun according to your manual. Wipe down all components with a damp cloth.
- Clean Filters: If your sprayer has filters, remove and clean them according to the manufacturer’s instructions, this is a critical step for preventing clogs.
- Lubricate (If Necessary): Some manufacturers recommend a light lubricant in the pump after cleaning to protect seals.
For oil-based paints, you’ll need to use a mineral spirit or the solvent recommended by the paint manufacturer for flushing. Always follow the specific instructions in your sprayer's manual, as models can vary.
Keeping Your Sprayed Fence Looking Good: Maintenance Tips
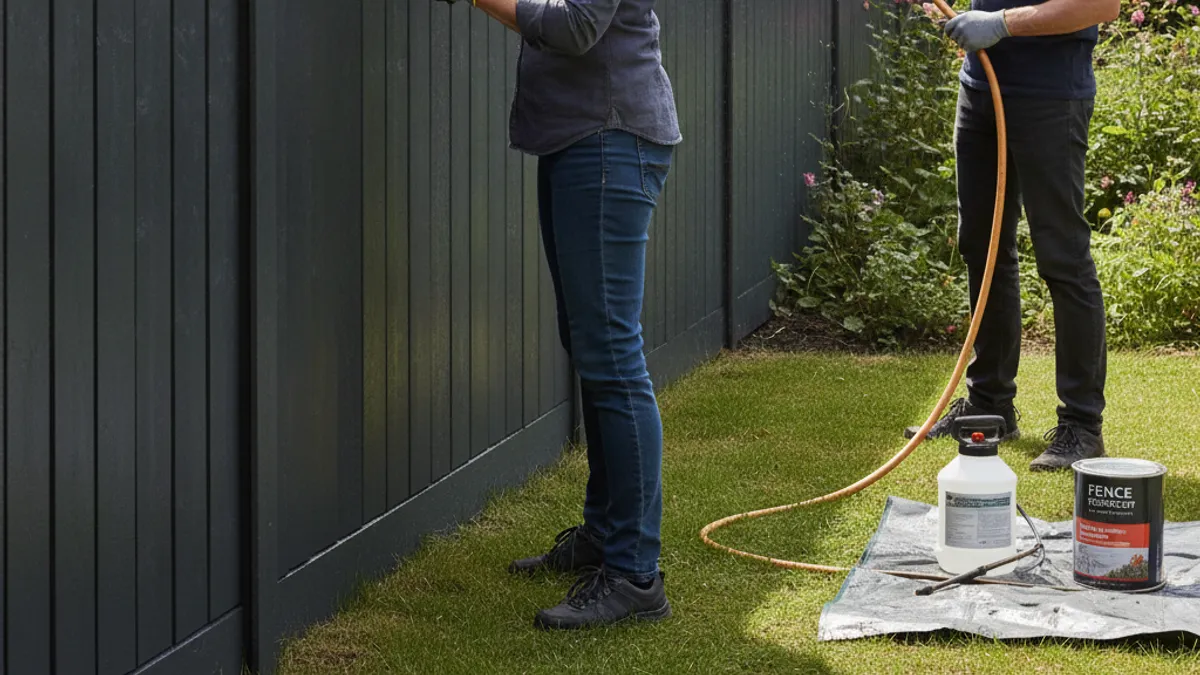
The work doesn't stop once the paint is dry. Regular maintenance will keep your fence looking freshly sprayed and protected from the elements for years to come. It's about protecting your investment.
- Regular Inspections: Periodically walk the length of your fence and look for any signs of wear, such as chipping, peeling, or mold growth. Catching these issues early makes repairs much simpler.
- Gentle Cleaning: For general dirt and grime, a soft brush and a mild soap-and-water solution usually suffice. Avoid harsh chemicals or aggressive scrubbing that can damage the paint finish.
- Weed and Vine Management: Keep plants that might grow into or against the fence trimmed back. Vines can trap moisture and accelerate deterioration, while overgrown weeds can harbor pests.
- Address Damage Promptly: If you notice a small chip or scratch, touch it up as soon as possible. Leaving it exposed can allow moisture to penetrate and lead to larger problems like rot or peeling. For larger areas, you might need to re-prime and re-spray sections.
By following these simple upkeep steps, you'll prolong the life and beauty of your freshly sprayed fence.