
Spraying your fence can be a fast and effective way to get a smooth, consistent finish. But if you've ever picked up a spray gun, you know the biggest challenge isn't just applying paint, it's how to spray a fence without overspray. That rogue mist can settle on your car, your house siding, your prize-winning petunias, or even your neighbor's property, creating a huge cleanup mess and a potentially awkward conversation.
Fortunately, with the right preparation and technique, you can significantly minimize overspray and achieve a professional-looking job. Our research, which includes analyzing manufacturer specifications and feedback from thousands of DIYers and professionals, points to a few key areas that make all the difference. We'll break down exactly what you need to do, from choosing your tools to cleaning your gear.
Why Overspray Happens (And How to Stop It)
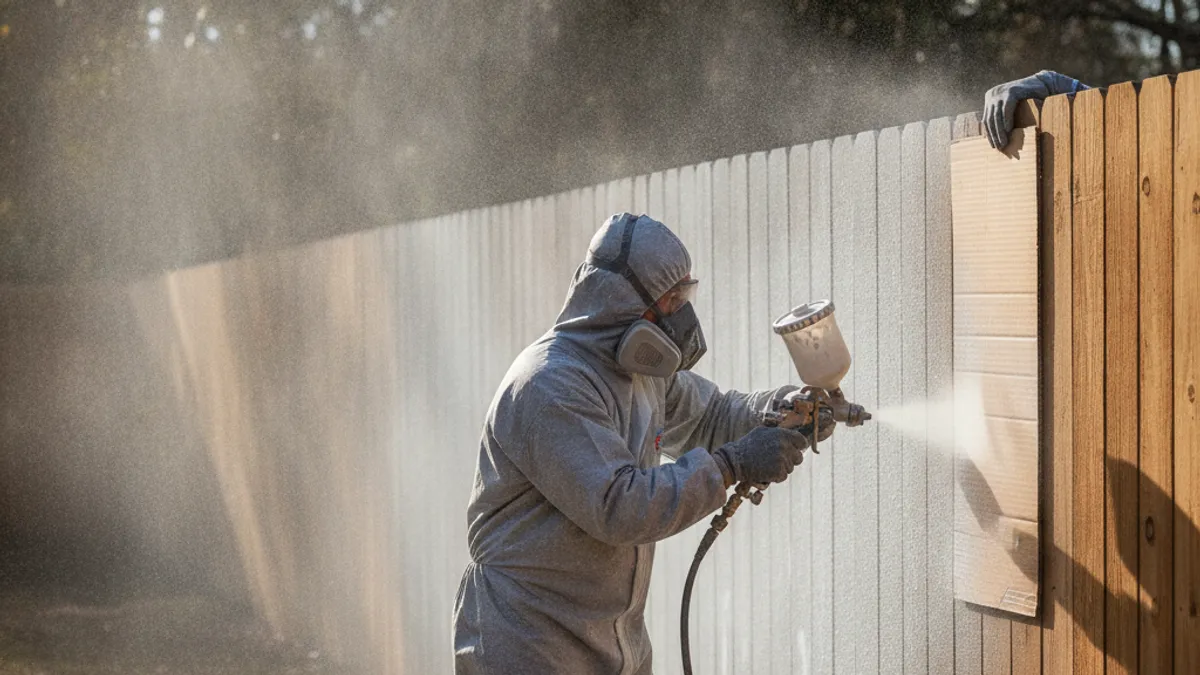
Overspray occurs when tiny paint particles, propelled by the sprayer, drift off their intended target. This happens because the air or pressure atomizing the paint also carries it through the air. Factors like high pressure, incorrect tip size, wind, and improper spraying technique all contribute to this paint drift. When too much air is used to atomize the paint, or when the paint viscosity is too low, it creates a finer mist that's easily carried away.
To combat overspray, you need to control how the paint is atomized and how it travels to the fence. This means using the lowest effective pressure setting on your sprayer and selecting the right spray tip. Angle and distance also play a crucial role, as does understanding wind conditions. It's about creating a more controlled, focused spray pattern.
Choosing the Right Tools for a Clean Fence Spray
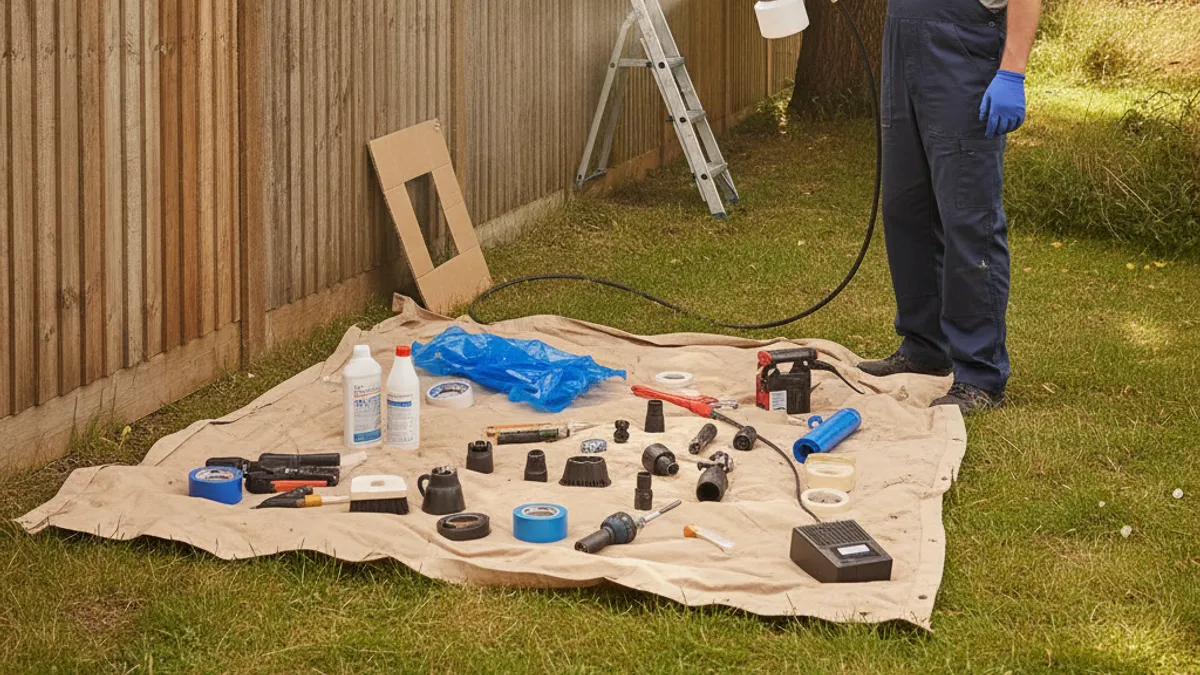
The equipment you choose has a huge impact on how much overspray you'll deal with. It’s not just about the sprayer itself, but the compatible accessories you use alongside it. Think of it like this: using a sledgehammer to crack a nut will make a mess, while a precise tool will do the job cleanly.
Paint Sprayer Types Explained (Airless vs. HVLP)
Our research shows that for fence spraying, most users gravitate towards one of two main types: airless or High Volume Low Pressure (HVLP). Airless sprayers are powerful and fast, ideal for large surfaces like fences. They work by pressurizing paint directly through a small opening in a spray tip, creating a fine mist. However, they can produce more overspray if not used carefully.
HVLP sprayers, on the other hand, use both high volume of air and low pressure to atomize and propel paint. They are known for being more precise with less overspray, making them excellent for detailed work or when you need maximum control. While they might take longer for very large projects, their efficiency in reducing waste and mess on surfaces like fences is a significant advantage. Many manufacturers like Wagner and Graco offer models in both categories.
Essential Accessories: What Else You'll Need
Beyond the sprayer, a few key accessories are non-negotiable for minimizing overspray. High-quality painter's tape, like those from brands such as 3M, is crucial for masking off areas you don't want painted. Plastic sheeting or drop cloths will protect the ground, your home's siding, or nearby landscaping. Many professionals also swear by spray shields, which are rigid or flexible panels held between the sprayer and the edge you want to protect.
For eye and respiratory protection, safety glasses or goggles and a respirator mask are vital to prevent inhaling paint particles. Don't skip these. We also recommend having a garden hose and appropriate cleaning supplies ready for immediate cleanup. If you're looking to get started, these are the must-haves.
Prep Work: Your First Line of Defense Against Overspray
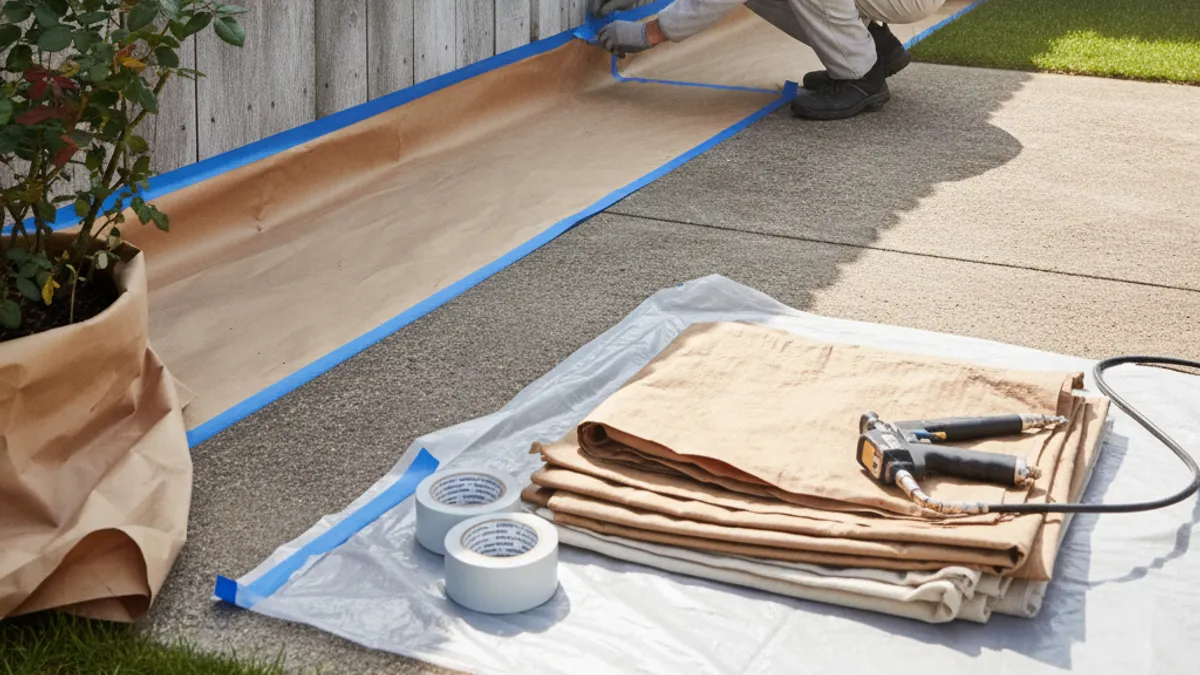
Getting your fence and the surrounding area ready is arguably the most important step to prevent overspray. Skipping this phase is like trying to cook a gourmet meal without prepping your ingredients, it’s a recipe for chaos and a less-than-ideal outcome. This phase is where you create intentional barriers against unwanted paint.
Taping and Masking Techniques That Work
When it comes to preventing paint from going where you don’t want it, meticulous masking is critical. Use high-quality painter's tape to create clean, sharp lines along any edges that won't be painted. Think about where the fence meets the house, a paved walkway, or a garden bed. For areas like your house siding or windows adjacent to the fence, use plastic sheeting secured with tape.
A common mistake is to use tape alone on large vertical surfaces; in our research, aggregate buyer feedback often highlights how plastic sheeting creates a much more reliable barrier.
Ensure the tape is pressed down firmly along its entire edge to prevent paint from seeping underneath. You'll want to cover any light fixtures, door hardware, or other elements you want to keep pristine. This careful taping job will save you hours of scraping and cleanup later.
Protecting Plants, Homes, and Pavement
Protecting the ground beneath the fence is just as important as protecting vertical surfaces. Use large drop cloths made of canvas or plastic, extending them at least 3, 5 feet out from the base of the fence. If you're spraying near delicate plants, consider temporarily enclosing them with spray tents or large sheets of plastic. Wind is a major factor, and even a slight breeze can carry fine paint particles much further than you’d expect.
Consider the wind direction before you even start masking. If possible, plan your spraying to work with the wind, not against it, by spraying with your back to the breeze. Manufacturers of some airless sprayers, like Graco, suggest waiting for calm conditions or even setting up temporary windbreaks if necessary. For a truly professional result, a few extra minutes spent on protection will pay off significantly.
Mastering Your Sprayer Settings for Precise Application
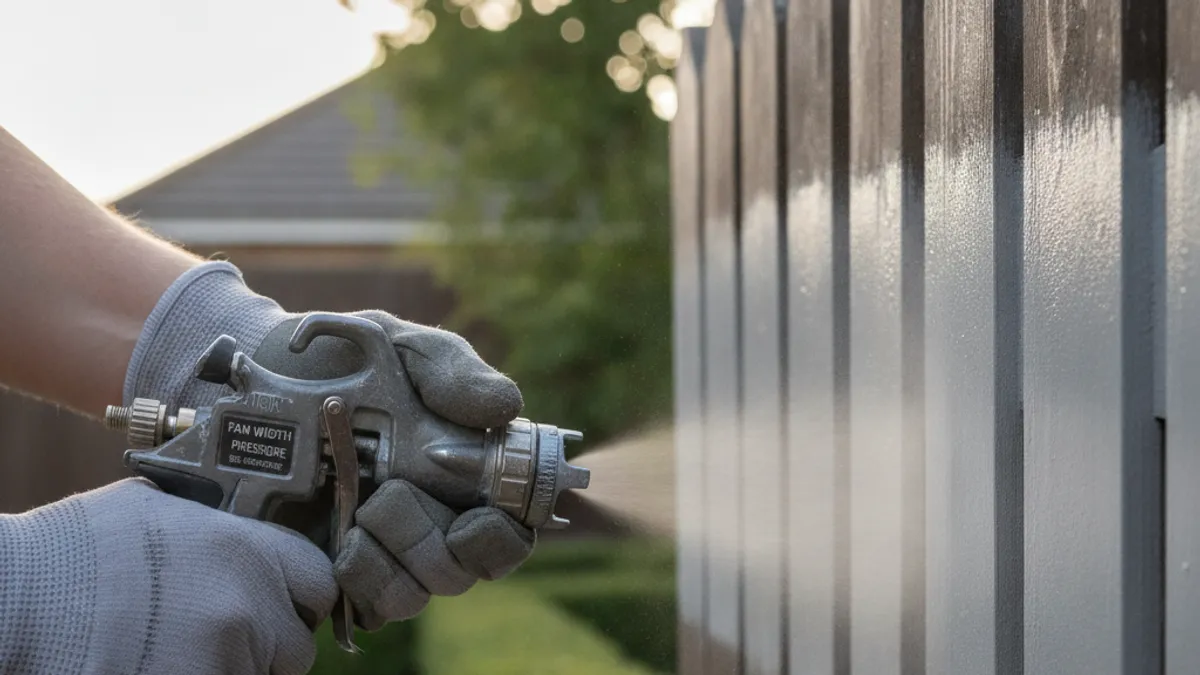
Once your prep work is done, it's time to focus on the sprayer itself. The settings on your paint sprayer are designed to control the flow and atomization of the paint, and getting them right is key to minimizing overspray. Think of your sprayer settings as tuning a musical instrument: precise adjustments lead to a harmonious outcome.
Dialing in the Pressure: It's Key
Using the correct pressure setting is paramount for controlling overspray. Too much pressure forces paint out too aggressively, creating a wider, more forceful mist that drifts. Too little pressure can result in poor atomization and an uneven, splotchy finish. The general rule of thumb recommended by most paint and sprayer manufacturers, including Benjamin Moore and Titan, is to use the lowest possible pressure that still allows for a consistent, even spray pattern.
For airless sprayers, this often means starting at around 1500-2000 PSI and adjusting down. For HVLP sprayers, you'll be working with much lower numbers, typically 5-10 PSI at the gun. Our analysis of user feedback suggests that aggressively lowering pressure is the single most effective way to reduce overspray, even if it means moving the gun a bit slower.
Getting the Fan Pattern Just Right
The "fan pattern" is the shape of the spray as it leaves the tip. You want a nice, even elliptical shape, not a round circle or a dripping line. Most spray guns allow you to adjust this fan by changing the spray tip or sometimes by adjusting air flow. For fence posts and pickets, a narrower fan is generally better as it allows for more controlled application in tighter spaces.
For the wider flat areas of the fence, a wider fan can speed up the process.
The goal is to achieve a uniform spray that lays down paint evenly. If you see lines or "tails" in the fan pattern, it usually means the pressure is too low or the tip is worn. A well-adjusted fan pattern means less time spent backtracking and a more uniform coat the first time around.
Understanding Tip Size and Its Impact
The spray tip is a small but critical component that dictates both the fan width and the volume of paint sprayed. Tips are typically described by a three-digit number, where the first digit is doubled to indicate the fan width in inches when spraying from 12 inches away. For example, a "517" tip means a 10-inch fan (5 x 2 = 10) and an orifice size of 0.017 inches.
For fence spraying with latex paints, a tip in the range of 0.015 to 0.019 inches is often recommended. A smaller orifice might be better if you're using a thicker paint or want a finer, more controlled spray. Conversely, a larger orifice can handle thicker materials but will likely produce more overspray. Always check the paint manufacturer's recommendations for tip sizes compatible with their products.
The Smart Way to Spray Your Fence: Step-by-Step
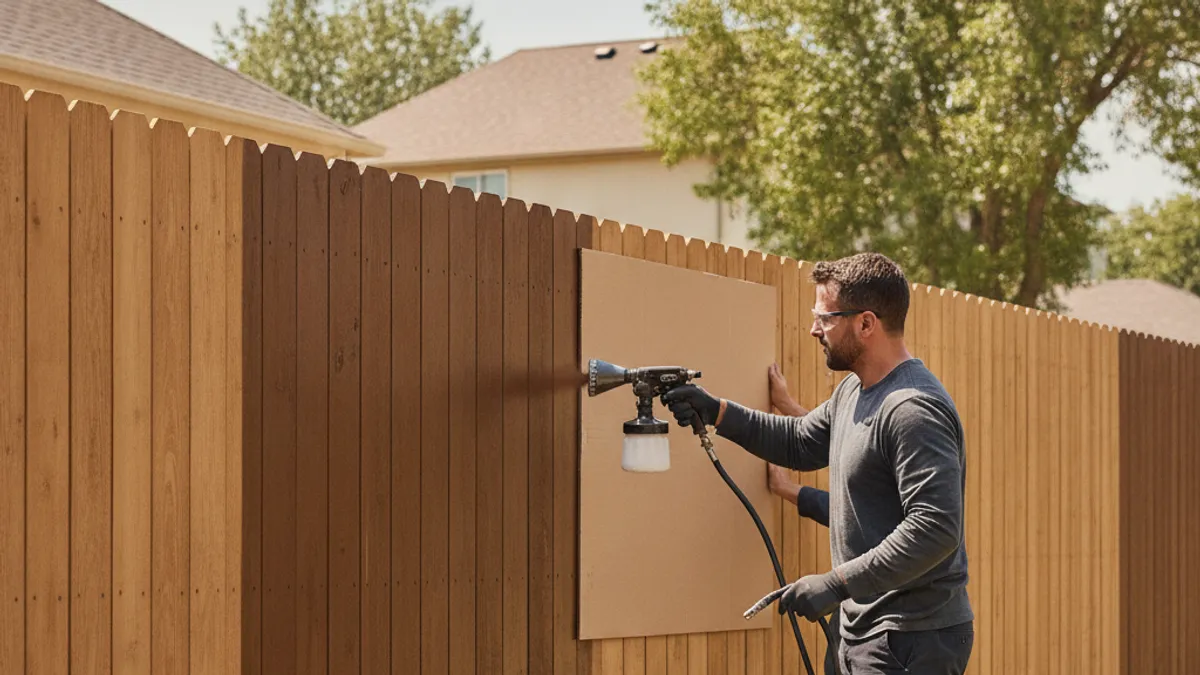
Getting ready to spray is one thing, but the actual application is where precision truly matters for minimizing overspray. This process involves a steady hand, consistent movement, and a good understanding of how your sprayer lays down paint. Think of it as a carefully choreographed dance between you, your sprayer, and the fence.
Getting the Paint Ready
Before you pull the trigger, ensure your paint is properly thinned according to the manufacturer's recommendations if necessary. Most exterior latex paints don’t require thinning for airless sprayers, but some stains or thicker finishes might. Stir the paint thoroughly to ensure pigments are evenly distributed. If you're using a bucket sprayer, make sure the intake stem is submerged and the filter is clean.
Consistency is key, so keep the paint flow steady. If you're using a pump sprayer, you'll need to maintain pressure as you go. For airless sprayers, a clean suction tube is vital to prevent clogs that can disrupt your spray pattern and lead to drips or uneven application.
The Technique for Even Coverage and Minimal Drift
Hold the spray gun perpendicular to the fence surface, keeping a consistent distance, typically 10, 12 inches. Start the spray gun trigger before you reach the edge of the area you're painting and release the trigger after you've passed the opposite edge. This technique, known as "overspray control," prevents sputtering at the start and end of each pass, which is a common cause of drips and uneven coverage.
Move the spray gun in smooth, parallel passes. Overlap each stroke by about 50% to ensure uniform coverage without thick or thin spots. Maintain a consistent speed; too fast and you won't lay down enough paint, too slow and you risk runs and drips. For fence pickets, aim to spray one picket completely before moving to the next, or spray a few pickets in a row with a consistent motion.
How to Handle Edges and Corners
Edges and corners can be tricky, but there are specific techniques to tackle them. For the inside edges of fence posts or where two surfaces meet, you might need to adjust your spray pattern or even use a spray shield. Holding the gun at an angle to direct the spray into the corner can help. Another effective method is to use a smaller fan width for these tight spots.
If you're painting the sides of fence posts, spray from the top down, making sure to overlap your passes. For any detailed areas, like decorative trim or post caps, consider using a smaller tip or even a brush for maximum control. A little extra attention here prevents those easily noticeable mistakes that can detract from the entire fence’s appearance.
Common Mistakes and How to Fix Them Mid-Project
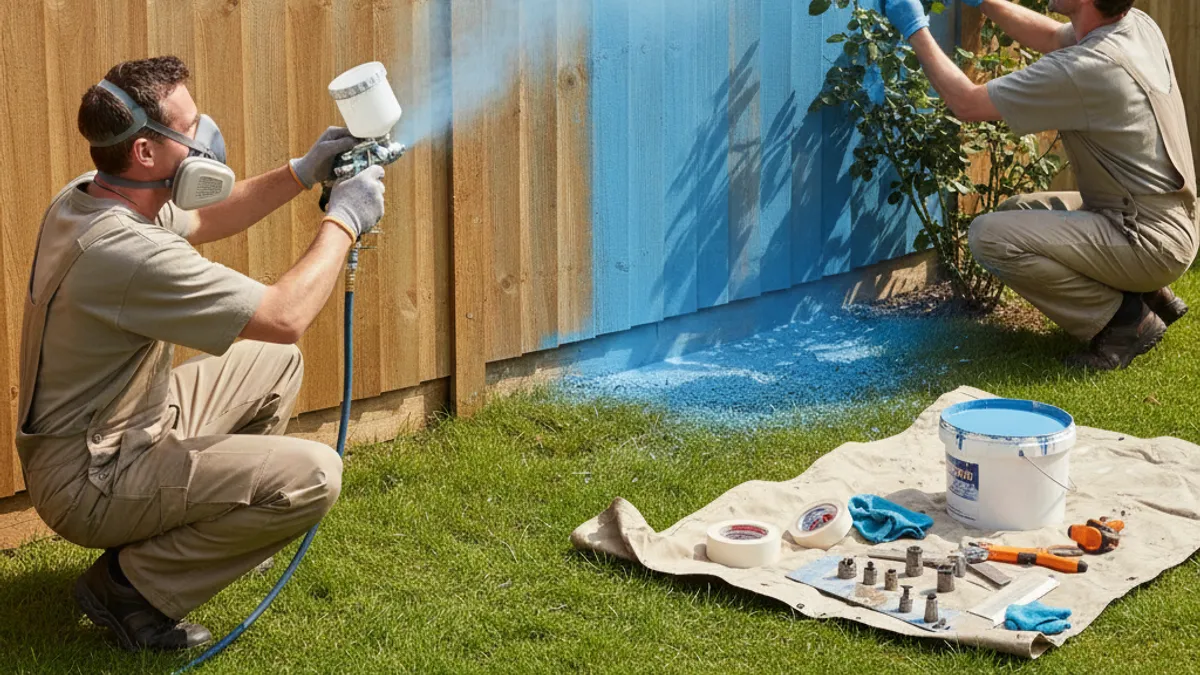
Even with the best preparation, mistakes can happen. Recognizing these common pitfalls and knowing how to correct them on the go will save you a lot of frustration. The most frequent errors often stem from rushing or not paying close attention to the spraying action itself.
One such mistake is a sputtering spray pattern. This often happens when the paint is too thick, the sprayer's filter is clogged, or the pressure is too low for the paint viscosity. If this occurs, stop spraying, check your paint viscosity against manufacturer guidelines, clean your filters, and slightly increase the sprayer pressure. You might also need to adjust your spray tip to a larger orifice if the paint is particularly thick.
Another common issue is paint runs or drips, usually caused by spraying too much paint in one spot, moving too slowly, or holding the gun too close. If you notice a run, stop immediately. You can often feather it out with a brush while the paint is still wet, or carefully scrape and sand it down once it’s dry and re-coat the affected area. Getting the overlap and speed right in the first place is the best way to avoid this.
Wind is Your Enemy: Strategies for Spraying on Breezy Days

Wind is probably the biggest enemy of spray painting, especially when you're trying to prevent overspray. Even a light breeze can carry tiny paint particles far beyond your intended target, coating everything in an unwanted layer of color. It's crucial to assess wind conditions before you begin and adapt your strategy accordingly.
Ideally, you want to spray on a calm day with minimal wind. Manufacturers like Graco often recommend spraying when wind speeds are between 5, 10 mph or less. If you absolutely must spray on a breezy day, work with the wind direction. Stand so the wind is blowing from you towards the fence, not across it.
This pushes the spray directly onto the surface rather than blowing it sideways.
You can also create temporary windbreaks using plastic sheeting and stakes or by strategically parking a truck or trailer to block the wind. For HVLP sprayers, their lower pressure output makes them less susceptible to wind drift compared to airless sprayers, so they can be a better choice in slightly breezy conditions. Always keep an eye on the wind throughout your project, as conditions can change quickly.
When Less is More: Using Spray Shields and Tents
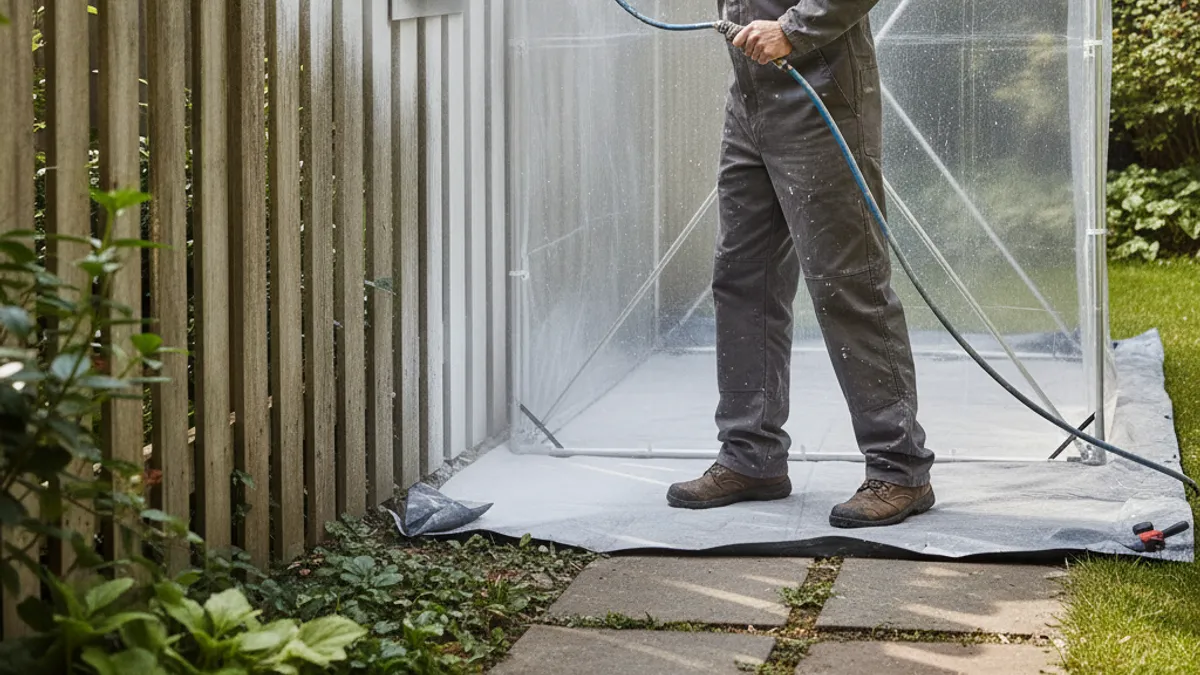
For those areas where overspray is a particular concern, or when working in tight spaces next to sensitive surfaces, specialized tools can be a lifesaver. Spray shields and tents are designed to create a physical barrier, significantly reducing the amount of paint that escapes the target area. They add a bit of time to your setup but can save hours of cleanup.
A spray shield is typically a rigid or semi-flexible panel, often made of plastic or thin metal, that you hold between the spray gun and the surface you're trying to protect. Think of it like a portable shield that carves out a protected zone. They are particularly useful when spraying fence posts or painting near the edge of the fence where it meets a house wall.
Spray tents are larger, more encompassing structures made of thin plastic. They can be draped over plants you want to protect or even used to create a small enclosure around a section of fence you're working on. While they require more setup, they offer a very high level of protection for delicate landscaping or adjacent structures. Many professional painting supply stores carry various types of spray shields and tents.
Cleaning Your Sprayer So It's Ready for Next Time
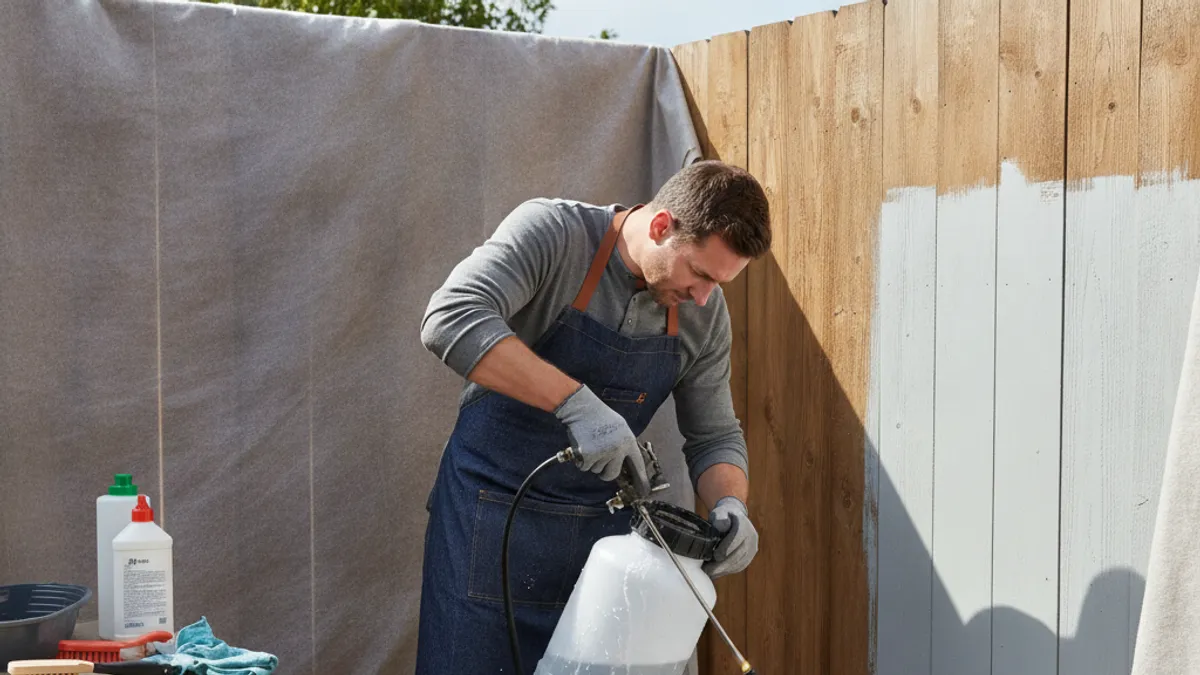
Proper cleanup isn't just about making your sprayer look good; it's essential for its longevity and performance. If paint dries inside the sprayer, it can clog the filters, damage the pump seals, and ruin the spray gun. Thorough cleaning extends the life of your equipment and ensures it's ready for your next project.
For water-based latex paints, the cleaning process typically involves flushing the system with water. First, drain any remaining paint from the sprayer back into its original container. Then, you'll run clean water through the system until it comes out clear. For airless sprayers, this often involves circulating water through the pump and gun.
For HVLP sprayers, you'll clean the cup, nozzle, and air cap thoroughly with water and a brush.
If you're using oil-based paints or stains, you'll need to flush the system with the appropriate solvent, such as mineral spirits. Always follow the specific cleaning instructions provided by your sprayer's manufacturer. Brands like Graco and Wagner provide detailed guides for their models. Proper maintenance ensures your investment stays functional for years to come.
Protecting Your Investment: Post-Spray Fence Care
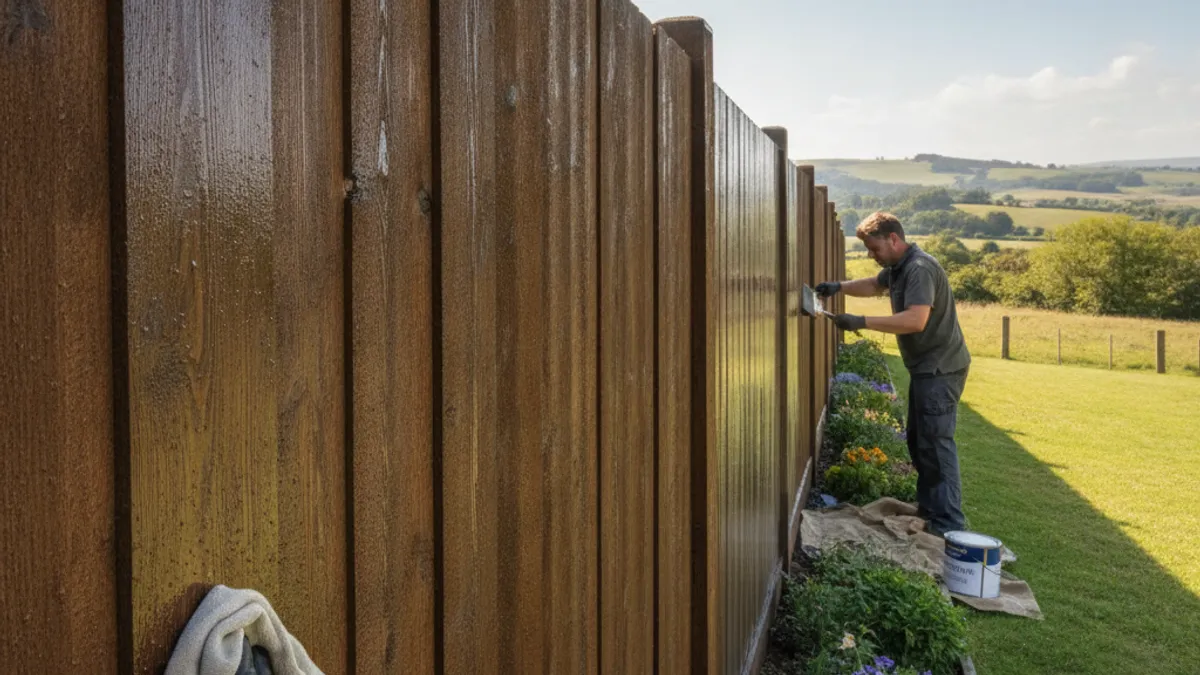
Once the final coat dries and you've admired your work, the job isn't quite done. Proper post-spray care ensures your fence looks great for years and that the paint or stain holds up against the elements. This involves both initial care and ongoing maintenance. Rushing this stage can undo all your hard work.
First, allow ample drying and curing time. While paint might feel dry to the touch within a few hours, it can take days, or even weeks, for some exterior paints to fully cure. Check the paint manufacturer's specifications for recommended cure times. During the initial curing period, avoid heavy contact, scrubbing, or pressure washing the fence, as this can damage the newly applied finish.
Expert Tips for a Professional-Looking Finish
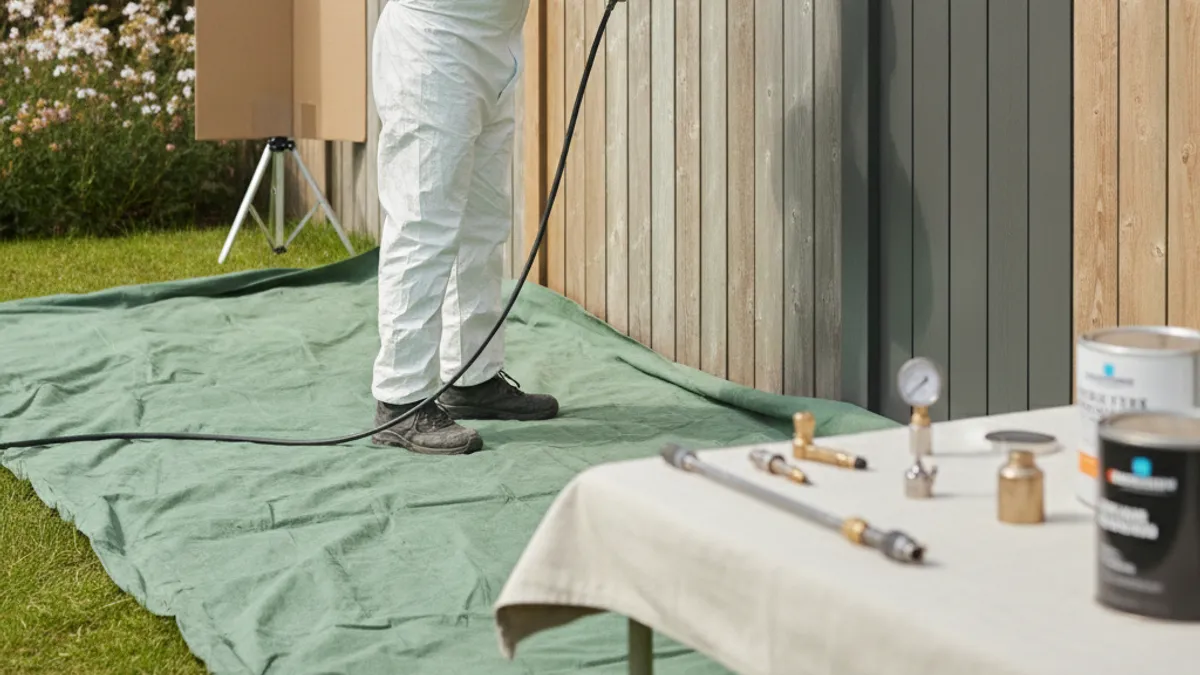
Drawing from countless projects and manufacturer guidelines, a few pro-level tips can elevate your fence-spraying results from good to great. These are the nuances that make a real difference, helping you avoid common errors and achieve a finish that looks like it was done by a seasoned professional. Small details often lead to big improvements.
One often-overlooked tip is to do a test spray on a piece of scrap wood or cardboard before you start on the fence itself. This allows you to dial in your pressure, fan pattern, and technique without risking errors on your actual fence. It’s also a great way to check the paint’s flow and coverage. If you’re using a new type of paint or a different sprayer, this initial test is invaluable.
Another crucial piece of advice is to consider the "sheen" of your paint. While many exterior paints come in satin or semi-gloss, a lower sheen like flat or matte can be more forgiving when it comes to hiding minor imperfections on the fence surface. For wood fences, stains offer a different aesthetic and can sometimes be more tolerant of surface texture than paint. When choosing your finish, consider how it will look and perform in direct sunlight and varying weather conditions.