
ARTICLE TITLE: How to Spray Paint a Chain Link Fence
ARTICLE TITLE: How to Spray Paint a Chain Link Fence
There are many reasons you might be wondering how to spray paint a chain link fence, from wanting to update its look to protecting it from rust. Getting a smooth, even finish can seem tricky on all those diamond-shaped openings, but with the right approach, you can totally transform your fence. We’ve analyzed manufacturer specs and countless user reviews to break down the best methods for you.
The goal is to achieve a durable, attractive finish that stands up to the elements. For instance, Rust-Oleum, a leading manufacturer, specifies their specialized outdoor coatings are designed for metal surfaces like fences, offering UV protection and rust prevention. Choosing the right paint is key, and as of 2026, many DIYers are opting for specific formulations that simplify application and enhance longevity compared to older methods.
Before You Start: Is Spray Painting Your Chain Link Fence Right for You?

Spray painting a chain link fence offers a quick way to refresh its appearance and add a protective layer against the elements. It's a DIY-friendly project that can dramatically change your property's curb appeal. However, it's not always the simplest task.
You'll need to consider factors like weather conditions, the fence's current condition (any rust or flaking paint), and the amount of prep work involved. If your fence is heavily damaged or you’re aiming for a perfect, brush-like finish, other methods might be worth exploring.
Why Spray Paint a Chain Link Fence? Benefits at a Glance
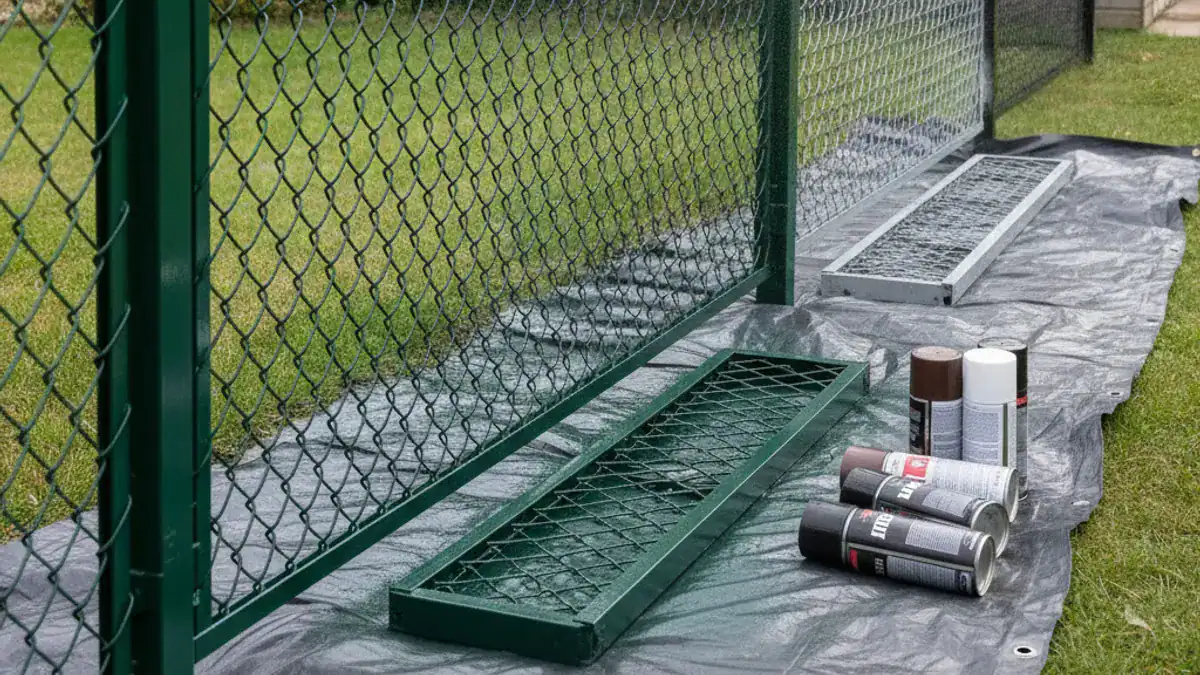
Spray painting a chain link fence is popular because it’s generally faster than using a brush or roller, especially for large areas. The spray application can get into all the nooks and crannies of the diamond pattern, providing surprisingly thorough coverage. This method is excellent for achieving a uniform color.
Furthermore, a good quality paint can offer significant protection against rust and corrosion. Manufacturers like Rust-Oleum design their formulations with UV resistance, which helps prevent the paint from fading or chalking over time in direct sunlight. This extends the fence's lifespan and keeps it looking good for longer.
Choosing the Right Spray Paint for Your Fence
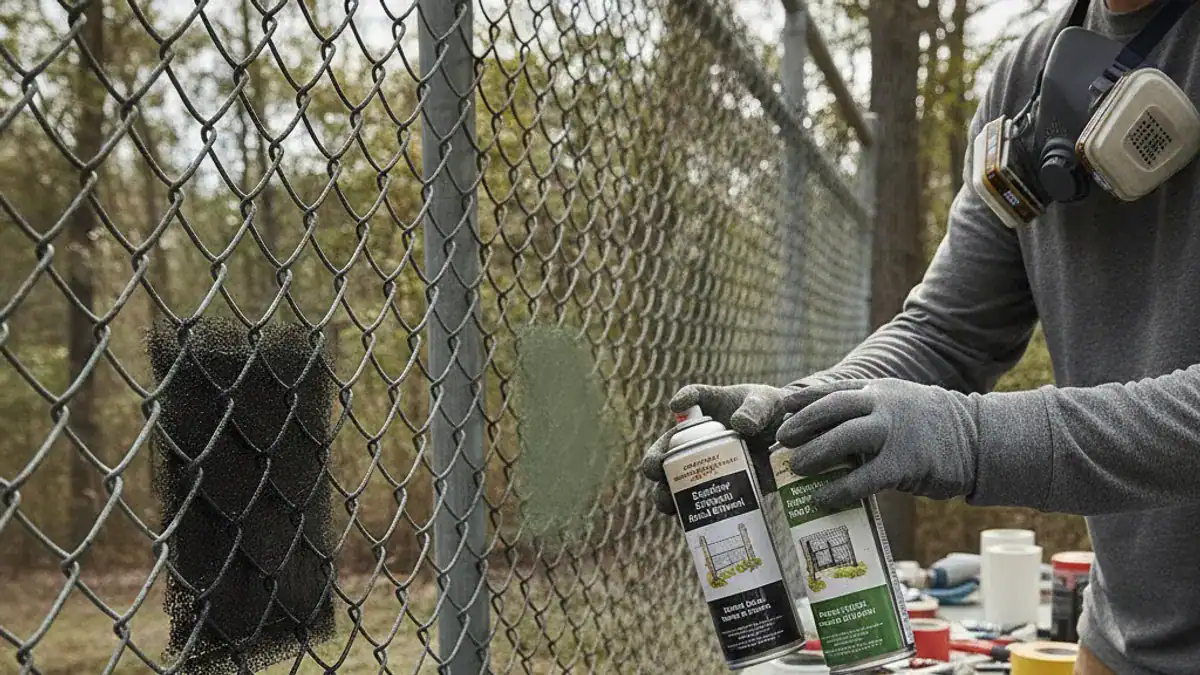
Selecting the correct type of spray paint is crucial for a durable and attractive finish. You're not just picking any can off the shelf; you're choosing a coating designed to bond with metal and withstand outdoor conditions.
Researching specific outdoor metal paints is your best bet. Look for products that explicitly state they are formulated for metal surfaces and outdoor use, offering rust inhibition and UV protection.
Best Paint Types: Enamel vs. Latex vs. Rust-Oleum Specialized
For chain link fences, oil-based enamel paints are often recommended. Enamels cure to a hard, durable finish that resists chipping and scratching better than latex paints. They also offer superior rust protection.
Latex paints can be an option if you prioritize easier cleanup (water-based, soap and water). However, they may not provide the same level of durability or rust prevention as enamels, especially in harsh climates. Always check the can to ensure it's suitable for exterior metal.
Specialized fence or metal spray paints , like those offered by Rust-Oleum or Krylon, are engineered for this exact purpose. They often combine the durability of enamel with the ease of spray application, including built-in primers and rust inhibitors.
Considering Primer: When and Why You Need It
Primer acts like a foundation for your paint, helping it adhere better and promoting a more even color. For a chain link fence, primer is especially important if you're painting over bare metal, rust, or a previously painted surface that might have peeling issues.
A good metal primer will seal the surface, prevent rust from spreading, and create a uniform base for your topcoat. Skipping primer can lead to paint peeling, uneven color, and faster rust formation.
Essential Tools and Supplies for Spray Painting
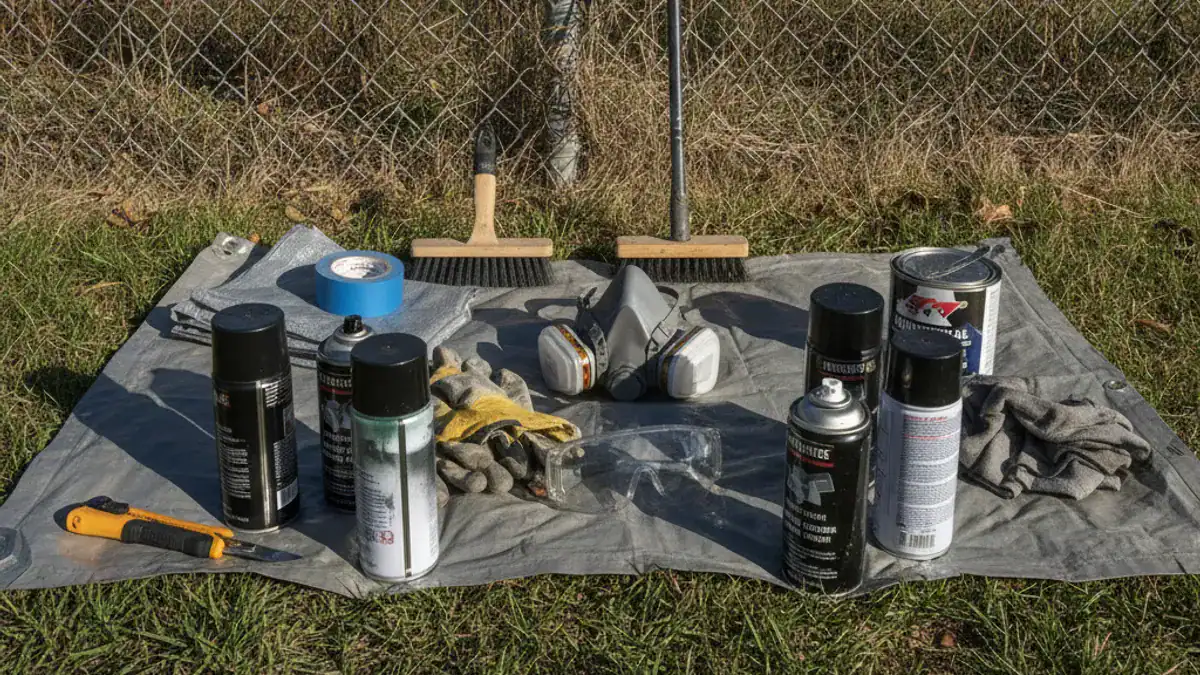
Beyond the spray paint and primer, having the right tools makes the whole process smoother and the end result much better. Think of this as your checklist to ensure you're prepared before you even crack open a can.
Having everything ready upfront saves time and prevents frustration. Many DIYers overestimate how much paint they'll need, so it's wise to buy a little extra to ensure you have matching color for touch-ups later.
Here’s a rundown of what you’ll need:
Spray Paint: Choose an exterior-grade metal spray paint in your desired color.
Primer (Optional but Recommended): Exterior metal primer.
Drop Cloths or Plastic Sheeting: To protect grass, plants, concrete, and any adjacent structures.
Painter's Tape: For masking off areas you don't want to paint.
Wire Brush or Scraper: To remove loose rust and old paint.
Degreaser or Mild Detergent: For cleaning the fence.
Stiff Brush or Scrubber: For effective cleaning.
Gloves: To protect your hands from paint and dirt.
Safety Glasses or Goggles: Essential for protecting your eyes from overspray.
Respirator Mask: A must-have for protecting your lungs from paint fumes.
Extension Pole (Optional): For spray paint cans, to reach higher areas more comfortably.
Ladders (if needed): For accessing taller sections of the fence.
Step-by-Step: How to Spray Paint Your Chain Link Fence
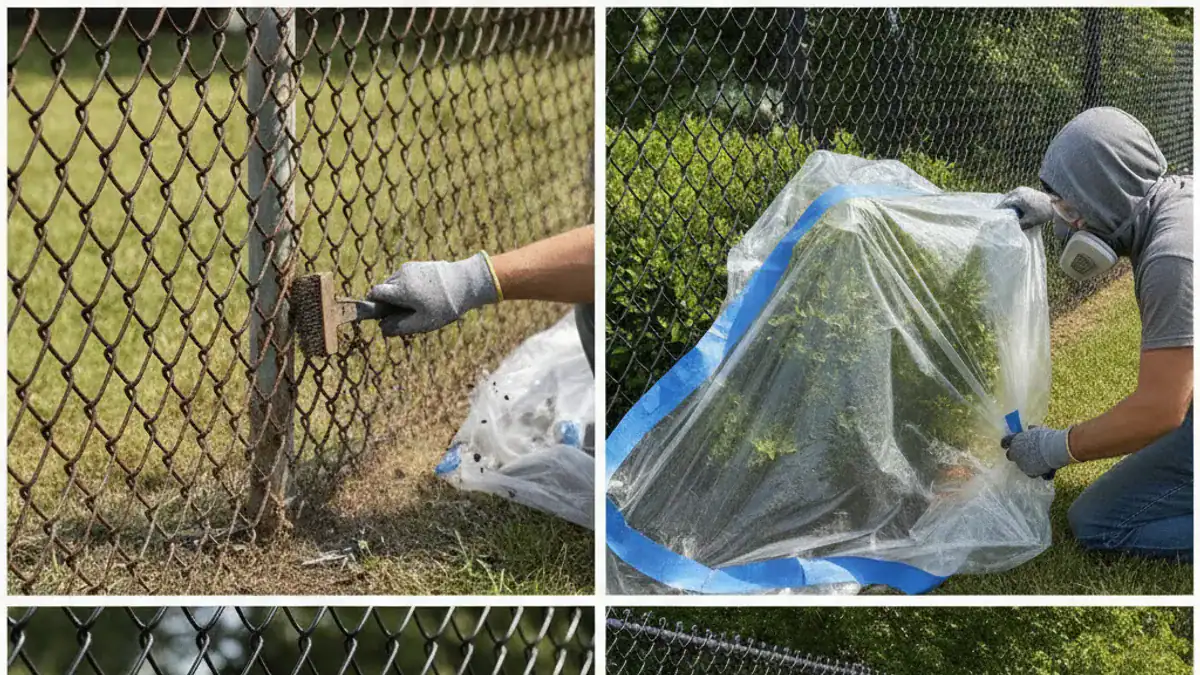
Transforming your chain link fence with spray paint involves a systematic approach, starting with thorough preparation. This process ensures a lasting finish that looks great and protects your fence for years to come.
Follow these steps carefully, and you'll achieve results that rival professional finishes without needing specialized equipment beyond a few cans of spray paint.
1. Prepare the Area and Clean the Fence
This is the most critical step. A clean, rust-free surface is essential for paint adhesion. Start by clearing any vegetation growing on or around the fence line.
Use a stiff wire brush or a scraper to aggressively remove any loose rust, flaking paint, or debris. The goal is to get down to sound metal as much as possible. Then, wash the entire fence thoroughly using a degreaser or mild detergent and water. Rinse it completely and allow it to dry fully, ideally for at least 24 hours, before moving on.
2. Masking and Protecting Surroundings
Protecting what you don't want painted is just as important as painting what you do. Use plastic sheeting or drop cloths to cover any plants, shrubs, concrete walkways, driveways, or neighboring properties that are close to the fence.
Secure the sheeting with painter's tape along the edges. While spray paint can be tricky with chain link, careful masking helps prevent accidental overspray on these areas. For very delicate plants, consider covering them with old sheets or tarps.
3. Applying Primer (If Needed)
If you have any bare metal spots, rust that you couldn't fully remove, or are unsure about the existing surface, applying a primer is a smart move. A good exterior metal primer will create a uniform surface for the paint to adhere to and help prevent future rust.
Shake the primer can well for at least one minute. Hold the can about 8, 12 inches away from the fence and use smooth, sweeping motions. Apply a thin, even coat. Allow the primer to dry completely according to the manufacturer's instructions, which is typically 1, 2 hours.
You might need a second coat for very rough or heavily rusted areas.
4. Spray Painting the Chain Link Fence
Now comes the fun part. Make sure you're wearing your safety glasses and respirator mask. Shake the paint can vigorously, as instructed on the label, for at least one minute to ensure the pigment and propellant are fully mixed.
Begin spraying about 8, 12 inches away from the fence. Use steady, horizontal strokes, overlapping each pass by about 30, 50% to ensure full coverage and avoid gaps. Work your way down the fence, section by section. Don't try to achieve full coverage in one pass with heavy coats; multiple thin coats are better than one thick, drippy one.
5. Applying Additional Coats and Drying
Allow the first coat of paint to dry according to the manufacturer’s recommended time before applying a second coat. This usually takes about 15, 30 minutes for spray paints. If you're applying a second coat, use the same technique as the first, ensuring an even, consistent application.
A second or even third coat might be necessary for dense coverage, especially on the intricate diamond pattern of the chain link. Once you've finished painting, let the fence dry thoroughly. This can take several hours, or even overnight, depending on humidity and temperature. Avoid touching it until it's completely dry to the touch to prevent smudges.
Common Mistakes When Spray Painting Fences to Avoid
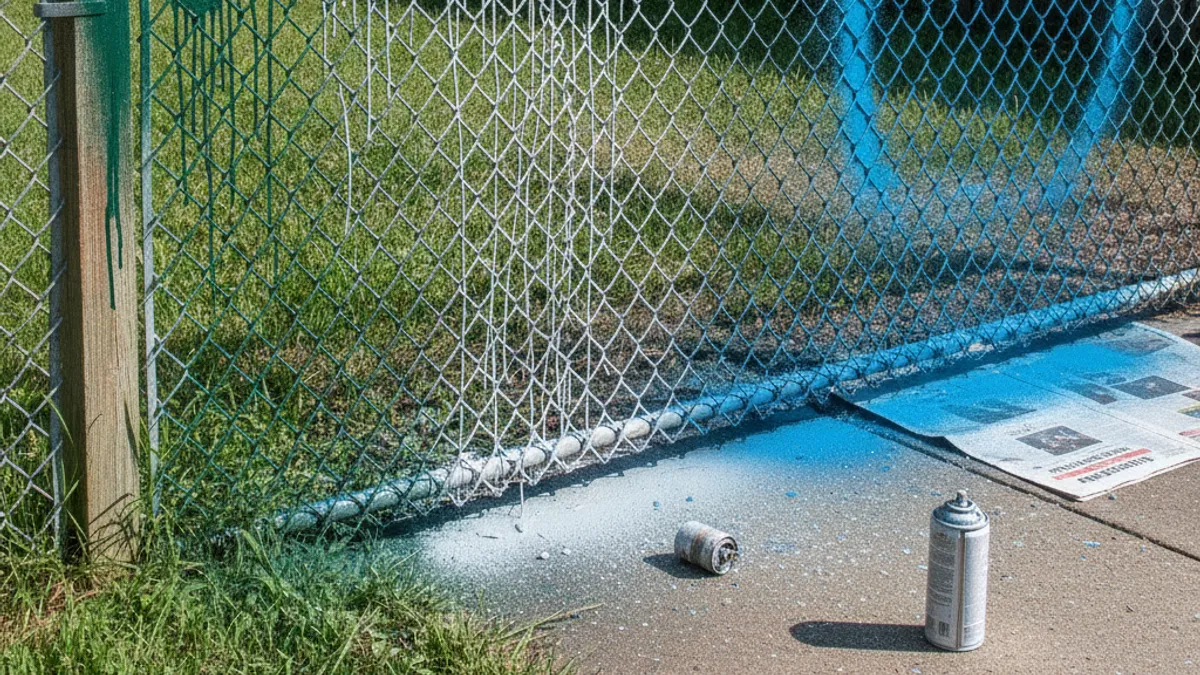
Even with the best intentions, some common pitfalls can turn your spray painting project into a less-than-perfect outcome. Knowing these ahead of time helps you steer clear of frustration and ensures a much better-looking end result.
Many people rush the preparation or painting steps, leading to issues like rust showing through or a finish that peels quickly. Understanding these common errors means you can focus on doing it right the first time.
Here are some mistakes to watch out for:
Skipping Proper Cleaning: Not removing rust or dirt thoroughly means the paint won't adhere properly, leading to peeling and new rust spots. Aggregate user reviews frequently mention this as a primary cause of early paint failure.
Inconsistent Spraying Distance: Holding the can too close leads to drips and uneven coverage, while holding it too far results in a misty, splotchy finish. You want that consistent 8, 12 inch distance for a smooth spray pattern.
Applying Paint in Bad Weather: Spraying when it's too cold, too hot, or too humid can affect drying times and paint adhesion. Manufacturer specifications for outdoor paints often advise against application below 50°F (10°C) or above 85°F (30°C).
Not Using a Primer: Especially on bare metal or rusted areas, skipping primer is a recipe for trouble. It’s the foundation that ensures your topcoat lasts.
Applying Paint Too Thickly: Trying to cover everything in one go often results in drips and runs. Thin, even coats are always the way to go for a professional look.
Not Wearing Protective Gear: Paint fumes can be harmful, and overspray can get everywhere. Always use a respirator mask, safety glasses, and gloves.
Alternatives to Spray Painting Your Chain Link Fence
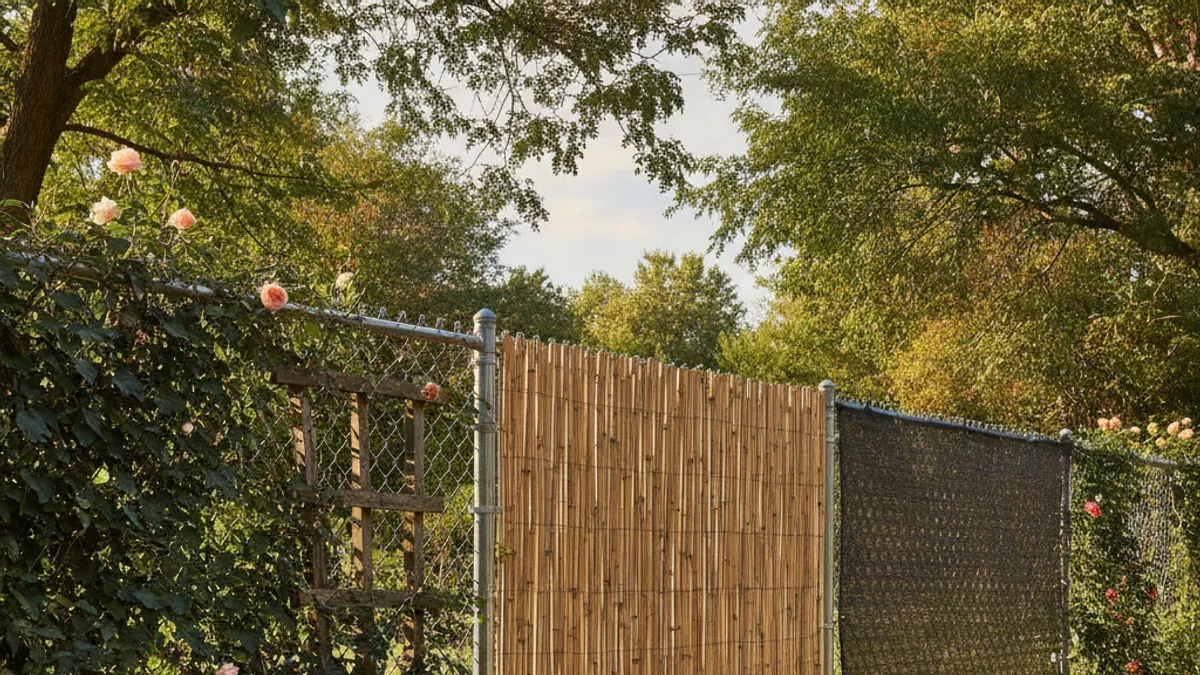
While spray painting is a popular and efficient method, it's not the only way to refresh or protect your chain link fence. If you're weighing your options or find spray painting isn't the best fit for your needs, there are other methods to consider. Understanding these alternatives can help you choose the most practical and aesthetically pleasing solution for your specific situation.
For instance, some projects might benefit from a more hands-on approach, while others might call for a different type of coating altogether. It’s always good to know what else is out there.
Here are a few alternatives:
Brush or Roller Painting : This is a more traditional method that offers greater control, especially for detailed work or smaller fence sections. While it's slower than spraying, it can be easier to achieve a very thick, uniform coat, and it often makes for a simpler application process if you don't have a large area to cover. This method is discussed in detail in guides like "Spray Or Brush Paint Which One Is Better For Fence" at gardenten.com .
Powder Coating: This is a professional finishing process where a dry powder is electrostatically applied to the metal and then cured under heat. It creates an extremely durable, smooth, and attractive finish that’s highly resistant to chipping, scratching, and fading. It’s typically more expensive and requires professional application but offers superior longevity.
Vinyl Coating (Slitted or Wrapped): Many new chain link fences come with a vinyl coating already applied by the manufacturer. However, you can also purchase vinyl coatings or slats to add to an existing fence. This can drastically change the look of the fence, often making it opaque and available in various colors, and it provides excellent rust protection.
Galvanization: Most new chain link fences are galvanized, meaning they have a protective zinc coating. While you can’t easily re-galvanize a fence at home, older fences that have lost their galvanization might benefit from treatments that reapply a similar protective layer, or you might choose to replace heavily corroded sections.
Maintaining Your Newly Painted Chain Link Fence
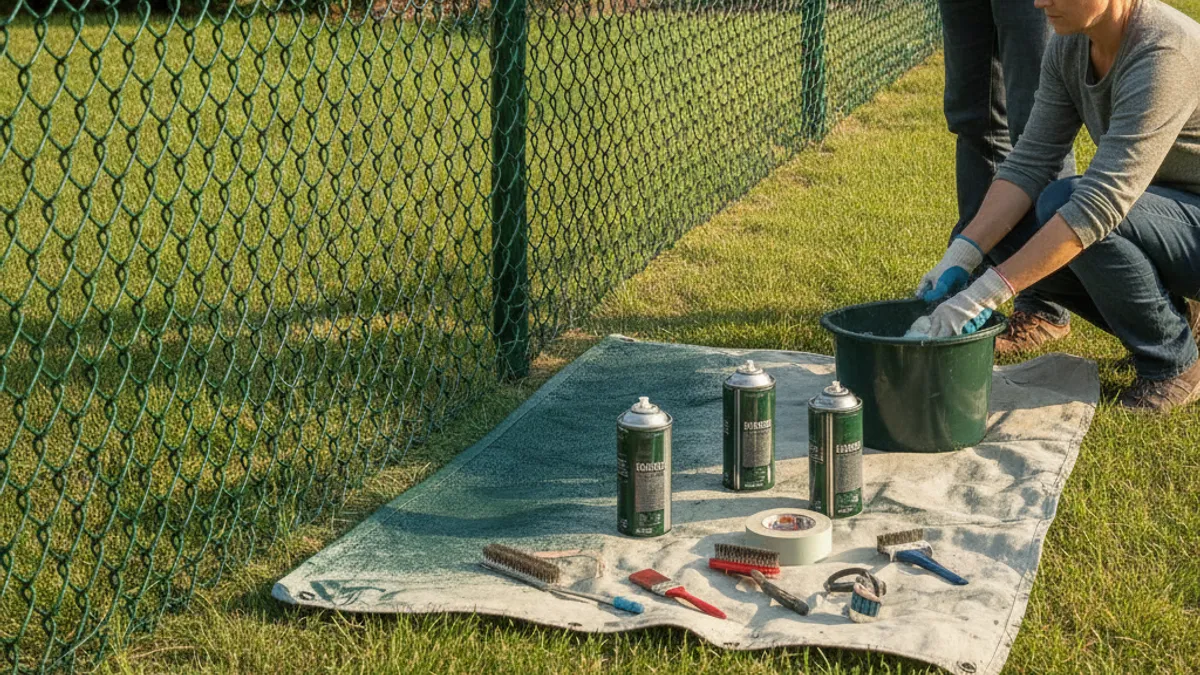
Once your chain link fence is freshly painted, you’ll want to keep it looking its best and ensure the paint job lasts. Regular maintenance is key to preserving the finish and protecting the metal underneath from wear and tear. Think of it like caring for any other painted surface around your home.
Simple cleaning and occasional touch-ups can prevent minor issues from becoming major problems, saving you time and money in the long run. Following a consistent upkeep routine is far easier than a full repaint.
Here’s how to maintain your painted fence:
Regular Cleaning: Periodically wash the fence with mild soap and water to remove dirt, dust, pollen, and grime. Use a soft brush or a cloth, avoiding harsh chemicals or abrasive scrubbers that could scratch the paint.
Inspect for Damage: Walk along the fence line regularly and look for any chips, scratches, or areas where the paint might be starting to peel. Early detection makes repair much easier.
Touch-Up Small Areas Promptly: If you find small chips or scratches, clean the area thoroughly and apply a quick touch-up with matching spray paint or a small brush. This prevents water from reaching the bare metal and starting rust.
Address Rust Immediately: If you spot any new rust forming, even with the paint, address it right away. You might need to lightly sand the area down to the metal, apply a rust-inhibiting primer, and then touch up with your original paint color.
Manage Vegetation: Keep plants and vines trimmed away from the fence. Overgrown vegetation can trap moisture against the fence, promoting rust and potentially damaging the paint over time.
Quick Tips for a Professional-Looking Finish
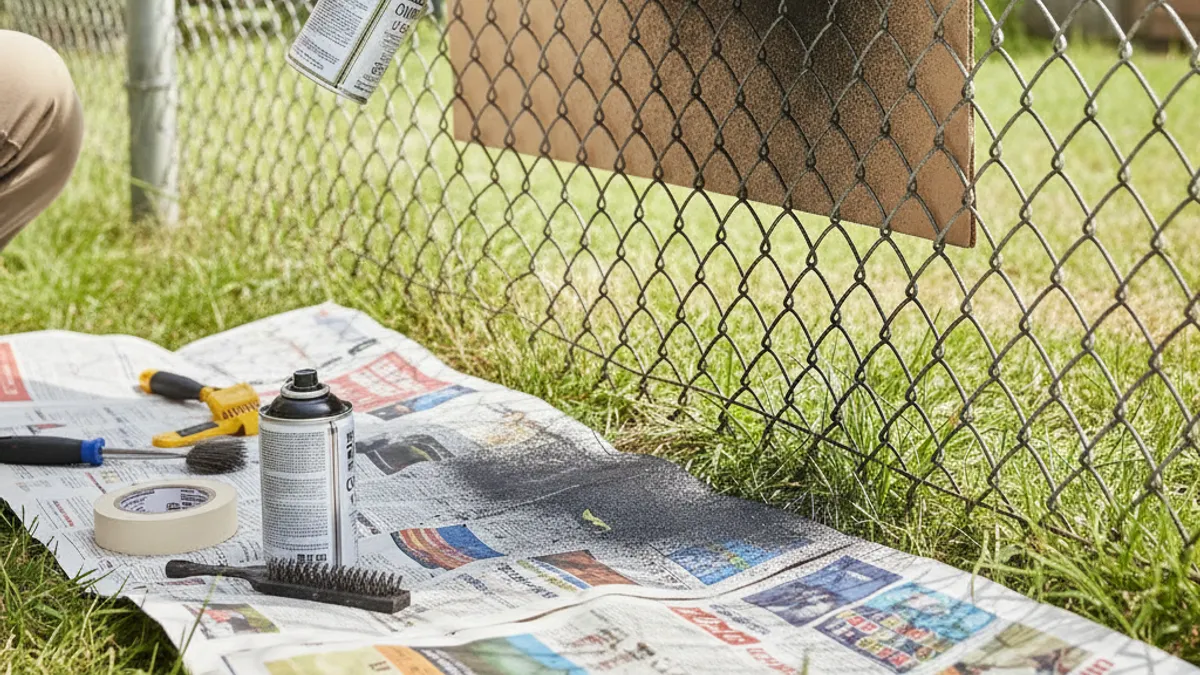
Getting that smooth, factory-like finish on a chain link fence isn't always straightforward, but a few pro tips can make all the difference. These are the little details that elevate your DIY project from just okay to remarkably professional.
These insights come from analyzing what works best in real-world applications and what manufacturers recommend for their products. Implementing them can save you headaches and result in a fence you're proud of.
Here are some quick tips:
Practice Your Spraying Technique: Before hitting the fence, grab a piece of cardboard or scrap metal and practice your spray pattern. This helps you get a feel for the can's output and maintain a consistent distance.
Use Multiple Thin Coats: It's always better to apply several light coats than one heavy one. This prevents drips, ensures even coverage, and builds durability.
Consider the Vertical vs. Horizontal Motion: For chain link, you'll likely use a combination. Start with horizontal passes to cover the length of a diamond, then use vertical passes to ensure the top and bottom edges get paint.
Work in Good Lighting: Ensure you can clearly see what you're doing. Painting in bright daylight or with good artificial lighting helps you spot missed spots or potential drips as you work.
Don't Paint in Direct, Intense Sunlight: While you need light, painting in scorching hot sun can cause the paint to dry too quickly on the surface, leading to an uneven texture or visible spray patterns. Slightly overcast days are often ideal.
Keep the Can Moving: Never stop spraying in one spot. Start spraying before the fence and stop after you've passed it to ensure smooth, overlapping lines without hard edges.
Follow Manufacturer Instructions: Always read and follow the specific instructions on your chosen paint and primer cans regarding application temperature, drying times, and recoating intervals. This is the most reliable guidance for your specific product.
How questions do people ask before buying a paint sprayer for their fence
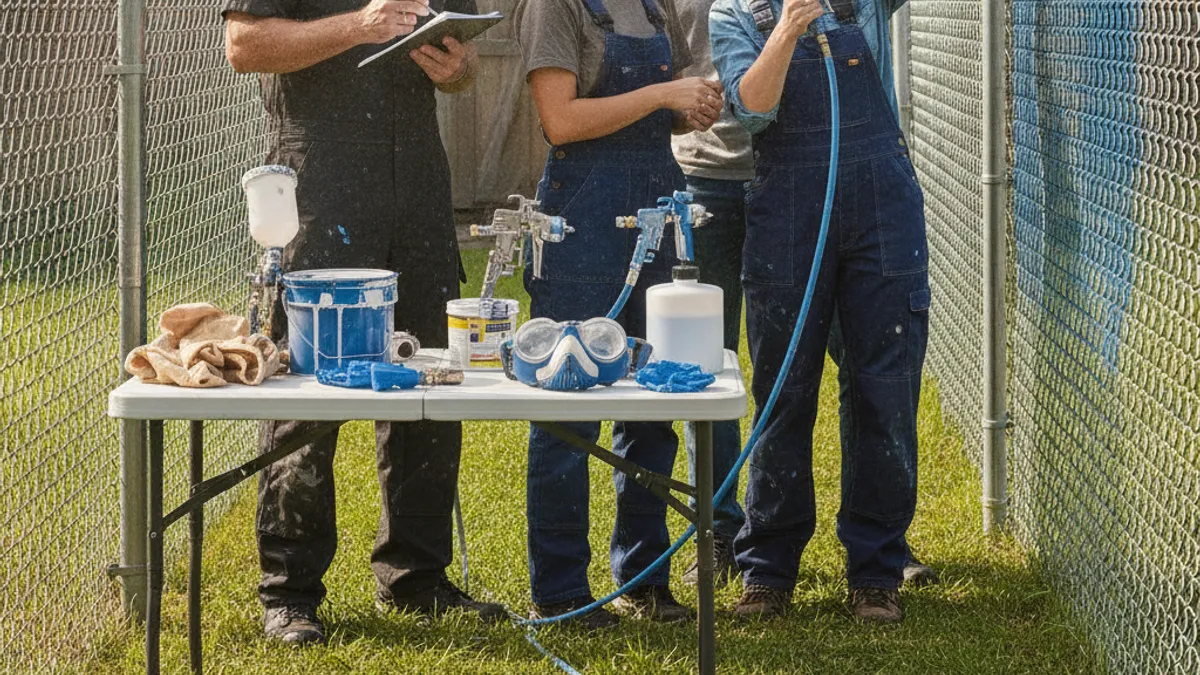
What's the difference between a garden sprayer and a paint sprayer?
A garden sprayer is designed to atomize liquids like water, fertilizer, or pesticides, producing a fine mist. A paint sprayer, on the other hand, is built to handle thicker, more viscous paint formulations, using higher pressure and specialized nozzles to atomize paint evenly. Using a garden sprayer for paint will likely result in clogged nozzles and a poor finish.
Can I use a can of spray paint without a sprayer?
Absolutely. For chain link fences, standard aerosol cans of exterior metal spray paint are very common and effective. They are designed for direct application without needing a separate sprayer. The "spray paint" in the context of this article often refers to these aerosol cans, not necessarily a large power sprayer, though larger sprayers can also be used.
What kind of paint is best for a chain link fence?
The best kind of paint for a chain link fence is an exterior-grade metal spray paint, often an oil-based enamel formulation. These paints are designed to adhere well to metal, resist rust, and withstand outdoor elements like UV radiation and moisture. Brands like Rust-Oleum and Krylon offer specific products formulated for metal fences that provide durability and ease of application.