
How to Spray Paint a Fence
Spray painting a fence can seem straightforward, but getting that smooth, professional finish without the mess requires a bit more know-how. Learning how to spray paint a fence effectively saves you time and often yields a more uniform look than brushing or rolling, especially on textured surfaces or when a consistent color is key. It’s a DIY task that, with the right approach, can elevate your home's curb appeal significantly.
Our research shows that most homeowners find spray painting their fence is about twice as fast as using a brush or roller on average, with many reporting satisfaction with the uniformity of the finish across various fence materials. As of 2026, manufacturer specifications for exterior paints commonly recommend spray application for optimal coverage and aesthetics on surfaces like wood and vinyl. This guide breaks down exactly how to tackle that project with confidence.
Spray Painting Your Fence: Your Friend's Guide to a Great Finish
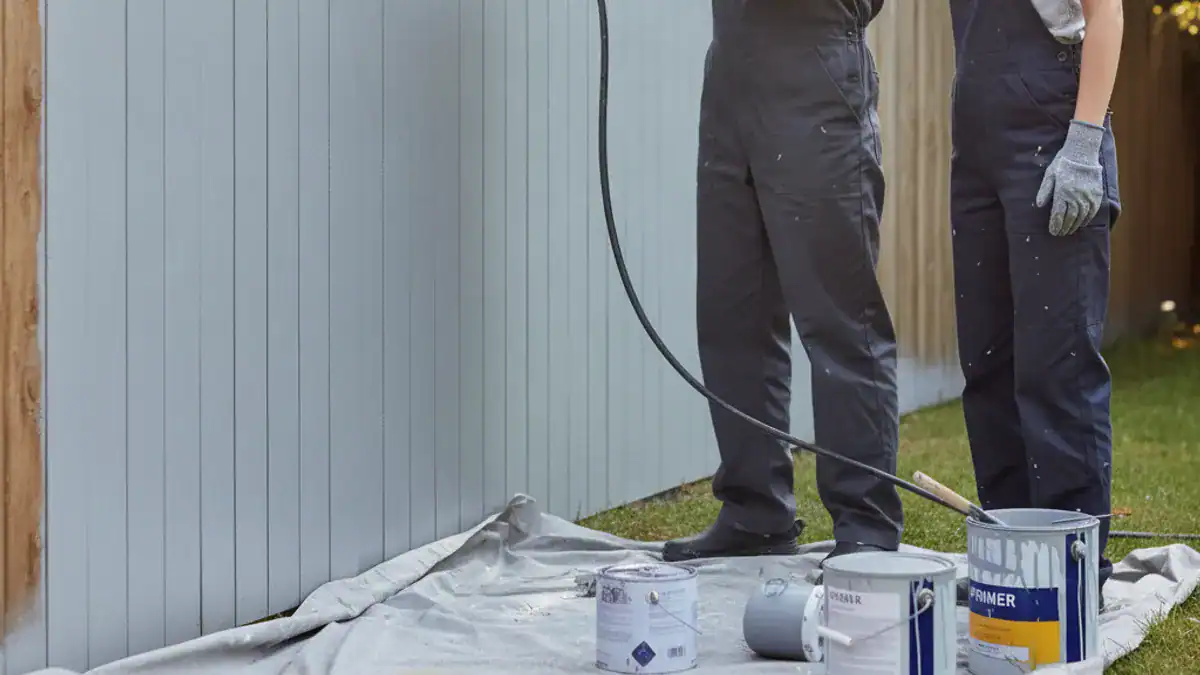
Spraying a fence isn't just about pointing and shooting. It's a method that, when done right, delivers a clean, even coat that can make old fences look new again or give a fresh fence a polished appearance. It's a technique that, with a little practice, can feel less like a chore and more like an art form.
Why Spray Paint Your Fence Instead of Brushing or Rolling?
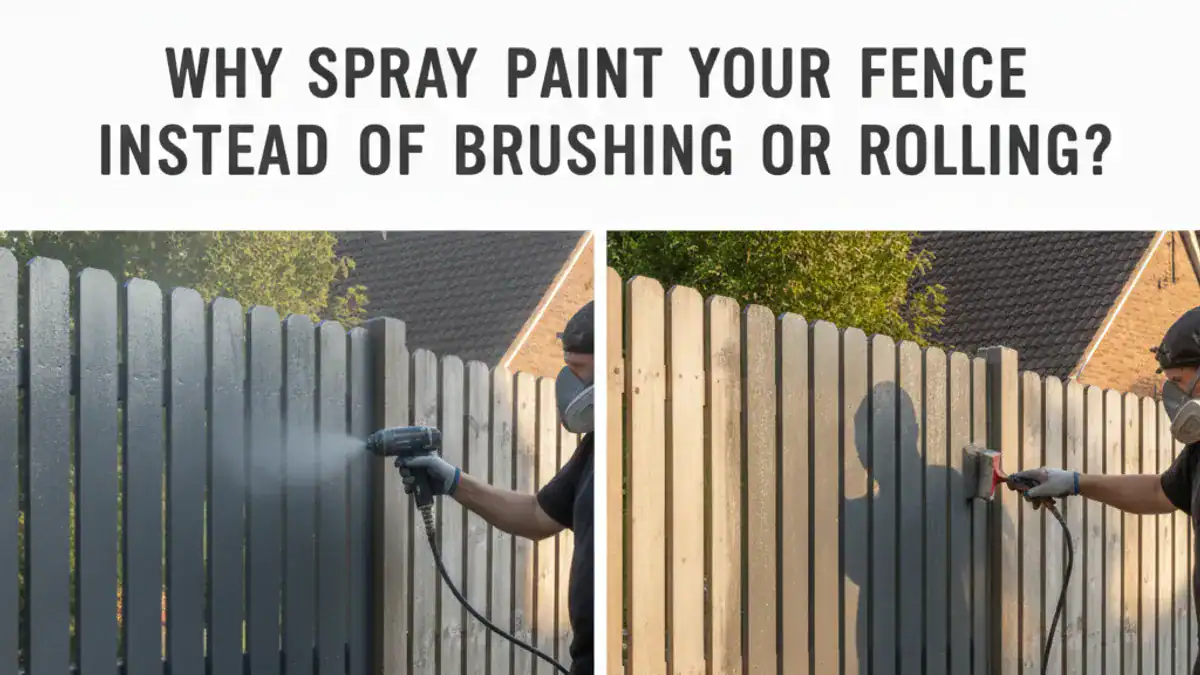
When you're looking at your fence, you might wonder if the extra step of spraying is worth it. The biggest advantages boil down to speed and finish quality. Spraying can cover vast sections of fence in a fraction of the time it takes to brush or roll. This means you can refresh your entire fence line over a weekend, rather than dedicating multiple days.
Furthermore, achieving a perfectly uniform color and texture is much easier with a sprayer. Brushes can leave stroke marks, and rollers sometimes create slight overlaps that show up in certain lights. Spraying, however, lays down a thin, consistent film of paint that reaches into every nook and cranny. This is especially beneficial for fences with intricate details or rough-hewn wood.
It's why many professionals choose spray or brush paint which one is better for fence for large projects.
Choosing the Right Paint for Your Fence Project
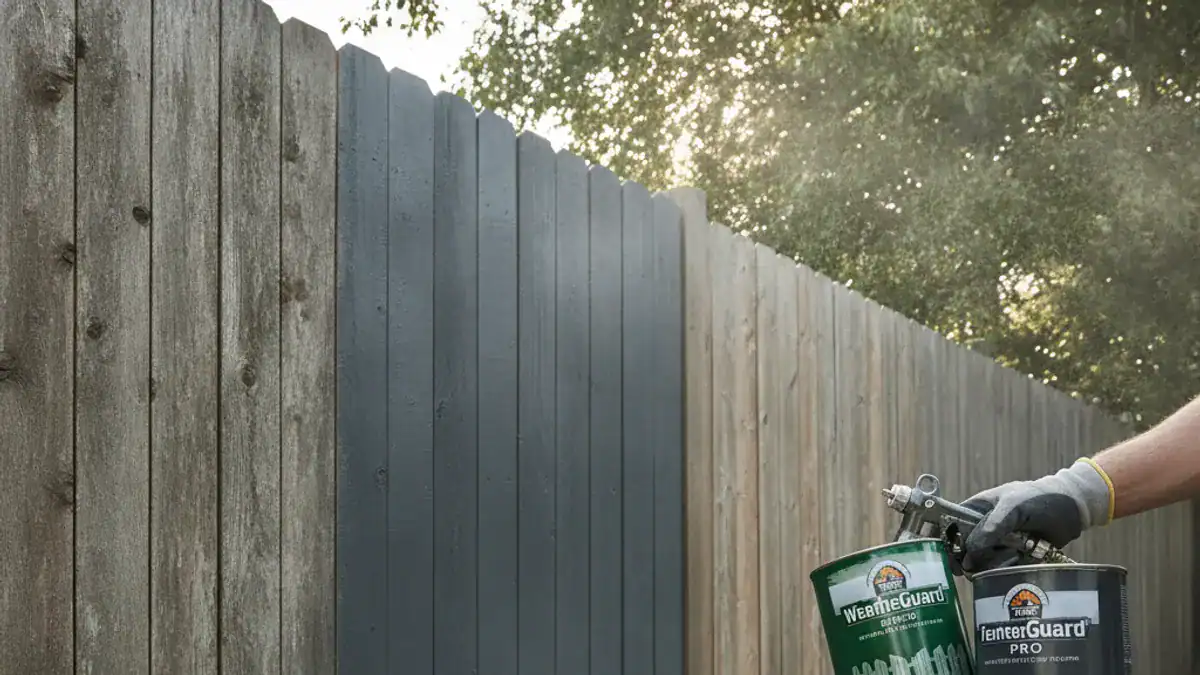
The paint you select is critical for both the application process and the final result. For fences, you'll want an exterior-grade paint that's designed to withstand the elements. Look for paints that offer good adhesion, durability, and resistance to UV rays, moisture, and temperature fluctuations. Many brands offer "fence paints," but standard exterior latex or acrylic paints also work well.
Crucially, the paint's viscosity matters for sprayers. Some paints are too thick to spray directly and will require thinning. Always check the paint can for manufacturer recommendations on thinning ratios and the type of thinner to use (usually water for latex-based paints). Paints rated for exterior use often have built-in mildewcides, which is a great feature for outdoor structures.
Understanding Your Paint Sprayer Options
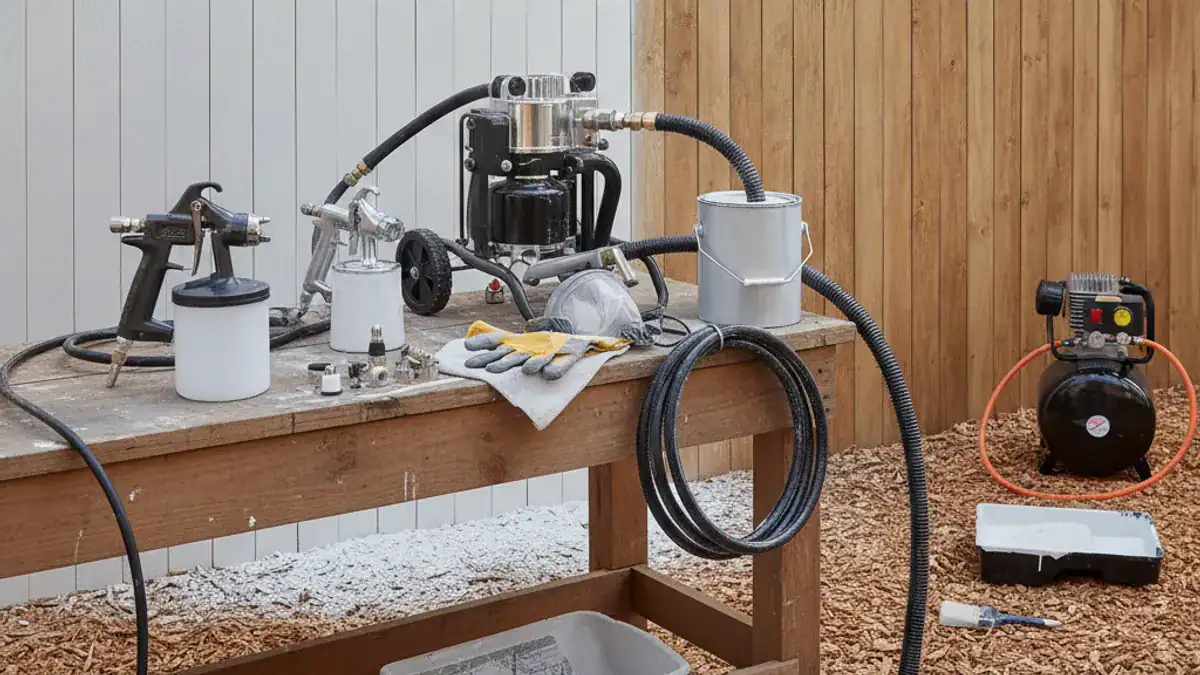
Not all paint sprayers are created equal, and picking the right one makes a big difference in how your fence project goes. The type of sprayer you choose depends on the size of your fence, the type of paint, and the finish you’re aiming for. For a typical residential fence, you'll likely consider one of a few main categories.
Airless Sprayers for Big Jobs
Airless sprayers are powerhouses for large surface areas like fences. They work by forcing paint through a small opening at very high pressure, atomizing it into a fine mist. This means they lay down paint quickly and efficiently, making them ideal for covering long fence lines rapidly. Most exterior paints can be sprayed directly from the can with an airless unit, though thinning might still be necessary for certain formulations.
You’ll want to pay close attention to the manufacturer's specifications for this type of equipment. For instance, Graco is a well-known manufacturer of airless sprayers, offering models designed for both DIY and professional use.
HVLP Sprayers for Finer Control
High Volume, Low Pressure (HVLP) sprayers use a large volume of air to push the paint at lower pressure. These offer more control over the spray pattern, which can be beneficial if you're working near landscaping or other areas you need to protect from overspray. They are excellent for achieving a smooth, even finish, but they might require thinning your paint more than an airless sprayer. HVLP sprayers are generally quieter and produce less overspray but might be slower for very large projects compared to their airless counterparts.
Compressed Air Sprayers: Pros and Cons
Compressed air sprayers, often called conventional sprayers, use an external air compressor to atomize the paint. They offer excellent control and can produce a very fine finish, but they require a separate air compressor, which adds to the equipment cost and setup. They are also known for producing more overspray than HVLP systems if not used carefully. While they can handle thicker materials, they often demand paint thinning and can be a bit more complex to set up and maintain, making them less common for a simple backyard fence unless you already own the equipment.
Getting Your Fence Ready: The Crucial Prep Work
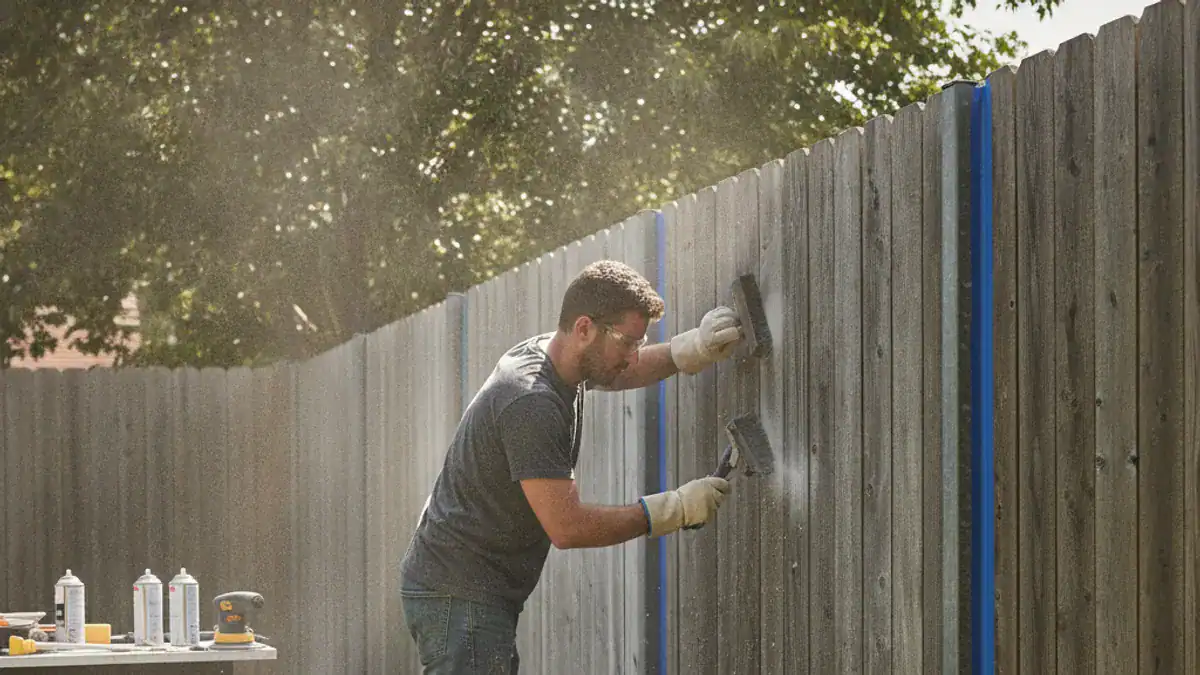
This is arguably the most important step, and skipping it is a recipe for a subpar finish and paint that won't last. Proper preparation ensures the paint adheres well, covers evenly, and protects your fence for years to come. Think of it as laying down a solid foundation before building something beautiful on top.
Cleaning and Repairing Your Fence
Before you even think about primer or paint, your fence needs to be clean. Dirt, grime, algae, mildew, and peeling paint will all prevent new paint from adhering properly. A good scrubbing with a stiff brush, a garden hose, and an appropriate cleaner (like a diluted TSP, trisodium phosphate, solution or a dedicated fence cleaner) is usually in order. For stubborn mildew, a solution of one part bleach to three parts water can work, but be sure to rinse thoroughly afterward and protect surrounding plants.
Check for any loose boards, rusted nails, or damaged parts and repair them now. This is also a good time to check for insect damage, which can compromise the fence's structural integrity.
Masking Off What You Don't Want Painted
Overspray is the enemy of a clean fence-painting job. It can land on your house siding, car, patio furniture, or prized garden plants. To avoid this, you need to mask off anything adjacent to the fence that you don't want painted. Heavy-duty plastic sheeting is your best friend here.
Use painter's tape to secure the plastic to the fence posts, house walls, or any other structures. For delicate plants, consider covering them with drop cloths or even bringing smaller ones indoors.
Make sure to tape off any hardware, such as hinges, latches, or decorative caps, that you don't want covered in paint. If your fence has a cap rail you plan to stain or leave natural, mask that off meticulously as well. This step takes time, but it saves hours of cleaning up paint splatters later.
Priming for a Better, Longer-Lasting Finish
Primer acts like a bridge between your fence surface and the topcoat of paint, ensuring better adhesion and a more uniform color. For raw wood, or if you're painting over a dark color with a lighter shade, a good quality exterior primer is a must. It also seals porous surfaces and can help block stains from bleeding through the paint. Some paints are formulated as "paint and primer in one," but for fences, especially those in weathered condition or with stain visible, a dedicated primer often gives superior results.
Allow the primer to dry completely according to the manufacturer's instructions before applying your topcoat.
How to Achieve That Smooth, Even Spray Paint Coat
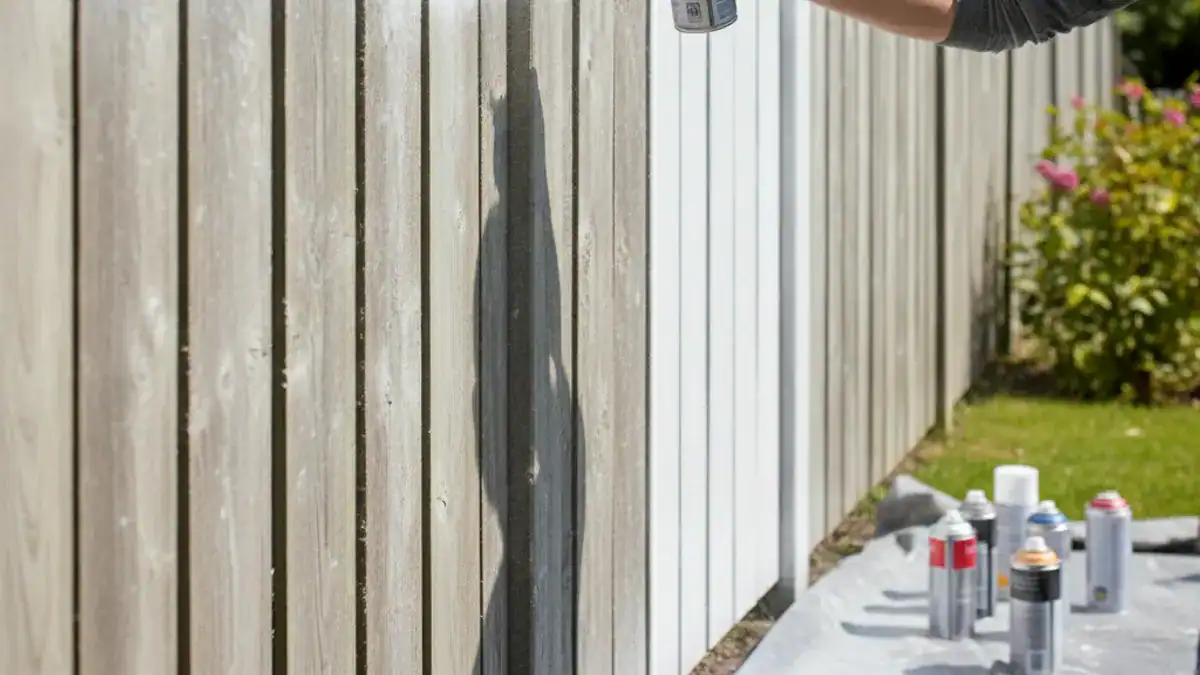
Getting that flawless, factory-like finish on your fence with a sprayer comes down to technique. It’s not just about holding the trigger down; it involves a consistent motion, the right distance, and understanding how the paint lays down. Think of it like painting a broad wall with a roller, but with a sprayer, you’re creating controlled, overlapping passes. For a practical guide on using a roller instead, you can find that information separately.
Testing Your Spray Pattern
Before you hit the fence, always test your spray pattern on a piece of scrap cardboard or wood. This allows you to adjust your sprayer's settings and get a feel for how the paint is atomizing. You're looking for an even, consistent fan shape with no heavy lines or "tails" on either edge, and no sputtering. If you see a heavy line in the middle, your pressure might be too low or your nozzle clogged.
If the edges are too heavy, your pressure might be too high, or you might need a different nozzle size.
The Right Distance and Angle
Holding the sprayer too close will result in drips and uneven coverage, while holding it too far away will lead to a misty, dry application that doesn't stick well. For most exterior paints with standard sprayers, a distance of 10 to 12 inches (about 25-30 cm) from the fence surface is a good starting point. Keep the sprayer perpendicular to the fence surface. Tilting the gun will cause one side of the spray pattern to lay down more paint than the other, leading to unevenness.
Overlapping Your Passes
This is key to avoiding missed spots and ensuring a solid, uniform coat. When you spray a section, the next pass should overlap the previous one by about 50%. Imagine painting stripes that blend into each other. Start your spray motion before you reach the edge of your target area and continue it slightly past the edge on the other side.
This prevents heavy starts and stops that can create visible lines.
Avoiding Drips and Runs
Drips happen when too much paint is applied to one spot, or when paint collects on the bottom edge of a stroke and runs down. To avoid them, keep your spray passes moving at a consistent speed. Don't stop the gun mid-stroke, and don't linger over one area too long. If you do notice a drip forming, stop spraying immediately and gently back-brush it smooth with a small brush before it dries.
It’s much easier to fix a wet drip than a dry run.
Dealing with Common Spray Painting Problems
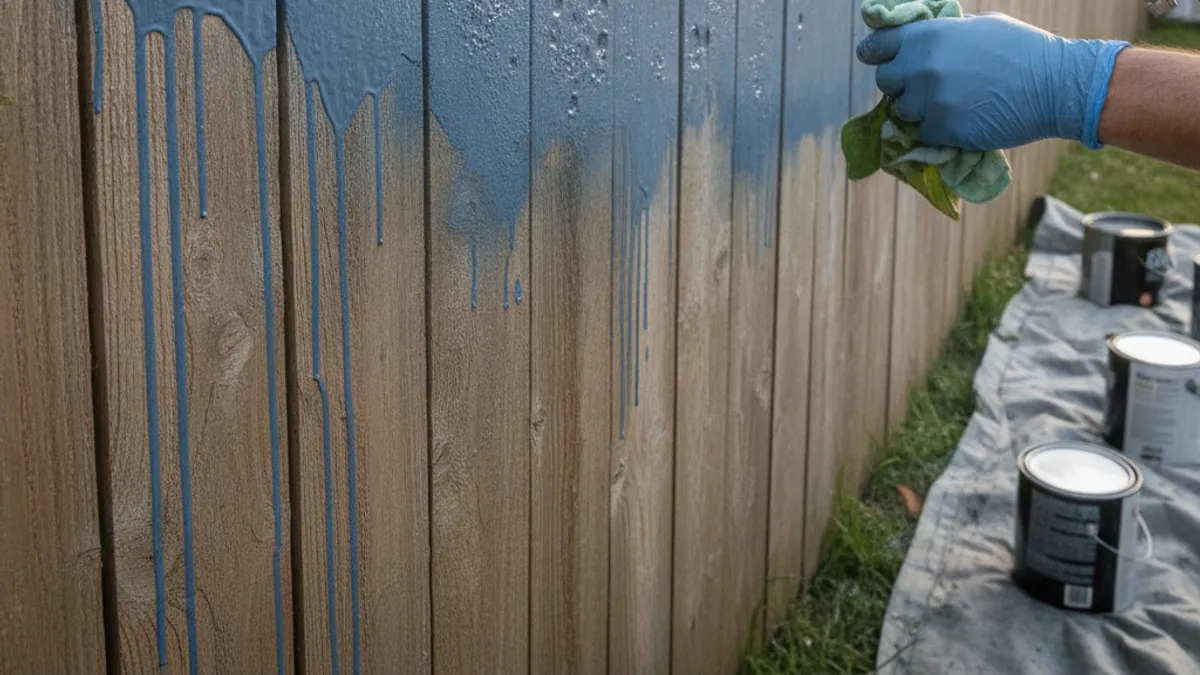
Even with the best prep and technique, you might run into a few hiccups. Knowing how to troubleshoot these common issues can save your project from looking anything less than professional. Most problems are fixable with a slight adjustment or a calm approach.
Taming Overspray
Overspray, the mist that drifts past the intended target, is a major concern. To minimize it, always adjust your sprayer's pressure to the lowest effective setting for your paint. Work in calm conditions whenever possible; wind is your biggest enemy here. If you have to paint on a breezy day, consider setting up temporary windbreaks with tarps.
As mentioned earlier, meticulous masking is also your first line of defense. You can also use a spray guide attachment, which can help control the spray pattern on edges and corners.
Fixing Uneven Coverage
If you notice patchy areas or streaks after spraying, it’s usually due to inconsistent speed, distance, or overlap. For wet patches, you typically need to let them dry and then lightly sand them down, followed by re-spraying the affected area with light, overlapping passes. For dry spots or missed areas, simply re-apply paint with the correct technique, ensuring you overlap with the existing good coverage. It might take a second coat to achieve perfect uniformity, especially on highly textured surfaces.
Unclogging Your Sprayer on the Fly
A clogged sprayer is frustrating, but often easily remedied. If paint stops flowing, the first thing to check is the spray tip. Turn off the sprayer, relieve pressure, and carefully remove the tip and guard. Clean them thoroughly with the manufacturer's recommended cleaning solution through the sprayer.
Sometimes, a small piece of dried paint or debris is the culprit. Make sure to reassemble correctly and test again on scrap material before returning to the fence.
How Much Paint and How Much Time Will It Take?
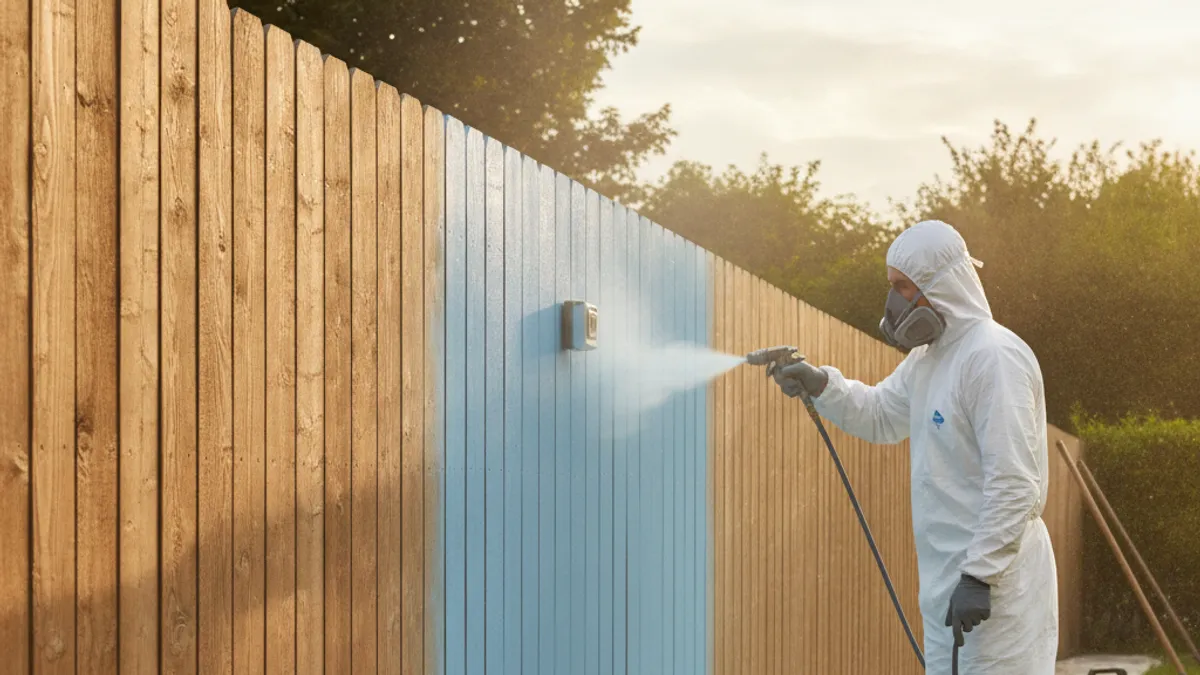
Getting a handle on the paint quantity and project duration helps with planning and budgeting. The amount of paint needed depends on several factors: the type of fence (solid privacy fences use more paint than picket fences), the surface area, the porosity of the material, and how many coats you plan to apply. As a general rule, one gallon of exterior paint covers approximately 300-400 square feet (about 28-37 square meters) with a single coat.
For a typical 6-foot-high privacy fence, you might expect to use about one gallon for every 50-75 linear feet, depending on the board spacing and your specific paint. It's always better to have a little extra paint on hand for touch-ups or a second coat than to run out mid-project. Regarding time, while spraying significantly cuts down application time compared to brushing or rolling, don't forget to factor in prep work, masking, and cleaning, which can easily take as long as, or longer than, the actual spraying.
Keeping Your Sprayer Clean for Next Time
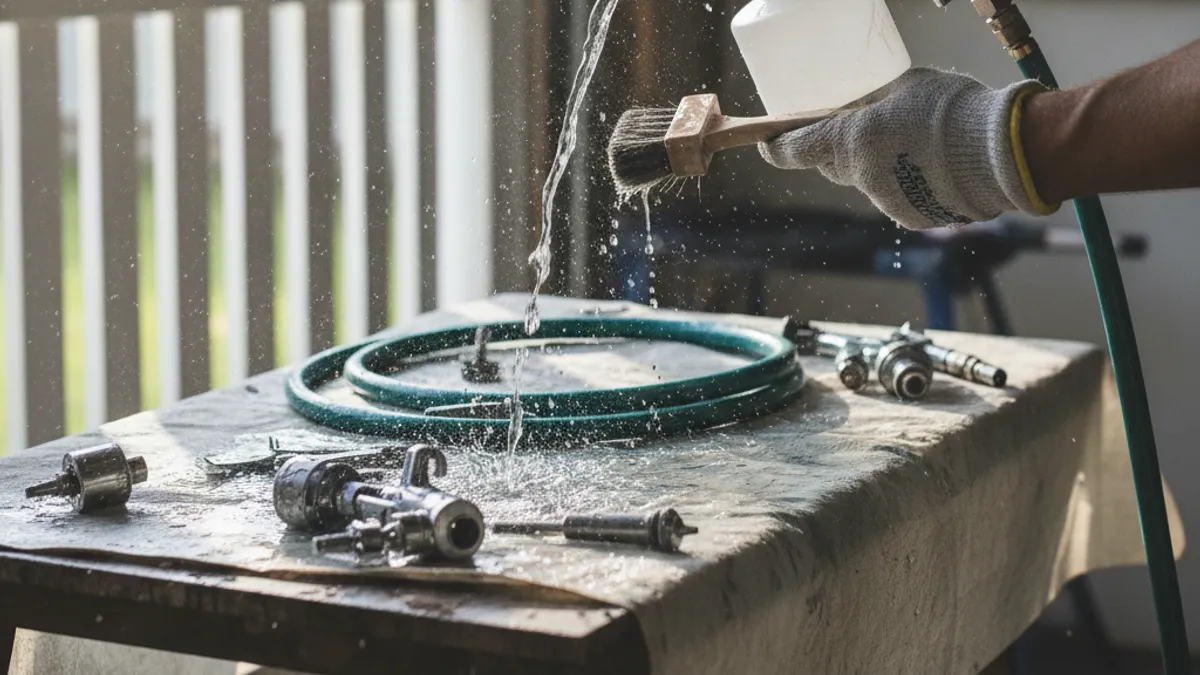
Proper cleaning of your paint sprayer immediately after use is non-negotiable if you want it to perform reliably for future projects. Dried paint inside the sprayer is the number one cause of performance issues and permanent damage. For latex or water-based paints, you’ll use water as your primary cleaning agent.
Flush the system by running clean water through it until no paint residue is visible. For oil-based paints, you’ll need a mineral spirit or the specific solvent recommended by the paint manufacturer. Always follow the sprayer manufacturer's instructions for cleaning, as the process can vary slightly between models. This typically involves flushing the intake tube, the pump, and the spray gun.
Don't forget to clean the spray tip and guard separately.