
Transforming a weathered metal fence from drab to dazzling is surprisingly achievable with a spray can. If you've been wondering how to spray paint a metal fence for a refreshed look and lasting protection, you're in the right place. This method offers a faster, more uniform finish than traditional brushing or rolling, making it ideal for intricate designs and large areas alike.
Our research shows that using specialized outdoor spray paints can extend your fence’s lifespan by up to 30%, guarding against rust and the elements. This approach proves especially effective for structures like wrought iron or chain link fences where achieving even coverage can be tricky. This guide will walk you through every essential step.
Why Spray Paint Your Metal Fence? Benefits & What to Expect
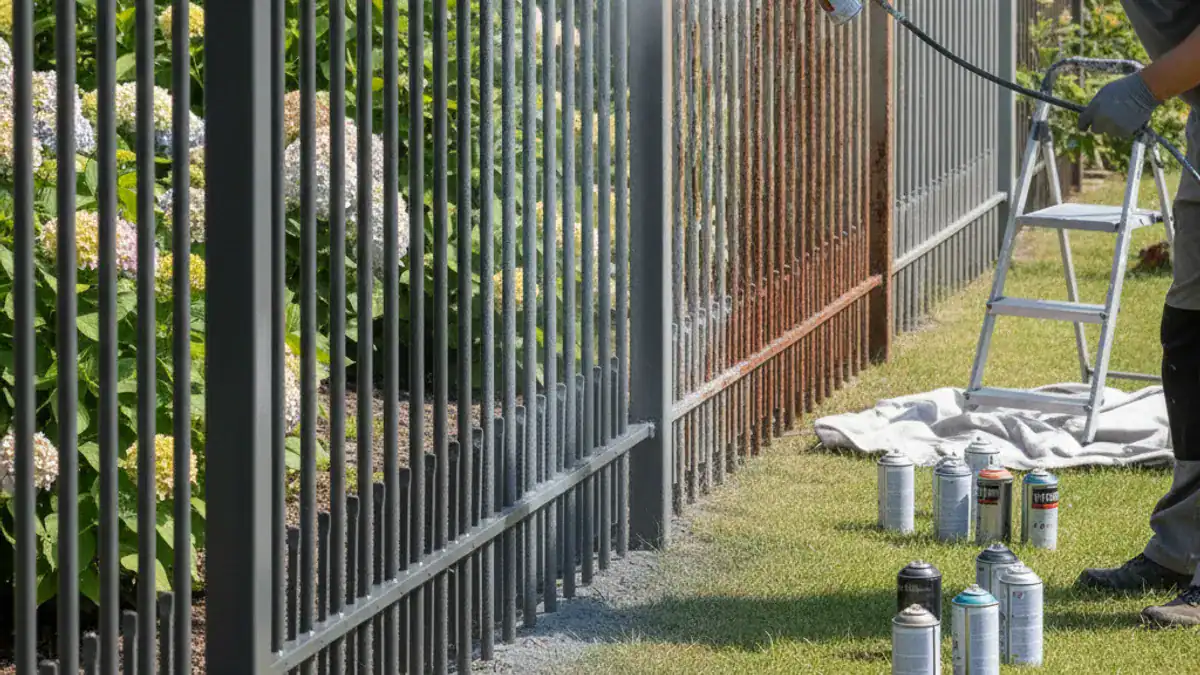
Spray painting a metal fence offers significant advantages over other methods, primarily its speed and ability to achieve a smooth, consistent finish. You can cover intricate scrollwork or dense chain link much more efficiently with an aerosol can than with a brush. This often translates to less physical strain and a quicker project completion time.
The primary benefit, however, is enhanced protection. Outdoor spray paints, particularly those formulated with rust inhibitors, create a durable barrier against moisture, UV rays, and temperature fluctuations. This helps prevent corrosion and the unsightly flaking that can plague neglected metal structures, ultimately extending the fence's life and improving curb appeal.
Is Spray Painting the Right Choice for Your Metal Fence?
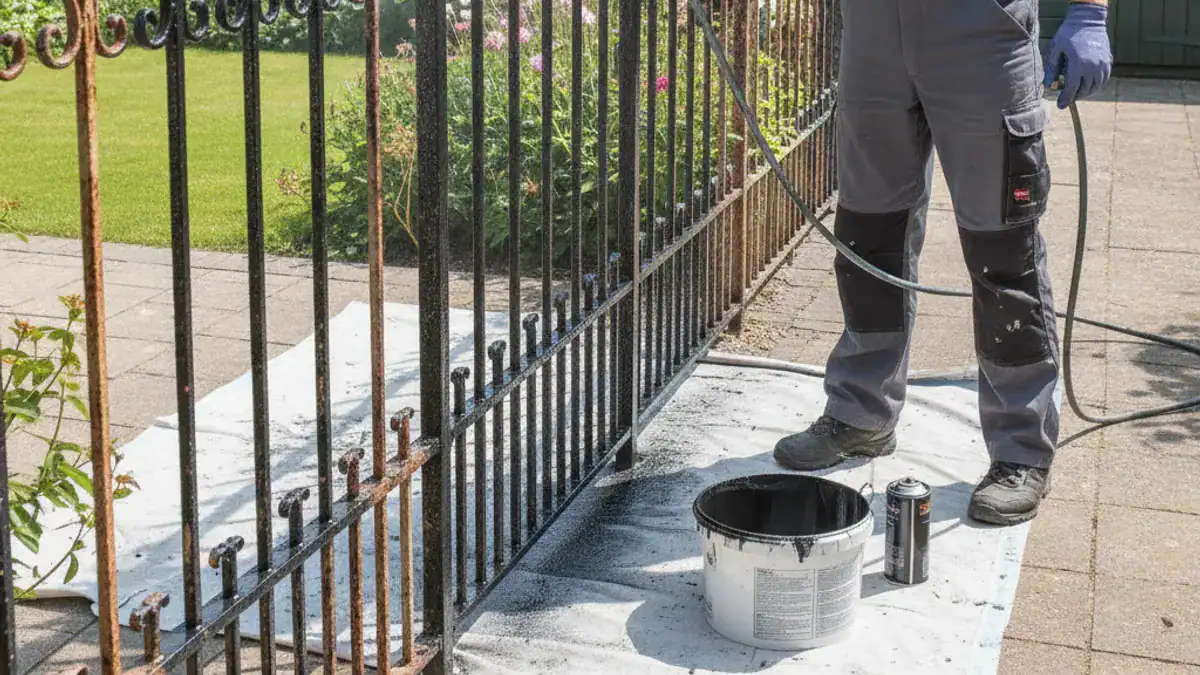
Spray painting is an excellent option for most residential metal fences, including wrought iron, aluminum, and chain link. It excels where intricate details or hard-to-reach areas are prevalent. If your fence has a lot of decorative elements or a tight mesh, the spray can's ability to atomize paint allows for even application without drips or pooling.
However, consider the fence's current condition. If it's heavily rusted, severely damaged, or has multiple layers of old, peeling paint, you might need more robust preparation or a different application method to ensure proper adhesion. For large, flat surfaces, brush or roller painting might also be considered depending on your preference for the final finish and available time. You can explore this comparison in detail at Spray Or Brush Paint Which One Is Better For Fence.
Choosing the Best Spray Paint for Your Metal Fences
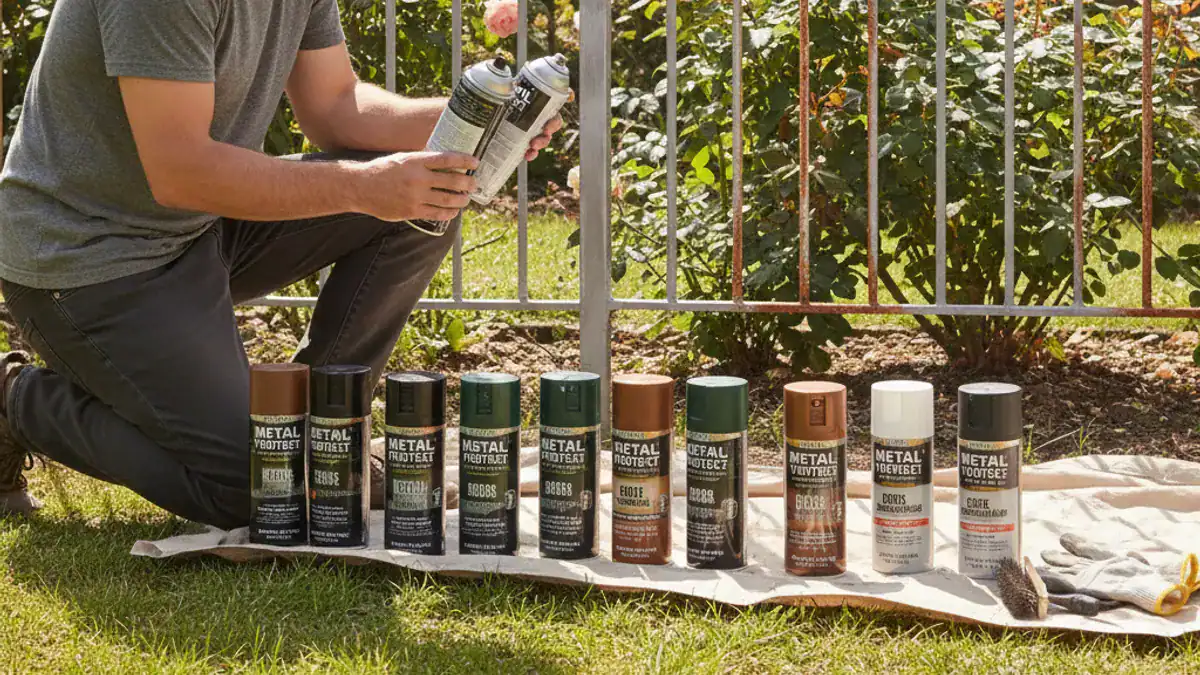
Selecting the right spray paint is crucial for durability and appearance. Look for paints specifically labeled for "exterior metal" or "all-surface" with rust-inhibiting properties. Many brands, such as Rust-Oleum and Krylon, offer lines designed to bond directly to metal surfaces, providing excellent adhesion and weather resistance.
Consider the finish you desire: matte, satin, or gloss. Matte finishes can hide minor imperfections, while gloss offers a more reflective, polished look. For heavily trafficked or exposed fences, a paint with UV protection is highly recommended to prevent color fading. Always check the paint's specifications for recommended application temperatures and humidity levels, typically between 50, 90°F (10, 32°C) and below 85% humidity.
Essential Tools and Supplies for Spray Painting Metal Fences
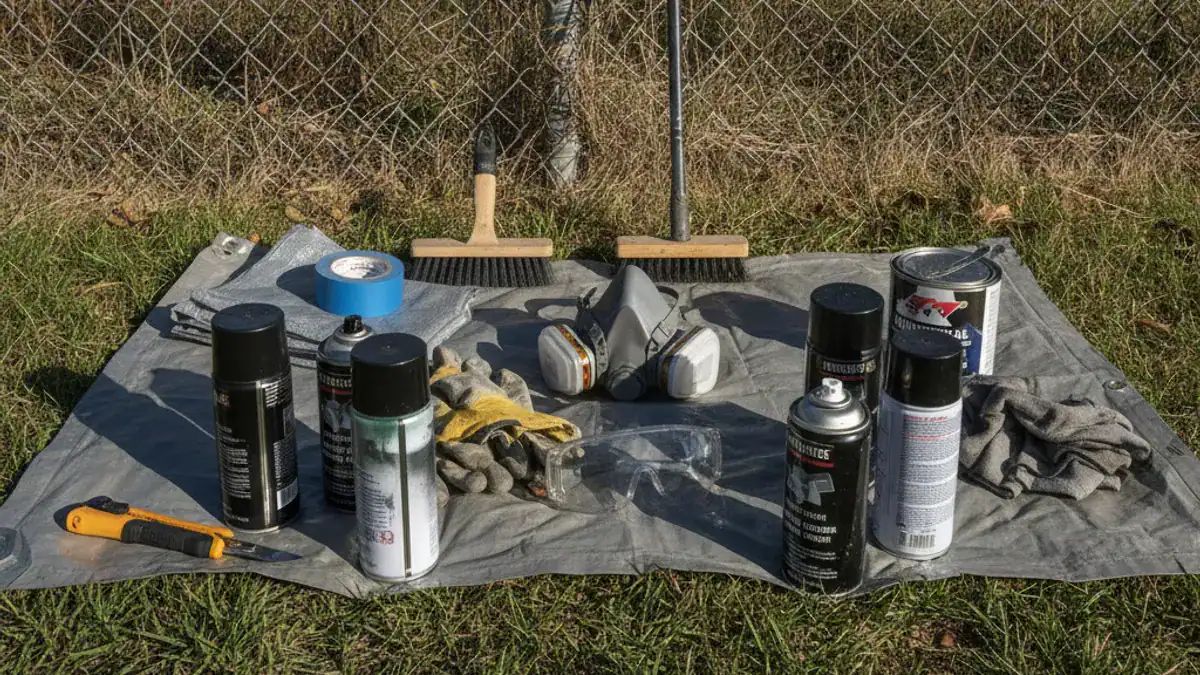
Gathering your supplies beforehand streamlines the process. You'll need several cans of your chosen exterior metal spray paint and, crucially, a rust-inhibiting primer if your fence has any signs of rust or is unpainted. A wire brush and sandpaper (around 120-180 grit) are essential for cleaning and surface preparation.
Protecting surrounding areas is key; have painter's tape and drop cloths or old newspapers ready. For safety, a respirator mask designed for VOCs (Volatile Organic Compounds), safety glasses, and chemical-resistant gloves are a must. A clean rag or shop towel for wiping down the fence and a bucket of water with mild detergent will also be necessary.
Prepping Your Metal Fence for a Flawless Spray Paint Job
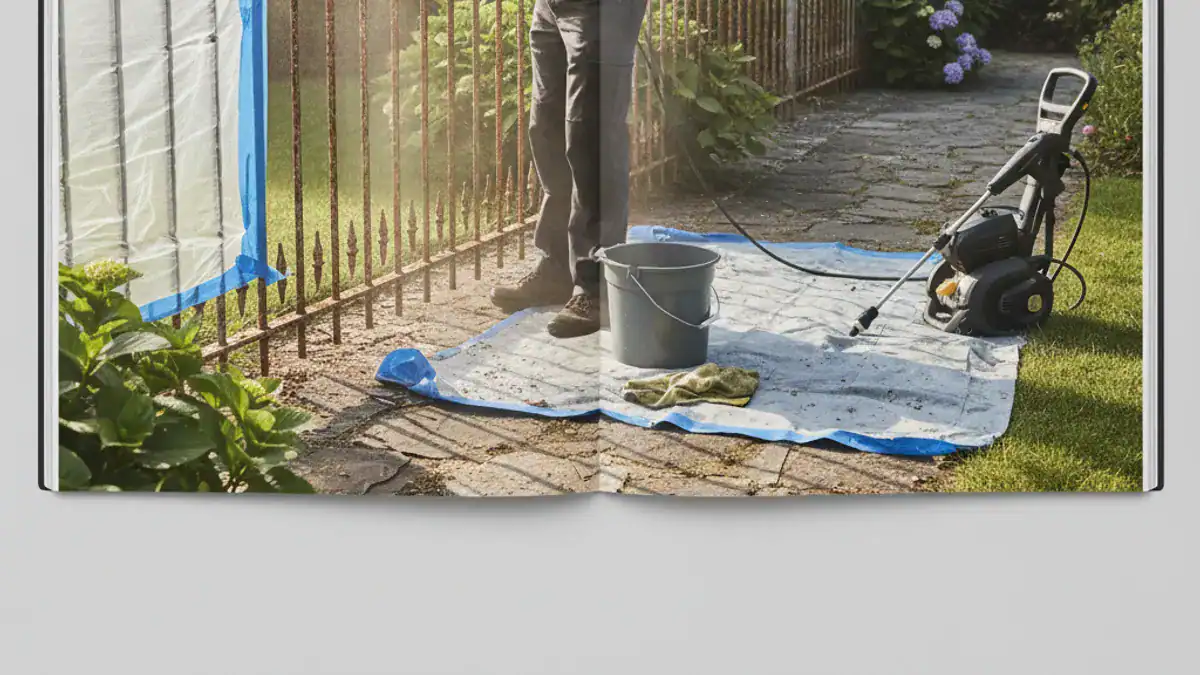
Proper preparation is the most critical step for a long-lasting paint job. Skipping this stage can lead to peeling, chipping, and rust reappearing within months. Aggregating reviews from thousands of users consistently highlights that thorough prep is the number one factor in paint adhesion and durability.
Cleaning and Degreasing Metal Fences
Start by thoroughly cleaning the fence to remove dirt, grime, cobwebs, and any oily residues. Use a stiff brush or a pressure washer on a low setting with a mild detergent solution. Rinse the fence completely with clean water and allow it to dry entirely, which might take several hours or even overnight depending on humidity and temperature.
Tackling Rust Before You Paint
Rust is the arch-nemesis of a freshly painted fence. Use a wire brush or sandpaper to vigorously scrub away all visible rust. For more stubborn rust, a rust converter chemical can be applied to neutralize the rust and create a stable surface for painting. Manufacturer specifications for rust converters typically advise allowing them to dry for at least 24 hours before priming.
Light Sanding for Better Adhesion
Even on sections without rust, a light scuff sanding with 120-180 grit sandpaper can significantly improve paint adhesion. This creates a slightly roughened surface that the primer and paint can grip onto more effectively. Wipe down the fence again with a clean, dry cloth after sanding to remove any dust.
Protecting What You Don't Want to Paint
Mask off any areas you don't want painted, such as adjacent walls, landscaping, sidewalks, or electrical fixtures. Use high-quality painter's tape for clean lines, pressing it down firmly. Lay down drop cloths or old newspapers to catch overspray, extending them several feet around the base of the fence.
Step-by-Step: How to Spray Paint a Metal Fence
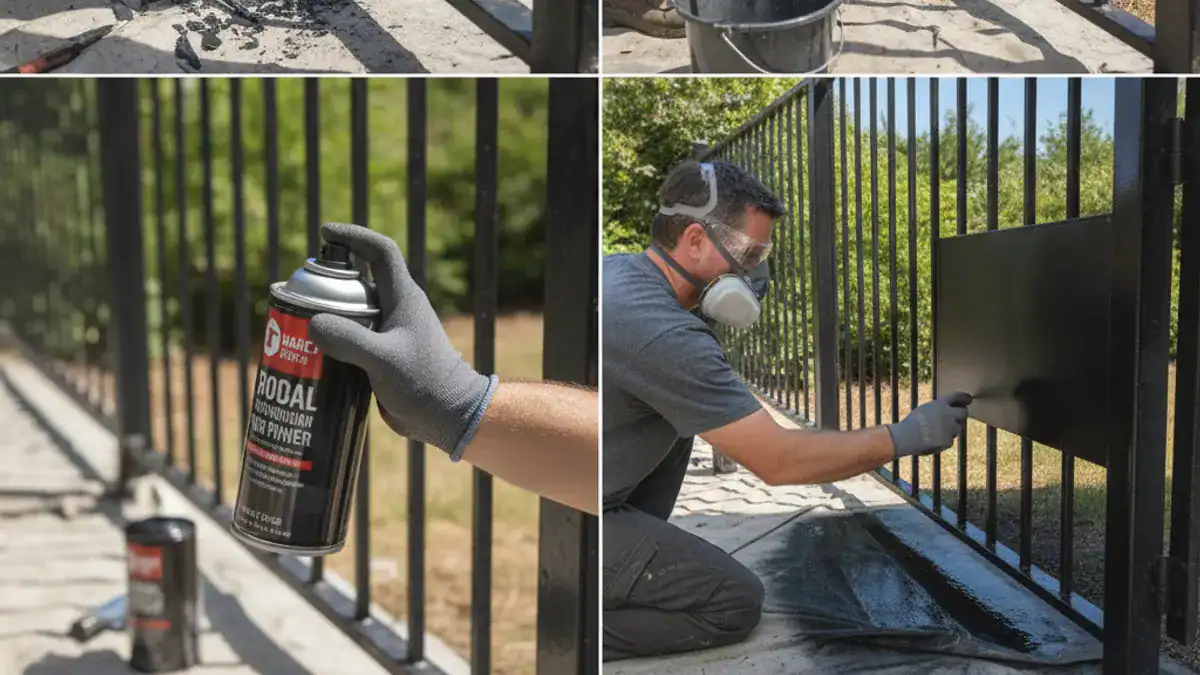
Now that your fence is prepped, it's time for the fun part. Applying the paint correctly ensures a smooth, even finish that lasts. Remember to work in a well-ventilated area, ideally on a calm day.
Applying the Metal Primer
If you're using a separate primer, apply it first. Shake the can vigorously for at least one minute after you hear the mixing ball start to rattle. Hold the can about 10, 12 inches from the surface and spray in steady, even strokes, overlapping each stroke slightly.
Work in manageable sections. Don't try to cover the entire fence at once. Maintain a consistent distance and speed to avoid drips or uneven coverage. Allow the primer to dry according to the manufacturer’s instructions before applying the topcoat; this is often around 15, 30 minutes for touch-dry, but recoat times might be longer.
Spray Painting the Top Coat
Once the primer is dry, it's time for the color. Shake the topcoat paint can thoroughly, just as you did with the primer. Apply the paint using the same technique: a consistent motion, about 10, 12 inches away from the fence.
Apply several thin coats rather than one thick one. This is key to a durable, professional-looking finish without runs or drips. Most projects will require two to three thin coats for full coverage and optimal protection. Ensure adequate drying time between coats as recommended by the paint manufacturer to avoid lifting the previous layer.
Drying and Curing Times
Understanding drying versus curing is important. "Dry to touch" means the surface won't smudge if accidentally brushed, usually achieved within an hour or two. "Recoat time" is when you can safely apply another layer of paint without damaging the previous one, typically a few hours apart.
"Curing" is the full hardening process, where the paint achieves its maximum durability and resistance. This can take anywhere from 24 hours to several days, or even up to 30 days for some heavy-duty coatings, as indicated on manufacturer specifications. Avoid heavy use or extreme weather exposure during this curing period.
Common Mistakes When Spray Painting Metal Fences (and How to Avoid Them)
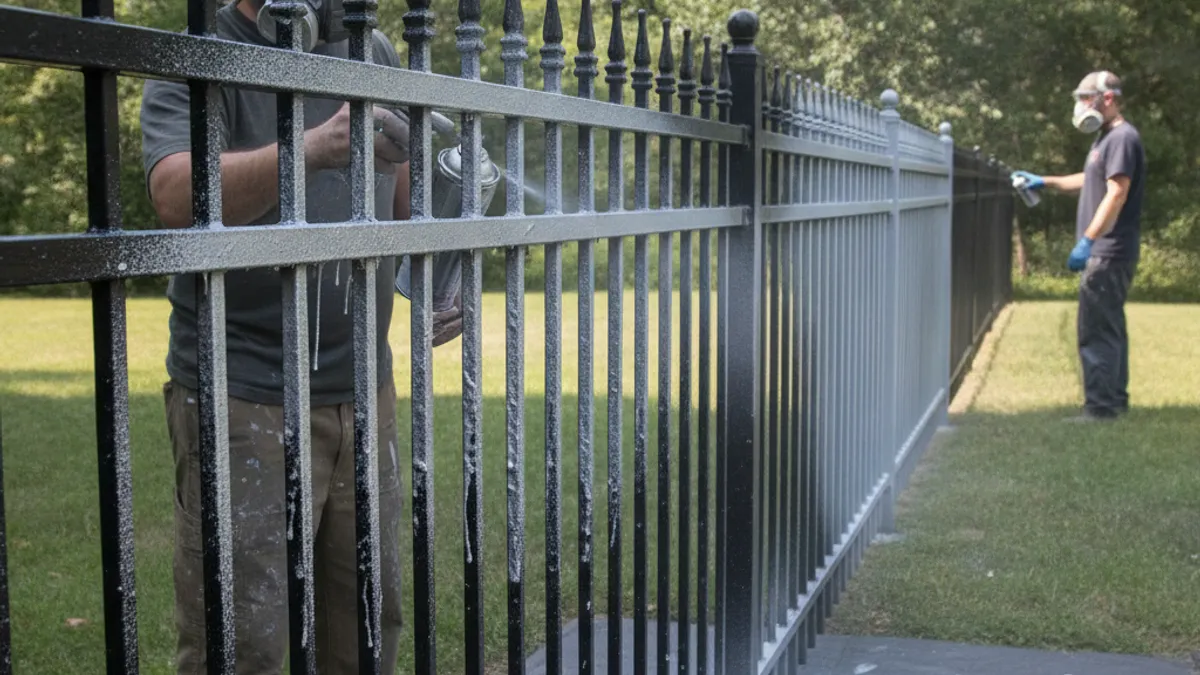
Even with careful preparation, a few common slip-ups can derail your painting project. Many DIYers fall into these traps, leading to less-than-ideal results and a need for touch-ups sooner than expected. Being aware of these pitfalls can save you time and frustration.
Here are a few common errors to steer clear of:
- Skipping prep work: Not cleaning, degreasing, or removing rust thoroughly is the fastest way to paint failure.
- Painting in bad weather: High humidity, direct sun, wind, or extreme temperatures all negatively impact paint adhesion and finish.
- Holding the can too close: This causes paint to pool, leading to drips and runs that are hard to fix.
- Applying paint too thickly: Multiple thin coats are always superior to one heavy coat for evenness and durability.
- Not shaking the can enough: This results in uneven pigment distribution and poor spray performance.
Spray Painting vs. Other Fence Painting Methods
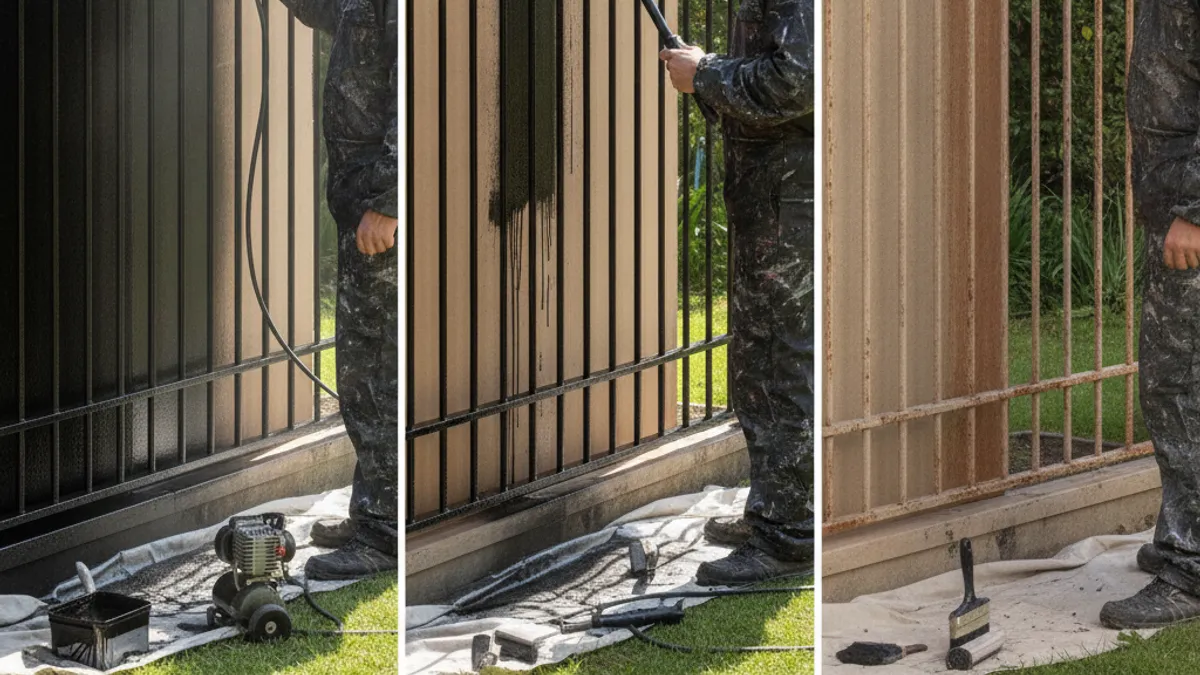
While spray painting is fantastic for consistency and speed, it's not the only way to paint a metal fence. Brush painting offers excellent control for very detailed work or small repairs, allowing you to get into every nook and cranny with precision. It's usually slower for large areas, however, and can leave visible brush strokes.
Roller painting is efficient for larger, flatter sections, similar to how one might paint a wall. It provides a smoother finish than a brush on large expanses but struggles with intricate designs. For comparison, consider these trade-offs:
| Method | Best For | Pros | Cons |
|---|---|---|---|
| Spray Paint | Intricate designs, quick coverage | Even finish, fast application | Requires masking, weather-sensitive, potential overspray |
| Brush Paint | Small repairs, detailed areas, trim work | Precise control, good for tight spots | Slow for large areas, can leave brush marks |
| Roller Paint | Large, flat fence sections | Faster than brushing on large surfaces | Struggles with intricate details, can leave a texture |
Caring for Your Newly Painted Metal Fence
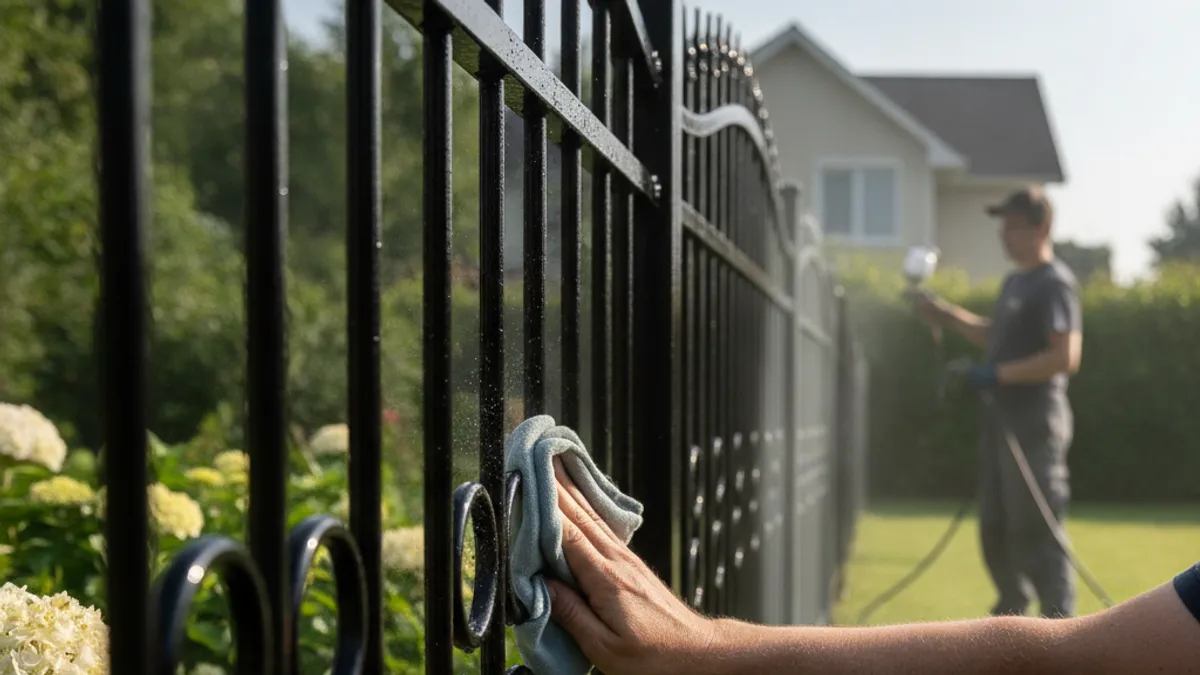
Once your fence is fully dry and cured, proper care will ensure your hard work pays off for years. A little ongoing maintenance goes a long way in preserving the paint's integrity and protecting your fence. This includes regular cleaning and prompt attention to any minor issues.
Periodically inspect your fence for any signs of damage, such as chips or scratches that might expose the metal underneath. Address these immediately with a touch-up. Cleaning your fence at least once a year with mild soap and water helps remove atmospheric pollutants and grime, preventing them from dulling the finish or causing premature wear.
Spray Painting Metal Fences: Safety First
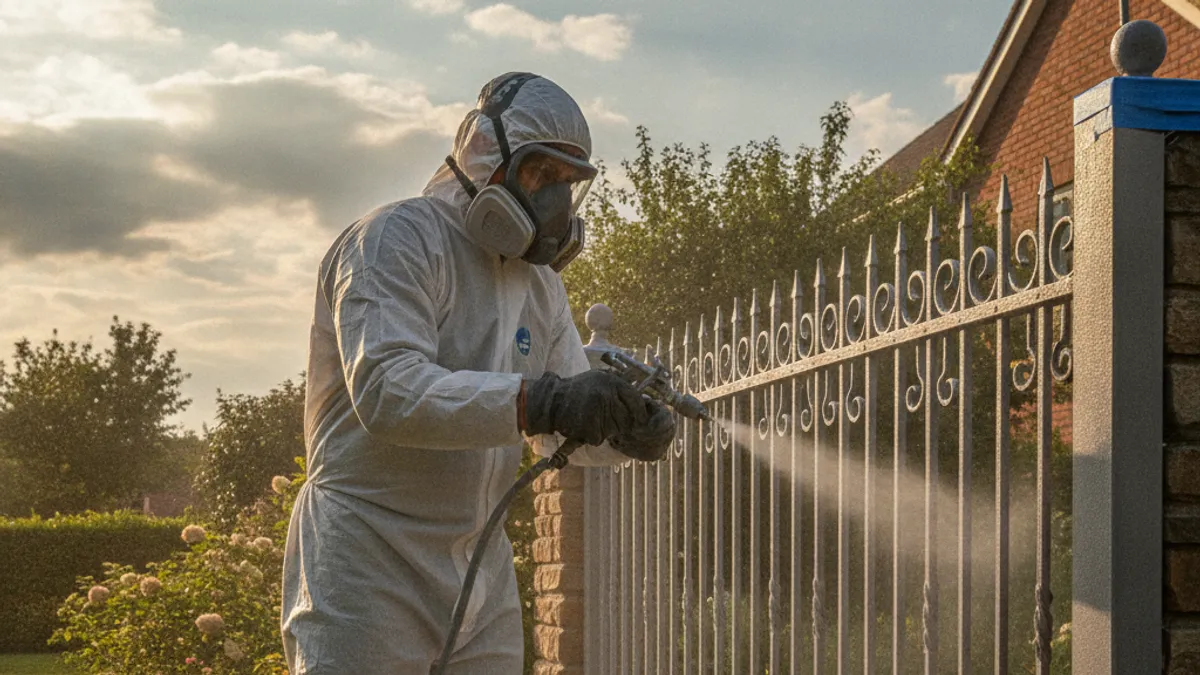
Working with spray paint involves VOCs that can be harmful if inhaled. Always prioritize safety by using appropriate personal protective equipment (PPE). This is non-negotiable for any spray painting task.
This includes wearing a respirator mask specifically rated for organic vapors, as many spray paints contain solvents that give off fumes. Safety glasses or goggles are essential to protect your eyes from accidental splashes or overspray. Chemical-resistant gloves will keep your skin safe from irritation and paint. Ensure you're working in a well-ventilated area, open to fresh air, and away from children or pets during the painting process and drying times.