
Fading vinyl fences can make your whole property look tired. If you're wondering how to spray paint a vinyl fence, you're not alone. It's a popular way to refresh a weathered look and boost curb appeal without the hefty cost of replacement.
Fortunately, with the right approach, spray painting vinyl can yield fantastic results. Many manufacturers, like Rust-Oleum and Krylon, now offer specialized paint formulas designed to adhere to plastics, offering UV protection and flexibility. In our research, we found that proper preparation and application techniques are key to ensuring your paint job lasts for years, with aggregate buyer feedback suggesting a well-done job can hold up for 5, 7 years or more.
Why Spray Paint Your Vinyl Fence? The Benefits of a Fresh Coat
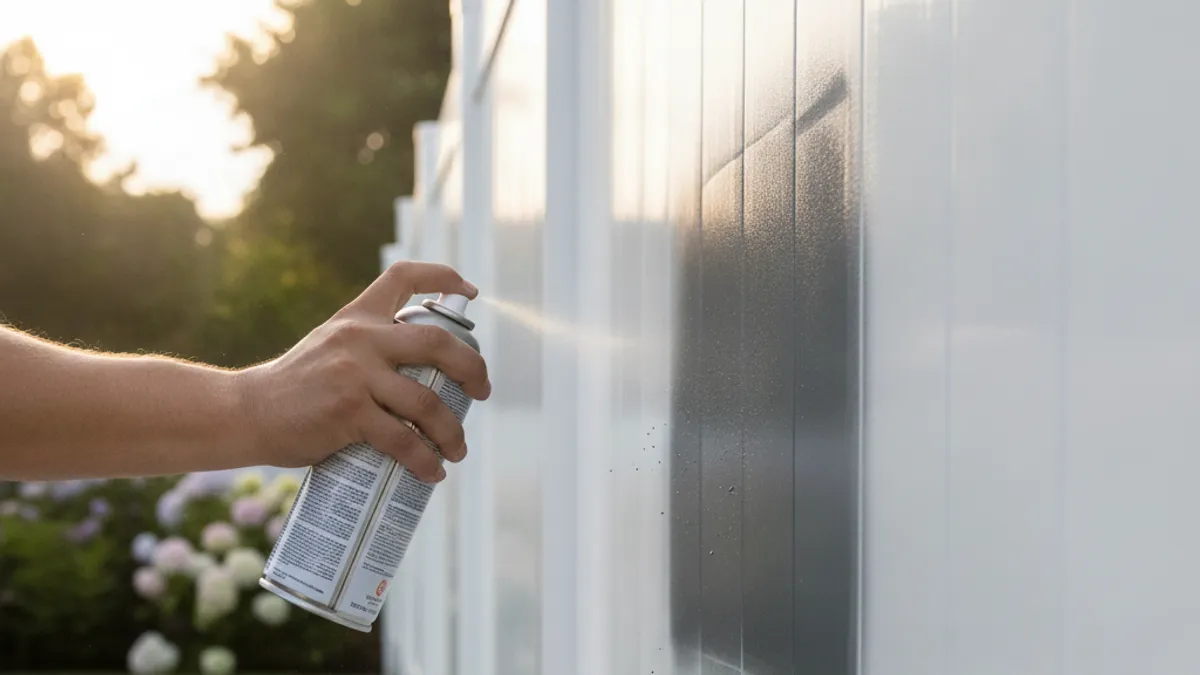
Giving your vinyl fence a new lease on life through spray painting offers several compelling advantages. It's an accessible DIY project that can dramatically alter your home's exterior appearance. You can turn a dull, faded fence into a vibrant feature.
This method is significantly more cost-effective than replacing entire fence sections or the whole structure. It allows for customization, letting you pick a color that perfectly complements your home’s architecture or landscaping. Plus, it’s an excellent way to extend the lifespan of vinyl that's still structurally sound but looks tired.
Can You Actually Spray Paint a Vinyl Fence? The Short Answer
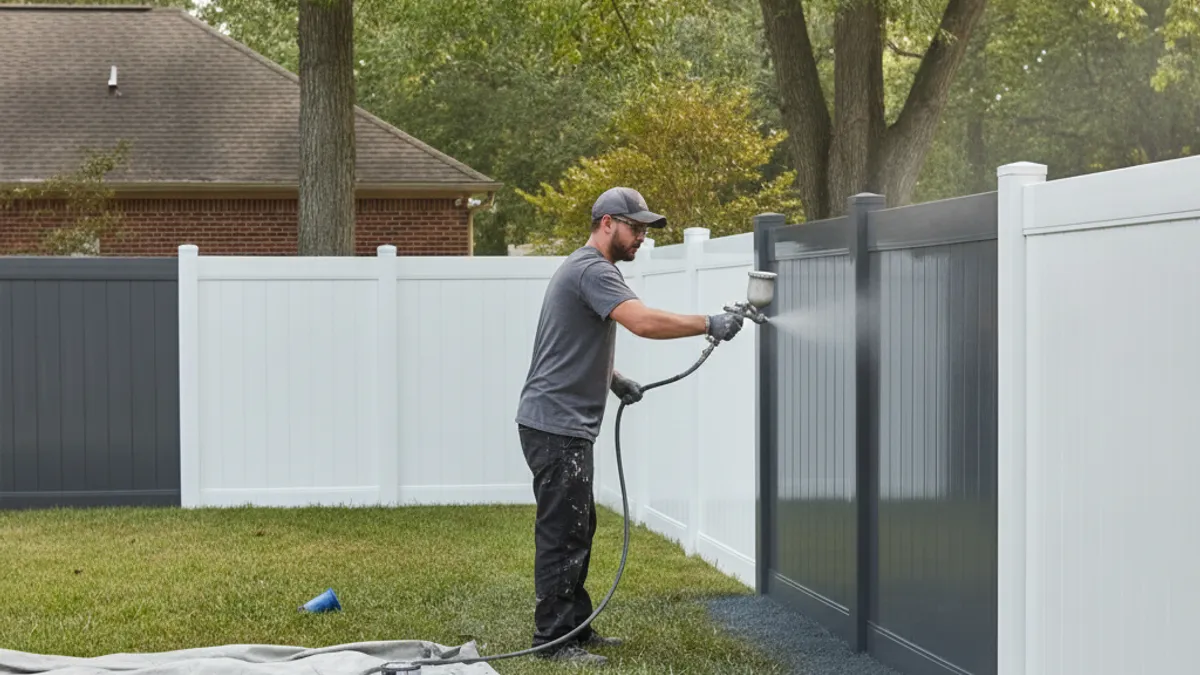
Yes, you absolutely can spray paint a vinyl fence, but with crucial caveats. Not all paints are created equal when it comes to adhering to vinyl. You need paints specifically formulated for plastics or designed for exterior vinyl surfaces.
Using the wrong type of paint will lead to peeling, chipping, and a finish that fails quickly. Our research indicates that specialized spray paints formulated with strong adhesion promoters for plastics are essential for a durable, long-lasting result. Always check the product label for compatibility with vinyl.
Choosing the Right Spray Paint for Vinyl Fences: What to Look For
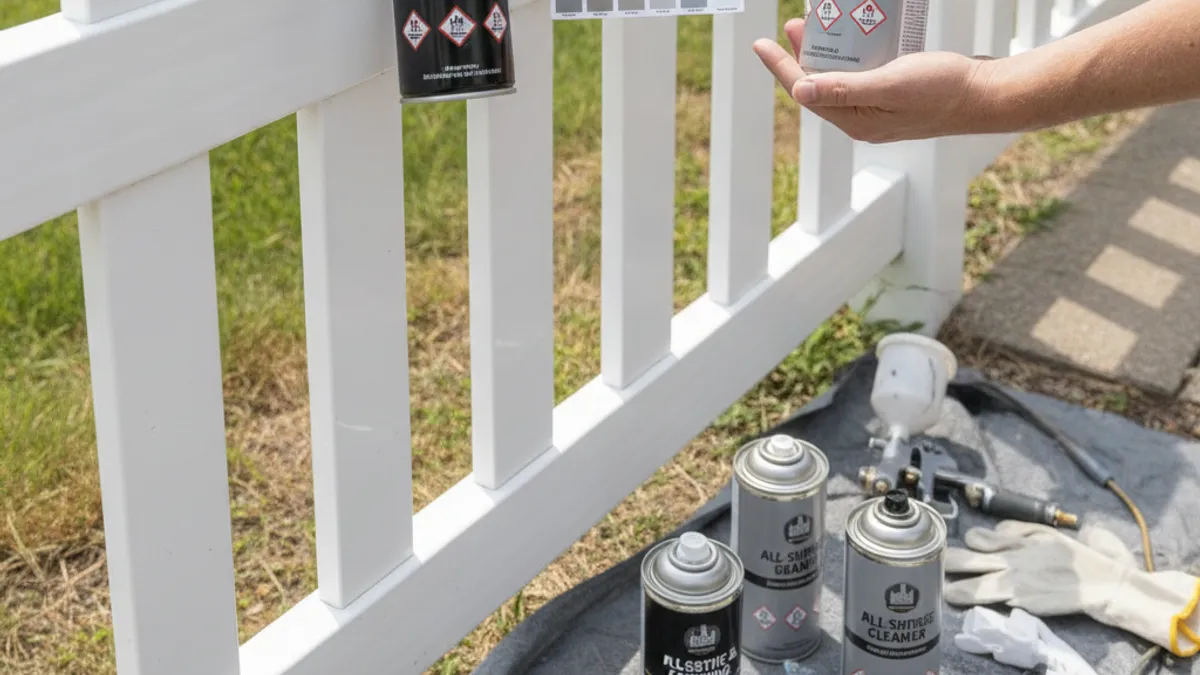
Selecting the correct spray paint is the most critical step for a successful vinyl fence project. A paint that isn't designed for plastics will simply not bond properly, leading to premature failure. Think of it as choosing the right glue for the job; you wouldn't use wood glue on metal.
Key Paint Features: Adhesion, Flexibility, and UV Resistance
When you're eyeing cans at the hardware store, look for labels that clearly state "for plastics," "vinyl-safe," or "exterior vinyl." These paints contain special binders and solvents that can etch slightly into the vinyl surface, creating a strong bond. A paint that offers good flexibility is also vital; vinyl expands and contracts with temperature changes, and a rigid paint will inevitably crack and peel. Finally, ensuring the paint is rated for UV resistance will prevent your fence's new color from fading under harsh sunlight.
Understanding Paint Types: Water-Based vs. Oil-Based for Vinyl
For most vinyl fence painting projects, water-based acrylic or latex spray paints are the best choice. These are typically formulated with the necessary adhesion promoters for plastics. They also offer good flexibility and are more environmentally friendly, with lower volatile organic compounds (VOCs).
Oil-based paints can sometimes be used if specifically labeled for plastic application, but they often become brittle over time, which is problematic for expanding and contracting vinyl. Stick to the "vinyl-safe" water-based options for the most reliable and long-lasting results.
Getting Your Vinyl Fence Ready for Paint: Crucial Prep Steps
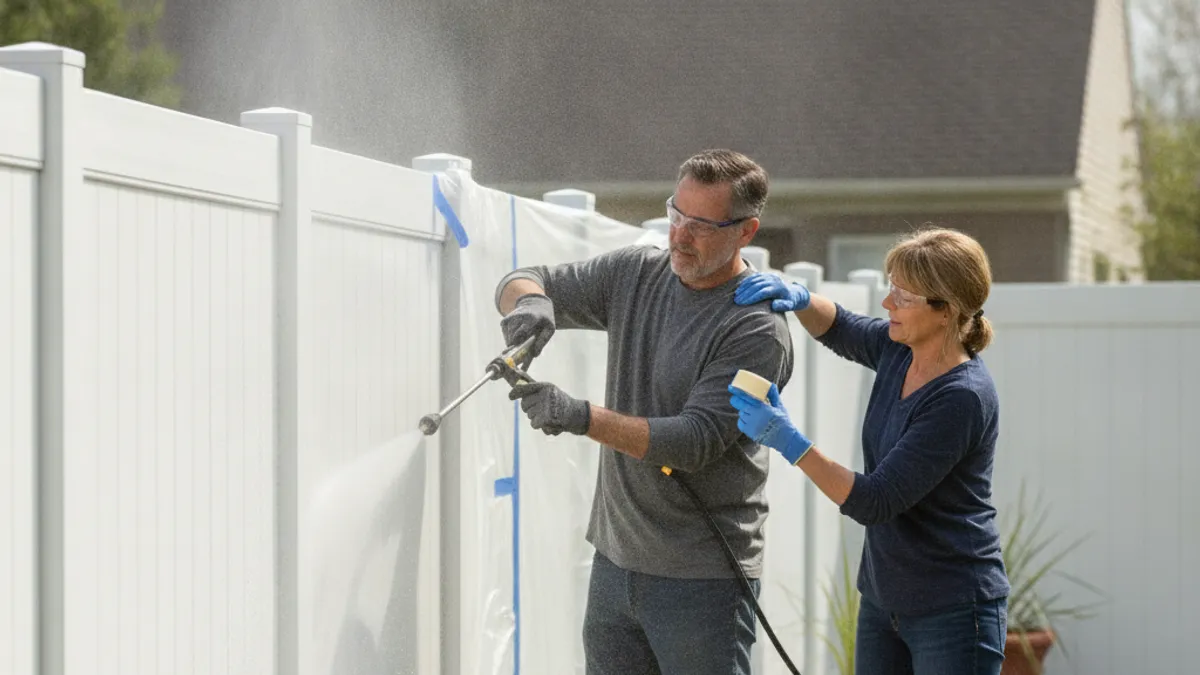
This is where most DIYers cut corners, and it's the biggest reason paint jobs fail early. Skipping proper preparation is like trying to build a house on sand; it just won't hold up. Every bit of dirt, grime, or oxidation needs to be eliminated before a single spray can is opened, according to manufacturer guidelines for the best adhesion.
Cleaning for Maximum Adhesion
Start with a thorough cleaning. You’ll need a good degreaser or an all-purpose cleaner that’s safe for outdoor use. A scrub brush or a pressure washer on a low setting can help lift away dirt, mildew, and chalking, that powdery residue vinyl can develop over time. Make sure to rinse the fence thoroughly with clean water afterwards, allowing it ample time to dry completely.
Manufacturer instructions often recommend waiting 24, 48 hours in moderate conditions.
Masking Off What You Don't Want Painted
Careful masking is non-negotiable. Use painter's tape and plastic sheeting or drop cloths to protect adjacent surfaces like your house siding, walkways, garden beds, and any attached hardware or light fixtures. Overspray can be a real headache to remove, and taking the time to mask properly will save you hours of cleanup later. Pay close attention to the ground around the fence line; covering it with drop cloths prevents accidental painting of grass or soil.
The Spray Painting Process: Step-by-Step to a Flawless Finish
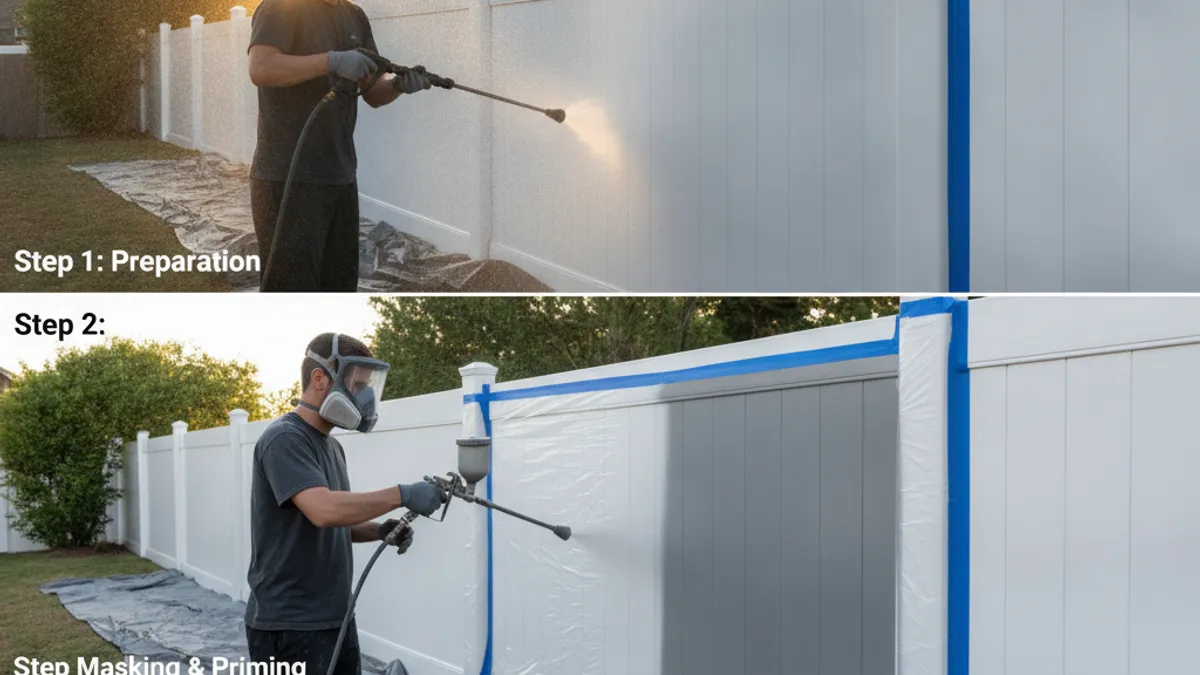
Once your fence is prepped and masked, you're ready for the fun part: applying the paint. The key here is patience and technique. It's tempting to blast the fence with paint to get it done quickly, but that's a recipe for disaster.
Technique Matters: Consistent Strokes and Overlap
Hold the spray can about 10, 12 inches away from the fence. Move the can in a steady, sweeping motion, either horizontally or vertically, depending on the fence's profile. Always start and stop spraying off the surface you’re painting and overlap each stroke by about 30, 50%. This ensures an even coat and prevents those dreaded lap marks or heavy buildup in one spot.
How Many Coats Does It Really Need?
Two thin, even coats are almost always better than one thick coat. The first coat acts as a base and may look a bit streaky, which is perfectly normal. Let the first coat dry according to the manufacturer's recoat time, usually 30 minutes to an hour. Then, apply the second coat with the same technique.
This layering approach provides the best coverage, durability, and color depth.
Temperature and Humidity: When to Spray
The environment plays a significant role in how well your paint adheres and dries. Most exterior spray paints recommend application when temperatures are between 50°F (10°C) and 85°F (29°C). Avoid painting in direct, hot sunlight, as the paint can dry too quickly, leading to a poor finish. High humidity can also prolong drying times and affect adhesion.
Check the paint can for specific environmental recommendations from the manufacturer to ensure optimal results.
Common Mistakes When Spray Painting Vinyl Fences (And How to Avoid Them)
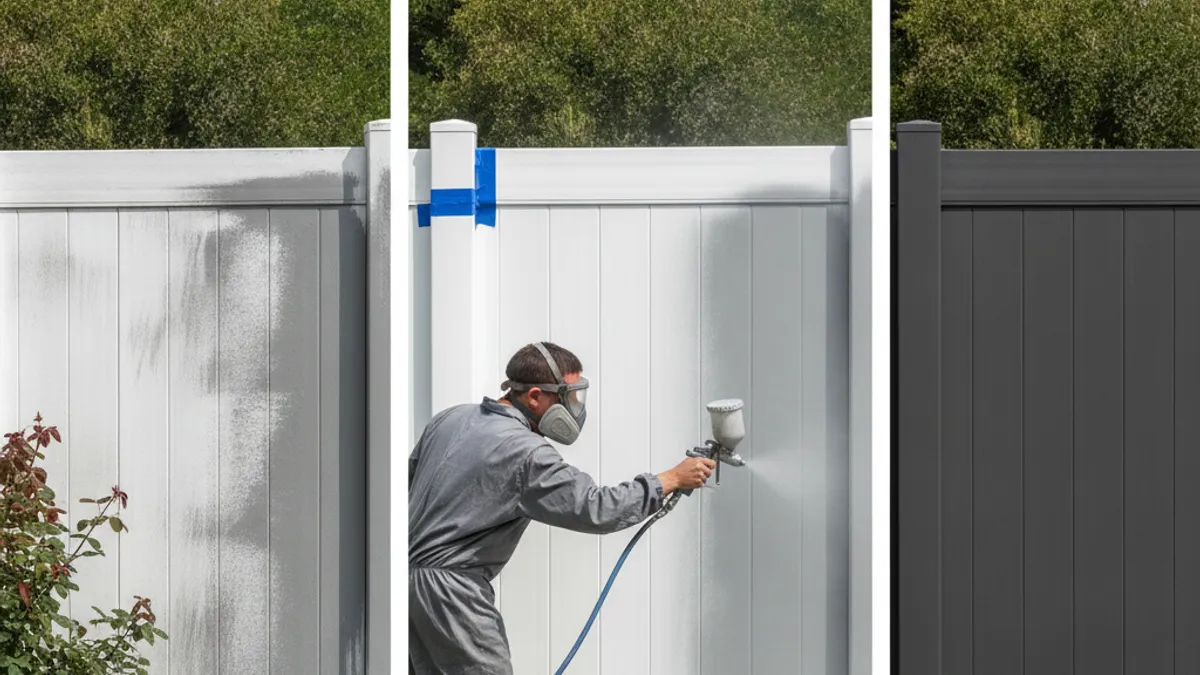
Many DIYers encounter problems with spray-painted vinyl fences because of easily avoidable errors. Understanding these common pitfalls can save you a lot of frustration and rework. Forewarned is forearmed when tackling this project.
- Skipping the Prep: We've touched on this, but it bears repeating. Grime, chalking, or sap won't just be covered up; they'll prevent paint from sticking. Clean, clean, and clean again.
- Using the Wrong Paint: Relying on standard interior or general exterior spray paints will lead to peeling and flaking. Always opt for paints specifically labeled for vinyl or plastic application.
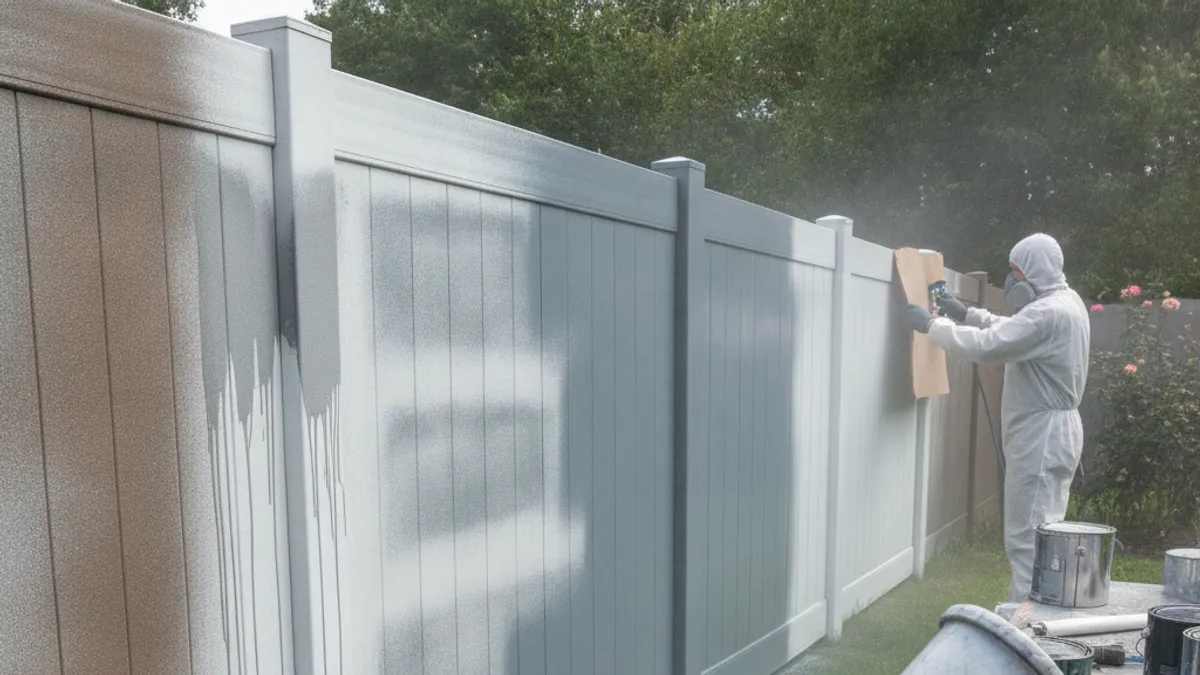
- Applying Paint Too Thick: One heavy coat might seem faster, but it’s more prone to runs, drips, and uneven curing. Multiple thin, even coats are the way to go.
- Painting in Bad Weather: Extreme temperatures (too hot or too cold) and high humidity can seriously compromise the paint's ability to adhere and dry properly. Always check the weather forecast and the paint can's guidelines.
- Not Masking Adequately: Overspray is a nuisance. Diligent masking protects surrounding landscaping, home exteriors, and any hardware you don't want painted.
Alternatives to Spray Painting Your Vinyl Fence
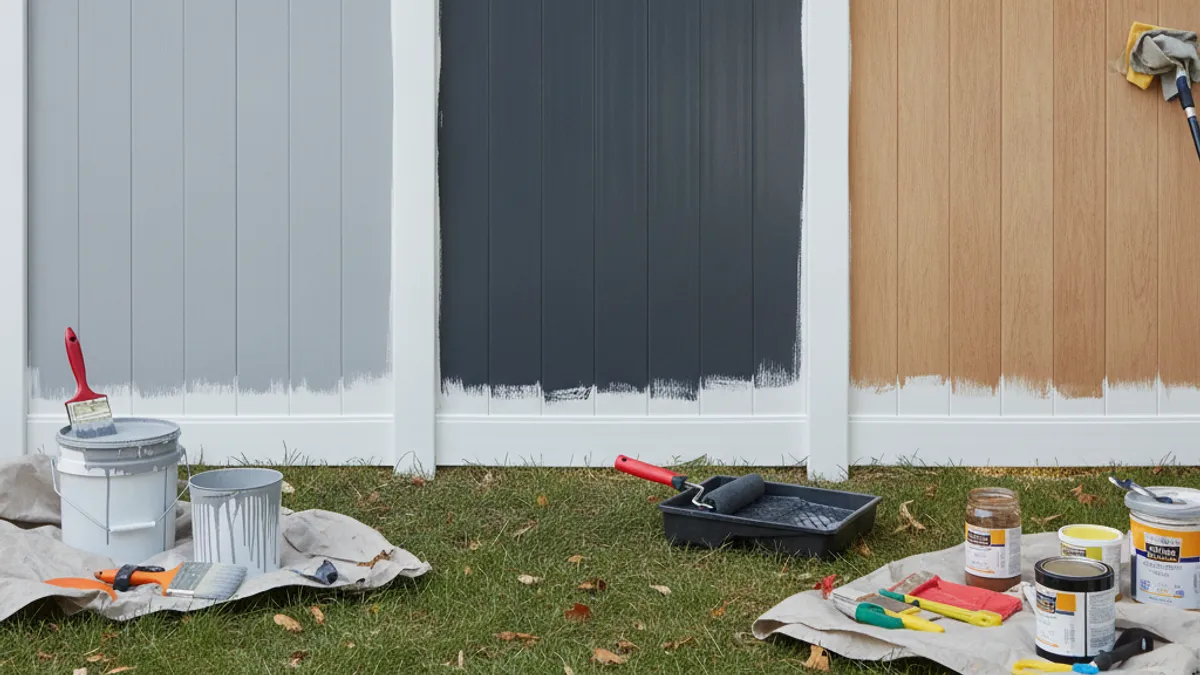
While spray painting is a fantastic option for many, it’s not the only way to spruce up a tired vinyl fence. Sometimes, a different approach might be more suitable or less labor-intensive for your specific situation. You might also consider spray or brush paint which one is better for fence to see a direct comparison.
- Thorough Cleaning: If your fence is simply dirty or has mildew, a deep clean with a suitable cleaner and a scrub brush might be all it needs. Sometimes, a pressure washer on a low setting can make a huge difference. This is the least invasive option.
- Replacement: For vinyl fences that are significantly damaged, cracked, or warped, painting won't fix the underlying structural issues. In these cases, replacing damaged sections or the entire fence is the more practical long-term solution.
- Specialized Vinyl Cleaners: If mildew or algae are the primary culprits, specific outdoor cleaners designed for vinyl siding can often restore the fence's original color without any painting involved.
How Long Will Spray Paint Last on a Vinyl Fence?
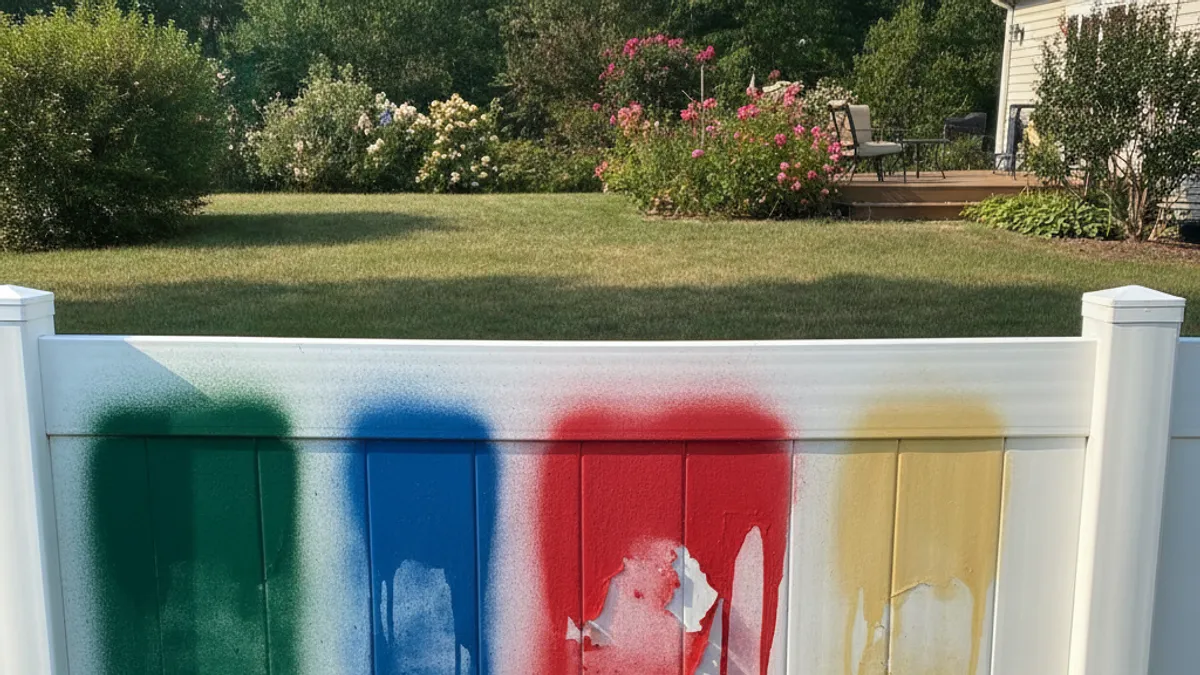
When the job is done right, a spray-painted vinyl fence can look great for a significant amount of time. In our research, based on aggregate buyer feedback and manufacturer claims regarding specialized exterior vinyl paints, you can typically expect your paint job to last anywhere from 5 to 7 years. Some reports even suggest up to 10 years under ideal conditions and with proper maintenance.
Several factors influence this lifespan. The quality of the paint used is paramount; premium paints designed specifically for vinyl will always outperform generic options. The thoroughness of your surface preparation also plays a huge role, a clean, properly primed surface is the foundation for durability. Finally, environmental conditions like direct sun exposure, harsh weather, and the presence of abrasive materials will impact how well the paint holds up over time.
Experts Tips for a Long-Lasting Paint Job
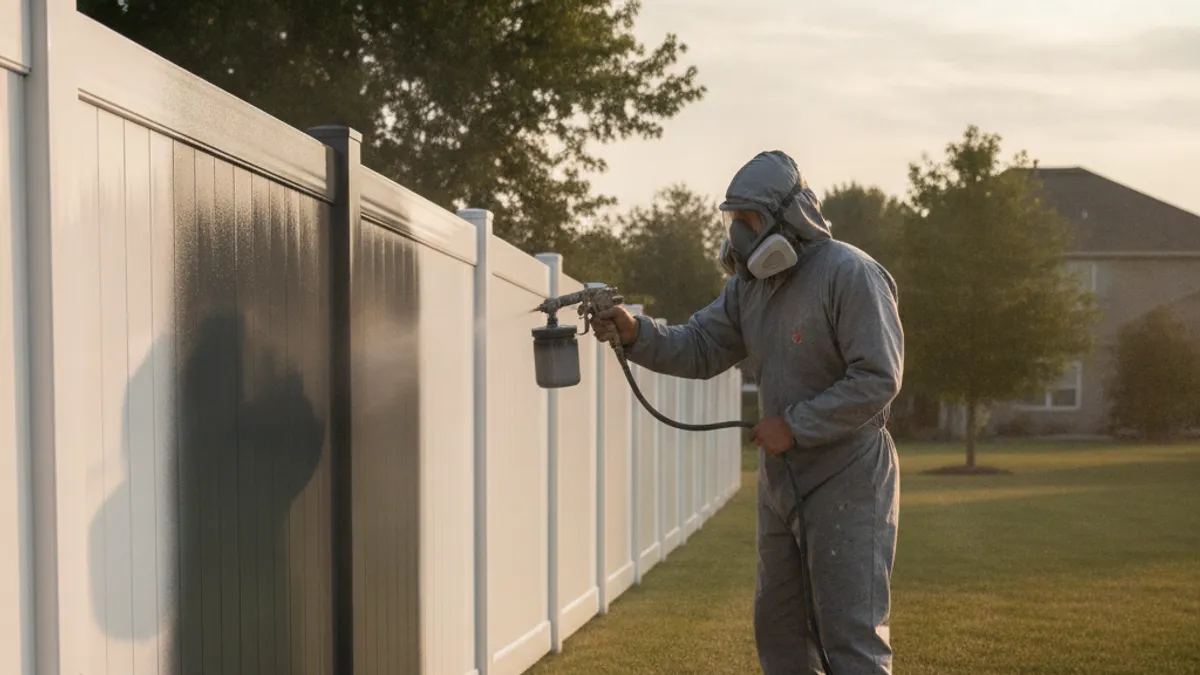
Getting a spray-painted vinyl fence to look good is one thing; having it look good for years is another. A few expert-level insights can transform your project from a temporary fix to a lasting improvement. These tips focus on maximizing adhesion and protecting your hard work against the elements.
Firstly, consider a primer specifically designed for plastics. While some paints boast direct-to-vinyl capabilities, a specialized spray primer can add an extra layer of insurance for adhesion, particularly on older or slightly chalky surfaces. Secondly, when applying paint, use a cross-hatch pattern with your spray. Apply one set of horizontal passes, then a second set of vertical passes, ensuring each coat is thin and even.
This technique helps the paint saturate the surface from multiple angles.
As an advanced step, some professionals apply a clear topcoat. A clear sealer rated for exterior use and compatible with your chosen paint can add a significant layer of protection against UV rays, moisture, and abrasion. Not all paints require or benefit from a topcoat, so always check the paint manufacturer's recommendations. However, if you're painting a fence that receives intense sun or harsh weather, this extra step can genuinely extend the life and vibrancy of your paint job.
Protecting Your Paint Job: Maintenance and Care
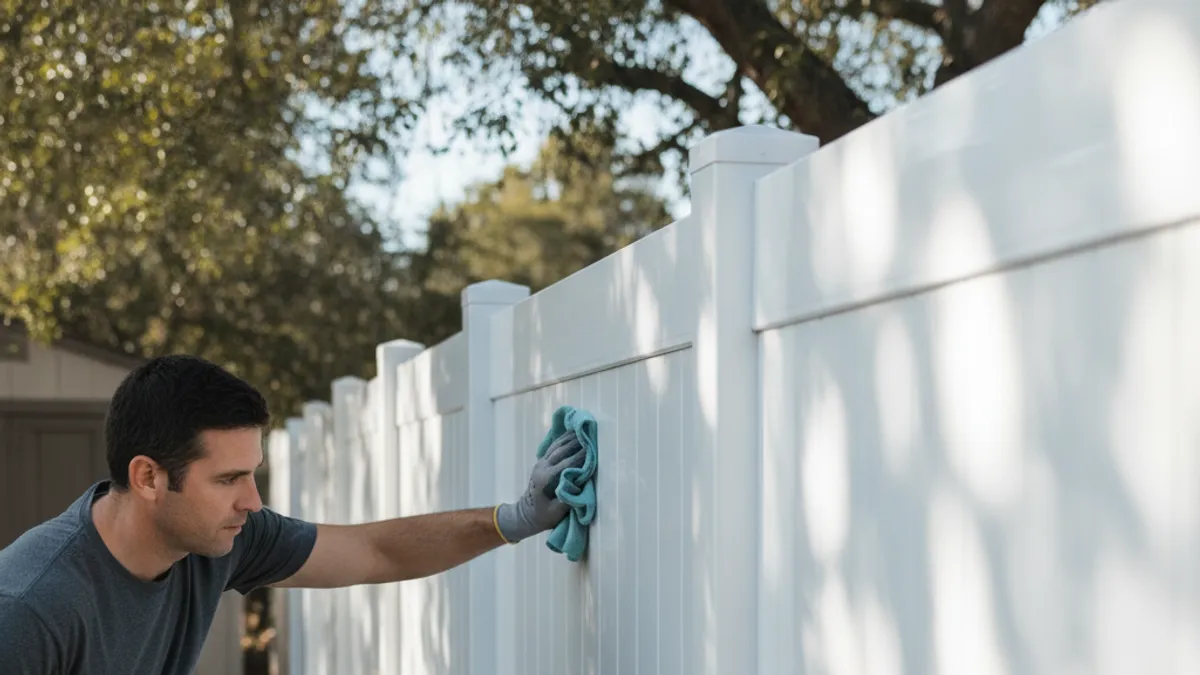
Once your vinyl fence is painted and looking sharp, a little regular care can ensure that fresh appearance lasts. Think of it as routine maintenance for your home's exterior. This isn't about deep cleaning every week, but rather a few simple checks and cleanups.
Wipe down or rinse off any accumulated dirt or debris as needed, especially after windy days or pollen seasons. Bird droppings, tree sap, or mildew can etch into paint if left too long. A simple wash with mild soap and water, using a soft cloth or brush, is usually sufficient.
Keep an eye out for any small chips or scratches that might appear over time. These can be touched up with leftover spray paint. A quick spray into a cup and then applied with a small brush ensures a tidy repair. Addressing these minor imperfections promptly prevents them from becoming larger issues and potential points of failure for the paint.
Safety First: What You Need to Know Before You Start
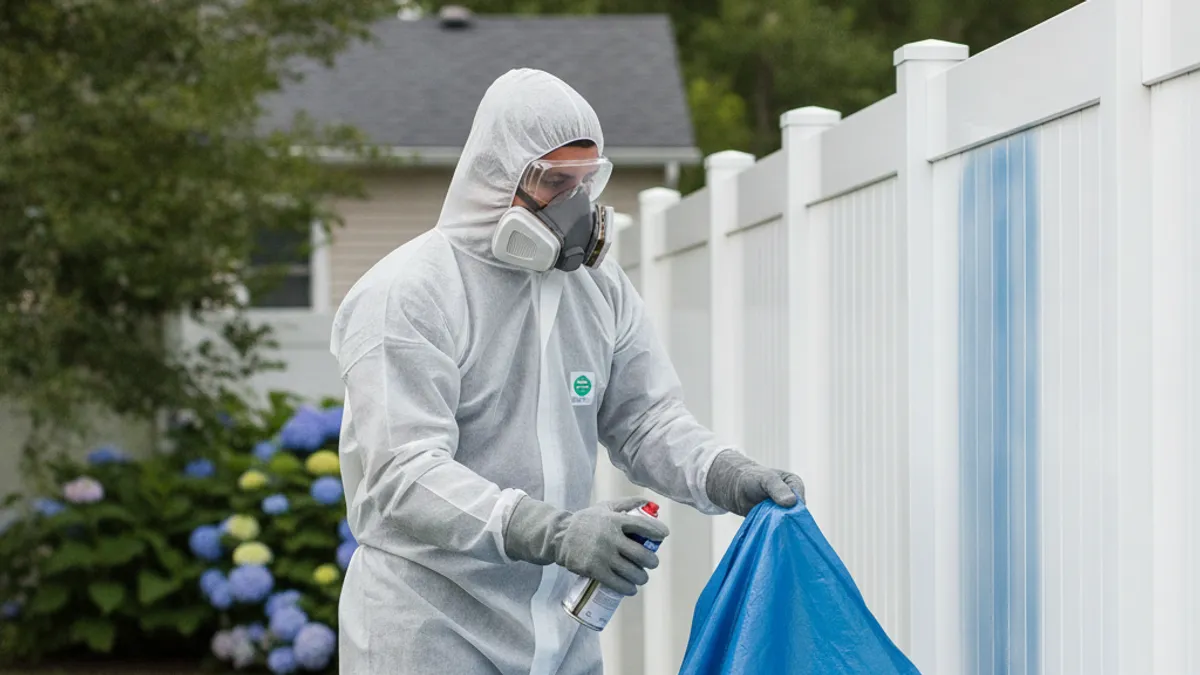
Working with spray paint, even water-based formulas, requires some common-sense safety measures. Following these guidelines will ensure you and your surroundings remain safe during the painting process. Your well-being is as important as the fence's finish.
Always work in a well-ventilated area. Spray paint fumes can be irritating and, in enclosed spaces, potentially harmful. Ensure there's plenty of airflow around you. The U.S.
Environmental Protection Agency (EPA) provides guidelines on reducing volatile organic compounds (VOCs) in paints, and choosing low-VOC options is always a good practice.
Wear appropriate personal protective equipment (PPE). This includes safety glasses or goggles to protect your eyes from overspray, gloves to keep your hands clean and protected, and a respirator or mask designed for paint fumes. This is especially important if you have any respiratory sensitivities. A mask is crucial when spraying fine mist outdoors; this helps prevent inhalation of paint particles.
Common Mistakes When Spray Painting Vinyl Fences (And How to Avoid Them)
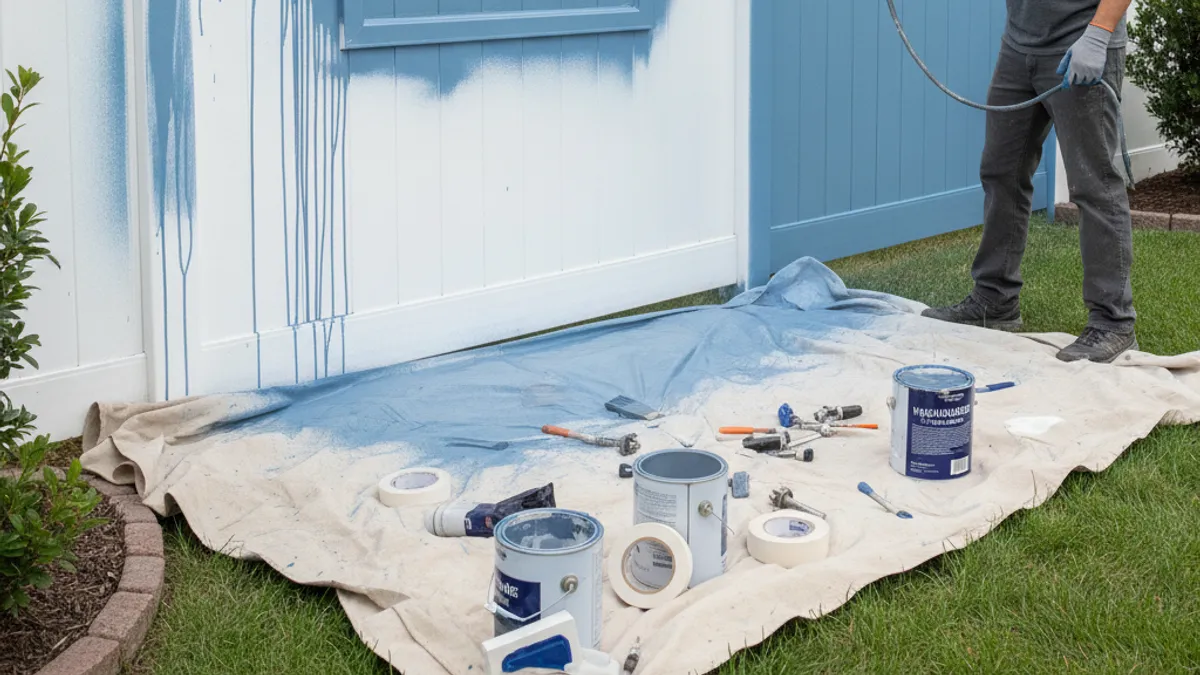
Many DIYers encounter problems with spray-painted vinyl fences because of easily avoidable errors. Understanding these common pitfalls can save you a lot of frustration and rework. Forewarned is forearmed when tackling this project.
- Skipping the Prep: We've touched on this, but it bears repeating. Grime, chalking, or sap won't just be covered up; they'll prevent paint from sticking. Clean, clean, and clean again before you start.
- Using the Wrong Paint: Relying on standard interior or general exterior spray paints will lead to peeling and flaking. Always opt for paints specifically labeled for vinyl or plastic application.
- Applying Paint Too Thick: One heavy coat might seem faster, but it’s more prone to runs, drips, and uneven curing. Multiple thin, even coats are the way to go for a durable finish.
- Painting in Bad Weather: Extreme temperatures (too hot or too cold) and high humidity can seriously compromise the paint's ability to adhere and dry properly. Always check the weather forecast and the paint can's guidelines.
- Not Masking Adequately: Overspray is a nuisance. Diligent masking protects surrounding landscaping, home exteriors, and any hardware you don't want painted, saving significant cleanup time.
What About Paint Manufacturers' Official Advice?
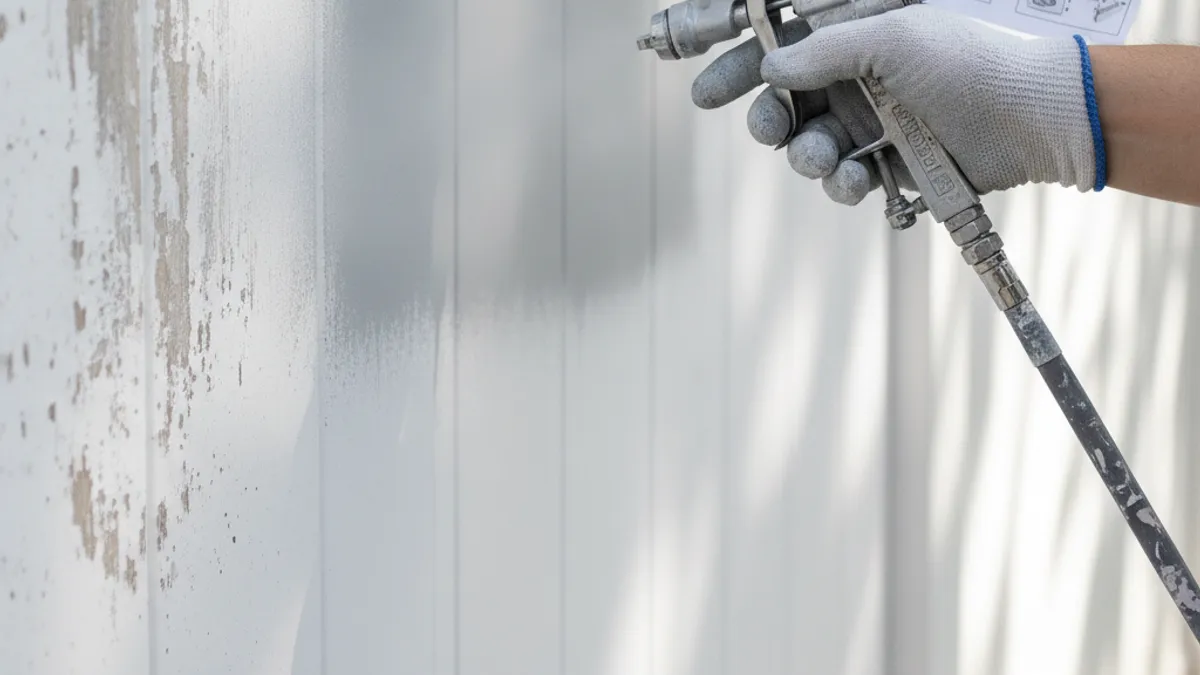
Paint manufacturers are the primary source of information for their products. They invest heavily in research and development to ensure their formulas perform as advertised on specific materials, including vinyl. Their official websites and product labels contain critical usage instructions, compatibility information, and safety data.
For example, Rust-Oleum's website often details specific product lines like "Painter's Touch 2X Ultra Cover" or "Stops Rust" and their suitability for various surfaces. Krylon offers similar directives for their "Fusion for Plastic" line. These manufacturers provide guidance on surface preparation, application techniques, and ideal environmental conditions. Verifying that your chosen paint is recommended for vinyl by its maker is a fundamental step.
The manufacturer's Safety Data Sheet (SDS) is also an essential document to review for handling and safety protocols.
Experts Tips for a Long-Lasting Paint Job
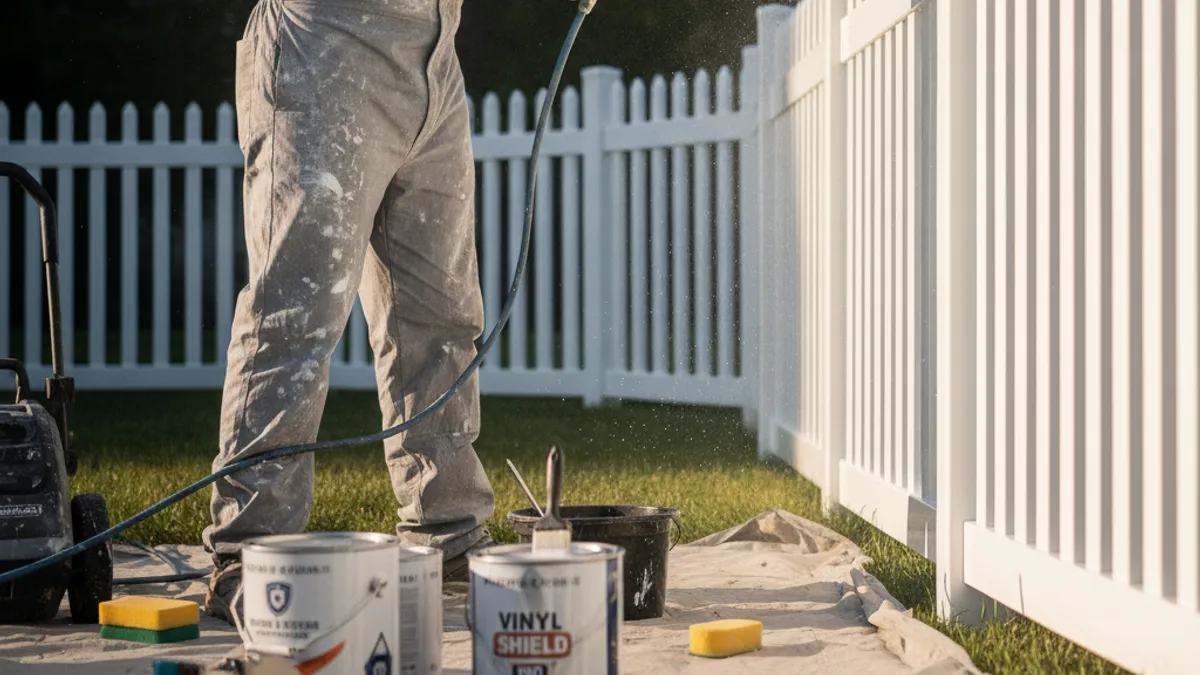
Getting a spray-painted vinyl fence to look good is one thing; having it look good for years is another. A few expert-level insights can transform your project from a temporary fix to a lasting improvement. These tips focus on maximizing adhesion and protecting your hard work against the elements.
Firstly, consider a primer specifically designed for plastics. While some paints boast direct-to-vinyl capabilities, a specialized spray primer can add an extra layer of insurance for adhesion, particularly on older or slightly chalky surfaces. Secondly, when applying paint, use a cross-hatch pattern with your spray. Apply one set of horizontal passes, then a second set of vertical passes, ensuring each coat is thin and even.
This technique helps the paint saturate the surface from multiple angles.
As an advanced step, some professionals apply a clear topcoat. A clear sealer rated for exterior use and compatible with your chosen paint can add a significant layer of protection against UV rays, moisture, and abrasion. Not all paints require or benefit from a topcoat, so always check the paint manufacturer's recommendations. However, if you're painting a fence that receives intense sun or harsh weather, this extra step can genuinely extend the life and vibrancy of your paint job.
Protecting Your Paint Job: Maintenance and Care
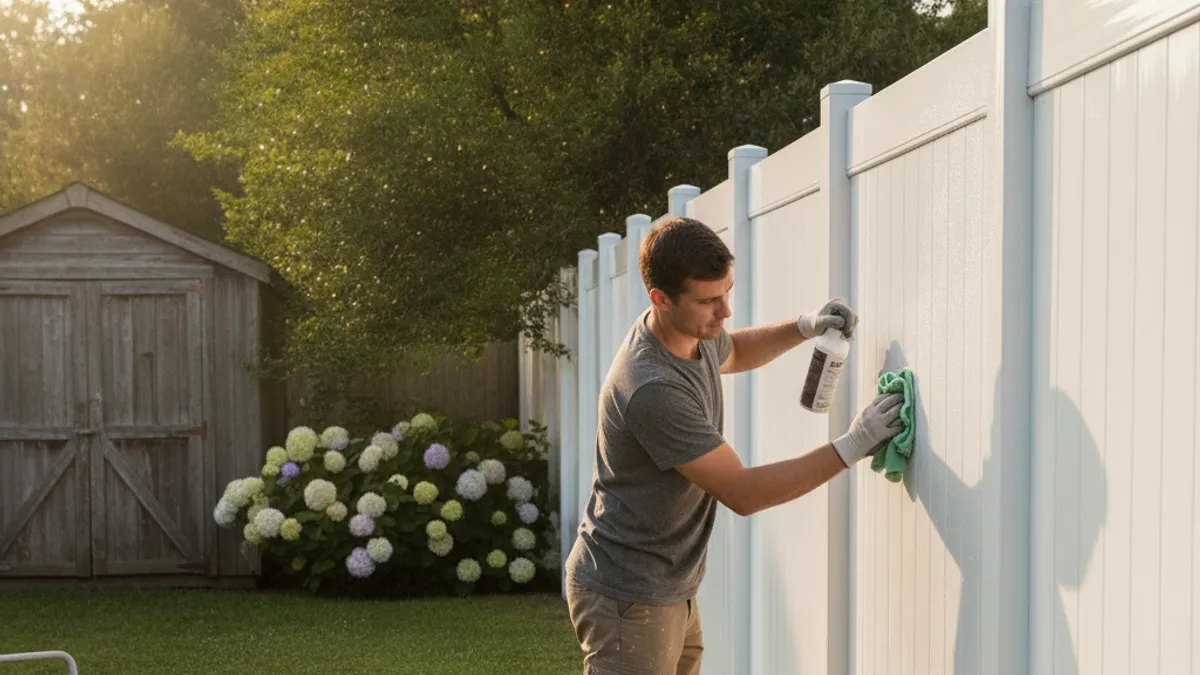
Once your vinyl fence is painted and looking sharp, a little regular care can ensure that fresh appearance lasts. Think of it as routine maintenance for your home's exterior. This isn't about deep cleaning every week, but rather a few simple checks and cleanups.
Wipe down or rinse off any accumulated dirt or debris as needed, especially after windy days or pollen seasons. Bird droppings, tree sap, or mildew can etch into paint if left too long. A simple wash with mild soap and water, using a soft cloth or brush, is usually sufficient.
Keep an eye out for any small chips or scratches that might appear over time. These can be touched up with leftover spray paint. A quick spray into a cup and then applied with a small brush ensures a tidy repair. Addressing these minor imperfections promptly prevents them from becoming larger issues and potential points of failure for the paint.
Safety First: What You Need to Know Before You Start
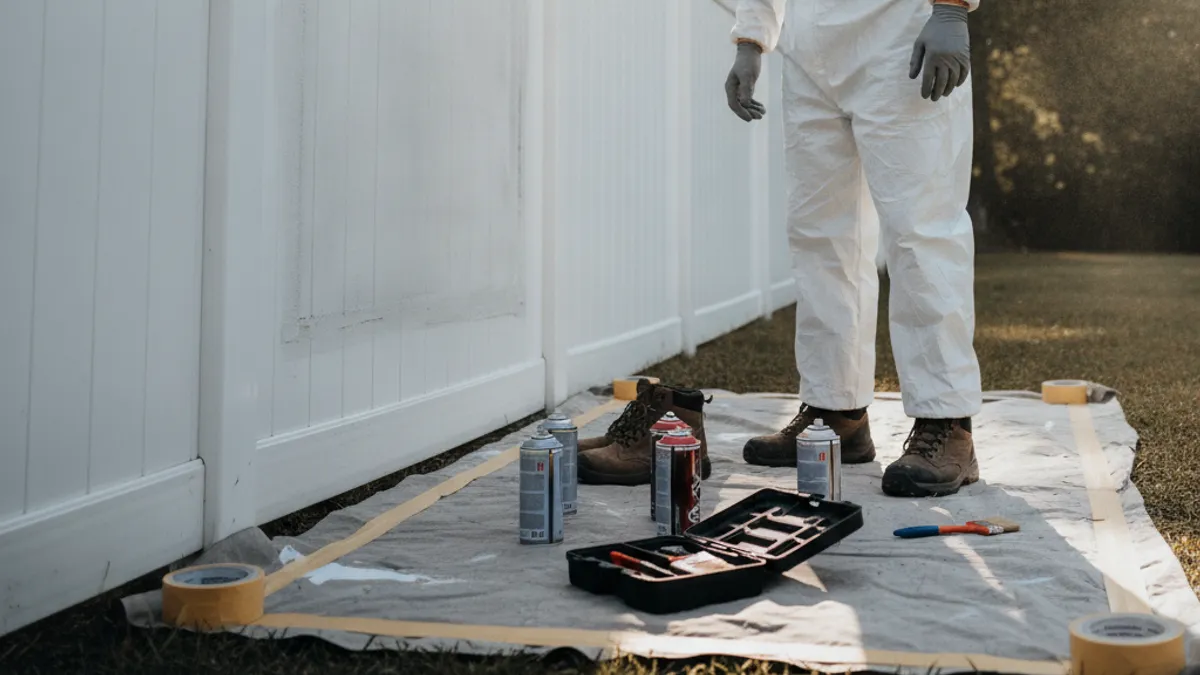
Working with spray paint, even water-based formulas, requires some common-sense safety measures. Following these guidelines will ensure you and your surroundings remain safe during the painting process. Your well-being is as important as the fence's finish.
Always work in a well-ventilated area. Spray paint fumes can be irritating and, in enclosed spaces, potentially harmful. Ensure there's plenty of airflow around you. The U.S.
Environmental Protection Agency (EPA) provides guidelines on reducing volatile organic compounds (VOCs) in paints, and choosing low-VOC options is always a good practice.
Wear appropriate personal protective equipment (PPE). This includes safety glasses or goggles to protect your eyes from overspray, gloves to keep your hands clean and protected, and a respirator or mask designed for paint fumes. This is especially important if you have any respiratory sensitivities. A mask is crucial when spraying fine mist outdoors; this helps prevent inhalation of paint particles.
Common Mistakes When Spray Painting Vinyl Fences (And How to Avoid Them)
Many DIYers encounter problems with spray-painted vinyl fences because of easily avoidable errors. Understanding these common pitfalls can save you a lot of frustration and rework. Forewarned is forearmed when tackling this project.
- Skipping the Prep: We've touched on this, but it bears repeating. Grime, chalking, or sap won't just be covered up; they'll prevent paint from sticking. Clean, clean, and clean again before you start.
- Using the Wrong Paint: Relying on standard interior or general exterior spray paints will lead to peeling and flaking. Always opt for paints specifically labeled for vinyl or plastic application.
- Applying Paint Too Thick: One heavy coat might seem faster, but it’s more prone to runs, drips, and uneven curing. Multiple thin, even coats are the way to go for a durable finish.
- Painting in Bad Weather: Extreme temperatures (too hot or too cold) and high humidity can seriously compromise the paint's ability to adhere and dry properly. Always check the weather forecast and the paint can's guidelines.
- Not Masking Adequately: Overspray is a nuisance. Diligent masking protects surrounding landscaping, home exteriors, and any hardware you don't want painted, saving significant cleanup time.
What About Paint Manufacturers' Official Advice?
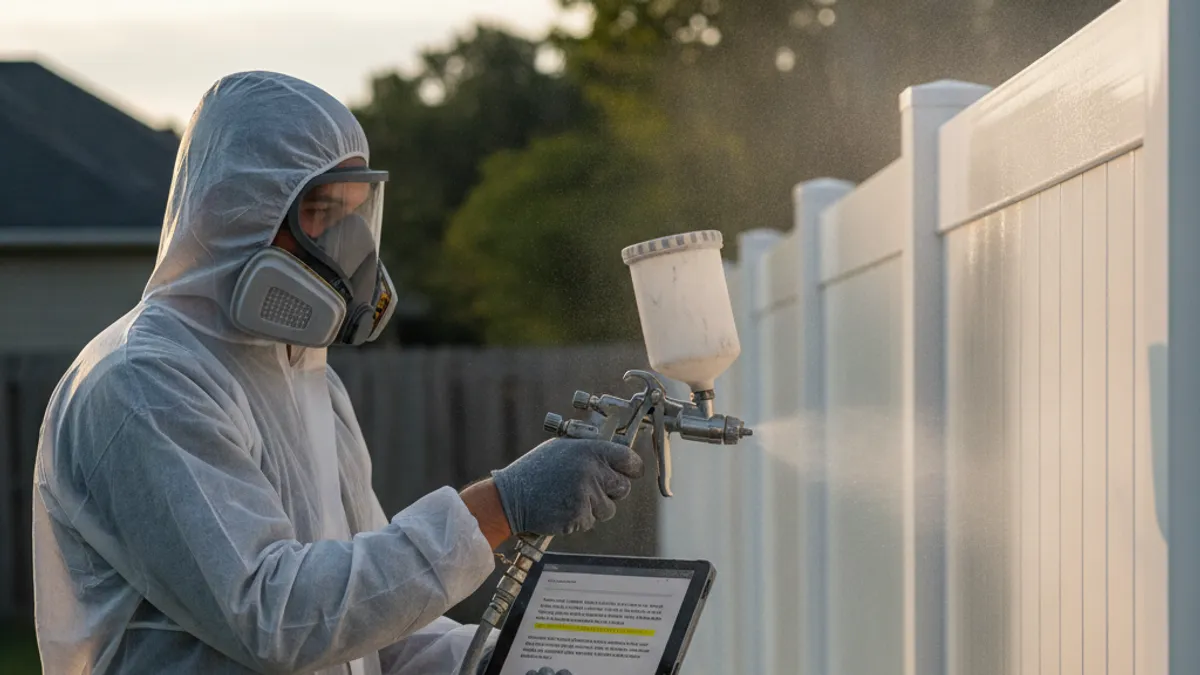
Paint manufacturers are the primary source of information for their products. They invest heavily in research and development to ensure their formulas perform as advertised on specific materials, including vinyl. Their official websites and product labels contain critical usage instructions, compatibility information, and safety data.
For example, Rust-Oleum's website often details specific product lines like "Painter's Touch 2X Ultra Cover" or "Stops Rust" and their suitability for various surfaces. Krylon offers similar directives for their "Fusion for Plastic" line. These manufacturers provide guidance on surface preparation, application techniques, and ideal environmental conditions. Verifying that your chosen paint is recommended for vinyl by its maker is a fundamental step.
The manufacturer's Safety Data Sheet (SDS) is also an essential document to review for handling and safety protocols.