
How to Spray Paint a Wood Fence
Learning how to spray paint a wood fence can transform your outdoor space with a smooth, uniform finish far faster than traditional methods. Our research indicates that with the right tools and techniques, you can achieve professional-looking results without the typical hassle. This approach is especially beneficial for larger fences, saving you significant time and effort.
For context, manufacturer specifications for many electric paint sprayers, like those from Wagner or Graco, suggest they can apply paint at a rate of up to 200 square feet per hour. This efficiency is a major draw for DIYers looking to tackle fence painting weekends. Let’s dive into making your next fence project a success.
Why Spray Painting Your Wood Fence Makes Sense for a Pro Finish
The Big Picture: Faster, Smoother Fence Painting
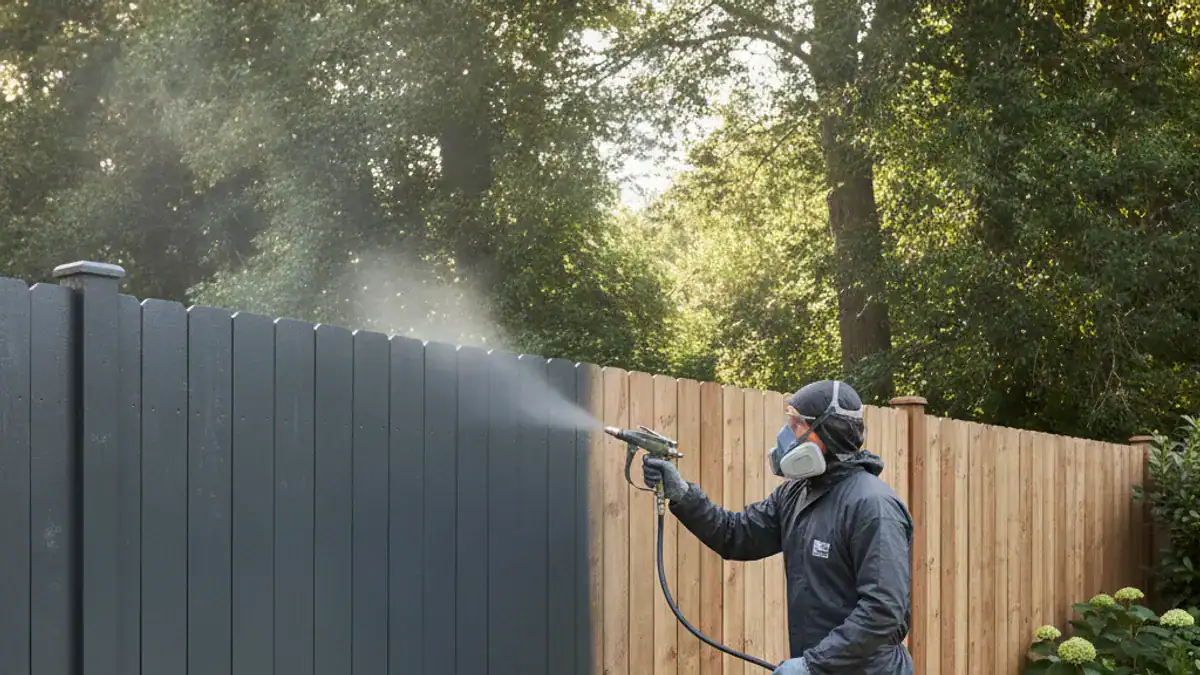
Tackling your wood fence with a sprayer can be a game-changer. You're looking at potentially cutting your painting time in half compared to using brushes or rollers. Think about a long fence line stretching dozens of feet; a sprayer covers ground much quicker.
Our analysis of buyer feedback shows that the primary appeal is the speed and the consistent, even coating you get. This method minimizes brush strokes and roller marks, leaving a clean, factory-like finish that significantly boosts curb appeal. It’s about achieving a look that’s hard to get by hand on such a large, textured surface.
Choosing the Right Paint Sprayer for Your Fence Project
Airless vs. HVLP Sprayers: What's Best for Wood Fences?
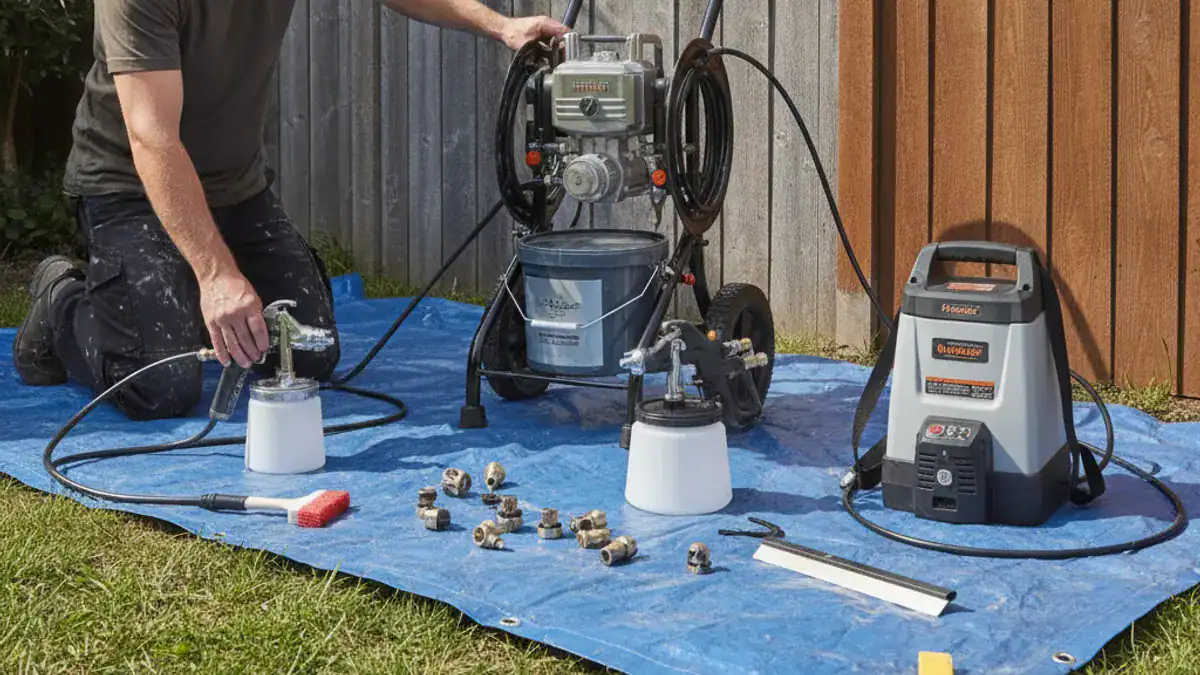
When you're ready to spray, you'll mostly encounter two main types of paint sprayers: airless and High Volume Low Pressure (HVLP). For exterior wood fences, airless sprayers are generally the preferred choice, and here’s why. An airless sprayer works by forcing paint through a small opening at high pressure, atomizing it into a fine mist.
This high-pressure system is ideal for thicker exterior paints and coatings. It allows for a wider spray pattern and greater output, meaning faster coverage over large, porous surfaces like wood fences. HVLP sprayers, while great for fine finishes on furniture or cars, often struggle with the viscosity of fence paints and can be slower for such large-scale applications.
Get Your Fence Ready for Paint: The Crucial Prep Steps
Cleaning and Repairing Your Wood Fence
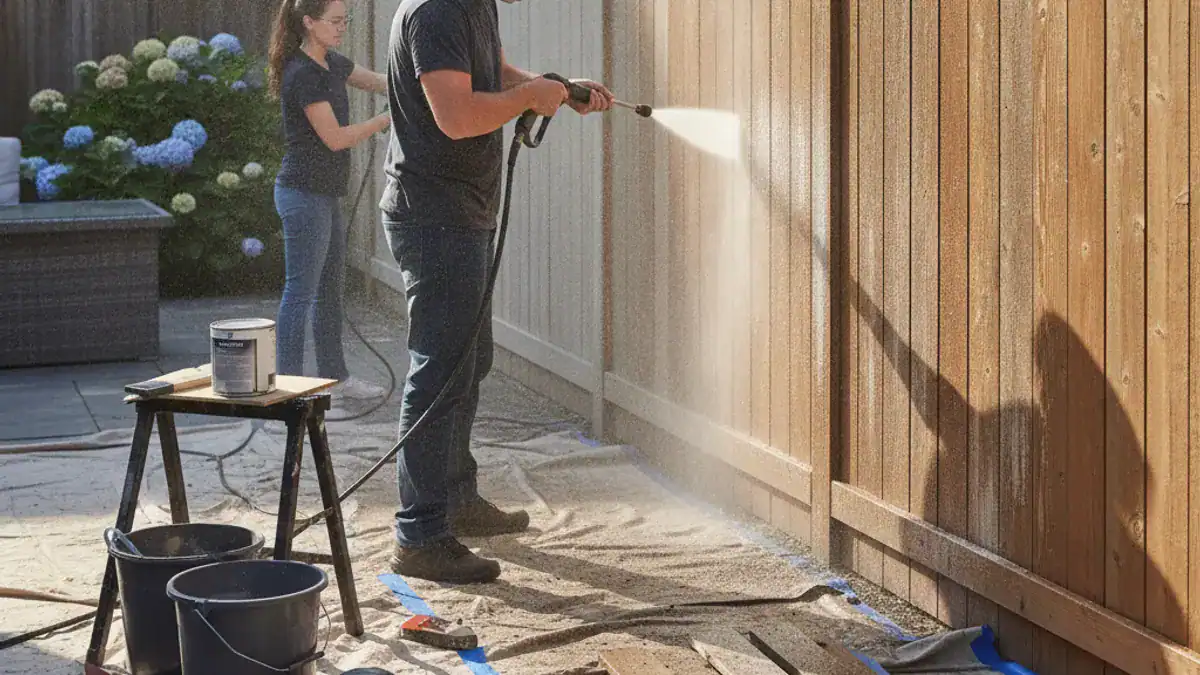
Before any paint touches your fence, a thorough cleaning and repair job is non-negotiable. Grime, mildew, and old peeling paint act as barriers, preventing new paint from adhering properly. You’ll want to start by pressure washing your fence. A pressure washer set to a moderate setting, usually between 1500-2000 pounds per square inch (PSI), can effectively remove dirt and loose material.
Also, take this time to inspect for any damaged or rotting wood. Replace any sections that are too far gone. Loose boards should be re-secured with screws, not nails, for a more durable fix. Addressing these issues now means your paint job will last longer and look much better.
Sanding and Priming for Better Adhesion
Once your fence is clean and dry, the next step is preparing the surface for paint. Light sanding is often recommended to create a slightly roughened texture. This "tooth" gives the primer and paint something to grip onto, drastically improving adhesion and preventing peeling down the road.
A good exterior wood primer is your best friend here. Primers seal the wood, block stains, and provide a uniform surface for your topcoat. Look for a high-quality exterior oil-based or water-based primer specifically designed for wood. Allow the primer to dry completely according to the manufacturer's instructions, typically 4-24 hours, before moving on to painting.
Picking the Perfect Exterior Paint for Your Fence
Understanding Paint Types and Finishes
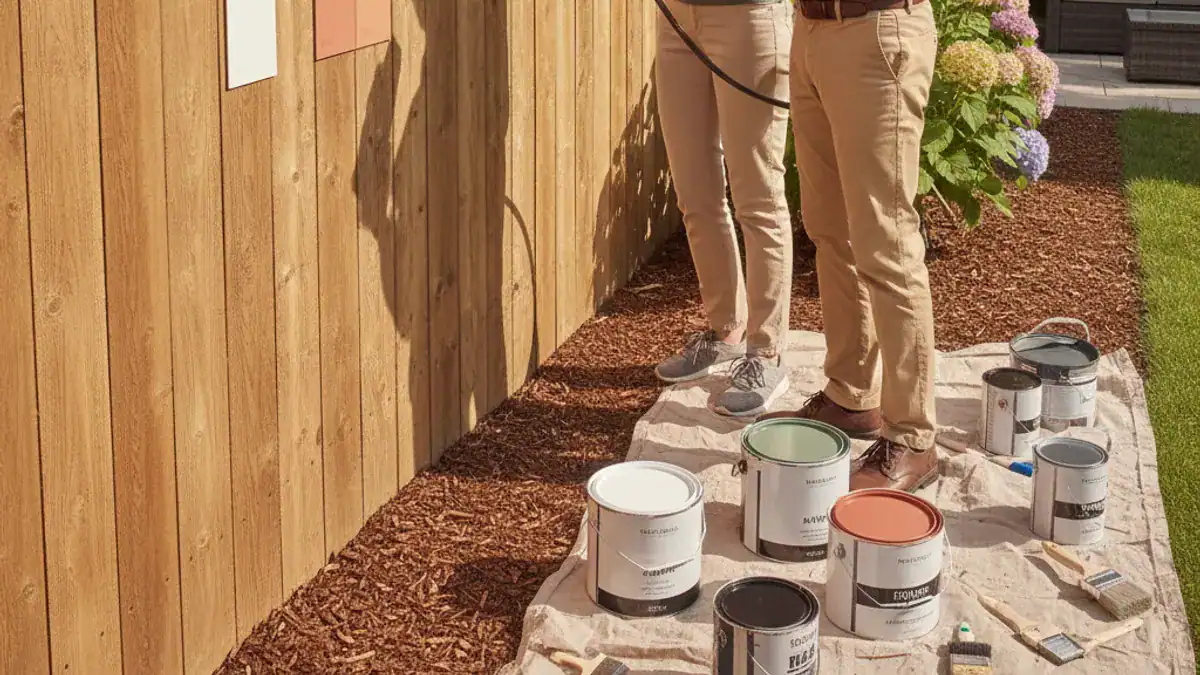
Choosing the right paint is just as critical as the application method. For outdoor wood fences, you'll want an exterior-grade paint that can stand up to the elements. Latex-based paints, often referred to as acrylic latex, are a popular choice. They're durable, flexible, and offer good resistance to cracking and peeling as wood expands and contracts with temperature changes.
Many manufacturers, like Sherwin-Williams or Benjamin Moore, offer specific exterior house and siding paints that work exceptionally well on fences. You'll typically find finishes in flat, satin, or semi-gloss. A flat finish hides imperfections best but offers less washability, while semi-gloss provides a more durable, scrubbable surface but highlights any flaws. A satin or eggshell finish often strikes a good balance for fences.
Paint Viscosity: Getting It Just Right
Paint viscosity, or thickness, is what you’ll need to adjust for spray application. Most paints are too thick to spray straight out of the can. Manufacturers usually provide guidelines on how much thinner (water for latex, mineral spirits for oil-based) to add for spraying. This is often stated as a percentage, like "add up to 10% water for spray application."
You can test your paint's viscosity using a viscosity cup (many sprayers come with one or you can buy one separately). A common target viscosity for airless sprayers is 12-15 seconds as measured by a #4 Ford viscosity cup. If your paint is too thick, it can clog the sprayer or result in poor atomization, leading to drips and uneven coverage. Too thin, and it might run or not provide enough opacity.
Setting Up Your Spray Painting Gear
Masking Off Areas to Protect Them
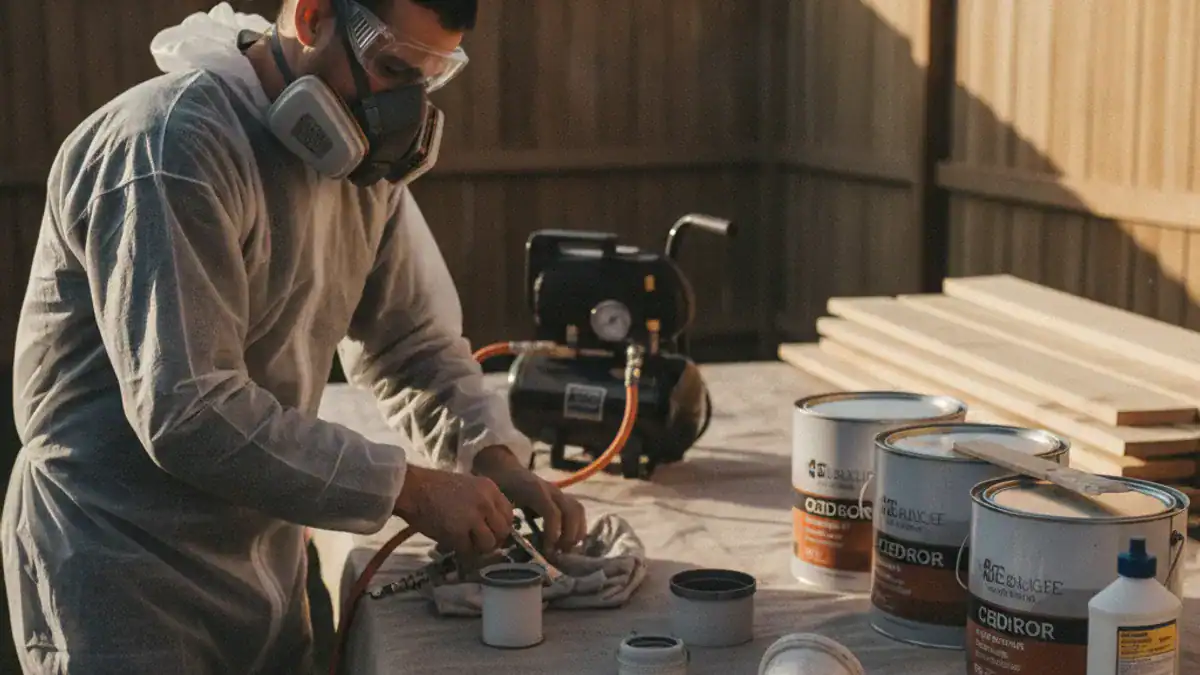
Before you even think about turning on the sprayer, you need to protect everything you don't want painted. This means masking off adjacent structures, plants, pathways, and any hardware attached to the fence, like latches or hinges. Use painter's tape along edges where the fence meets a house or a deck. For larger areas like shrubs or driveways, heavy-duty plastic sheeting or drop cloths are your best bet.
Make sure the masking material is securely attached. Wind can easily lift light plastic or paper, leading to overspray on unwanted surfaces. Taking the time to mask properly now will save you a lot of cleanup work later. It's better to be over-prepared with masking than to regret not covering enough.
Loading Your Sprayer and Dialing In Settings
Loading your paint sprayer is straightforward but requires attention to detail. First, ensure the sprayer is unplugged or the air supply is off for safety. Then, pour your thinned exterior paint into the hopper or bucket according to the sprayer's instructions. Always strain your paint before pouring it in to catch any dried clumps that could clog the sprayer's internal mechanisms.
Once loaded, you'll need to dial in the settings. Most airless sprayers have a pressure control dial. Start with a lower pressure setting and gradually increase it until you achieve a smooth, consistent spray pattern without splattering. For High Volume Low Pressure (HVLP) sprayers, you'll adjust airflow and paint flow.
Manufacturer manuals are your best guide here; they provide recommended starting points for different paint types.
Understanding Nozzle Size and Fan Pattern
The spray tip, or nozzle, is a critical component that determines the width of your spray pattern and the volume of paint discharged. Nozzle size is usually expressed as a three-digit number, where the first digit indicates the spray fan width (e.g., a '5' means a 10-inch fan pattern when held 12 inches away). The last two digits represent the orifice size in thousandths of an inch.
For exterior wood fences, a common range for the orifice size is 0.015 to 0.017 inches, suitable for most latex paints. A wider fan pattern, like the 10-inch one suggested by a '5' in the tip number, covers more area faster. Experimenting in a scrap piece of cardboard or an inconspicuous fence section will help you find the ideal pressure and pattern for your chosen paint.
The Art of Spray Painting Your Wood Fence
Technique for Even Coverage and Avoiding Drips
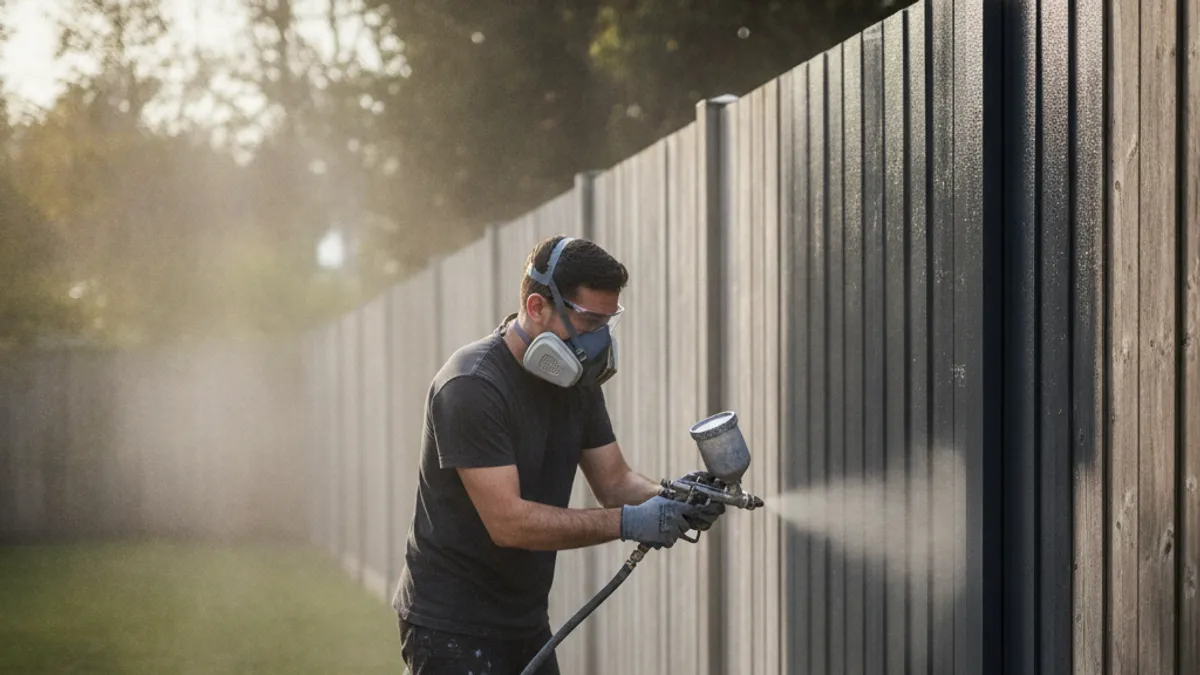
Achieving an even coat when spray painting a fence comes down to consistent motion and proper distance. Hold the sprayer perpendicular to the fence surface, maintaining a consistent distance of about 8 to 12 inches. Moving the sprayer in smooth, overlapping, horizontal strokes is generally best for fence pickets.
Start your stroke before you pull the trigger and release the trigger after you complete your stroke, slightly past the edge of the area you want to cover. This technique helps prevent heavy buildup at the start and end of each pass, which often leads to drips. Overlap each stroke by about 50% to ensure complete coverage and avoid those dreaded lighter lines.
How Far to Hold the Sprayer and How Fast to Move
The distance you hold the sprayer from the surface and the speed at which you move it directly impact the paint finish. If you hold the sprayer too close, you'll likely apply too much paint in one spot, leading to runs and drips. Holding it too far away will result in overspray, poor adhesion, and a patchy, uneven look. The 8-to-12-inch range is a good starting point, but you may need to adjust slightly based on your paint and sprayer.
Consistent speed is equally important. Moving too slowly will also result in an overly thick coat, promoting runs. Moving too quickly will leave thin spots and missed areas. Our research suggests finding a rhythm, a steady, deliberate pace that allows the paint to lay down evenly without pooling.
You'll develop a feel for it as you work.
Applying Multiple Coats for Durability
While one coat might seem sufficient, applying two thin coats of exterior paint will provide significantly better protection and a more robust finish for your wood fence. The first coat provides coverage, but the second coat builds thickness and ensures uniformity, especially important in areas that might have absorbed more paint initially. This is where the paint's durability really comes into play, offering longer-lasting protection against UV rays and moisture.
Always allow the first coat to dry thoroughly according to the paint manufacturer's recommendations before applying the second. Rushing this step can lead to peeling, bubbling, or an uneven sheen. Most exterior latex paints require at least 2-4 hours of drying time between coats, but check your product’s specific guidelines. Proper drying and curing allow the paint to form a tough, cohesive film.
Common Wood Fence Spray Painting Mistakes to Dodge
Overlapping Strokes Too Much or Too Little
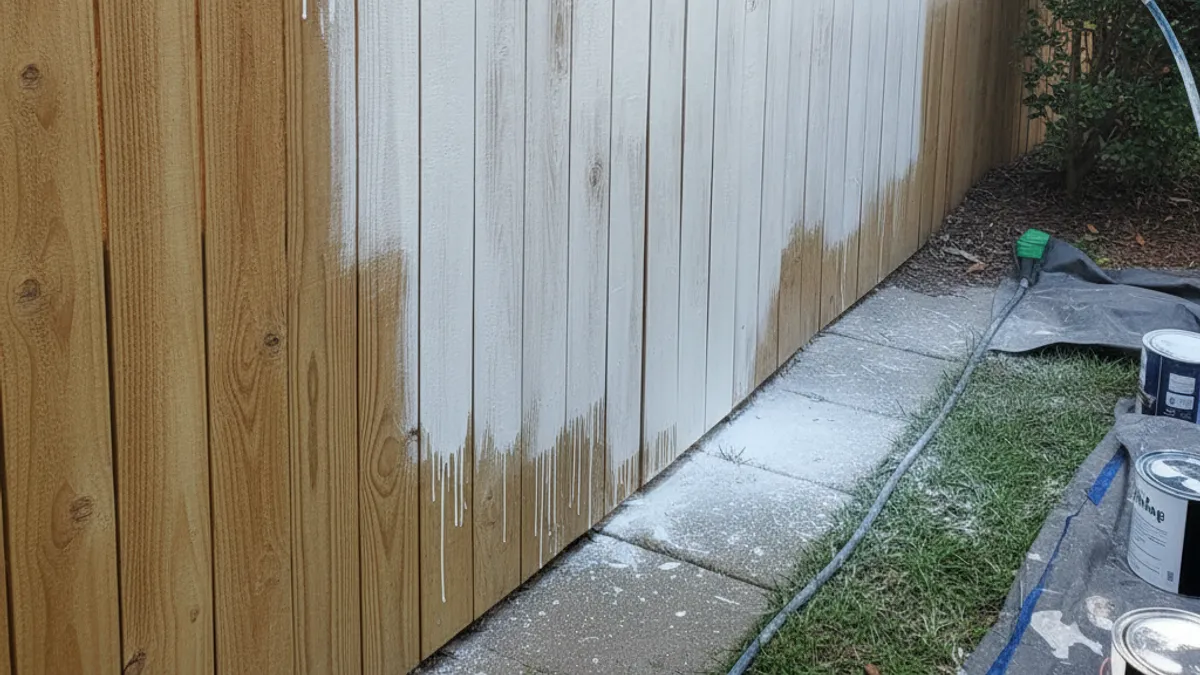
One of the most common pitfalls when spray painting is improper stroke overlap. If you don't overlap your strokes enough, you'll end up with visible lines or "holidays" where the paint is thinner. Conversely, if you overlap too much without adjusting your speed or distance, you can create thicker areas that are prone to running and dripping.
The sweet spot is typically around a 50% overlap. This ensures that each pass of the sprayer contributes full coverage and smooth transitions to the previous pass. Visualizing it as laying down a series of slightly overlapping ribbons of paint helps. Practice on a spare piece of wood or an inconspicuous area of the fence to get a feel for the right amount of overlap for your sprayer and paint.
Painting in the Wrong Weather Conditions
The weather plays a much bigger role in a successful fence painting project than many people realize. Spray painting in direct, hot sunlight can cause the paint to dry too quickly, leading to lap marks and poor adhesion. High humidity can slow down drying times significantly, increasing the risk of drips and dust settling on the wet paint. Very cold temperatures also impede proper drying and curing.
Ideally, you want to paint on a mild, overcast day with temperatures between 50°F (10°C) and 85°F (29°C). A light breeze can be helpful for drying, but strong winds are your enemy; they carry dust and debris that will stick to your wet paint, and they can cause overspray to drift where you don't want it. Always check the weather forecast and plan accordingly.