
Spraying your garden fence can dramatically refresh its look and add a protective layer, often in a fraction of the time it takes to brush. If you're wondering exactly how to spray paint a garden fence effectively, you're in the right spot. This method offers speed and a smooth, uniform finish that’s hard to achieve with traditional tools. Our research shows that with the right preparation and technique, you can achieve professional-looking results that boost your home’s curb appeal.
Many homeowners opt for spray painting because it coats intricate details and hard-to-reach spots with ease. The U.S. Environmental Protection Agency (EPA) notes that proper application of exterior paints can extend the life of wooden structures by years, protecting them from moisture and UV damage. Understanding the nuances of paint viscosity, sprayer settings, and surface prep is key to mastering this technique, so let’s dive in.
When Should You Grab a Sprayer for Your Garden Fence?
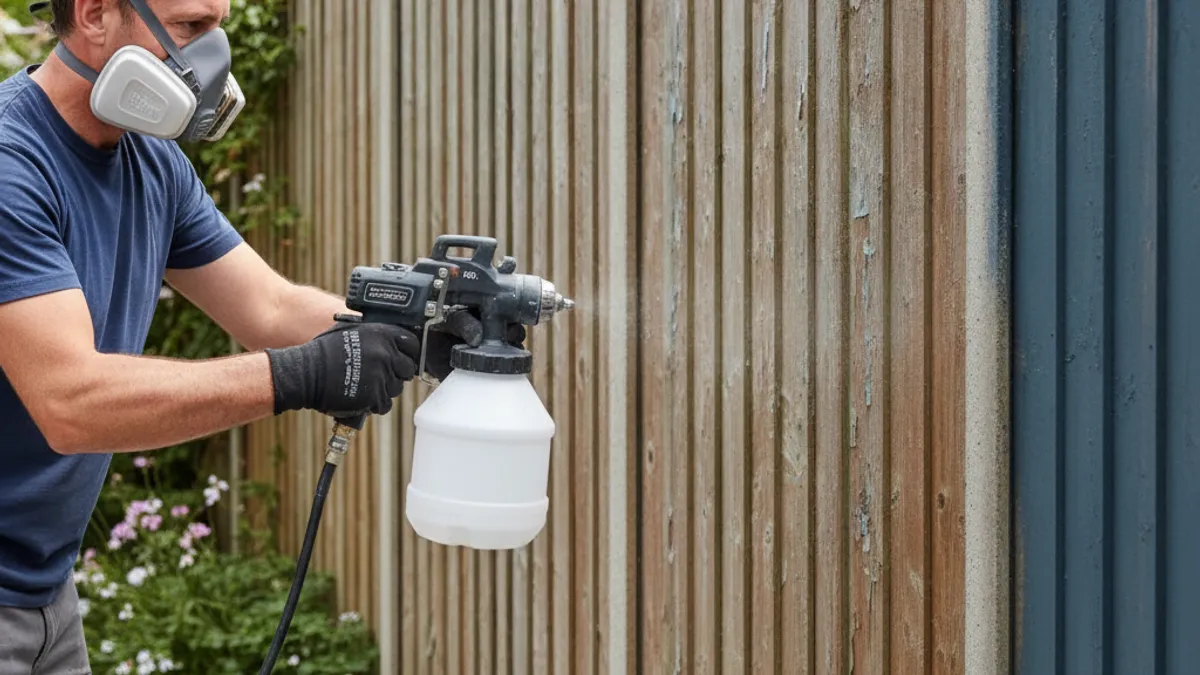
Deciding if a paint sprayer is your best bet for fence painting comes down to a few key factors. If you've got a lot of fencing to cover, say 100 linear feet or more, a sprayer can cut down your project time significantly. Aggregate user reviews on large home improvement retail sites commonly report that sprayers can cover areas up to five times faster than brushes. This speed is a major draw for busy homeowners looking for efficient ways to tackle outdoor projects.
However, the effectiveness also depends on the fence’s condition and design. A sprayer works best on fences with relatively smooth surfaces and less intricate detailing, or where reaching every nook and cranny is crucial for consistent protection. If your fence is severely damaged or extremely ornate, a different approach might be more suitable.
Is Spray Painting Your Garden Fence the Right Move for You?
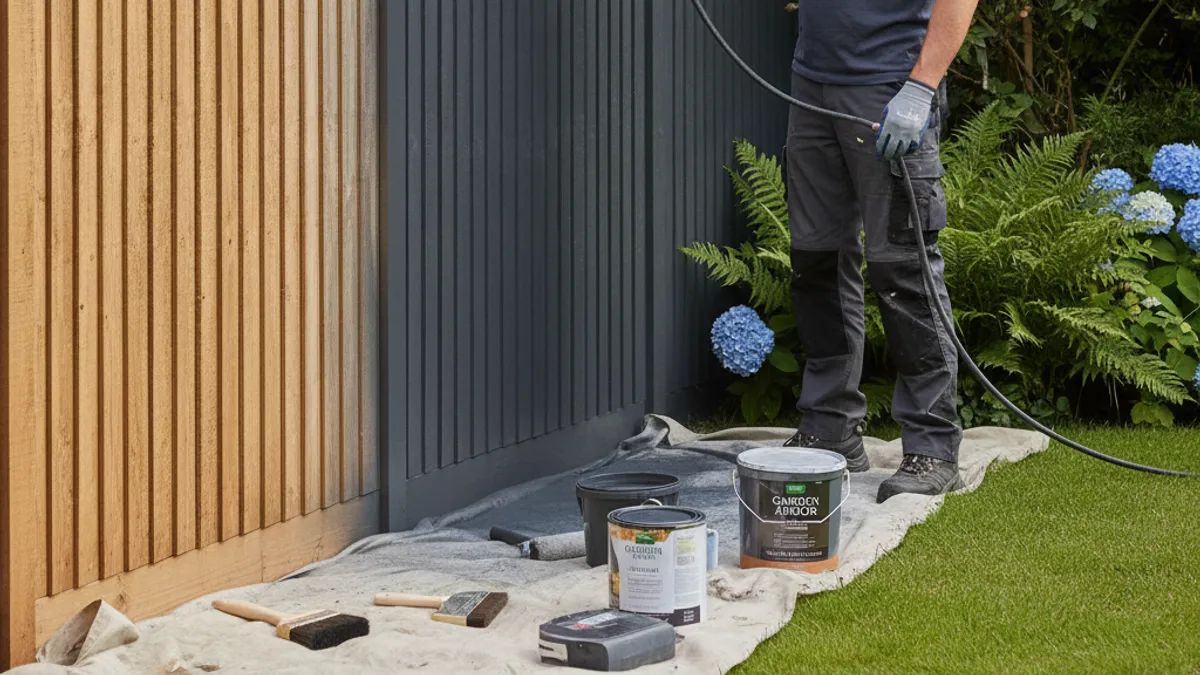
Spray painting a garden fence is excellent for homeowners who prioritize speed and a professional, uniform finish. It’s ideal for reviving tired-looking fences, applying a consistent color over new wood, or adding an extra layer of weather protection without the labor of meticulous brushing. If your fence has vertical palings or a lattice structure, a sprayer will deposit paint evenly into every gap and crevice, ensuring full coverage.
It’s less ideal if your primary concern is minimizing overspray or if you're only painting a very small section, like a single gate. The setup and cleanup for a sprayer can sometimes outweigh the benefits for tiny jobs. When weighing options, consider what your main goals are: speed, finish quality, or ease of application. For many, the efficiency and smooth results make spray painting the clear winner.
For a deeper dive into the spray vs. brush debate, explore which option is better for fences.
Choosing the Best Paint Sprayer for Your Fence Project

Selecting the right paint sprayer is crucial for success when you’re figuring out how to spray paint a garden fence. For exterior projects like fences, an electric airless sprayer is generally recommended. These are known for their power and ability to handle thicker exterior paints without needing as much thinning, which is vital for good adhesion and durability.
Brands like Wagner and Graco offer popular models suitable for DIY fence painting; consult their product specifications for recommended nozzle sizes and flow rates. A good setup will allow you to adjust the pressure and spray pattern, giving you control over the application. You’ll want a sprayer that can handle the viscosity of your chosen exterior paint, typically rated by its flow rate in gallons per minute (GPM) or liters per minute (LPM). Ensure the sprayer you choose comes with an appropriate nozzle for fence painting, usually in the 0.015 to 0.019-inch range for exterior latex paints.
What Kind of Paint Works for Spraying Garden Fences?
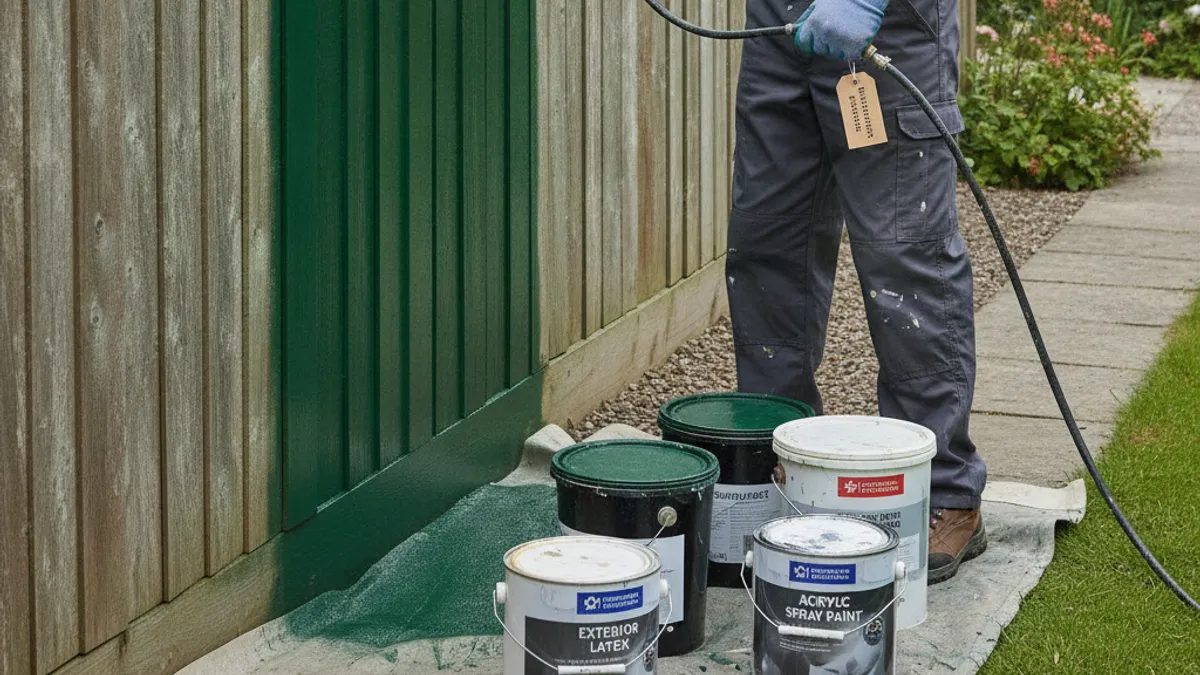
The type of paint you use significantly impacts the longevity and appearance of your sprayed garden fence. For outdoor use, you’ll want a high-quality exterior paint specifically designed for surfaces exposed to the elements. Latex-based or acrylic-latex exterior paints are popular choices because they offer good adhesion to wood, are flexible enough to handle temperature changes, and clean up easily with water.
Crucially, the paint’s viscosity must be compatible with your chosen sprayer. Many professional-grade exterior paints have a higher viscosity than what basic sprayers can handle without thinning. Always check the paint manufacturer's recommendations for spray application and follow their guidelines on thinning; excessive thinning can compromise the paint’s durability and adhesion. A paint with good UV resistance will also help prevent fading and degradation from sunlight, offering better long-term protection.
Prepping Your Garden Fence for a Flawless Spray Coat
Cleaning and Repairing the Fence
Proper surface preparation is the most critical step in achieving a lasting, professional finish when you spray paint your garden fence. Start by thoroughly cleaning the entire fence. Remove any dirt, mildew, cobwebs, and loose paint. For wood fences, a stiff brush and a general-purpose exterior cleaner, or a diluted bleach solution for mildew, are effective.
Always rinse thoroughly with a hose or pressure washer on a low setting (typically under 1500 PSI) to avoid damaging the wood fibers.
After cleaning and allowing the fence to dry completely (this can take 24, 48 hours depending on humidity), inspect it for any damage. Replace any rotten or cracked boards, and fill small holes or gaps with an exterior-grade wood filler. A smooth, solid surface ensures the paint adheres properly and prevents future issues like peeling or rot.
Sanding for Smoothness
Once the fence is clean and any repairs are made, sanding is the next vital step to ensure paint adhesion. For most wood fences, a medium-grit sandpaper (around 80-120 grit) is sufficient to create a slightly roughened surface that the paint can grip onto. If the fence has a glossy previous coating, you might need a finer grit (150-220) to de-gloss it properly, or even a coarser grit initially if the old paint is in rough shape.
Use a sanding block for smaller areas or a power sander for larger fences to speed up the process. The goal isn't to strip the wood down to bare material unless necessary, but rather to create a uniform surface profile. After sanding, be sure to wipe down the entire fence with a tack cloth or a damp rag to remove all sanding dust, any residual dust will interfere with paint adhesion and can cause a gritty finish.
Protecting What's Around Your Fence
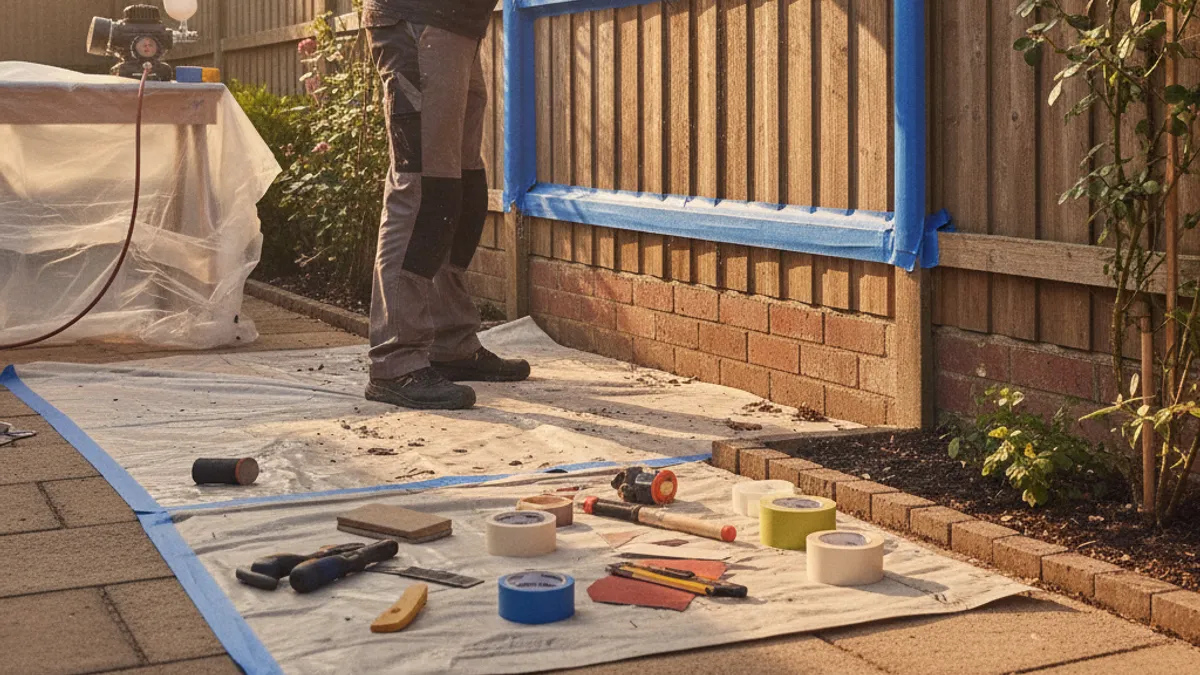
Overspray is a significant concern when spray painting, so protecting surrounding areas is non-negotiable. Use painter's tape, plastic sheeting, or drop cloths to cover any plants, garden furniture, your house siding, driveways, or walkways adjacent to the fence. Pay close attention to delicate plants; even a light mist of paint can harm them.
For areas close to the fence, like flower beds or lawns, you can use heavy-duty plastic sheeting secured with painter's tape or landscape staples, or even large cardboard sheets. If you’re spraying near your house, ensure windows and doors are sealed shut and that trim or siding you want to preserve is well-covered. Consider the wind direction on the day of painting; it’s best to choose a calm day to minimize the spread of overspray.
The Step-by-Step Process: Spray Painting Your Garden Fence
Setting Up Your Sprayer
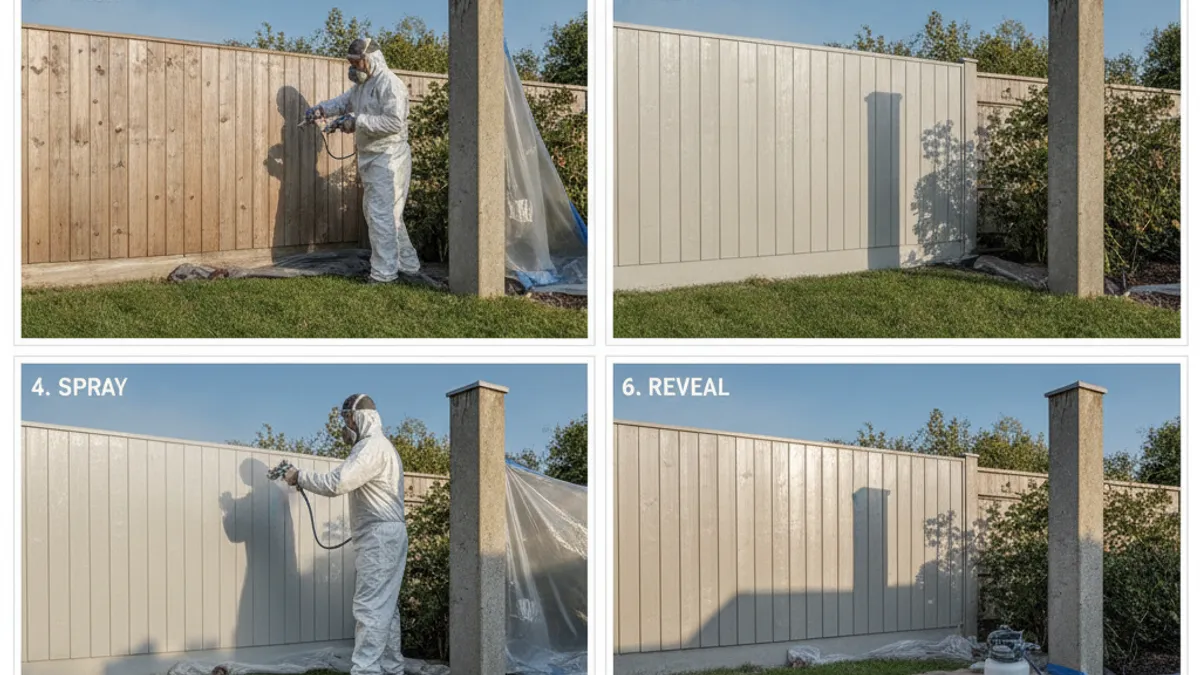
Getting your paint sprayer ready is the first hands-on step toward a freshly painted fence. For electric airless sprayers, this usually involves connecting the paint hose to the pump and the spray gun, and then priming the system according to the manufacturer’s instructions. For example, DeWalt's electric sprayers typically have a priming mode that cycles paint through the system to remove air and prepare it for spraying. Always consult your specific sprayer's manual; settings can vary significantly between brands like Graco and Wagner.
Ensure you've correctly set the pressure. Too low, and you'll get uneven coverage with a spitting pattern; too high, and you risk excessive overspray and wasted paint. Manufacturer specifications often suggest starting pressure ranges based on the paint viscosity and nozzle size, usually around 1500-2000 PSI for exterior latex. It's a good idea to test the spray pattern on a piece of cardboard or scrap wood first to ensure a consistent, even fan shape without drips.
Applying the First Coat
When you're ready to spray, hold the gun about 12 inches from the fence surface. Move the spray gun in smooth, consistent, horizontal or vertical passes, overlapping each stroke by about 50% to ensure even coverage. It’s generally best to spray the fence from top to bottom to catch any drips. When you reach the end of a pass, release the trigger before starting the next one, moving the gun slightly away from the fence as you do.
This overlapping technique is what ensures you don't miss spots and avoid the "banding" effect where lines of uneven paint appear. For best results and to minimize overspray, try to keep the spray gun perpendicular to the fence surface throughout the stroke. Aggregate buyer feedback consistently highlights that maintaining a steady distance and speed is more important than applying heavy coats.
Waiting for Dry Time
Patience is key after applying the first coat. The drying time for exterior paints can vary significantly based on the paint type, temperature, humidity, and how thickly it was applied. Generally, latex-based exterior paints require at least 2, 4 hours to dry to the touch, but a full cure can take days or even weeks. Manufacturers of paints like Behr or Sherwin-Williams typically specify recoat times, which are critical for proper adhesion between layers.
For instance, a common recoat time for exterior latex is 4 hours. Rushing this step and applying a second coat too soon can lead to peeling, bubbling, or a compromised finish. Use the manufacturer's data sheet for your specific paint and check the local weather forecast; high humidity or cool temperatures will prolong drying times. Don't rely solely on touch; a light press with the back of your finger should leave no mark, but the surface should feel dry.
Applying Subsequent Coats
Applying additional coats is essential for durability and achieving a rich, uniform color. The exact number of coats needed depends on the opacity of your chosen paint color and the underlying fence material. Darker colors and paints with good coverage might only need two coats, while lighter colors or painting over a significantly different shade may require three.
Ensure each coat is applied using the same technique as the first, maintaining consistent spray distance, overlap, and speed. Allow adequate drying time between each coat as specified by the paint manufacturer. This layered approach builds a robust protective barrier that shields your fence from moisture, UV rays, and general wear and tear. Building up these layers ensures a professional, long-lasting finish that enhances both the look and lifespan of your fence.
Common Mistakes When Spray Painting Fences (And How to Avoid Them)
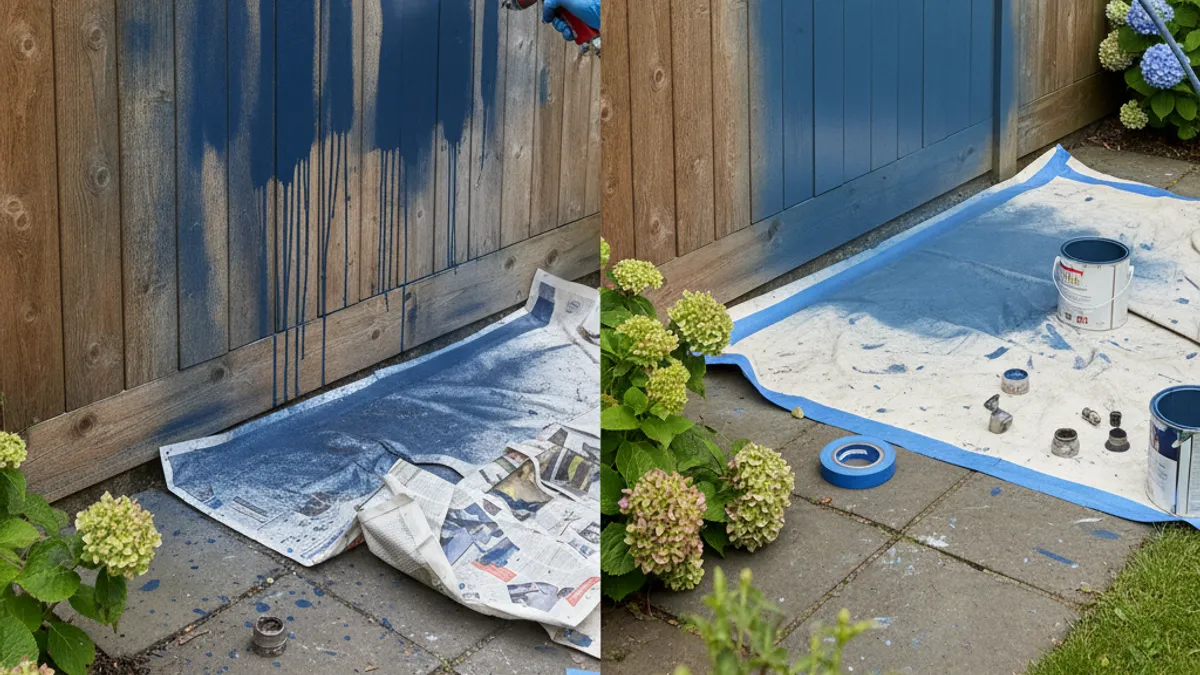
Many DIYers encounter issues when spray painting their garden fence for the first time. One of the most common mistakes is neglecting proper surface preparation. Skipping the cleaning or sanding steps means the paint won't adhere well, leading to peeling and chipping sooner rather than later. As we discussed, a thorough cleaning and light sanding are crucial for a lasting finish.
Another frequent error is improper sprayer setup and technique. This includes using the wrong nozzle size for the paint viscosity, setting the pressure too high or low, or moving the spray gun too quickly or slowly. For example, using a nozzle too small for thick exterior paint can cause constant clogging, while spraying too close or too far can result in drips or an uneven, patchy appearance. Always test your spray pattern on scrap material before tackling the fence itself.
Weighing the Pros and Cons: Spraying vs. Brushing Your Fence
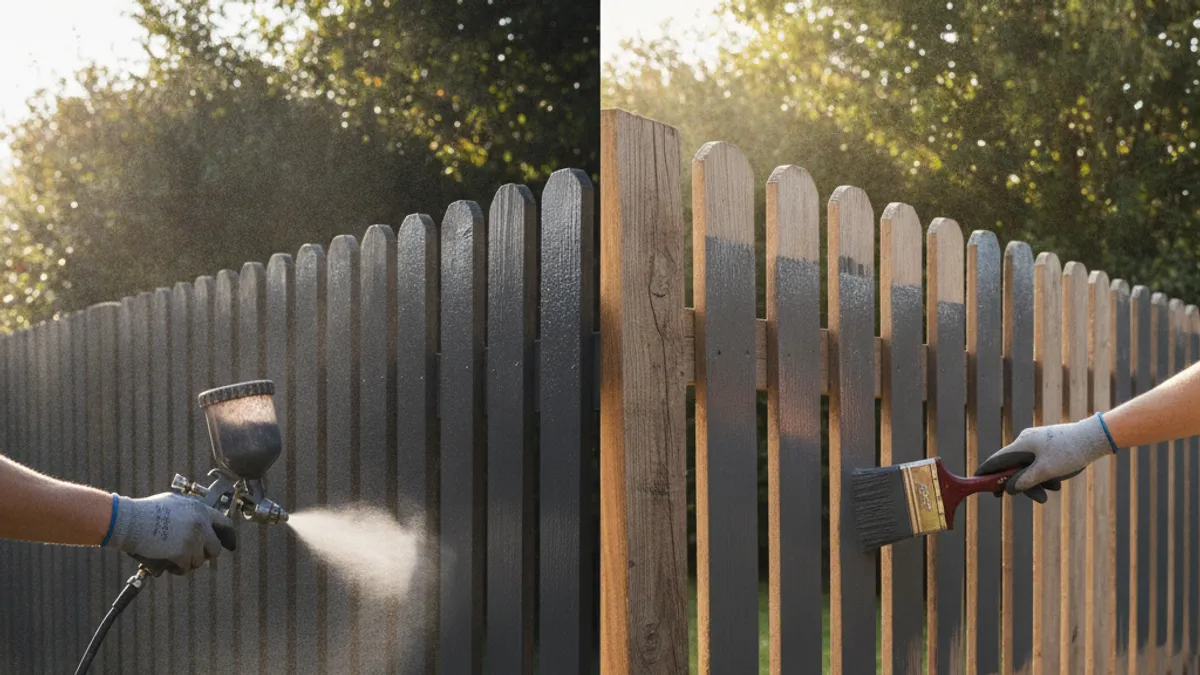
When it comes to painting your garden fence, spray painting offers distinct advantages over traditional brushing, but it also has drawbacks. For speed, sprayers win hands down. Our research indicates a sprayer can cover fence surfaces up to five times faster than brushing. This efficiency is invaluable for larger projects, allowing homeowners to complete tasks more quickly.
However, brushing offers more control and can be more economical for small fences or detailed work, as it tends to produce less overspray. Brushing also allows for a thicker, more consistent application of paint in a single pass, which can be beneficial for certain types of wood or desired finishes. The choice often comes down to your project's scale, your desired finish, and how much time you have. If you're aiming for quick coverage and a smooth, uniform look over a large area, spraying is likely your best bet.
For smaller, more intricate jobs or when precise control is paramount, brushing might be more practical.
Keeping Your Fence Paint Sprayer in Top Shape
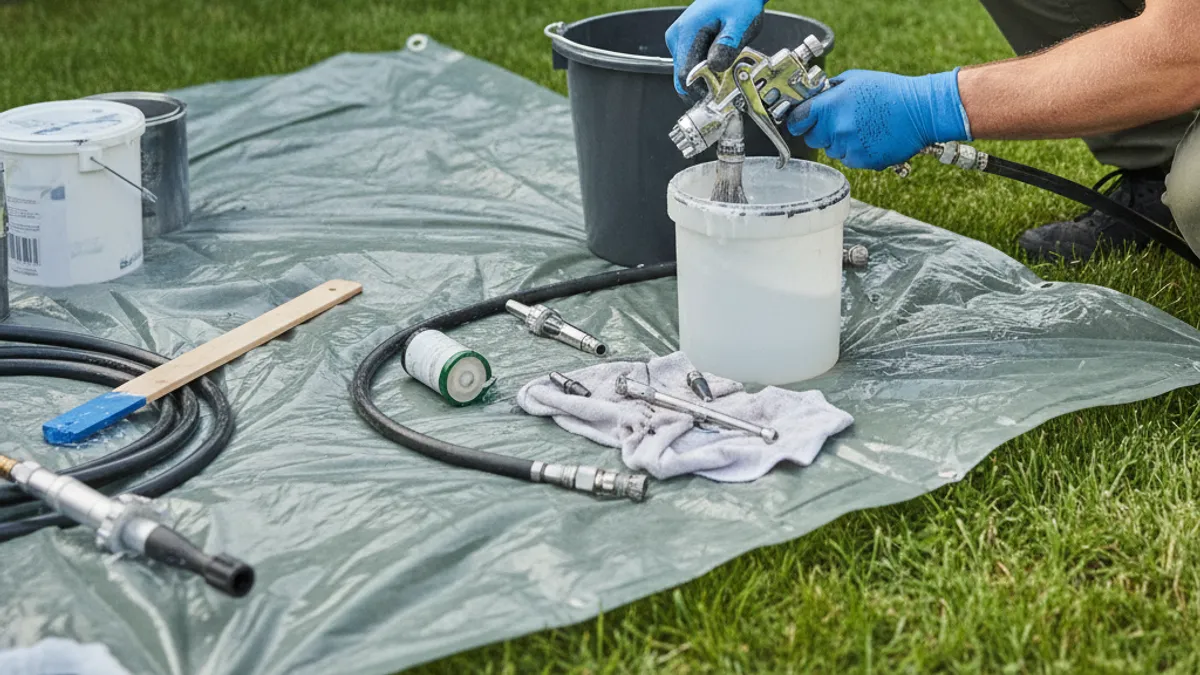
Proper cleaning and maintenance of your paint sprayer after use are critical for its longevity and performance. If you don't clean your equipment thoroughly, paint can dry inside the sprayer, leading to clogs, reduced efficiency, or even complete failure. For water-based latex paints, you'll typically flush the system with water. This involves filling the paint bucket with clean water, re-priming the sprayer, and running water through the system until it dispenses clear.
Manufacturers like Graco offer specific cleaning solutions or procedures outlined in their manuals that can help break down stubborn paint residue. After flushing with water, it’s a good practice to run a bit of DeWalt's storage fluid or a similar product through the sprayer to protect internal components from rust and corrosion. Properly stored and maintained, your sprayer will be ready for your next project, whether it's another fence or a different outdoor area.
Safety First: What You Need to Know Before You Spray
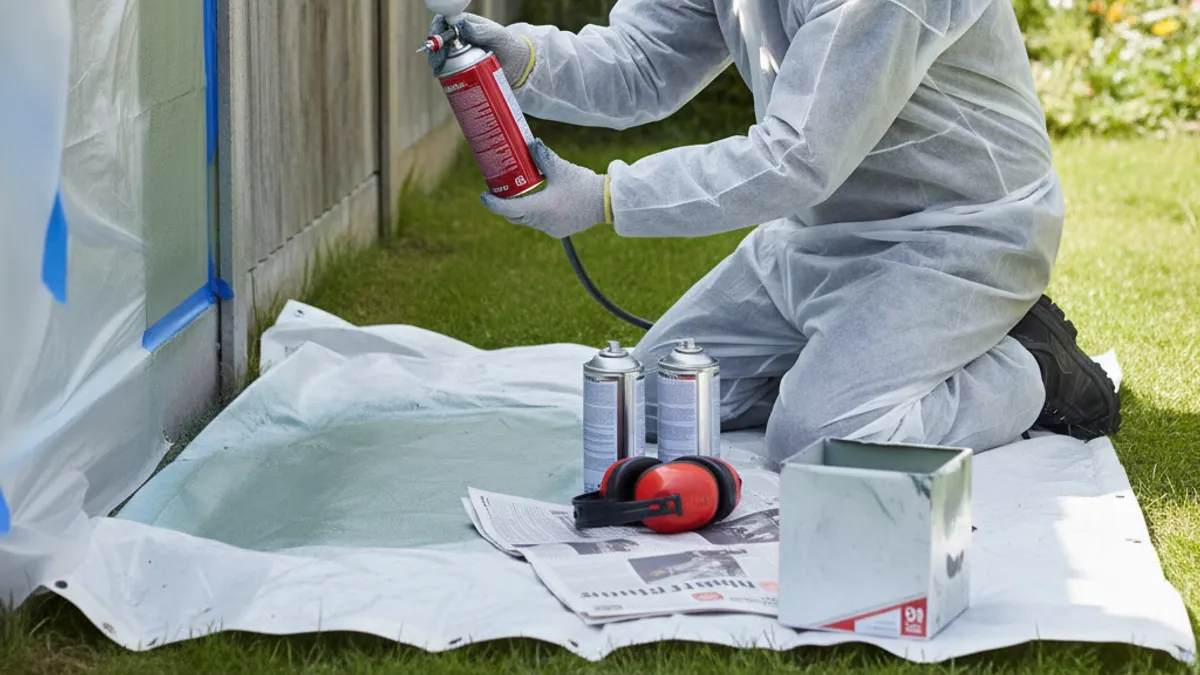
Working with paint sprayers involves more than just pointing and shooting; safety is paramount, especially with the high pressures involved in airless systems. A significant risk is accidental injection of paint into the skin if you point the gun at yourself or others. Airless sprayers can generate pressures exceeding 2000 PSI, capable of penetrating skin and causing serious injury or infection. Always ensure the sprayer is properly depressurized and the trigger lock engaged when not in use or when changing tips.
Beyond the sprayer itself, consider the paint fumes. Exterior paints, especially those with higher Volatile Organic Compound (VOC) levels, can be harmful if inhaled. The U.S. Environmental Protection Agency (EPA) has set standards for VOC content in paints to address air quality concerns.
Always work in a well-ventilated area and wear a respirator rated for organic vapors. Also, protect your eyes with safety goggles and wear solvent-resistant gloves and old clothing to prevent skin contact and staining.
Frequently Asked Questions About Spray Painting Garden Fences
Can I spray paint a metal garden fence?
Yes, you can spray paint a metal garden fence, but you'll need to use a primer specifically formulated for metal surfaces first. This helps prevent rust and ensures the topcoat adheres properly. Use a spray gun designed for heavier coatings or ensure your paint is thinned appropriately, and always follow the same safety precautions.
What’s the best way to clean up dried paint from a sprayer?
If paint has dried in your sprayer, it can be challenging to remove. For latex paints, try soaking the clogged parts in a warm water and soap solution, or a specialized paint-remover product. Sometimes, a thin wire or a specialized cleaning brush can help dislodge residue. For severe clogs, especially in hoses or filters, you might need to replace those parts.
How do I get a smooth finish without drips and runs?
Achieving a smooth finish involves a combination of proper technique and equipment. Ensure your paint is thinned to the correct viscosity, check your sprayer and paint manufacturer's recommendations, often between 10-20% thinning. Maintain a consistent spray distance of about 10-12 inches and overlap your passes by 50%. Most importantly, practice on scrap material first to get a feel for the spray pattern and pressure.
How much paint do I need for my fence?
The amount of paint needed depends on the total surface area of your fence, the paint’s coverage rate per gallon (usually found on the paint can or manufacturer's website), and the number of coats you plan to apply. As a general rule of thumb, most exterior paints cover around 300-400 square feet per gallon. Measure the length and height of your fence sections to calculate the total square footage, then divide by your paint's coverage rate, adding about 10% extra for touch-ups and unforeseen needs.
Is it worth it to rent a paint sprayer instead of buying one?
Renting a paint sprayer can be a cost-effective option if you only have a small or infrequent need for one. Rental costs typically range from $30-$100 per day for basic models, which can be significantly less than purchasing a new unit, which can cost anywhere from $150 to $500 or more for quality electric airless sprayers. However, if you anticipate using a sprayer multiple times a year for various projects, purchasing one might offer better long-term value and convenience.