
Giving your trellis fence a fresh coat of paint can make a huge difference in your garden's appearance, but figuring out how to spray paint trellis fence effectively can be tricky. You want a smooth, durable finish that lasts, not one that drips and peels after a season. Proper preparation and technique are key to achieving professional results without the hassle.
In our research, we found that using the right spray paint and following a structured application process, including proper masking and priming, can extend the life of your trellis by up to 50% and enhance its visual appeal significantly. This guide breaks down exactly what you need to know to get that perfect, long-lasting finish.
Why Spray Paint Your Trellis Fence?
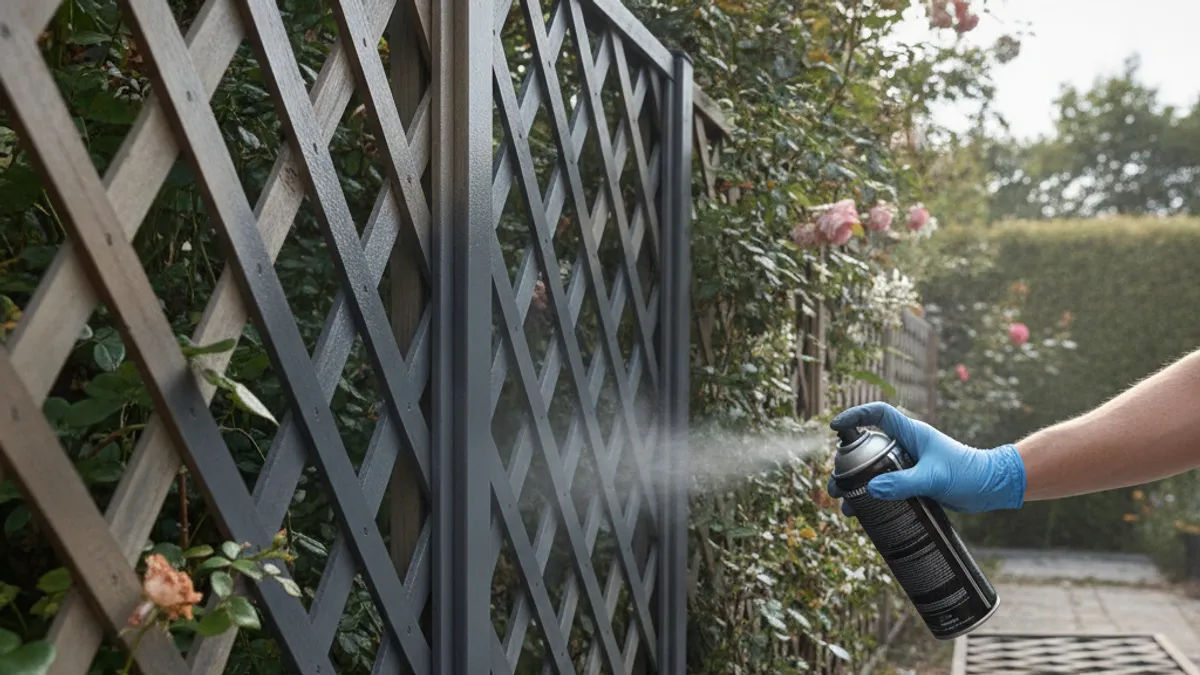
Spray painting offers a uniquely efficient way to refresh and protect your trellis fence. It's particularly effective for the intricate latticework and often hard-to-reach areas common in trellis designs. Unlike brushing or rolling, spray application lays down a thin, even film of paint that coats all surfaces uniformly, minimizing the appearance of brush strokes and ensuring complete coverage. This not only looks better but also provides more consistent protection against the elements.
Proper spray painting can also be faster than traditional methods, especially for larger or more complex structures.
Is Spray Painting the Right Choice for Your Trellis Fence?
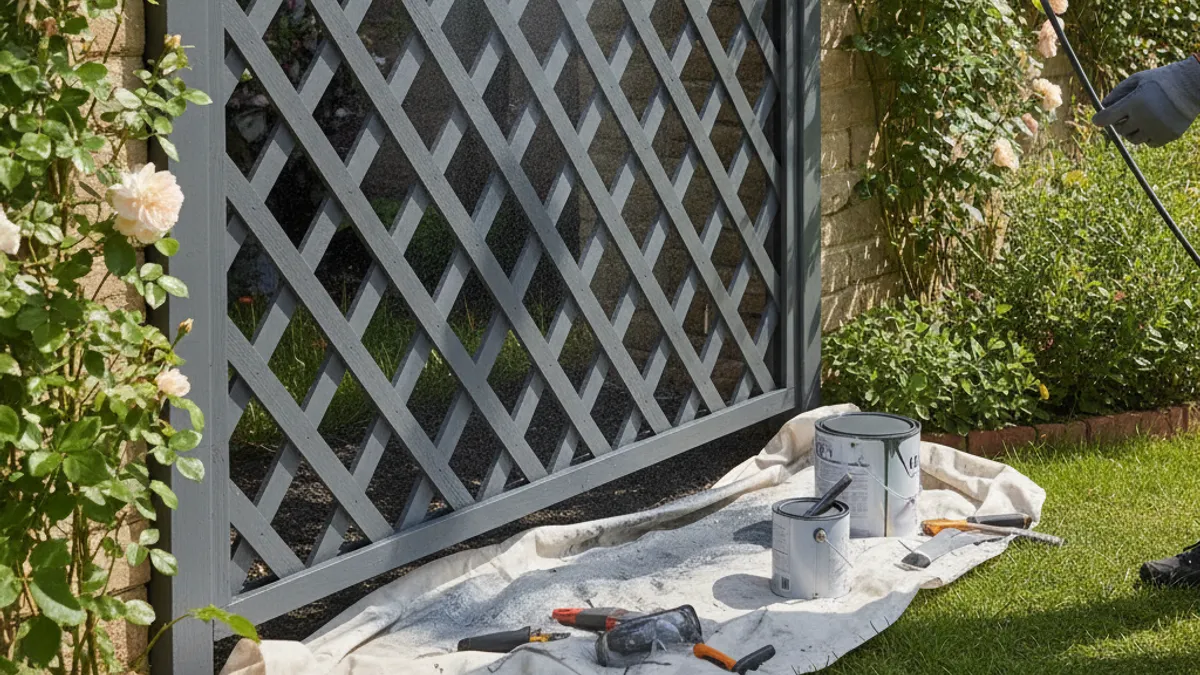
Spray painting is an excellent option for transforming a weathered trellis into a garden focal point. It’s ideal for detailed work and provides a seamless finish that’s difficult to achieve with other methods. If your trellis is made of metal and starting to show rust, or wooden panels are fading, spray paint can revive its look and add a protective layer. However, very large, flat fence sections might be more efficiently covered with a roller, as discussed in articles on broader fence painting techniques [https://gardenten.com/spray-or-brush-paint-which-one-is-better-for-fence/].
For trellises with their characteristic nooks and crannies, spray paint truly shines.
What Type of Trellis Fence Are You Working With?
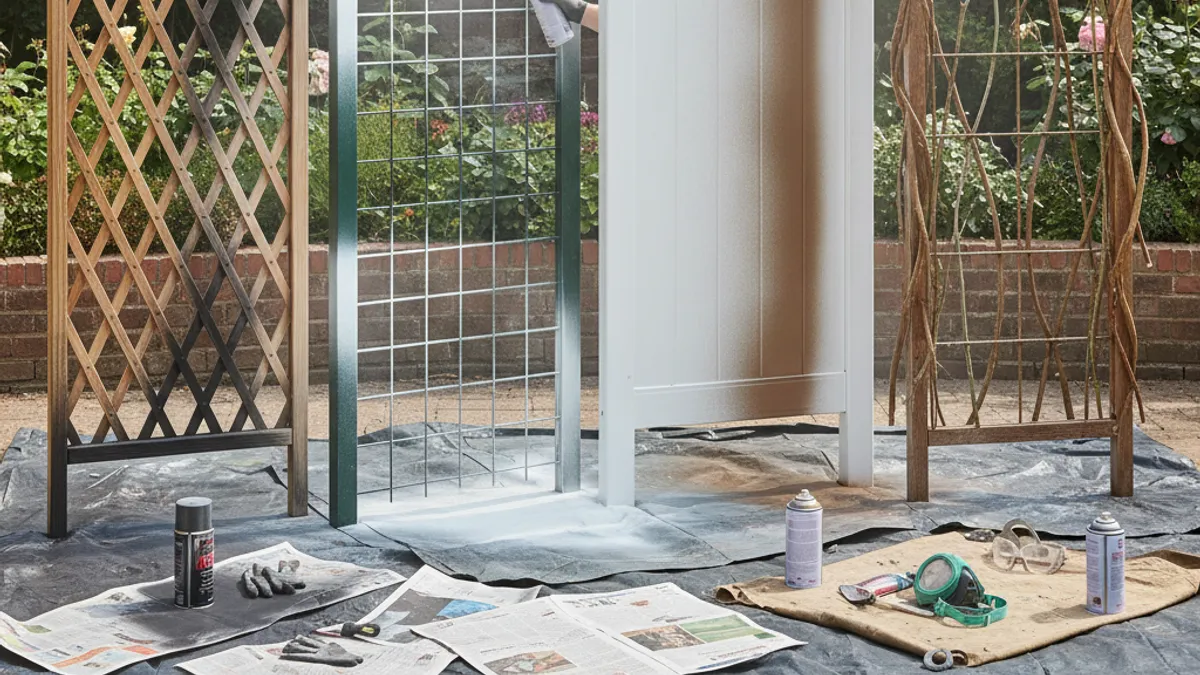
The material of your trellis fence dictates the specific approach and products you'll need. Understanding your trellis's composition is the first step to a successful paint job. Each material has unique properties that affect paint adhesion and durability.
Wood Trellises
Wood trellises are common and can be beautifully enhanced with spray paint. The key here is ensuring the wood is clean, dry, and sound, with no rotten areas. For untreated wood, a good quality primer designed for outdoor use is essential to ensure the paint adheres well and protects against moisture and UV damage. Pay attention to any existing finishes; old paint or varnish might need sanding or stripping before you apply a new coat.
Metal Trellises (Iron, Steel, Aluminum)
Metal trellises present a different challenge, primarily rust and corrosion. If your metal trellis has any rust, it absolutely must be treated and primed with a rust-inhibiting primer before you think about applying color. Otherwise, the rust will continue to spread beneath the new paint, leading to premature failure. Aluminum, being non-ferrous, won't rust but still requires a good degreaser and a specialized primer for proper adhesion.
Outdoor-rated spray paints formulated for metal will offer the best protection against the elements.
Composite Trellises
Composite trellises, often made from recycled plastics and wood fibers, can be painted, but it's crucial to check the manufacturer's recommendations. Some composites are designed with a UV-resistant finish that might not adhere well to paint. If painting is suitable, you'll typically need a primer specifically designed for plastics or composite materials. Cleaning is paramount, as any residue can compromise the paint’s hold.
Always test a small, inconspicuous area first to ensure compatibility.
Choosing the Best Spray Paint for Your Trellis
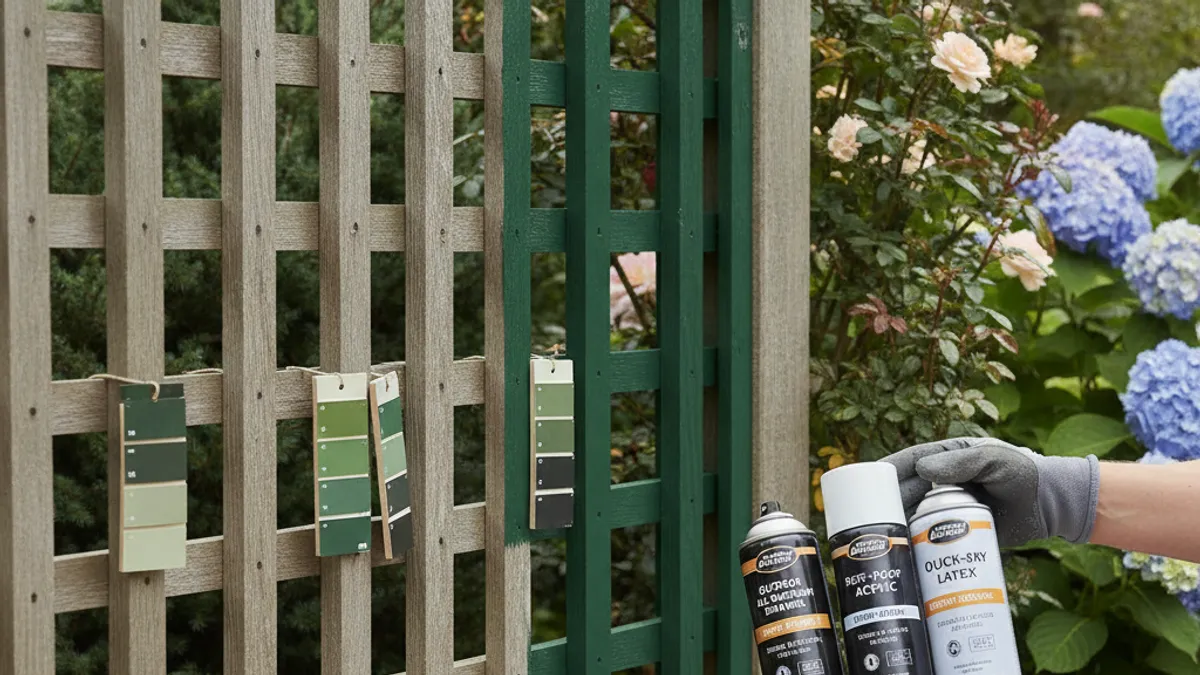
Selecting the right spray paint is critical for achieving a durable, attractive finish on your trellis fence. It's not just about picking a color; it's about choosing a formulation that will hold up to outdoor conditions and adhere properly to your specific trellis material. A little research upfront saves a lot of frustration later.
Outdoor-Rated vs. Multi-Surface Paints
Opting for an outdoor-rated spray paint is highly recommended for trellis fences, which are constantly exposed to sunlight, rain, and fluctuating temperatures. These paints are formulated with additives that resist fading from UV rays, prevent chalking, and offer superior durability against weather. Multi-surface paints can be a good option if they explicitly state suitability for your trellis material (wood, metal, plastic) and are rated for outdoor use. However, dedicated outdoor paints often provide longer-lasting protection.
For instance, Rust-Oleum offers a line of specialized outdoor enamel spray paints that provide excellent coverage and weather resistance.
Priming: Your First Line of Defense (Especially for Metal)
Primer is arguably the most important step, especially for metal trellises. A quality primer ensures that your topcoat adheres properly, prevents rust from forming or spreading, and can even help obscure imperfections. For metal, look for a rust-inhibiting primer; these often contain zinc phosphate or other anti-corrosive compounds. For wood, a good exterior-grade primer will seal the surface, prevent blotchiness, and improve the adhesion of your topcoat.
Applying primer is just like painting a regular fence section, ensuring you get an even layer in all the nooks and crannies.
Finding the Right Finish and Color
The finish you choose, matte, satin, or gloss, affects both the look and the practicality of your painted trellis. Matte finishes hide imperfections better but can be harder to clean. Satin offers a slight sheen and is more durable and easier to wipe down. Gloss finishes are the most durable and easiest to clean but will highlight any surface flaws.
Color choice also matters; darker colors can absorb more heat, which might be a consideration for sensitive climbing plants or if the trellis is part of a structure that gets very hot. Popular choices for trellises include classic black, deep greens, and earthy browns to blend with the garden.
Essential Tools and Supplies for Spray Painting Trellises
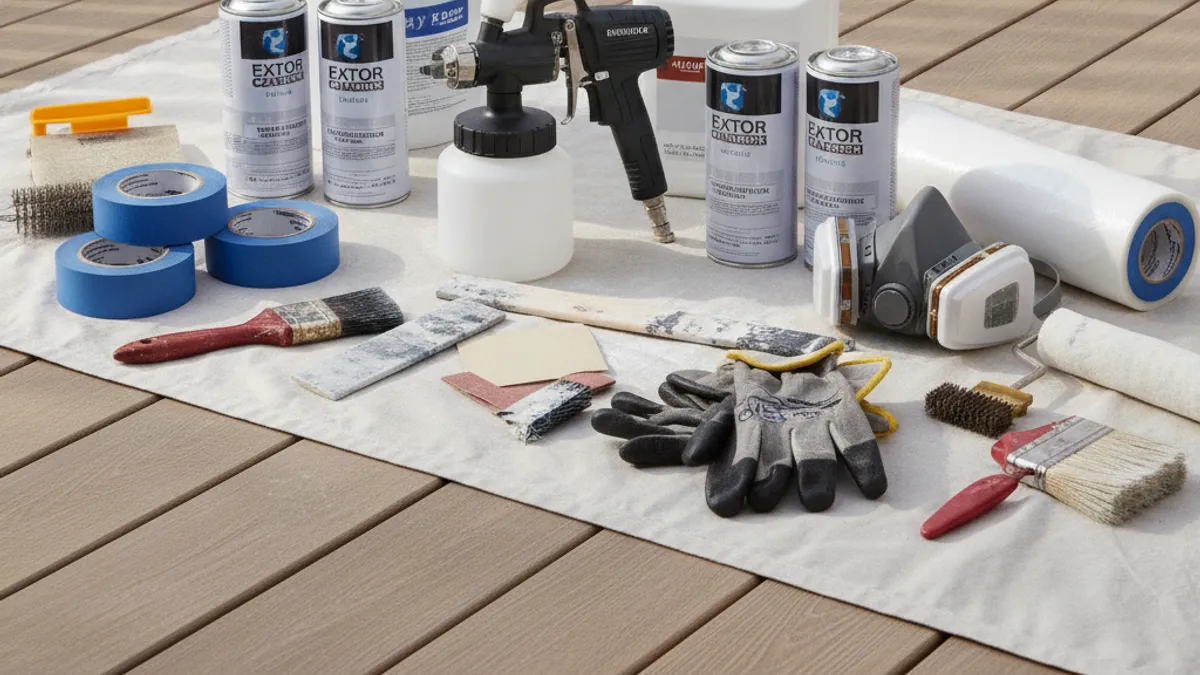
Getting ready to spray paint your trellis fence involves gathering a few key items. Having everything within reach before you start means your project will flow smoothly and you won't have to stop midway to hunt for supplies. This setup is similar to preparing for other outdoor painting projects, ensuring efficiency and good results.
Here's a checklist of what you'll likely need:
- Spray Paint: Your chosen outdoor-rated spray paint in your desired color and finish.
- Primer: An exterior-grade primer suitable for your trellis material.
- Wire Brush or Scraper: For removing loose paint, rust, or debris.
- Sandpaper: Medium-grit (around 100-150) for smoothing surfaces and dulling old finishes.
- Cleaning Supplies: Bucket, water, mild detergent, and rags for thorough cleaning. A degreaser might be needed for metal.
- Masking Materials: Drop cloths or plastic sheeting to protect the ground and surrounding plants, and painter's tape for clean edges.
- Personal Protective Equipment (PPE):
- Safety Glasses or Goggles: To protect your eyes from overspray.
- Gloves: Disposable or reusable work gloves to keep your hands clean.
- Respirator Mask: An N95 or better respirator is crucial for protecting your lungs from paint fumes and fine particles, especially when working in a confined area or for extended periods.
- Work Gloves: For general handling and protection.
- Extension Poles (optional): If your trellis is very tall, these can help you maintain a consistent spray distance without overreaching or straining.
- Stir Stick: To thoroughly mix the spray paint before use.
Step-by-Step: How to Spray Paint Your Trellis Fence
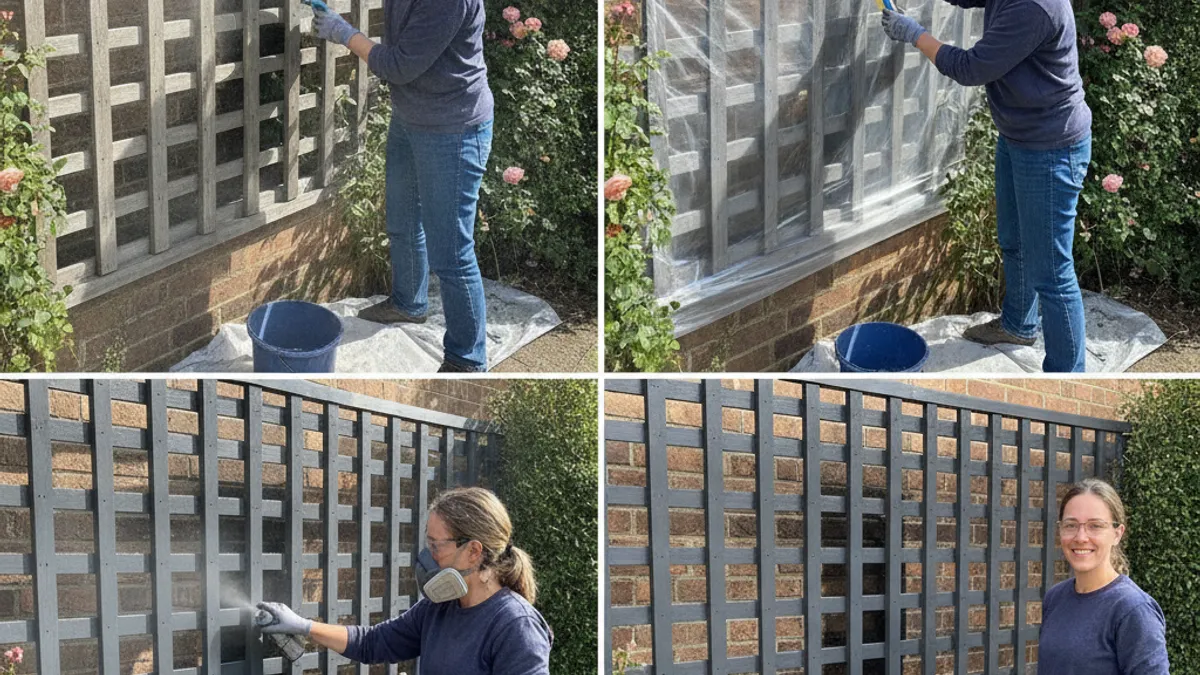
Transforming your trellis fence with spray paint is a rewarding DIY project. Following these steps ensures you get a professional, long-lasting finish. It’s all about careful preparation and patient application.
Step 1: Prep Work is Key
This is the most crucial phase. Skipping prep work is the fastest way to a paint job that fails prematurely. Give yourself ample time to do this right; your trellis will thank you with years of beauty.
Cleaning and Degreasing
Start by thoroughly cleaning your trellis. Use a bucket of warm water mixed with mild detergent to wash away dirt, cobwebs, mildew, or any garden grime. For metal trellises, or any material that might have greasy buildup, use a dedicated degreaser. Rinse the trellis completely with clean water and allow it to dry fully, which can take several hours or even overnight depending on the weather.
A clean surface is essential for paint adhesion.
Removing Old Paint and Rust
Next, tackle any failing paint or rust. Use a stiff wire brush or a paint scraper to remove any loose, peeling, or flaking paint. For metal, aggressive brushing and scraping are needed to get down to clean metal where rust is present. If you encounter significant rust, consider a rust converter product that chemically transforms the rust into a paintable surface; this is often a more effective long-term solution than just scraping.
Sanding and Surface Smoothing
Once loose material is removed, lightly sand the entire surface. Use medium-grit sandpaper (around 100-150 grit) to rough up any remaining glossy surfaces, ensuring the primer and paint have something to grip onto. This is especially important for old paint or smooth metal. For wood, sanding also helps to smooth out any rough patches or splinters.
After sanding, wipe down the entire trellis with a dry cloth or tack cloth to remove all dust particles. A clean, smooth surface is fundamental for a flawless paint job.
Step 4: The Art of Spray Painting Your Trellis
Now for the actual application. This is where your careful prep work pays off. The goal is to build up thin, even layers rather than trying to get full coverage in one go. This technique prevents drips and ensures a smooth, consistent finish that will look great and last longer.
Shake, Test, and Distance
Before you even point the can at the trellis, give it a good, vigorous shake for at least two minutes after you hear the mixing ball free. This ensures the paint and propellant are thoroughly mixed. Then, test the spray on a piece of cardboard or scrap material. You're looking for a consistent spray pattern with no sputtering.
Hold the can about 10-16 inches away from the surface when you spray. Too close, and you risk runs; too far, and you get uneven coverage and overspray.
Thin Coats for a Smooth Finish
Apply paint in light, sweeping motions. Move your hand and the can in a steady rhythm, overlapping each stroke by about 30-50%. This overlap is crucial for avoiding gaps and achieving a uniform appearance. Think of it like shading a drawing; you build up density gradually.
Resist the urge to apply heavy coats. Multiple thin coats are always superior to one thick, drippy one.
Overlapping Strokes and Coverage
As you work your way across the trellis, maintain that consistent distance and speed. For intricate areas, you may need to rotate the can or adjust your angle slightly to reach all sides. Don’t rush the process. If a particular section seems to be getting too much paint, pull back slightly or shorten your stroke.
The aim is to create a "wet look" that dries evenly, not a soaked surface. This might require two to three thin coats, depending on the paint and color.
Step 5: Drying and Curing Times
Patience is essential after you've finished spraying. Understanding the difference between drying and curing times will prevent you from compromising your new paint job. Most spray paints have varying stages of drying, from touch-dry to fully cured.
Manufacturer specifications are key here. A spray paint might feel dry to the touch within an hour, meaning you can handle it gently without smudging. However, it might require 24 hours or more before it’s ready for a second coat. The final curing process, when the paint reaches its maximum hardness and durability, can take anywhere from 24 hours to several days, or even weeks for some industrial coatings.
Always refer to the specific product's instructions for precise timelines. Avoid touching, leaning anything against, or exposing the painted trellis to heavy moisture or direct sun until it's fully cured.
Common Pitfalls: What to Avoid When Spray Painting Trellises
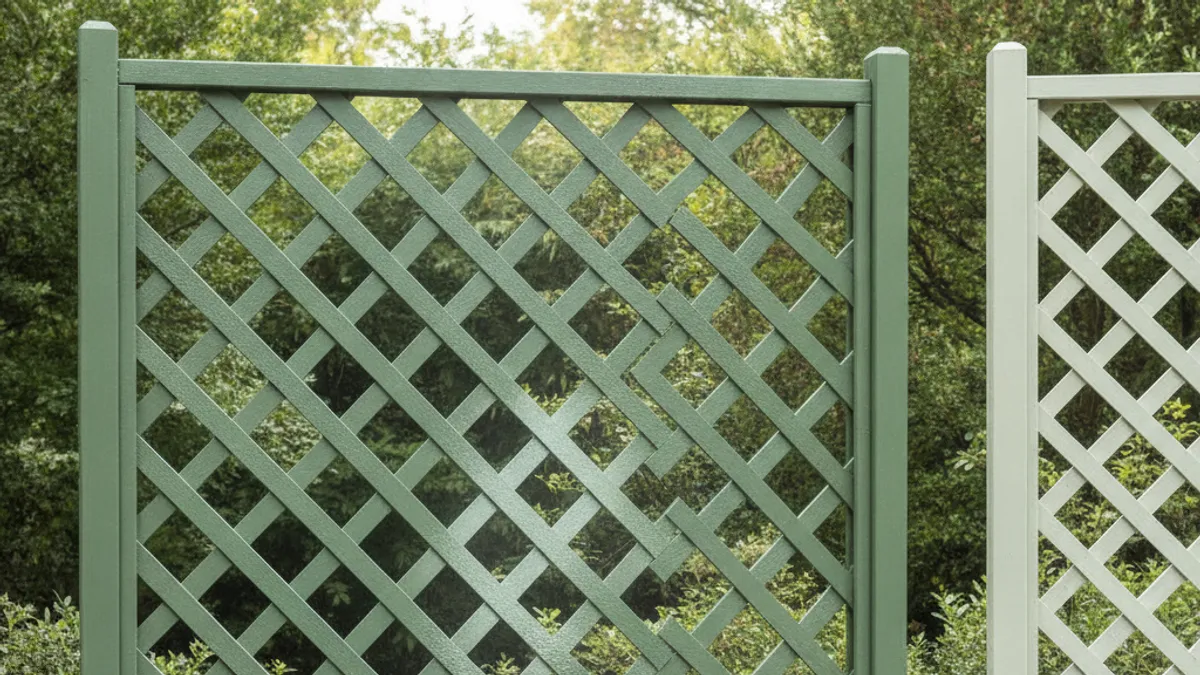
Even with careful preparation, a few common mistakes can derail your spray painting project. Knowing these pitfalls beforehand can save you a lot of time and rework. Most of these issues stem from rushing the process or not understanding how spray paint behaves.
Drip-Free Application Secrets
The most common frustration with spray paint is dealing with drips and runs. These usually happen when the paint is applied too thickly in one spot, or the can is held too close (or too far) with inconsistent motion. To avoid them, always aim for thin, even coats. If you do notice a drip starting to form, stop spraying immediately.
Gently run a brush lightly along the edge of the drip to feather it out before it dries. Sometimes, a quick pass of a tack cloth while the paint is still wet can help smooth minor imperfections.
Preventing Peeling and Chipping
Peeling and chipping are usually signs of poor surface preparation or inadequate adhesion. If you didn't clean the surface thoroughly, or if there was rust or old, flaking paint underneath, the new paint has nothing solid to grip. Forgetting to prime, especially on metal or previously painted surfaces, is another major culprit. Always ensure you've used the correct primer for your material and that it's fully dried before applying your color coat.
Environmental factors also play a role; extreme temperature fluctuations or moisture can stress the paint film over time if it's not properly adhered.
Spray Painting Trellises in Different Conditions
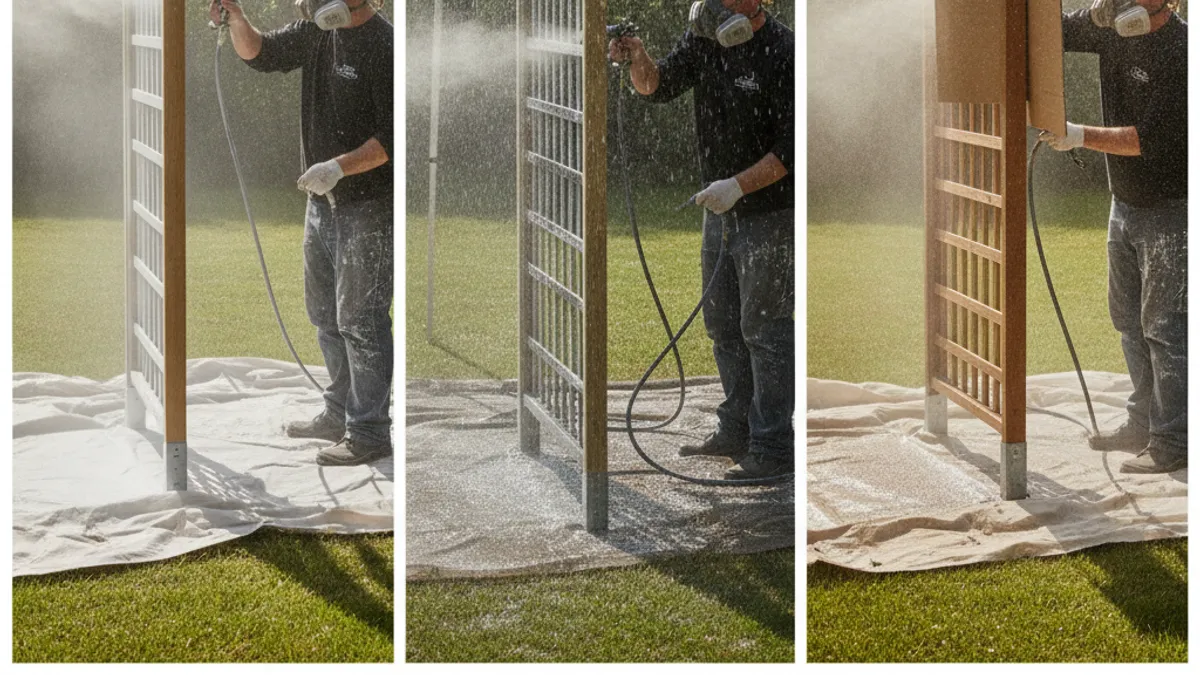
The weather can be your best friend or your worst enemy when spray painting outdoors. Working in less-than-ideal conditions can lead to a subpar finish, poor adhesion, or even damage to your effort. Understanding these environmental factors is key to a successful outcome.
Best Weather for Spray Painting
The ideal conditions for spray painting are mild, dry, and calm. Aim for temperatures between 50°F and 85°F (10°C and 30°C). Humidity should be low, ideally below 60%. Wind is also a major factor; even a slight breeze can cause overspray to drift, creating uneven coverage on your trellis and potentially coating unwanted areas like nearby plants or your house siding.
On a perfectly still, sunny day with moderate temperatures, you'll get the best results and the fastest drying times.
Handling Humidity and Temperature
High humidity can significantly slow down the drying and curing process of spray paints. It can also lead to a "cloudy" or "chalky" finish, especially on glossy paints, as moisture gets trapped in the paint film. If you must paint in humid conditions, try to do it during the warmest part of the day when humidity tends to be lower. Conversely, painting when it's too cold can also cause problems.
The paint may not atomize properly, leading to a rougher finish, and the chemical curing process slows down dramatically, increasing the risk of drips and poor adhesion. Always check the paint can for specific temperature and humidity ranges recommended by the manufacturer.
Caring for Your Newly Painted Trellis Fence
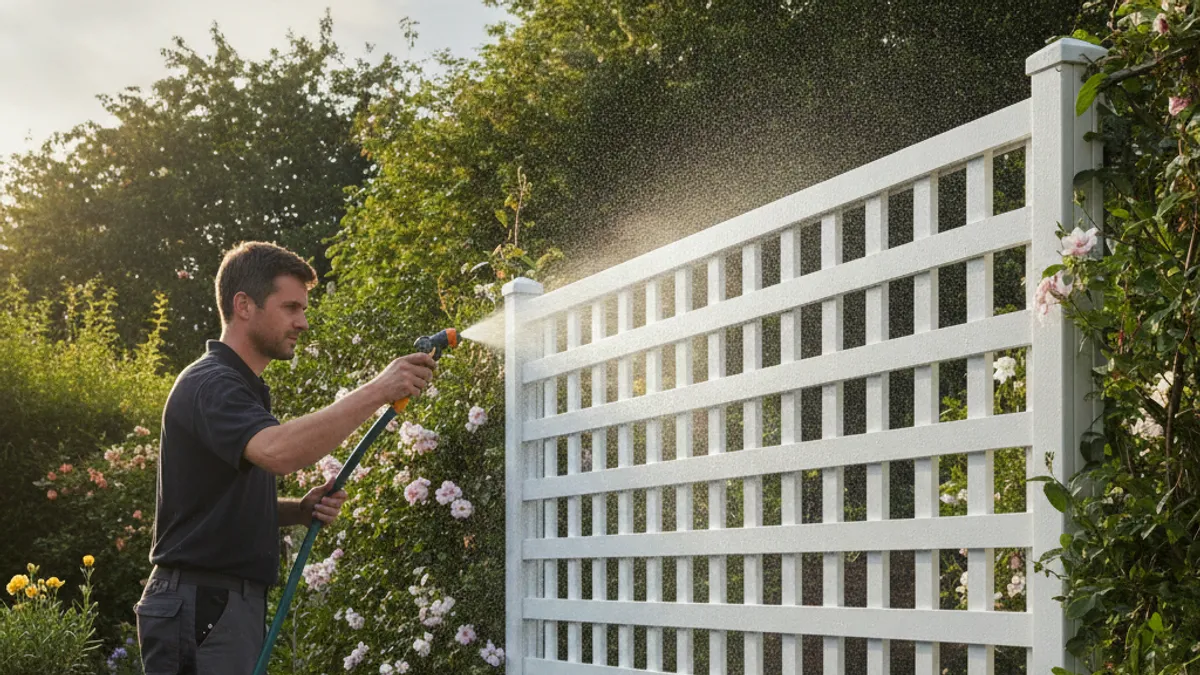
Once your trellis fence is beautifully transformed, a little ongoing care will ensure its fresh look lasts for years. Proper maintenance is minimal but impactful, protecting your investment and keeping your garden looking its best. Think of it as routine upkeep rather than a chore.
Regular cleaning is the simplest form of care. Periodically wipe down the trellis with a damp cloth or a soft brush to remove dust, pollen, or any developing mildew. For tougher spots, a mild soap and water solution usually suffices. Inspect the trellis annually for any signs of wear, such as minor chips or scratches.
If you spot any, touch them up promptly with a small amount of matching spray paint. This prevents small issues from becoming larger problems. For metal trellises, keep an eye out for any hint of rust and address it immediately with touch-up primer and paint.