
Applying paint to your fence with a sprayer can save you a ton of time and give it that smooth, professional look. However, if you've ever tried to spray paint that's too thick, you know it's a recipe for frustration. Getting the consistency just right is key to how to thin fence paint for spraying, ensuring your sprayer works efficiently and your fence looks fantastic.
Manufacturer specifications often recommend specific thinning ratios, but these can vary wildly. For instance, aggregate user feedback for many popular latex exterior paints suggests thinning no more than 10-15% by volume to avoid compromising adhesion. Getting this balance wrong can lead to clogged sprayers or unsightly runs down your fence panels, turning a quick update into a messy redo.
Why Thinning Fence Paint for Spraying? Understanding the Need
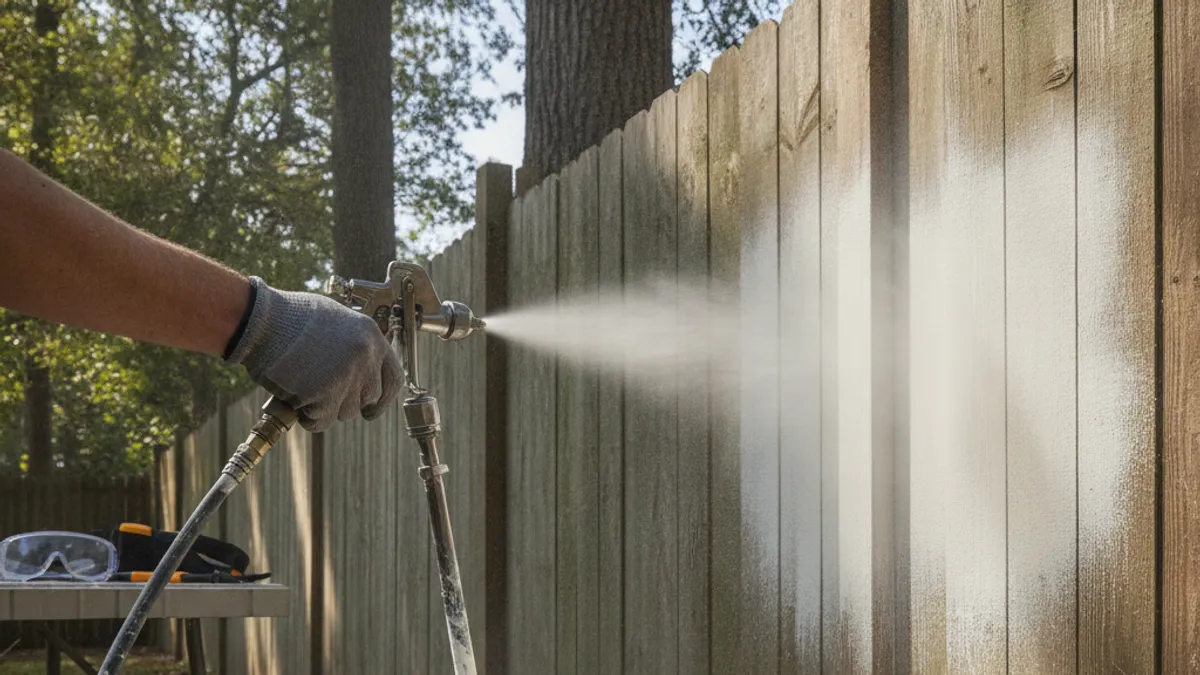
Thinning paint for spraying isn't just about making it easier to push through the nozzle; it's about controlling how the paint atomizes and lays down on the surface. When paint is too thick, your sprayer has to work overtime, and the paint droplets can become too large. This results in an uneven spray pattern, often called "banding" or "tiger stripes," where you can see the lines from where the spray fan overlapped.
On the flip side, if you over-thin the paint, it becomes too watery. This can cause it to run and drip uncontrollably down your fence, creating a streaky mess that defeats the purpose of spraying. It can also lead to poor coverage as the paint soaks into the wood too deeply without building up the protective layer you need.
What Happens When Fence Paint is Too Thick for Spraying?
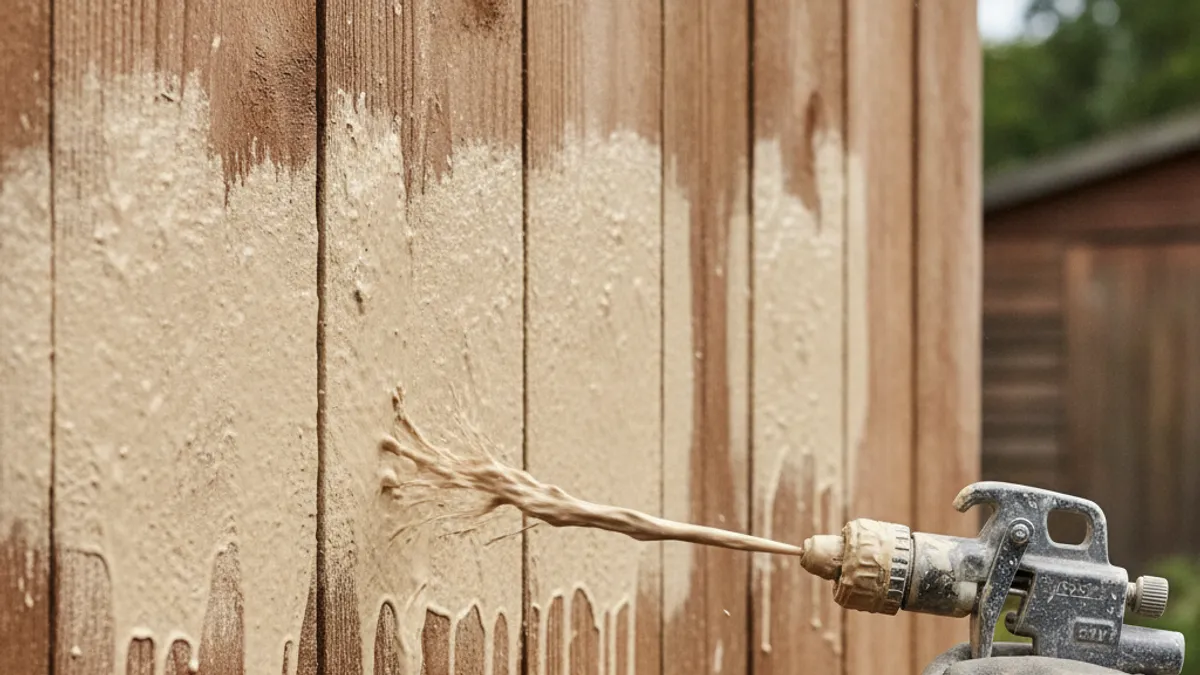
When fence paint is too thick for spraying, you're essentially asking your equipment to do something it's not designed for. This typically leads to a rough application experience. You'll likely notice splatters instead of a fine mist, and the paint won't atomize properly, meaning it breaks into large, uneven droplets.
This thick consistency can quickly clog your sprayer's tip and internal filters, stopping your project dead in its tracks. You might also experience increased strain on the sprayer's pump, potentially leading to premature wear and tear on your equipment. The end result on the fence itself is often uneven coverage and a visibly poor finish.
What Happens When Fence Paint is Too Thin for Spraying?
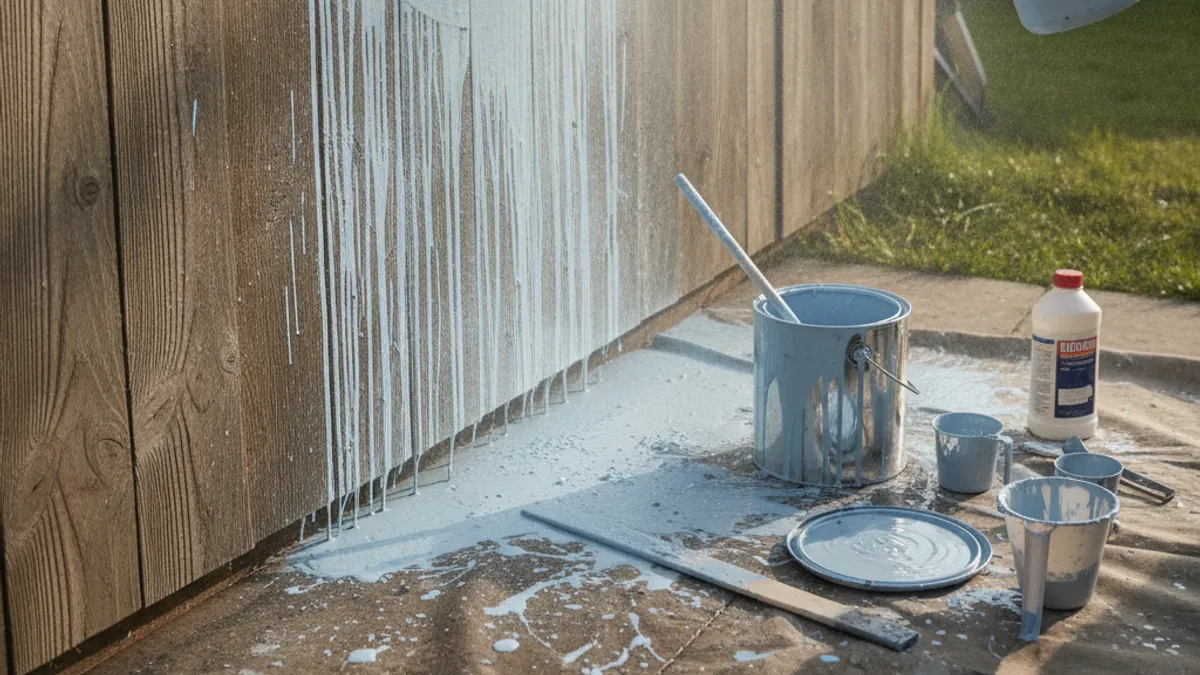
Over-thinning fence paint is a common pitfall, especially for those new to spraying. The paint loses its body and becomes much more fluid. While this makes it easier to pass through the sprayer, it drastically reduces its ability to cling to vertical surfaces like fence pickets.
The most obvious sign of over-thinned paint is the appearance of drips and runs as the paint essentially slides down the fence before it can properly bond. You might also see excessive overspray in other areas because the paint is so atomized it travels further. More subtly, over-thinning can compromise the paint's durability and long-term adhesion, meaning your fence might need repainting sooner than expected.
How to Check Your Fence Paint's Consistency (Before You Thin)
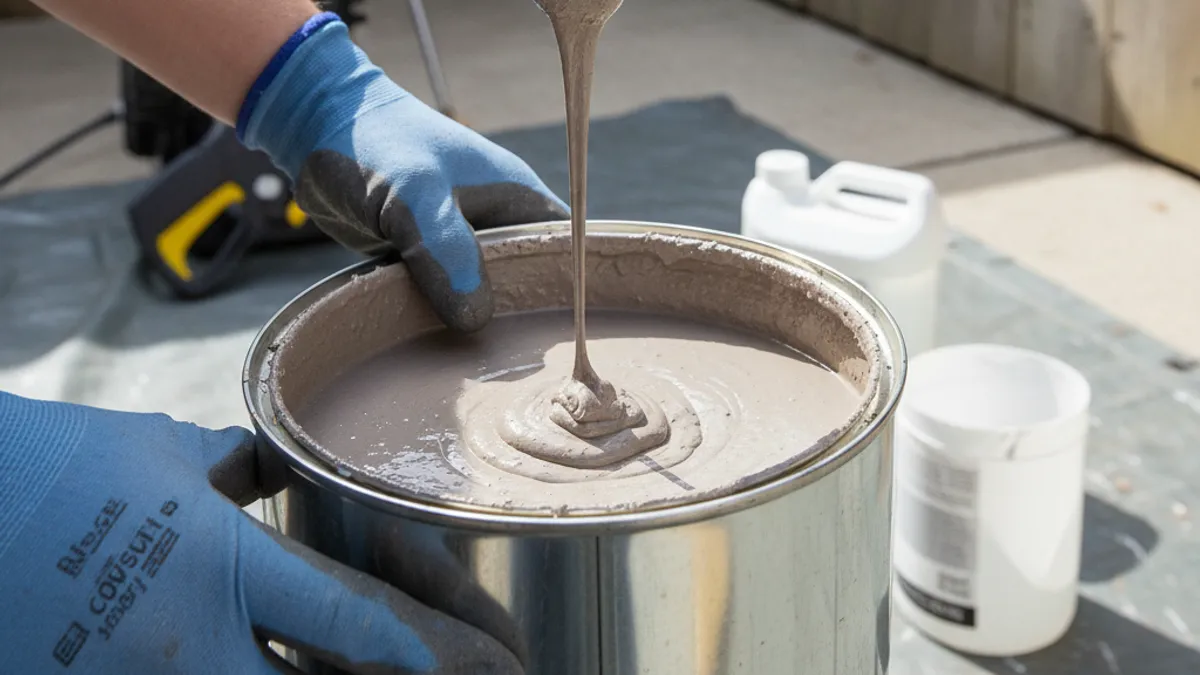
Before you even think about adding anything to your can of fence paint, it's crucial to know its starting consistency. This helps you add thinner incrementally and avoid over-doing it. While manufacturers aim for consistency, temperature and batch variations can occur.
The Water-Based (Latex/Acrylic) Paint Process
For latex or acrylic fence paints, you're usually checking for a good balance between flow and body. The easiest way to get a feel for this is a simple pouring test. Dip a stirring stick into the paint, pull it out, and watch how the paint flows off.
The Oil-Based (Alkyd) Paint Process
Oil-based paints have a different rheology, meaning their flow characteristics are intrinsically different. They tend to be thicker from the start and require a specific type of thinner. Before adding anything, perform the same pouring test as with latex paints to gauge its initial thickness. Always ensure the area you are working in is well-ventilated, especially with oil-based products.
Choosing the Right Thinner for Your Fence Paint
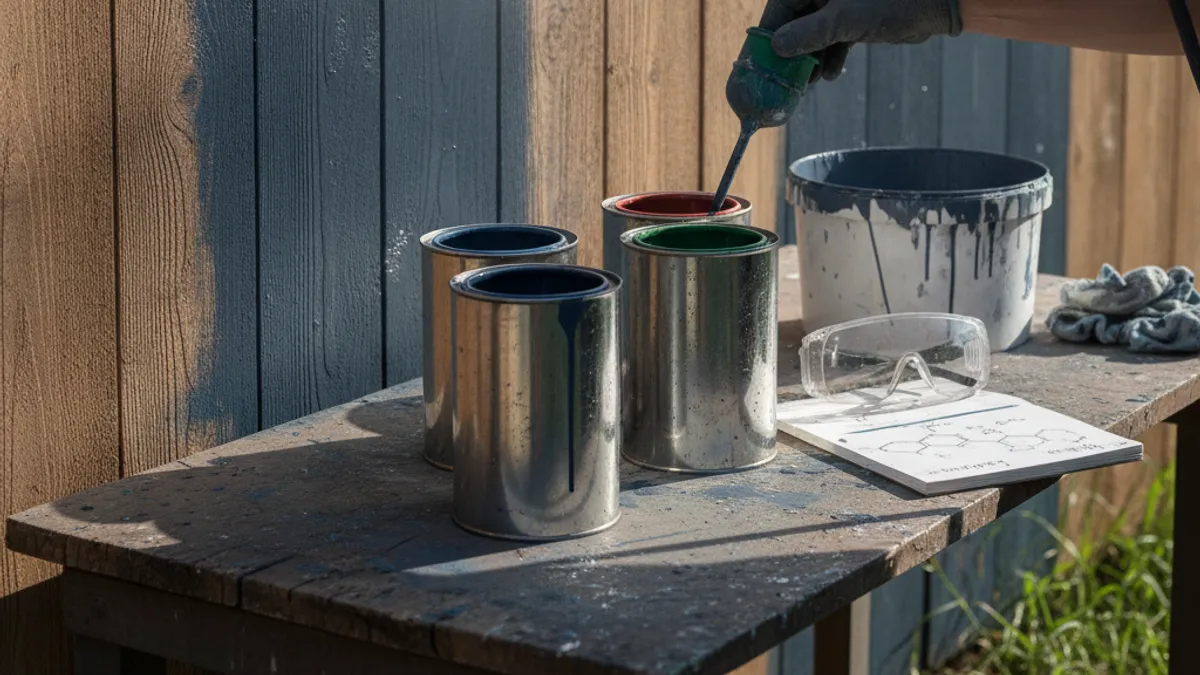
Selecting the correct thinner isn't just a suggestion; it's critical for achieving the right consistency without damaging your paint or your sprayer. Using the wrong type of thinner can break down the paint's binder, leading to poor performance. It can also corrode plastic parts within your spray equipment.
Best Thinners for Latex and Acrylic Fence Paints
For water-based latex or acrylic fence paints, the primary thinning agent is simply water. You can add tap water, but many professionals prefer using a specialized paint conditioner or extender. These additives can improve flow and leveling without significantly altering the paint's integrity, unlike adding too much plain water.
Best Thinners for Oil-Based Fence Paints
Oil-based and alkyd fence paints require a solvent-based thinner. The most common and effective choice is mineral spirits, also sometimes referred to as paint thinner or white spirit. Always check the paint manufacturer's label, as some specialized oil-based coatings might require a different solvent blend for optimal thinning and performance.
How Much Thinner Should You Add? Finding the Sweet Spot
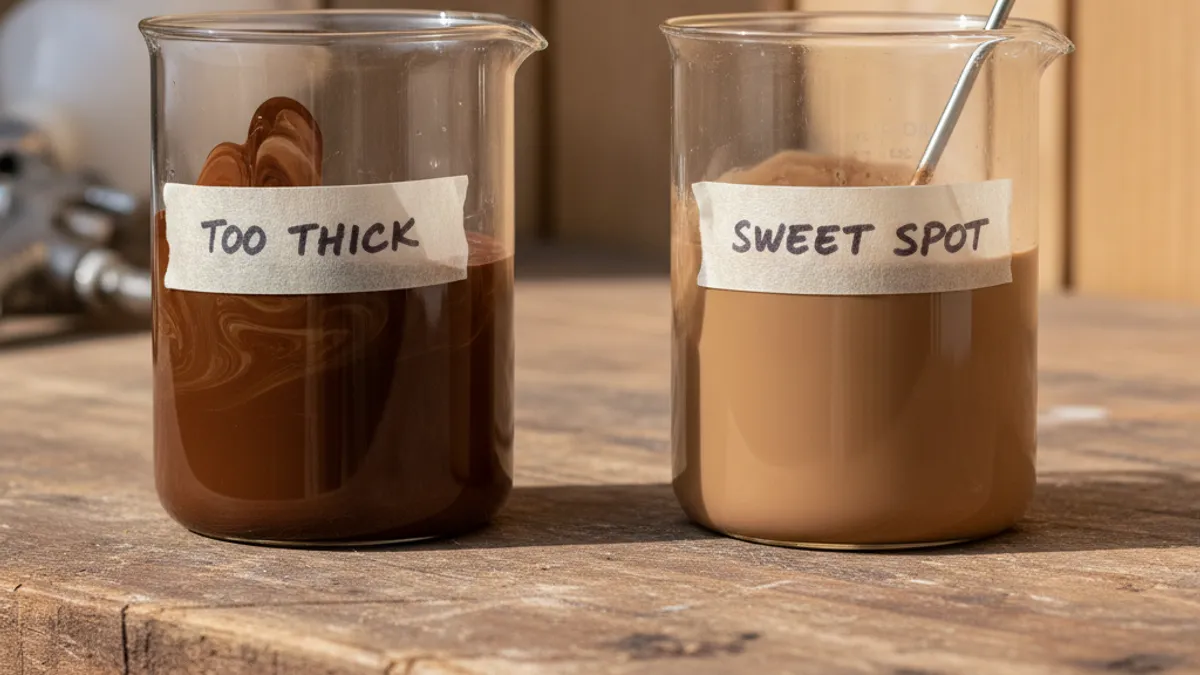
Figuring out the right amount of thinner is where most people get a little nervous, and rightfully so. Add too much, and you've ruined your paint. Add too little, and your sprayer is still struggling. The goal here is to hit that ideal "sweet spot" where the paint flows easily but still has enough body to adhere properly.
One of the most reliable ways to gauge this is by looking at the paint's viscosity, which is essentially how thick or thin it is. Many professional paint sprayers, particularly airless models, perform best when the paint flows within a specific range. Manufacturer recommendations are your first stop, but for general guidance, many latex paints are thinned to a viscosity that flows through a #2 or #5 Zahn cup in about 15-30 seconds.
Understanding Optimal Viscosity for Latties & Acrylics
For water-based paints like latex and acrylics, the optimal viscosity is usually lower than for oil-based. They are inherently less viscous to begin with. You're aiming for a consistency that allows the paint to pass through your spray gun smoothly without being so thin that it just runs everywhere.
Aggregate buyer feedback from several major paint brands confirms that for DIY airless sprayers (like those from Wagner or Graco), a target viscosity of around 20-30 seconds with a #2 Zahn cup is often ideal. This ensures good atomization and prevents excessive strain on the sprayer's motor and pump. Always start by adding thinner in very small increments, just a few ounces per gallon at a time, and re-testing.
Understanding Optimal Viscosity for Oil-Based Paints
Oil-based or alkyd fence paints typically require a slightly higher viscosity than latex paints to achieve optimal performance. They have a different binder system that reacts differently to thinning. Over-thinning can severely compromise their integrity and protective qualities.
While a #2 Zahn cup is common, some oil-based applications might lean towards a #5 Zahn cup for measurement, often targeting flow times between 30-45 seconds. Always prioritize the exact thinning instructions found on the oil-based paint can itself. These are formulated to be precise, and deviating can lead to peeling, blistering, or poor adhesion over time, especially in challenging outdoor conditions like those in the Pacific Northwest (PNW).
Step-by-Step: How to Thin Fence Paint for Spraying
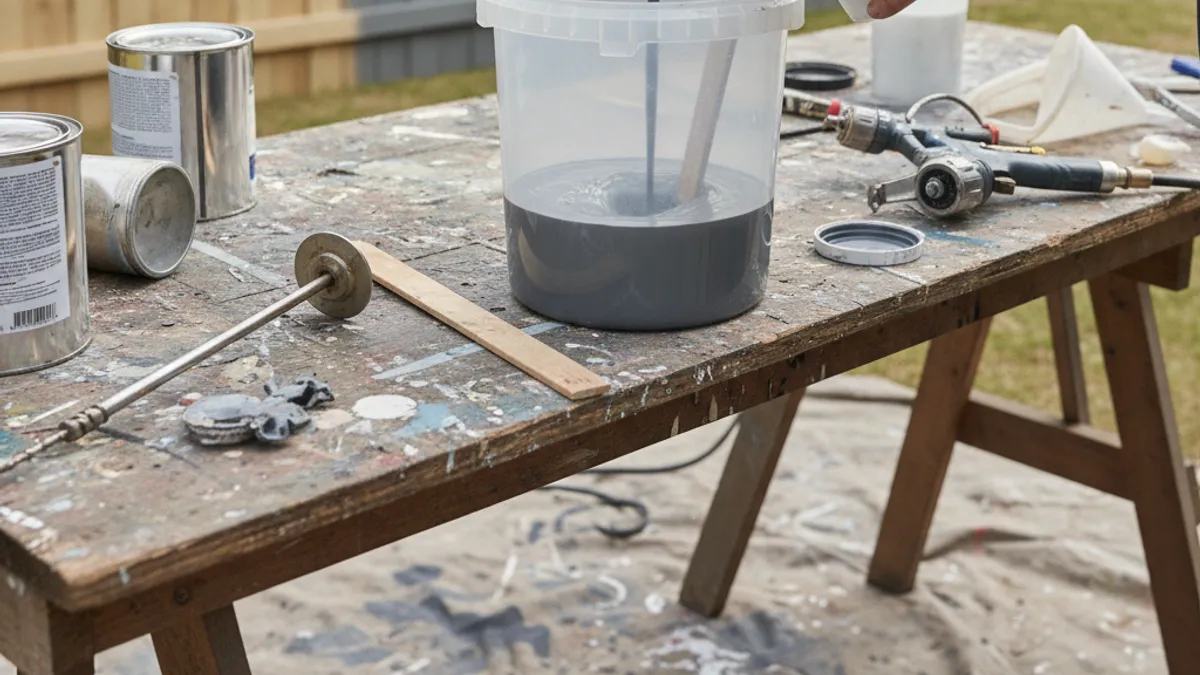
Let's walk through the process of thinning your fence paint. This is a practical, hands-on approach that minimizes waste and maximizes your chances of success. Remember, patience and incremental adjustments are key here, much like how to use a lawn roller effectively requires careful handling.
Step 1: Gather Your Supplies
You'll need your fence paint, the appropriate thinner (water or mineral spirits), a clean mixing stick or a drill with a paint mixer attachment, a clean container for thinning (if not thinning directly in the can), and a measuring cup or jug to accurately track how much thinner you add. Having everything ready saves time and prevents errors from interrupting your flow.
Step 2: Read the Labels (Paint & Sprayer)
This is non-negotiable. Your paint can will (or should) have recommendations from the manufacturer regarding thinning for spraying. Similarly, your paint sprayer's manual will often specify the maximum viscosity or type of paint it can handle. Cross-referencing these will give you a solid starting point and prevent equipment damage.
Step 3: Start with a Small Batch
Don't try to thin an entire gallon at once, especially if it's your first time. Start with a quart or even a single gallon. This way, if you make a mistake, you haven't wasted a large quantity of expensive paint. You can always thin more paint later if your initial batch works well.
Step 4: Mix Thoroughly
Once you've added your thinner, you need to ensure it's completely incorporated into the paint. Stir slowly but thoroughly, making sure to scrape the bottom and sides of the can. If you're using a drill mixer, keep the motor speed low to avoid splashing or creating excessive air bubbles.
Step 5: Test the Consistency (The "Drip and Spray" Method)
The best test is a practical one. Dip your stirring stick into the thinned paint and pull it out. Watch how the paint flows off. It should create thin, even strands that break cleanly.
Then, take a small amount of the thinned paint on your stick and drizzle it back into the can. It should form a steady, unbroken stream for a few seconds before breaking. Finally, do a quick spray test on a piece of scrap cardboard or an inconspicuous area of the fence. Look for a fine, even mist with no large splatters, runs, or splotchy coverage.
Common Mistakes When Thinning Fence Paint for Spraying (And How to Avoid Them)
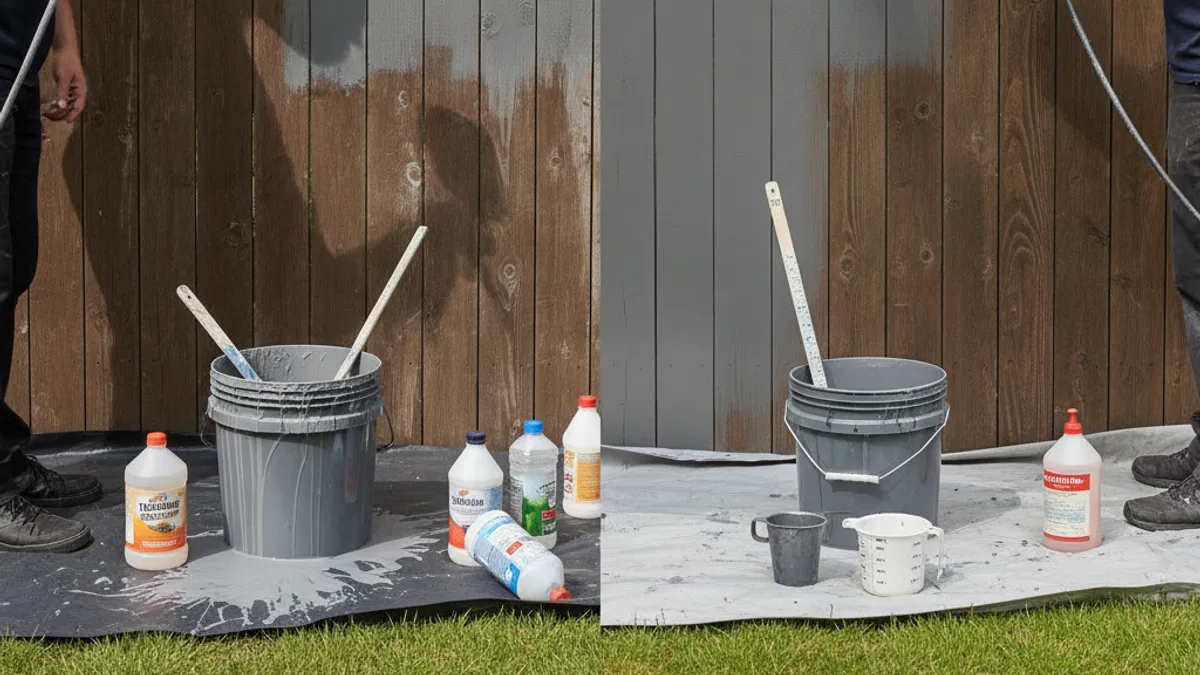
Even with the best intentions, there are a few common missteps that can lead to a less-than-perfect finish. Being aware of these pitfalls can help you avoid a lot of frustration. It's about understanding the subtle but crucial details that make a difference when you're out in the yard trying to get the job done.
- Over-Reliance on Ratios: Many guides give percentages, but these are often just starting points. Temperature, humidity, and even the specific brand of paint can alter how much thinning is actually needed. Always test, don't just blindly follow a number.
- Adding Thinner Too Quickly: Dumping in a large amount of thinner all at once is a recipe for disaster. You can always add more, but you can't easily un-thin paint. Slow, incremental additions are the safest bet.
- Not Stirring Enough: If your thinner isn't fully mixed in, you'll get pockets of overly thin paint and areas that are still too thick. This leads to inconsistent spraying and a poor final appearance.
- Ignoring the Sprayer's Limits: Some very cheap or basic sprayers aren't designed for heavily thinned paints. Always check your sprayer's manual to ensure it can handle the viscosity you're aiming for. Trying to push too-thin paint can damage seals.
Expert Tips for a Flawless Fence Spray Finish
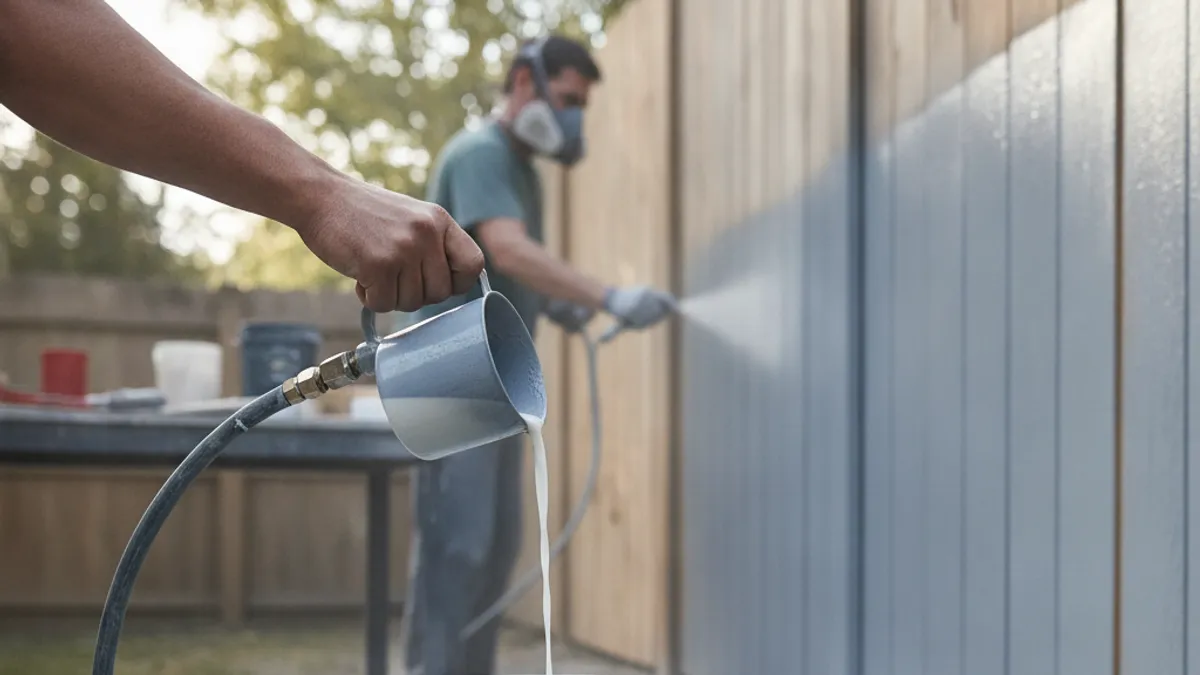
Beyond just thinning the paint correctly, a few extra tricks can elevate your fence painting project from good to great. These are the tips pros use that often go unmentioned in basic guides. Paying attention to these details can save you time and ensure a long-lasting, beautiful finish that holds up to the elements.
- Work in Sections: Don't try to thin paint for the entire fence at once. Thin enough for one panel or a manageable section, spray it, and then thin the next batch. This prevents paint from sitting too long and potentially altering its consistency or becoming unusable.
- Consider a Paint Conditioner: For latex paints, a small amount of paint conditioner or extender (like FloETrol or similar products) can sometimes yield better results than plain water. These products are designed to improve flow and leveling without compromising the paint's durability as much as water can.
- Spray in Ideal Conditions: Ambient temperature and humidity play a big role in how paint dries. Avoid spraying in direct, hot sun, high humidity, or when rain is expected. Ideal conditions are typically moderate temperatures (60-80°F or 15-27°C) with low humidity.
- Clean Your Sprayer Immediately: This isn't directly about thinning, but it's crucial for future projects. Dried paint, especially thinned paint, is much harder to remove from your sprayer than fresh paint.
Cleaning Your Paint Sprayer After Thinning
Proper sprayer cleanup is just as important as the thinning process itself. Neglecting this step can lead to clogs, inconsistent spray patterns, and even permanent damage to your equipment. The key is to clean the sprayer thoroughly and immediately after you finish spraying, especially after using thinned paints.
For water-based paints, you'll flush the system with water until it runs clear. For oil-based paints, you'll need to flush with mineral spirits followed by soap and water, making sure all solvent residue is removed. Always run a small amount of your next intended paint (or a bit of primer) through the sprayer to purge any remaining cleaning agents before starting a new project. This ensures no contaminants affect your paint job.