
Seeing linden tree dead branches on your beloved tree can be worrying, but usually, it's a sign that the tree is just shedding unwanted parts. Knowing how to identify and safely remove these dead sections is key to keeping your tree healthy and looking its best. We've gathered the essential information to help you tackle this common tree care task.
To get started, make sure you're using clean, sharp tools. According to horticultural standards, pruning tools should be sterilized between cuts if disease is suspected, and sharp blades make cleaner cuts that heal faster, a process that typically takes several weeks depending on the season. Let's move on to understanding the signs.
How to Tell if Linden Tree Branches Are Actually Dead
Little Twigs to Big Limbs: Identifying Deadwood
Sometimes, a branch just looks a bit sad without being truly dead. Real deadwood, however, will show clear signs that it's no longer living. You'll want to look for a few key indicators.
Table: Signs of Dead vs. Live Linden Branches
| Feature | Dead Branch Signs | Live Branch Signs |
|---|---|---|
| Color | Gray, brittle, easily peeling bark | Greenish or brownish-green bark, intact |
| Flexibility | Snaps dryly with a distinct snap | Bends with some flexibility, does not snap cleanly |
| Buds | Shriveled, dry, or absent | Plump, healthy-looking, even in dormant season |
| Leaves | Absent, or completely dried and brittle (if present) | Present, green, or turgid (if in growing season) |
Signs of Life (and Death) on Your Linden
When you inspect a suspect branch, gently try to bend a small twig off it. If it breaks off with a crisp, dry sound, that part is good as deadwood. If it feels springy or bends without snapping, there's still some life in it.
Another important check is for buds, especially during late winter or early spring. Healthy branches retain plump buds that are ready to grow. Dead ones will appear shriveled, cracked, or simply aren't there.
In the growing season, a branch that has no leaves at all, or leaves that are completely dried and paper-thin, is also a strong indicator of dieback.
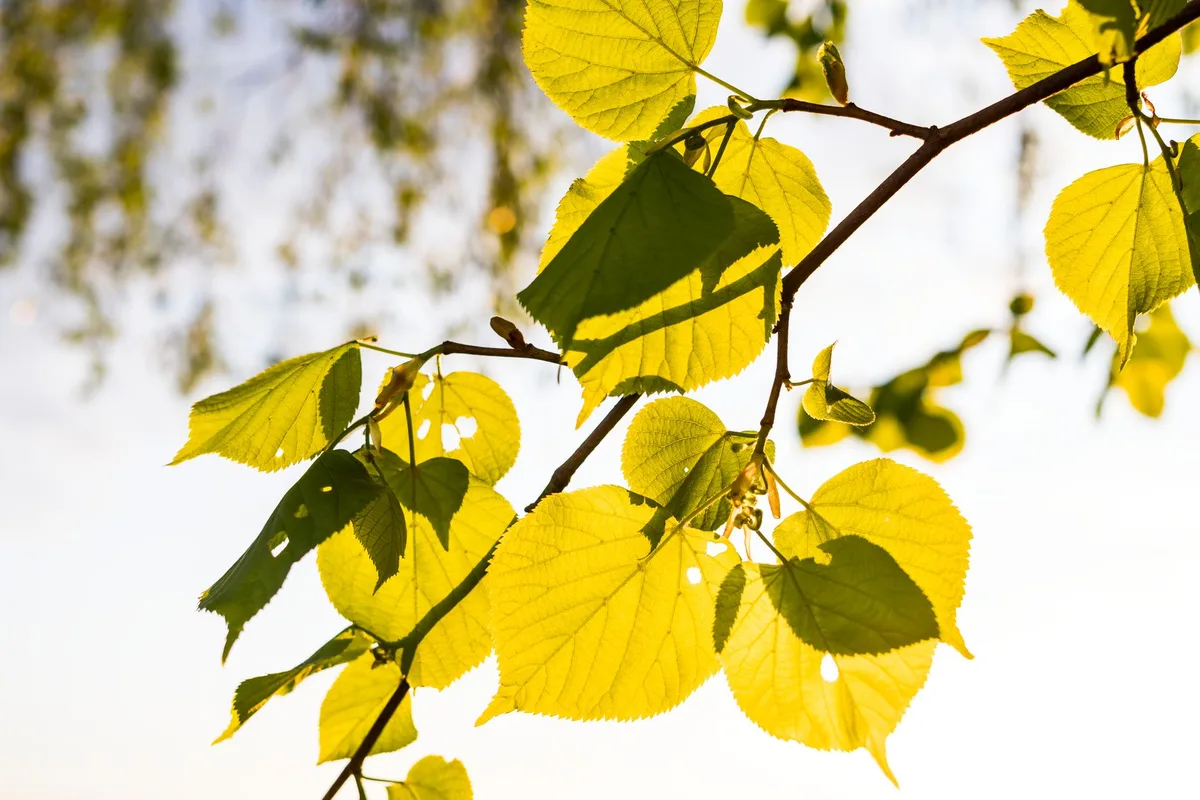
Dealing with Dead Branches on Your Linden Tree
Once you've confirmed a branch is indeed dead, the next step is removal. The approach you take will depend on the size and location of the affected limb. Safety should always be your top priority.
Small Dead Twigs: Simple Pruning Steps
For small, dead twigs and branches that are only a few feet off the ground, you can usually handle the job yourself with a good pair of pruning shears or loppers. These tools make clean cuts and are easy to control. You'll want to make sure your tools are clean; if you suspect any disease, sterilizing them with rubbing alcohol or a bleach solution can prevent spreading it to other parts of the tree or to healthy plants.
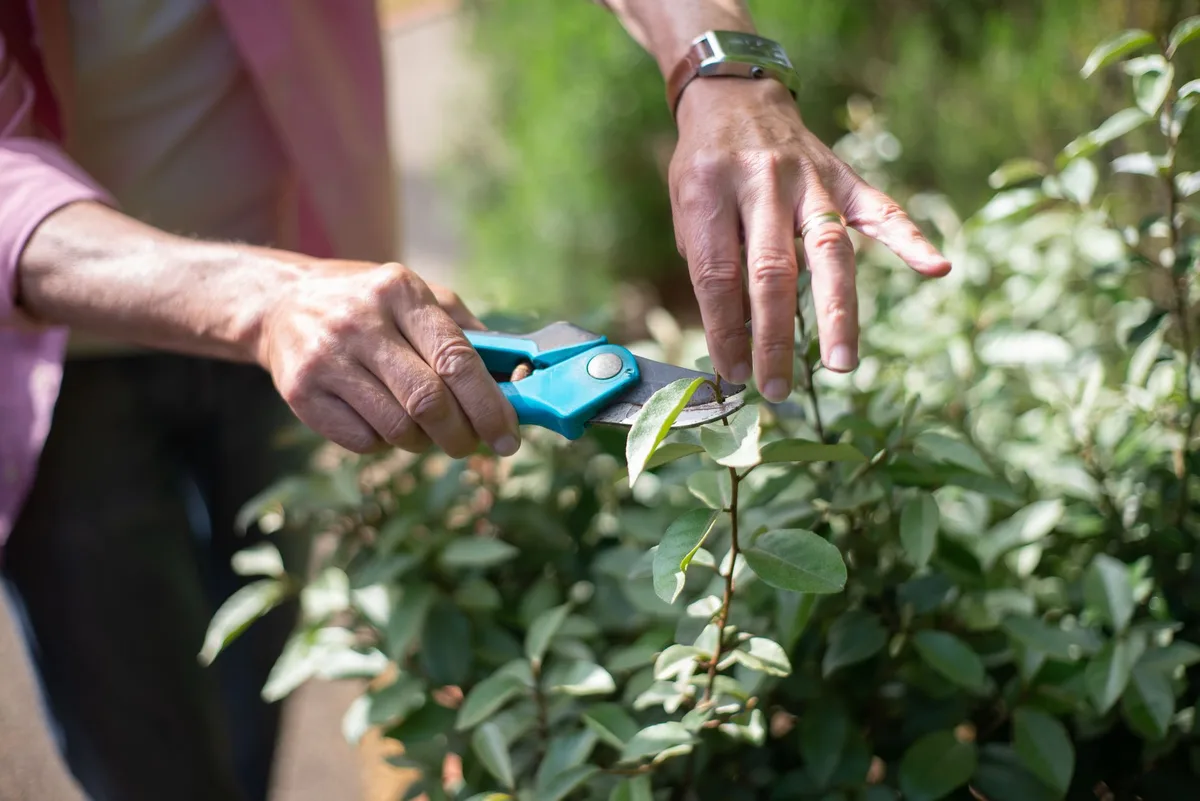
You'll be looking for the branch collar, a slightly swollen area where the dead twig meets a larger branch or the trunk. Make your cut just outside of this collar. Don't cut flush with the trunk, as this can damage the tree's bark and make it harder for the wound to heal.
Likewise, leaving a long stub can invite pests and diseases.
Larger Dead Branches: Your Action Plan
If the dead branches are thicker, say an inch or more in diameter, you'll likely need a pruning saw. Hand saws designed for pruning are efficient for these jobs. Like with smaller branches, always look for the branch collar.
Your cut should be clean and angled slightly away from the trunk to allow water to run off.
If the dead branch is still too high to reach safely with a ladder and saw, or if you're uncomfortable with the height, don't try to push it. It’s far better and safer to call a professional arborist. They have the right equipment and expertise to handle these situations without endangering themselves or the tree.
When a Main Limb is Dead: What to Do
When an entire main limb appears dead, all the way back to its point of origin on the trunk or a larger structural branch, it requires a more careful approach. This is especially true if the limb is thick. Attempting to remove large, dead limbs without proper technique can lead to hazardous situations like the branch tearing downwards, stripping bark and causing significant damage.
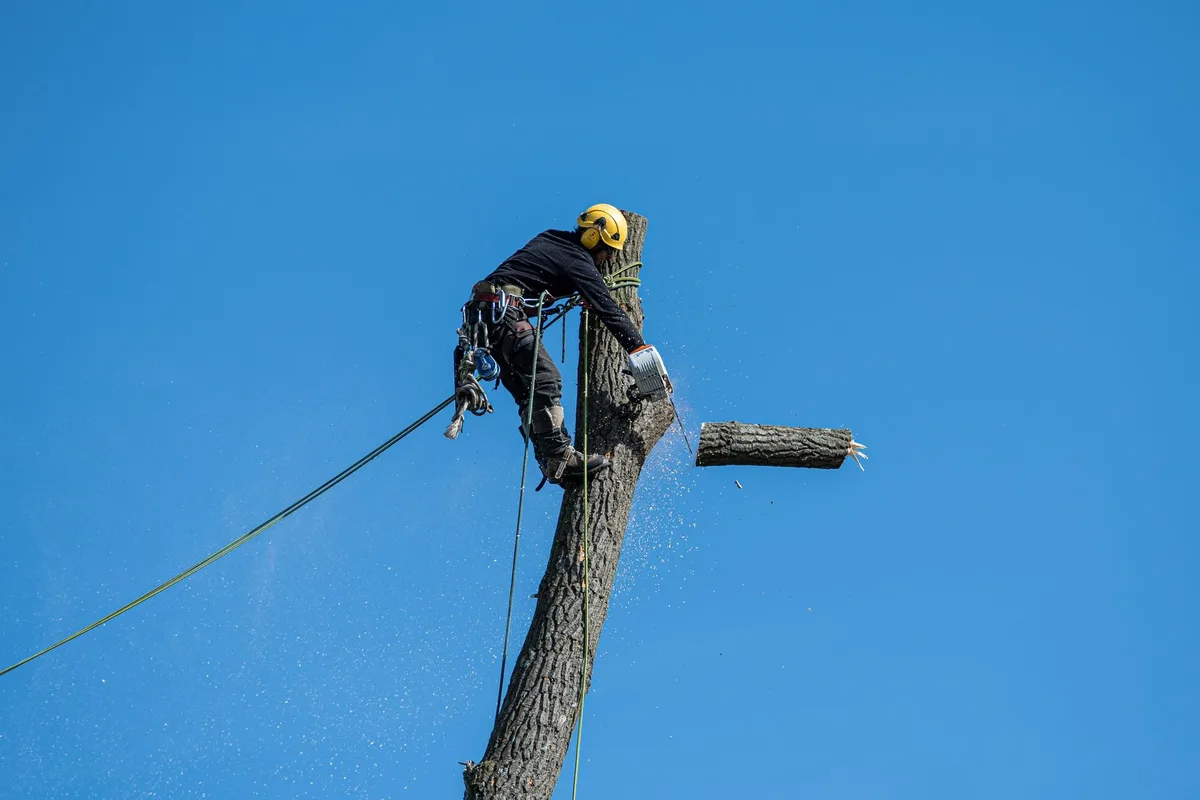
This is where safety becomes paramount. If the dead limb is substantial, think about calling in a certified arborist.
For homeowners, understanding the basics of tree care, like identifying deadwood, is empowering, but knowing when to call a professional is just as important. For information on other types of garden maintenance, explore resources on hoes to get rid of garden weeds.
The Right Way to Cut Dead Branches
Making the correct cut is crucial for your tree's health and its ability to heal. A poorly made cut can leave the tree vulnerable to infection and pests. The key is to understand the anatomy of a branch attachment and use the appropriate tools and techniques.
Understanding the Branch Collar
The branch collar is the swollen area at the base of a branch where it connects to the larger trunk or parent branch. It's an area of specialized tissue that helps the tree compartmentalize and seal off wounds when a branch is removed. Think of it as the tree's natural defense system for pruning cuts.
- Location: It typically appears as a slightly raised ring or bulge at the junction.
- Purpose: It contains cells that are vital for wound closure.
- The Cut: You should always aim to cut just outside the branch collar. Cutting into it, often called a "flush cut", removes this critical tissue and makes healing much more difficult, potentially leading to rot or disease entry. Leaving a stub is also bad, as it will likely die back further and won't seal properly. The ideal cut respects and preserves the collar while removing only the dead branch.
Safely Removing Larger Limbs: The Three-Cut Method
For branches thicker than your wrist, a three-cut method is essential to prevent the weight of the branch from tearing the bark down the trunk. This technique allows you to remove the bulk of the weight before making the final pruning cut near the collar.
- The Undercut: About 6 to 12 inches out from the branch collar, make a shallow cut on the underside of the branch. This cut should go about one-quarter to one-third of the way through the branch. This prevents the branch from ripping bark off as it falls.
- The Top Cut: A few inches further out from the undercut (away from the trunk), make a second cut from the top down. Cut until the branch breaks away. The undercut you made earlier will catch the weight and prevent tearing.
- The Final Cut: Now you are left with a short stub. Make your final cut just outside the branch collar, removing the stub cleanly. This final cut is the critical one for proper healing. Following these steps ensures the best chance for the tree to seal the wound effectively. This methodical approach is vital for tree longevity, as improper cuts can lead to long-term structural issues.