
It's a tough moment when you notice your plant's leaves wilting or turning yellow after a fresh repotting. Many plant parents experience this, and it can feel like a personal failure, but it's often just a sign of transplant shock. Thankfully, understanding the cause means you can step in and help your green companion recover.
This guide will walk you through the most common reasons a plant struggles after moving to a new pot. We'll cover what to look for, how to diagnose the issue, and the specific actions to take to bring it back to health, much like how professional horticulturalists assess plant health based on established care protocols.
Quick Answer
A plant dying after repotting is usually due to transplant shock. Symptoms include wilting, yellowing, or dropping leaves. Check soil moisture, inspect roots for rot or damage, and adjust watering immediately.
Ensure good drainage. Avoid fertilization for a month. Patience is key for recovery.
Why Is My Plant Dying After Repotting?
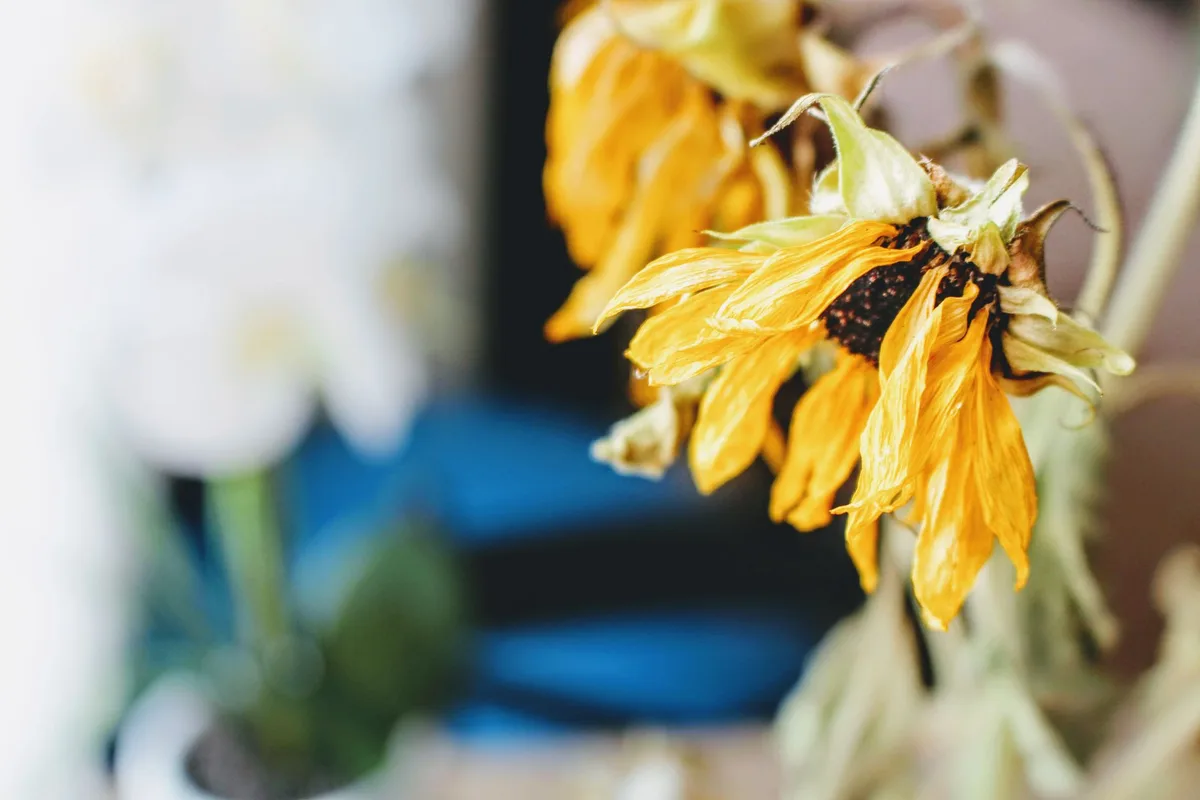
When a plant starts to look unwell after being moved to a new home, it's a common reaction. This period of decline is often referred to as transplant shock. It happens because the plant's root system, its life support, has been disturbed.
Gardeners often aim for a specific soil moisture range, typically between 30-60% relative humidity for optimal root function, but repotting can disrupt this balance quickly.
The plant is essentially trying to re-establish itself in a new environment. Its roots, which were accustomed to the old pot and soil, are now exposed, potentially damaged, and have to adapt to new soil conditions and a different water-holding capacity. This stress manifests as visible signs on the foliage, signaling that something is wrong with its ability to take up water or nutrients.
Playing Detective: Recognizing Post-Repotting Stress
Figuring out why your plant is struggling starts with closely observing its symptoms. These visible changes are the plant's way of communicating its distress.
What Does Plant Stress Look Like?
Plant stress after repotting isn't just one thing; it shows up in a few key ways. You might see leaves drooping, discoloration, or even entire leaves dropping off. Don't assume the worst immediately; these are often reversible if you catch them early.
Wilting, Yellowing, Dropping: Decoding the Symptoms
- Wilting Leaves: This is the most immediate and alarming sign. It means the plant isn't getting enough water to its leaves. This can happen if the roots are damaged and can't absorb water, or if the soil is too dry.
- Yellowing Leaves: Yellowing, or chlorosis, often indicates an issue with nutrient uptake or waterlogged roots. The plant might not be able to take in essential nutrients from the soil, or the roots are drowning and rotting.
- Dropping Leaves: This is a more severe stress response. The plant sheds leaves to conserve energy and water when it's under significant duress. It's trying to survive by reducing its needs.
The Repotting Shock: What's Really Happening?
Transplant shock occurs when a plant undergoes a significant change in its environment, most commonly during repotting. This term describes the temporary stress the plant experiences as its root system adjusts to new soil, a new container, and potentially different light or humidity levels.
The root disturbance during repotting is the primary trigger. Roots may be broken, bruised, or even partially removed as you slide the plant from its old pot. This trauma reduces the plant's capacity to absorb water and nutrients, leading to symptoms like wilting or yellowing.
According to horticultural research, root damage can impair water uptake by up to 50% in the immediate aftermath.
Step-by-Step: Diagnosing Your Unhappy Plant
When your repotted plant is showing distress, a systematic approach is best. Instead of guessing, let's systematically figure out what's going on. This process helps isolate the most likely cause and guide your action.
Step 1: The Soil Moisture Check
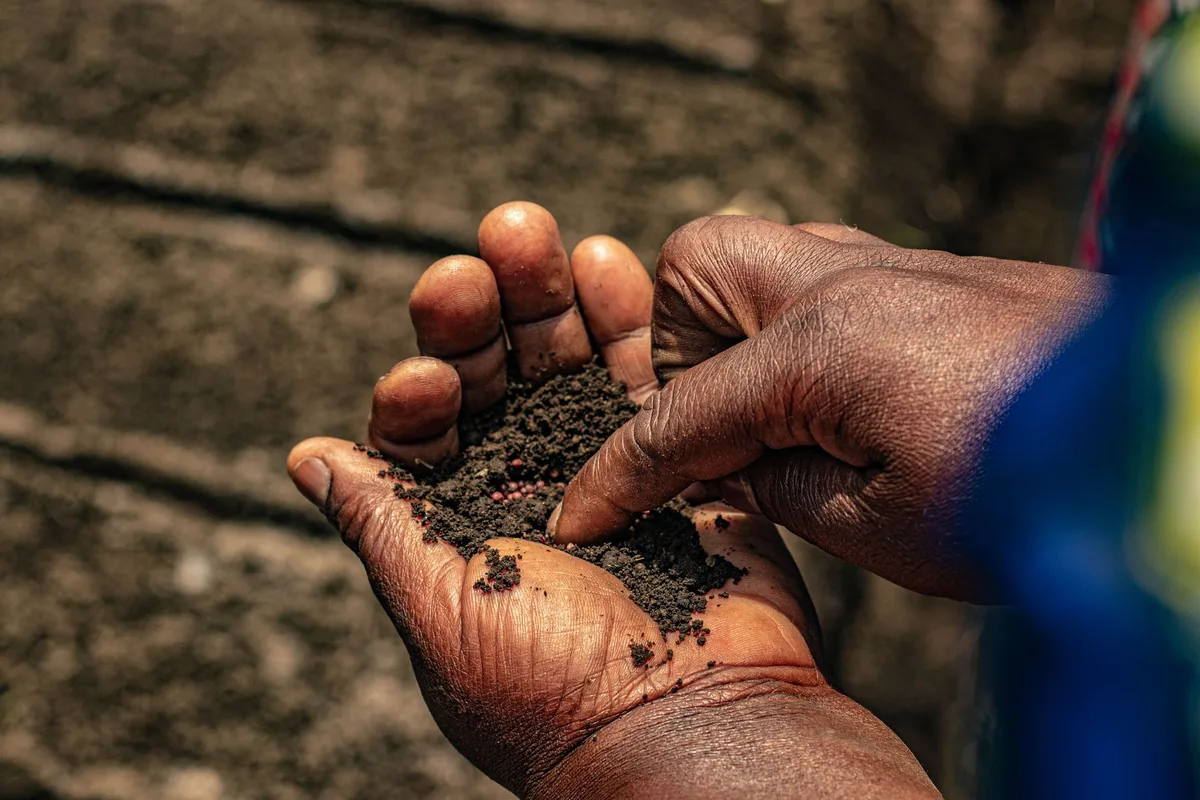
This is the most critical first step. Grab your finger and gently push it about an inch or two into the soil.
- If the soil feels dry: This strongly suggests underwatering. The roots might be damaged and unable to draw water efficiently, or the new soil mix is drying out faster than expected. When this happens, a thorough watering is usually needed. Aim to water until you see it drain from the bottom, ensuring the entire root ball is rehydrated.
- If the soil feels soggy or waterlogged: This points to overwatering or poor drainage. Soggy soil suffocates the roots, making them prone to root rot. If the pot has drainage holes, excess water should escape. If it doesn't, or if the soil remains saturated for days, you might have a bigger problem on your hands.
Step 2: Inspecting the Roots
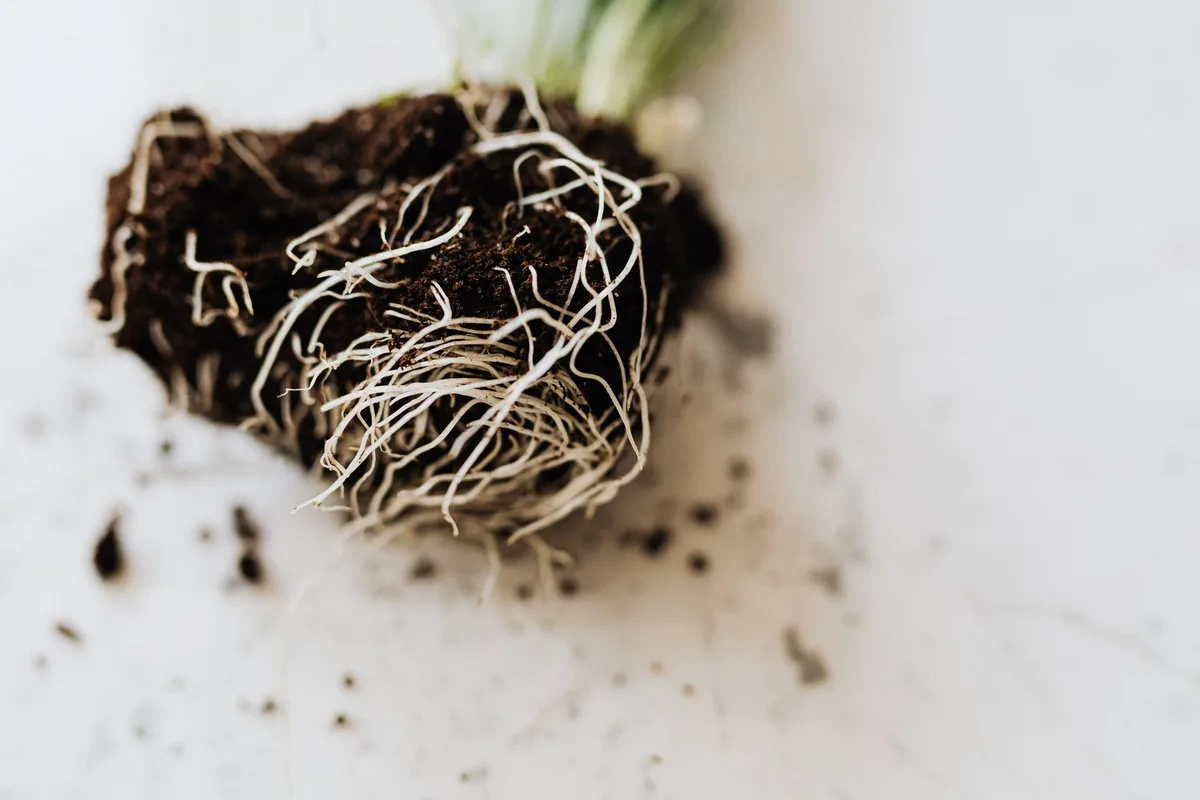
If your soil check indicates potential overwatering, or if the plant's decline is severe, you might need to gently unpot the plant to examine its roots. This is a delicate procedure, but it's often necessary for accurate diagnosis.
- What Healthy Roots Look Like: Typically, healthy roots are firm, plump, and white or tan in color. They should hold together in a cohesive mass.
- Signs of Trouble: Look for dark brown or black roots that are mushy and may smell unpleasant. This is the classic sign of root rot, usually caused by overwatering and poor drainage. Severely damaged roots might look bruised or have clear breaks.
Step 3: Replanting for Survival (If Necessary)
If you find signs of root rot or if the pot's drainage is clearly inadequate, an immediate replant might be necessary. This is a more invasive step but can save a plant that's otherwise doomed.
- Choose the Right Pot: Ensure the new pot has adequate drainage holes. For most plants, this is non-negotiable. A pot that promotes good airflow is also beneficial.
- Use Fresh Potting Mix: It's best to discard the old, potentially contaminated soil. Use a well-draining potting mix suitable for your plant type. For example, a cactus or succulent mix offers better aeration than standard potting soil, which can be crucial for preventing root rot.
- Gentle Handling: Carefully remove the plant from its current pot. If you had to trim away rotten roots, do so with clean shears. Place the plant in the new pot, ensuring the base of the stem is at or slightly above the soil line. Fill with fresh soil, gently firming it around the roots without compacting it too tightly. Avoid over-tamping; roots need air.
Aftercare for Recovery: Giving Your Plant a Fighting Chance
Once you've addressed the immediate diagnostic and corrective steps, your plant needs a specialized recovery plan. This phase is about minimizing stress and promoting new root growth.
Watering Wisely After the Move
After repotting, your plant’s watering needs change significantly. Err on the side of caution; it's generally better to slightly underwater than to overwater during this sensitive period. Wait until the top inch or two of soil feels dry to the touch before watering again.
This encourages the roots to actively seek out moisture in the new soil, which helps them establish and grow outwards. Avoid letting the plant sit in standing water, as this can quickly lead to root rot again. Over the next few weeks, you'll notice its watering needs stabilizing as its root system adapts.
When to Hold Off on Fertilizer
A stressed plant cannot effectively process fertilizers. Giving it nutrients while it's recovering can actually do more harm than good, potentially burning its delicate new or damaged roots. Most fresh potting mixes contain enough nutrients to sustain the plant for at least 4, 6 weeks.
As of 2026, best practice is to wait until you see clear signs of new growth before considering any fertilization. When you do fertilize, start with a diluted solution. For those interested in lawn care, understanding lawn fertilizer application timing is also key; similar principles of avoiding stressed growth periods apply when you plan fertilization and check what kind of fertilizer for grass to use.
Ideal Lighting and Humidity for Recovery
The right environment is crucial for a repotted plant's recovery. Harsh, direct sunlight can be too intense for a plant struggling to maintain hydration. Opt for bright, indirect light.
Place the plant in a location where it receives ample light without being exposed to the direct intensity of the sun's rays. If your plant typically thrives in high humidity, consider increasing it slightly around the plant. This can be done by misting it lightly, placing it on a pebble tray filled with water, or using a small humidifier nearby.
Be mindful, however, that high humidity coupled with soggy soil is a recipe for fungal issues.
Common Mistakes That Worsen Repotting Woes
Even with the best intentions, simple oversights can turn a routine repotting into a plant's downfall. Many of these common errors stem from not understanding a plant's sensitivity during this vulnerable period. Being aware of them is half the battle in preventing further decline.
- Over-watering Immediately: This is perhaps the most frequent mistake. Many people assume a repotted plant needs extra water, but this can flood the still-damaged roots. It’s best to water thoroughly only after checking the soil moisture, and then let it dry out more than usual.
- Using the Wrong Soil: Not all soils are created equal, and using a dense, heavy mix for a plant that needs sharp drainage is a recipe for disaster. For instance, succulents require a gritty, fast-draining mix, while a tropical plant might need something that retains a bit more moisture. Ensure your soil choice matches your plant's specific needs.
- Too Much Sun, Too Soon: Placing a stressed plant in direct, intense sunlight can exacerbate wilting and further dehydrate it. While plants need light, recovery requires a gentler approach. Bright, indirect light is usually the safest bet.
- Fertilizing Too Early: As mentioned, a stressed plant can't handle fertilizer. Adding nutrients before the roots have recovered can cause chemical burns. Wait at least 4-6 weeks, and even then, start with a diluted solution and monitor the plant's response.
When to Accept the Unavoidable / What If It Doesn't Bounce Back?
Sometimes, despite your best efforts, a plant simply doesn't recover. This can be due to severe root damage during the repotting process, an underlying pest or disease that was present beforehand, or sheer plant fragility. Advanced horticultural assessments suggest that if 75% or more of the root system has been compromised, the prognosis for recovery drops significantly.
Recognizing when a plant has reached its end is a difficult but necessary skill for any plant enthusiast. If the wilting becomes irreversible, leaves turn completely black and brittle, or the base of the stem shows signs of rot and decay that you can't address, it might be time to say goodbye. It's a tough pill to swallow, but it’s a learning experience.
This knowledge can inform your future repotting techniques and plant selection.
Future-Proofing: Your Guide to Smoother Repotting Next Time
Learning from a plant's decline makes you a better caretaker. For your next repotting adventure, keep these proactive strategies in mind to minimize stress and ensure a healthy transition for your green companions.
- Assess the Need: Only repot when your plant is genuinely root-bound, meaning roots are circling tightly around the pot's interior or growing out of drainage holes. If it's thriving, leave it be.
- Choose the Right Time: Repot during the plant's active growing season, typically spring or early summer. This allows the plant to recover and establish itself more quickly. Avoid repotting during winter dormancy.
- Handle Roots Gently: When removing the plant, be as gentle as possible. If roots are tightly bound, try to loosen them carefully without tearing them. If you're dealing with a particularly delicate plant, consider less invasive methods like refreshing the top layer of soil.
- Pot Size Matters: Opt for a pot that's only one or two inches larger in diameter than the current one. A pot that's too large can hold excess moisture, increasing the risk of root rot.
Frequently Asked Questions
How long does transplant shock typically last?
Transplant shock can last anywhere from a few days to several weeks. The duration depends on the plant species, the severity of root disturbance, and the care it receives post-repotting. Consistent, appropriate watering and light are crucial during this period.
Can I save a plant with severely damaged roots?
Yes, in some cases. If a significant portion of the root system remains healthy and firm, the plant has a good chance of recovery. However, if most roots are mushy, black, and disintegrating, saving the plant becomes very challenging.
Prompt action is key to improving the odds.
Should I prune the plant after repotting if it's wilting?
Pruning can help reduce the plant's energy demands while it recovers. If there are many yellow or dead leaves, gently trim them away. However, avoid heavy pruning, as the leaves are still vital for photosynthesis.
Focus on removing only the truly damaged foliage.
What's the difference between wilting and root rot symptoms?
Wilting means the plant isn't getting enough water to its leaves, which can be caused by underwatering or root damage preventing uptake. Root rot means the roots are dying from being waterlogged, which also prevents water uptake, but the cause is too much moisture. Often, severe wilting can be a symptom of underlying root rot.
How do I know if my plant is truly dead or just in shock?
If the plant bounces back after a week or two of consistent, correct care and shows new growth, it was likely just in shock. If it continues to decline, leaves become brittle or black, and the stem shows rot despite proper watering, it's a stronger indication that the plant has succumbed.