
Those brown spots on your banana leaves can be maddening. You water it right, give it plenty of sun, and then one morning you see those little brown patches spreading across the beautiful green leaves. Your first instinct is probably to grab a fungicide or just start cutting leaves off.
But that’s exactly where most people go wrong.
Brown spots on banana leaves are one of the most common plant problems for both backyard growers and indoor banana keepers. The challenge is that five completely different things cause them, and each one needs a different fix. According to University of Florida IFAS Extension research, fungal diseases account for roughly 70, 80% of banana leaf spot cases worldwide, but nutrient imbalances and pests each claim another 10, 15%.
Getting the cause wrong means you waste time, money, and risk making the problem worse. So before you reach for a spray bottle, let’s look at what you’re actually dealing with.
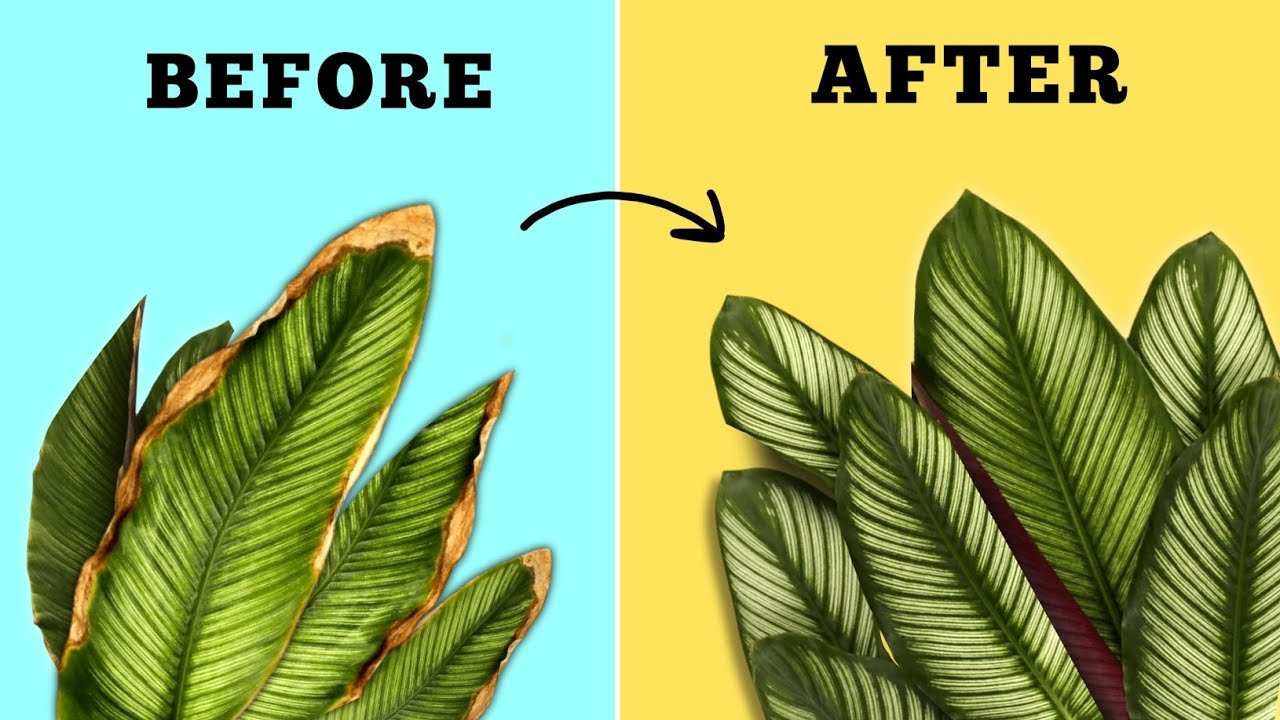
Quick Answer
Brown spots on banana leaves come from fungi, bacteria, pests, nutrient shortages, or environmental stress. Check the spot’s color, shape, and location. Yellow halos mean fungus.
Watery edges mean bacteria. Fine silvery speckling means thrips. Scorched leaf margins mean potassium deficiency.
Treat the real cause, not the symptom.
Why Seeing the Spots Clearly Matters More Than Just a Name
It’s tempting to lump all brown spots together and call it a disease. But the truth is that a banana leaf can develop brown patches for at least five completely different reasons. If you treat for fungus when the real problem is a potassium deficiency, you’ll just end up with a fungicide‑soaked plant that continues to develop spots.
Worse, you might make the deficiency worse by adding more chemicals to stressed soil.
The biggest mistake we see in online gardening forums is jumping to conclusions based on a single photo. A spot that looks “brown” on your phone might actually be a dark black lesion with a yellow halo, or it could be a sunken tan blotch from a pest. Those nuances are everything.
A fungal spot and a thrips spot can exist on the same leaf, but the treatment is completely different. This is where a visual guide becomes your best tool.
If you’ve ever struggled with diagnosing leaf issues on other plants, you might find the approach here familiar. It’s a similar process to what we cover in our guide on how to maintain healthy plants in a controlled environment, like a grow tent setup where airflow and humidity are managed precisely. The same principles apply outdoors with banana leaves.
The 5 Most Common Causes of Brown Spots (And What Each One Actually Looks Like)
Let’s break down the main culprits. Each one has a distinct visual signature.
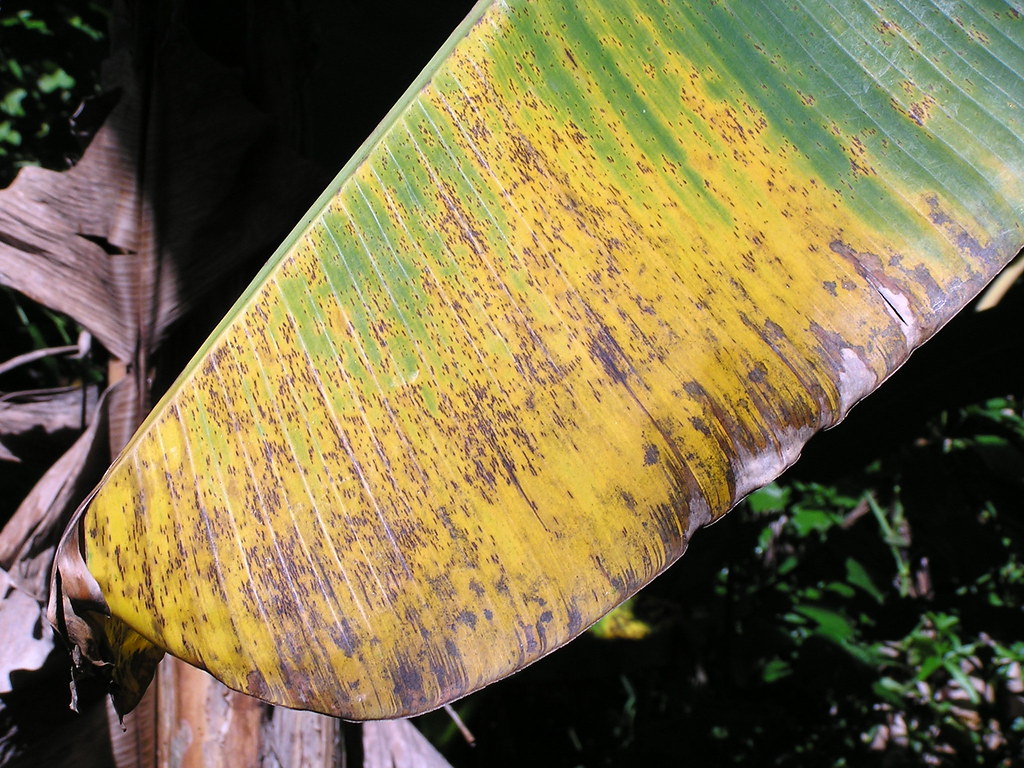
Fungal Infections – Yellow Sigatoka vs. Black Sigatoka
These are the heavy hitters. Yellow Sigatoka (Mycosphaerella musicola) starts as tiny pale yellow spots that turn brown with a bright yellow halo. They’re usually on older leaves first.
Black Sigatoka (Mycosphaerella fijiensis) is more aggressive. The spots are dark brown to black, oval, and often have a water‑soaked appearance early on. Both spread fast in wet, humid conditions (above 80% humidity and 20, 30°C).
Visual checklist for fungal spots:
- Small to medium spots (2, 10 mm)
- Yellow halo around the spot
- Spots appear first on lower, older leaves
- Spots merge into larger dead patches over time
- In advanced stages, the entire leaf withers
Bacterial Leaf Spot – The Sticky, Watery One
Bacterial leaf spot (Xanthomonas campestris pv. musacearum) looks different. The spots are water‑soaked, oily, and often have a yellow edge. If you press the spot, it may ooze a sticky, slimy substance.
This is a classic sign. Bacterial spots tend to appear on younger leaves and spread rapidly in warm, wet weather. They also have an irregular shape compared to the neat circular fungal spots.
Thrips and Spider Mites – Tiny Pests, Big Damage
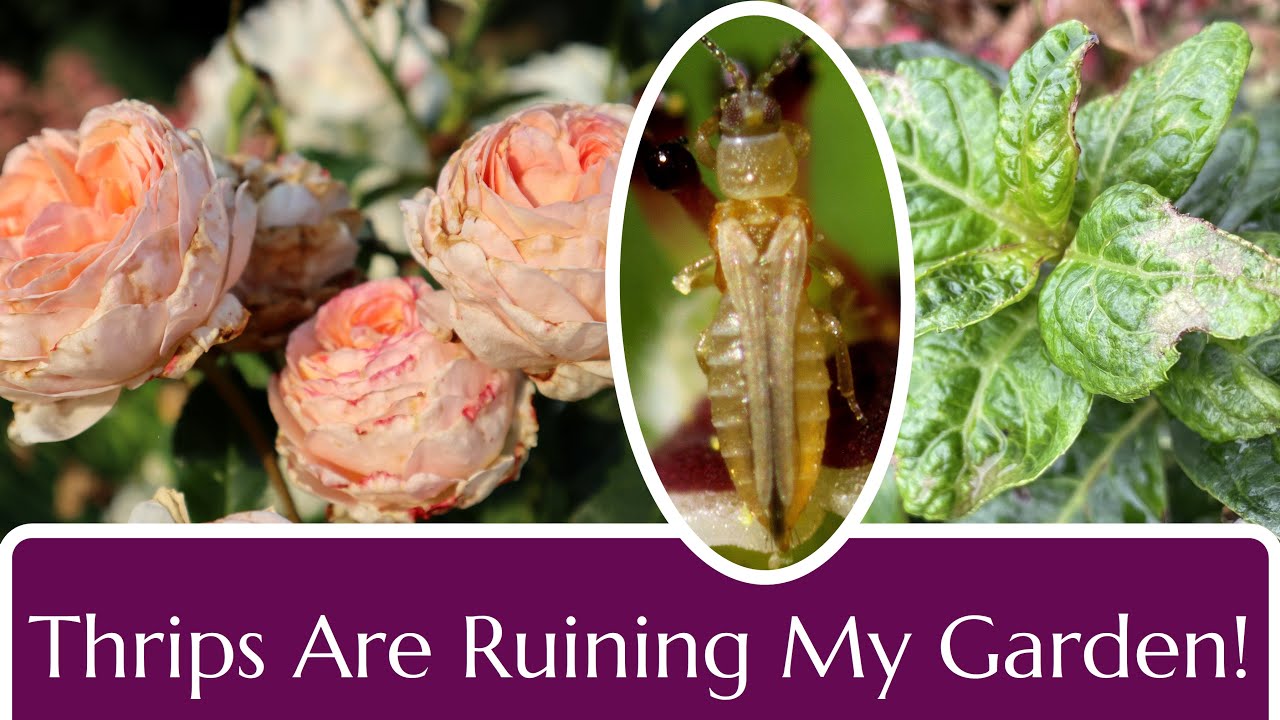
These are the stealthy ones. Banana thrips (Chaetanaphothrips signipennis) cause fine silvery speckling on the upper leaf surface, which later turns brown. Turn the leaf over.
If you see tiny black dots (their droppings) or the insects themselves (barely 1 mm long), that’s the culprit. Spider mites cause a similar stippling but also leave fine webbing under the leaf. Both thrive in dry, dusty conditions.
Nutrient Deficiencies – Potassium, Magnesium, and Boron Shortages
These look completely different from disease. A potassium deficiency shows up as brown, scorched edges on the older leaves, with no distinct spot shape. The tip of the leaf may brown first.
Magnesium deficiency causes interveinal yellowing that turns brown along the veins. Boron deficiency gives you misshapen leaves with brown streaking and cracking.
Environmental Stress – Sunburn, Windburn, and Chemical Burn
Sometimes the environment is the problem. Sunburn causes large, irregular brown patches on the side of the leaf facing the sun, usually in the middle of the day. Windburn creates brown, shredded edges.
Chemical burn from over‑fertilizing or spraying too much fungicide shows up as brown tips and margins, often on multiple leaves at once. No halos, no oozing, no pests.
How to Tell Them Apart at a Glance: A Visual Pattern Guide
A single leaf can give you all the clues you need if you know what to look for. Here’s a quick reference table that summarizes the key visual differences.
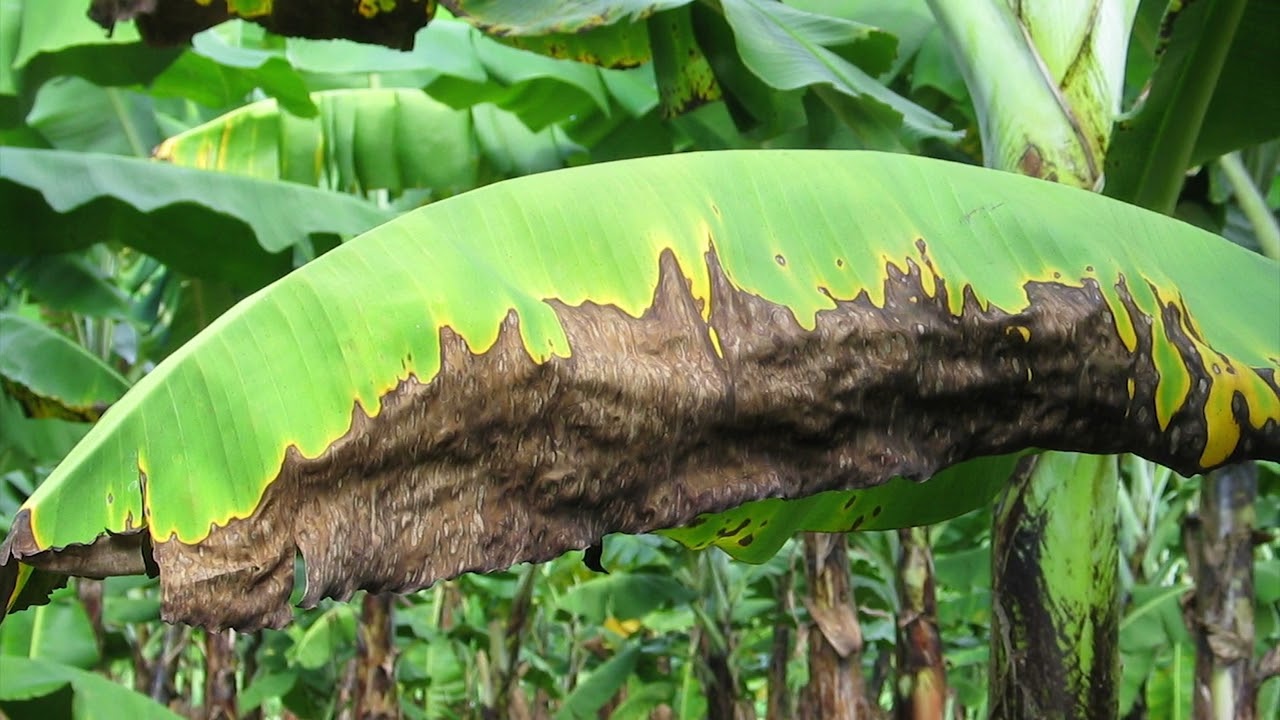
| Cause | Spot Color | Shape | Halo? | Location on Leaf | Leaf Age |
|---|---|---|---|---|---|
| Fungal (Sigatoka) | Tan to dark brown, yellow halo | Round to oval, distinct edges | Yes, bright yellow | Between veins, scattered | Older leaves first |
| Bacterial | Dark brown, greasy, water‑soaked | Irregular, expanding edge | Yes, yellowish | Anywhere, often near tip | Younger leaves |
| Thrips / mites | Silvery‑brown stippling | Fine specks, no clear shape | No | Upper surface, often near midrib | Both new and old |
| Potassium deficiency | Brown edge, scorched tip | Long, marginal burn, no spots | No | Leaf margins and tip | Older leaves first |
| Sun / wind / chemical | Uniform brown, no pattern | Irregular, no distinct spot | No | Side facing sun, tip, edges | Random |
Use this table as a starting point. If you see a spot with a yellow halo, it’s almost certainly fungal. If the spot is irregular and the leaf feels sticky, think bacterial.
If the damage is on the leaf edge and there are no spots, suspect a nutrient deficiency.
This kind of systematic diagnosis is a skill you build over time. If you’re just getting started with plant care at home, you might appreciate the approach we took in our guide on the performance of cheap grow tent kits, it’s all about observing conditions and adjusting based on what you actually see.
Step-by-Step Diagnosis Flow: From First Spot to Confident Answer
Here’s a simple five‑step process that works every time.
Step 1: Snap a Photo with a Ruler
Take a clear, close‑up photo of the affected leaf. Include a ruler or a coin for scale. This helps you track whether the spots are growing, merging, or staying the same.
Step 2: Check Leaf Age and Location
Ask yourself: Is this an old leaf near the bottom or a new leaf near the top? Fungal spots almost always appear on older leaves first. Nutrient deficiencies also hit older leaves first.
Bacterial spots and pest damage can show up anywhere, but they’re often on the younger, tender leaves.
Step 3: Inspect the Underside and Edge of the Spot
Flip the leaf over. Look for tiny insects, webbing, black droppings, or any powdery residue. Press a spot gently with your finger, does it feel sticky or wet?
If yes, it’s bacterial. If it feels dry and brittle, it’s fungal or environmental.
Step 4: Match Your Spot to the Visual Reference
Use the table above. Compare the spot’s color, shape, and halo. If you see a yellow halo around a round spot, treat for fungus.
If the spot is irregular and wet, treat for bacteria. If the damage is a scorched edge with no spot, consider potassium.
Step 5: Decide on the Right Response
Based on your match, choose the appropriate action. For fungus, apply a copper fungicide or a sulfur‑based product. For bacteria, remove infected leaves and improve air circulation.
For thrips, use insecticidal soap or neem oil. For potassium deficiency, add a potassium‑rich fertilizer like sulfate of potash. For sunburn, move the plant to partial shade or provide a windbreak.
Common Mistakes That Make Brown Spots Worse
Even experienced gardeners make these errors. Avoid them, and you’ll save yourself a lot of frustration.
Mistake #1: Reaching for Fungicide Before You Know the Cause
This is the number one mistake. Fungicides don’t fix nutrient deficiencies, and they certainly don’t kill thrips. You’ll just add chemical stress to an already struggling plant.
Always diagnose first. If you’re unsure, take a sample to a local extension office, many offer free plant disease diagnostics.
Mistake #2: Confusing Natural Aging with Disease
Banana leaves don’t live forever. The lowest leaves will naturally yellow and develop brown spots as they die off. This is normal.
If only the oldest one or two leaves are affected and the rest look healthy, you probably don’t have a problem. Don’t start spraying.
Mistake #3: Ignoring the Underside Until Damage Is Severe
Pests love the underside of leaves because it’s sheltered. If you only look at the top, you’ll miss the cause. Make it a habit to flip a few leaves every time you water.
Catching thrips or mites early means you can treat them with a simple soap spray instead of a heavy chemical.
Mistake #4: Overwatering a Plant with Fungal Spots
Fungal diseases love wet leaves and high humidity. If you see fungal spots, the worst thing you can do is overhead water. Water at the soil level, early in the day, so the leaves have time to dry.
Improve air circulation around the plant. This is similar to managing moisture in an indoor grow space, something we discuss in our grow tent ventilation setup guide.
Mistake #5: Leaving Infected Leaves on the Ground
Fungal spores and bacteria can live in fallen leaves for months. If you prune off infected leaves, do not leave them lying around. Seal them in a plastic bag and toss them in the trash, not the compost pile.
Composting infected leaves often doesn’t get hot enough to kill the pathogens, and you’ll just re‑infect your plant next season.
This is the first half of the guide. The next sections will cover treatment options in detail, when pruning actually helps versus hurts, safety guidelines, prevention strategies, real‑world scenarios, and an FAQ.
Treatment Options: What to Use for Each Cause
Once you’ve nailed down the cause, choosing the right treatment is straightforward. The trick is matching the product to the problem.
Organic Fungicides and When They Work Best
For fungal spots like Yellow Sigatoka or Black Sigatoka, copper‑based fungicides are the go‑to. Products containing copper octanoate or copper sulfate are effective and OMRI‑listed for organic use. Apply every 7, 14 days during wet weather.
Sulfur‑based sprays are another option, but they work best as a preventive rather than a cure. If you catch fungal spots early, neem oil can help slow them down, but it’s not a heavy‑duty solution for established infections.
Synthetic Fungicides and Proper Application
When organic options aren’t cutting it, synthetic fungicides like mancozeb or chlorothalonil are more aggressive. These are broad‑spectrum and will kill a wide range of fungi. Follow the label rates exactly.
Over‑application leads to resistance and can harm beneficial soil life. Spray the entire leaf surface, including the underside, and reapply after heavy rain.
Pest Control – Soap Sprays, Neem Oil, and Beneficial Insects
For thrips and spider mites, insecticidal soap or horticultural oil works well. Spray thoroughly under the leaves every 5, 7 days until you see no more live pests. Neem oil also works but needs a few applications.
For persistent infestations, consider releasing predatory mites. They’re available from garden suppliers and will keep thrips in check without chemicals.
Correcting Nutrient Issues Without Over‑Fertilizing
If the diagnosis points to a potassium deficiency, use a fertilizer high in potassium and low in nitrogen, like sulfate of potash (0‑0‑50). Apply at the rate recommended on the bag. Avoid overdoing it, as excess potassium can interfere with magnesium uptake.
For magnesium deficiency, Epsom salts (magnesium sulfate) applied at 1 tablespoon per gallon of water works well. If you’re unsure about your soil, a simple soil test kit can save you a lot of guesswork. For a deeper look at what different fertilizers do, our guide on compost vs fertilizer explains when to use each.
When the Best Treatment Is to Prune and Wait
Sometimes the smartest move is to do nothing chemical. If the spots are on the oldest leaves and the plant is otherwise healthy, just prune those leaves off and let the plant grow new ones. Environmental stress like sunburn or windburn usually resolves on its own once you improve conditions.
Don’t treat what isn’t a disease.
When Pruning Helps vs. When It Hurts
Pruning infected leaves is a good idea, but only if you do it correctly.
How Many Leaves Is Safe to Remove at Once
A banana plant needs its leaves to photosynthesize. Removing more than one‑third of the leaves at once will shock the plant. If you have multiple infected leaves, remove only the worst ones and come back in a week to take more.
Focus on leaves that are more than 50% damaged. A leaf with a few small spots can stay; it’s still feeding the plant.
Proper Disposal to Prevent Spreading Spots to Other Plants
Do not compost infected banana leaves. Home compost piles rarely reach the sustained temperatures needed to kill fungal spores or bacteria. Seal the pruned leaves in a plastic bag and put them in the trash.
Disinfect your pruning shears between cuts with rubbing alcohol or a 10% bleach solution. This single habit can stop an outbreak from spreading to every banana plant in your yard.
Safety Guidelines for Spraying and Handling Infected Plants
Spraying chemicals, even organic ones, requires basic precautions.
Wear gloves, long sleeves, and a mask when mixing or applying any spray. Even “natural” neem oil can irritate skin and lungs. Keep children and pets away from the treated area until the spray has dried completely, usually 2, 4 hours.
Check the label for the pre‑harvest interval if you’re growing bananas for fruit. The interval is the time you must wait between the last spray and harvesting. Copper fungicides typically have a 1‑day interval; synthetic options may be 7, 14 days.
Never spray on windy days or near water sources. Runoff can contaminate ponds or streams. If you’re in a residential area, some synthetic fungicides may be restricted.
Always read the label and follow local regulations.
Preventing Brown Spots from Coming Back
Treatment gets rid of the current problem. Prevention keeps it from returning.
Watering and Air Flow Adjustments
Water at the base of the plant, never overhead. Wet leaves are an open invitation for fungal spores. If you must use overhead watering, do it early in the morning so the leaves dry by midday.
Space your banana plants with enough room for air to move freely. Crowded plants trap humidity.
Seasonal Prevention: Wet Season vs. Dry Season
During the wet season, apply a preventive copper spray every 14 days, even if you don’t see spots yet. During the dry season, watch for thrips and mites; a regular blast of water under the leaves can keep their numbers down.
Choosing More Resistant Banana Varieties
Some banana cultivars are more resistant to common leaf diseases. Cavendish varieties are particularly susceptible to Black Sigatoka. Varieties like ‘Lady Finger’ or ‘Goldfinger’ show better resistance.
If you’re planting new bananas, check with your local agricultural extension office for disease‑resistant varieties suited to your area.
Real Scenarios: What Different Spot Patterns Actually Mean
Let’s walk through four common situations you might see.
Scenario A – Tiny Yellow‑Haloed Spots Only on Old Leaves
Likely cause: Yellow Sigatoka or an early fungal infection.
Action: Apply a copper fungicide. Remove the heavily spotted leaves. Improve air circulation.
Watch the new leaves for signs.
Scenario B – Dark, Water‑Soaked Spots on New Leaves
Likely cause: Bacterial leaf spot.
Action: Remove affected leaves immediately. Disinfect shears. Avoid overhead watering.
Apply a copper‑based bactericide if the problem persists. Quarantine the plant if you have other bananas nearby.
Scenario C – Scorched Leaf Edges with No Clear Spot Shape
Likely cause: Potassium deficiency or environmental stress.
Action: Apply a potassium‑rich fertilizer. Check your watering schedule. Provide shade for afternoon sun.
If the soil is dry, water deeply. The new growth should look normal within a few weeks. For spring applications, our article on what fertilizer to use in spring at your garden has detailed recommendations.
Scenario D – Fine Silvery Speckling on Upper Leaf Surface
Likely cause: Banana thrips or spider mites.
Action: Flip the leaf and look for tiny insects or webbing. Spray with insecticidal soap or neem oil, focusing on the undersides. Repeat every 5 days until you see no new damage.
In severe cases, consider releasing predatory mites.
Frequently Asked Questions
Should I cut off brown spotted banana leaves?
Yes, if the leaf is more than 50% damaged. Remove only the worst leaves at once. Leave the rest to keep feeding the plant.
Can I use neem oil for all brown spots?
No. Neem oil works for fungal spots and some pests. It won’t fix nutrient deficiencies or bacterial infections.
Match the treatment to the cause.
How long does it take for new leaves to look healthy?
After correcting the problem, you should see healthy new growth in 2 to 4 weeks. Older spotted leaves won’t recover, but new ones will.
Is it safe to compost infected banana leaves?
No. Home compost piles rarely get hot enough to kill fungal spores or bacteria. Bag the leaves and trash them instead.
Final Diagnosis Quick-Reference Table
| Visual Cue | Most Likely Cause | First Action |
|---|---|---|
| Yellow halo, round spots on old leaves | Fungal (Sigatoka) | Copper fungicide |
| Watery, irregular spots on new leaves | Bacterial | Remove leaves, improve airflow |
| Silvery stippling, pests underside | Thrips / mites | Insecticidal soap |
| Scorched edges, no distinct spots | Potassium deficiency | Potassium fertilizer |
| Large brown patches on one side | Sunburn | Move to partial shade |