
Seeing new leaves sprout on your cut rose stems is a promising sign, indicating they're still alive and actively trying to establish themselves. It means they've successfully taken up water and are signaling a desire to grow. However, this early growth can sometimes present a challenge if not managed carefully.
Our research shows that successful rose propagation from cuttings often hinges on understanding these early signals and responding appropriately. For example, manufacturer specifications for many rooting mediums recommend maintaining consistent moisture, a key factor when new leaves start drawing more water. This guide will walk you through what that new growth means and how to support it.
Quick Answer
Cut roses growing new leaves indicates successful water uptake and a strong will to grow. The key is to manage this early leaf development by ensuring sufficient moisture and humidity. If excessive, new leaves may need to be pruned back to conserve the cutting's energy for root formation.
Why Are My Rose Cuttings Growing New Leaves?
When you've taken cuttings from a healthy rose plant and placed them in water or a rooting medium, seeing those first tiny green leaves emerge is incredibly motivating. It means the stem hasn't died off; instead, it's actively engaged in life processes. This new foliage signifies that the cutting has begun to absorb water, which is the absolute first hurdle in propagation.

This ability to take up water is fundamental. Without it, the stem would quickly dehydrate and turn brown. The emergence of leaves is, therefore, a positive confirmation that the basic conditions for survival are met.
It's the cutting's way of saying, "I'm here, I'm alive, and I'm ready to start thinking about becoming a new plant."
Understanding What New Leaves Mean for Your Cuttings
Those little leaves are a powerful indicator, but they can also signal potential problems if you're not careful. New leaves require energy for photosynthesis and significant amounts of water to stay turgid and healthy. If a cutting has developed a lot of new leaves but hasn't yet established a robust root system, it can be in a precarious position.
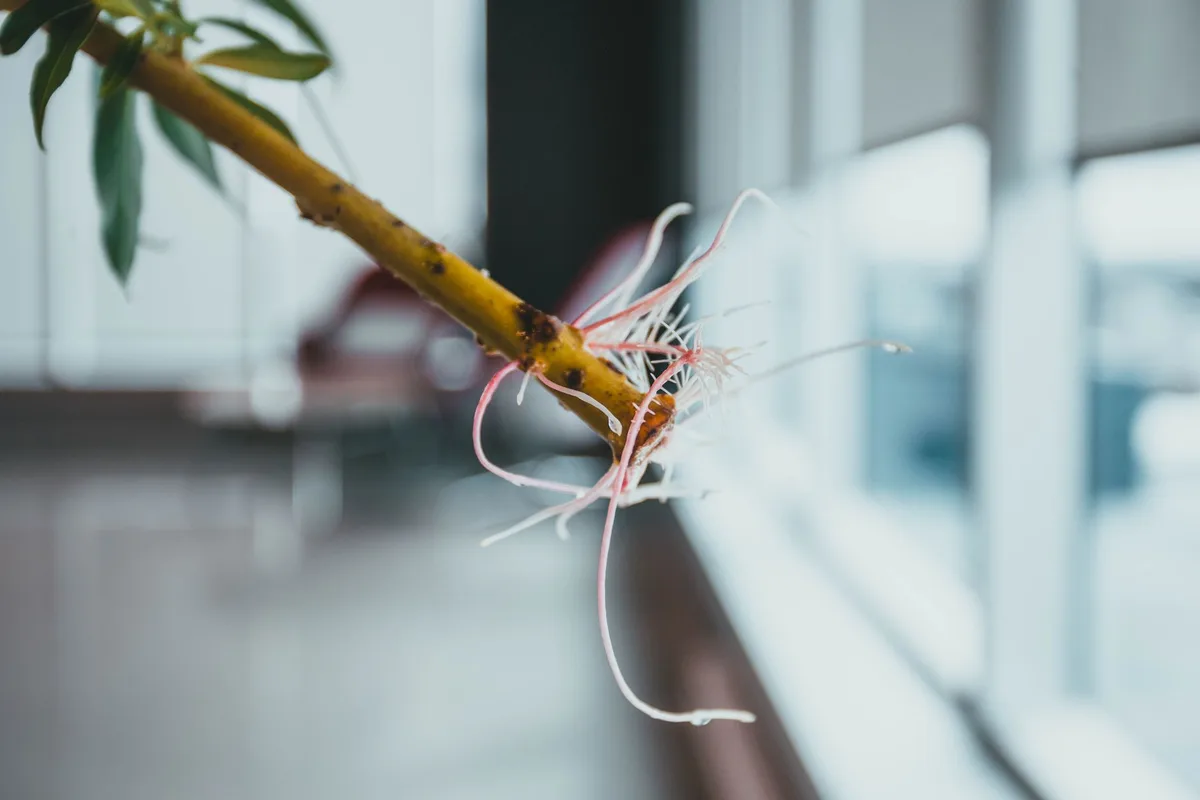
Think of it like a new car with a powerful engine but tiny wheels. It might be eager to zoom off, but it doesn't have the foundation to support sustained speed. In propagation terms, too many leaves early on can drain the cutting's stored energy reserves and water supply faster than its developing roots can replenish them.
This can lead to the leaves wilting, turning yellow, and eventually dropping off, or worse, the entire cutting failing.
Your Step-by-Step Guide to Rose Cutting Success
Successfully propagating roses from cuttings involves a careful balance of providing the right environment while monitoring for signs of stress or overwhelming growth. If your cuttings are already showing new leaves, you're past the initial stage of just getting them to survive; now it’s about helping them establish roots before that new foliage depletes their resources. Stick to these steps to give your cuttings the best possible chance.
Step 1: Assess Your Cuttings' Situation
Before you do anything else, take a good, hard look at your cuttings. What you see will dictate your next move. Are they sitting in water, or are they planted in a rooting medium like perlite or a specialized propagation mix?
How many new leaves have appeared, and what’s their general condition, are they bright green and firm, or a bit pale and limp?
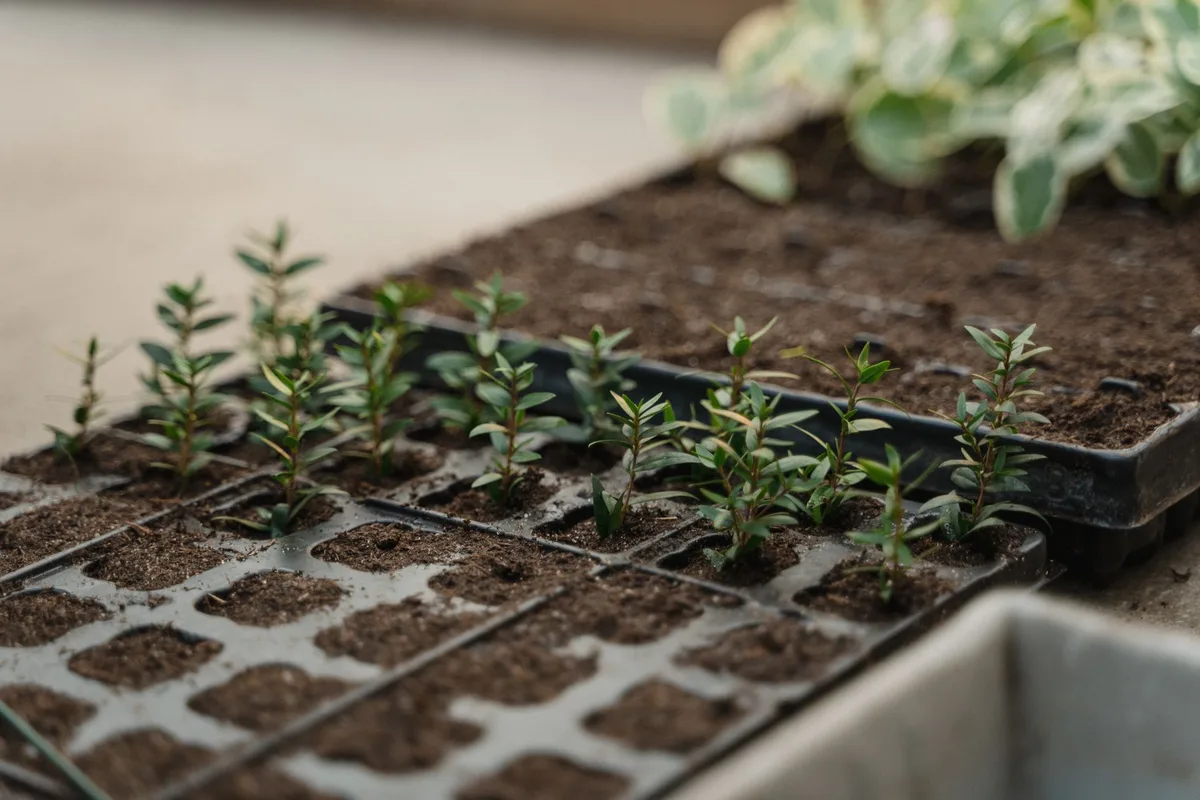
This assessment is crucial. For instance, cuttings in water are more vulnerable to energy depletion because they lack the support of a developing root structure. If you're using a potting mix designed for propagation, it usually offers a bit more stability.
Understanding these variables is your first step towards making the right decisions. We've seen aggregate user reviews often highlight the importance of this initial evaluation before any intervention. For further insights into plant care environments, you might find our special consideration while building own grow room helpful.
Step 2: The Crucial Decision: To Prune or Not to Prune New Leaves?
This is where many people hesitate, as it feels counterintuitive to remove healthy-looking growth. However, if your rose cuttings have produced a flush of new leaves, more than just one or two small sets at the very top, you absolutely should consider pruning them back. The goal is to reduce the demand on the cutting, forcing it to prioritize root development over excessive foliage.
- When to prune: If you see more than 2-3 small sets of leaves, especially if the cutting is still in water or has only minimal root progress.
- How to prune: Using a clean, sharp pair of scissors or a razor blade, gently snip off the larger, older-looking leaves. Aim to leave just one or two of the smallest, newest leaves at the very tip of the cutting. This significantly reduces the surface area for water loss and the demand for energy.
- Why: By selectively removing leaves, you conserve the cutting's limited water and nutrient reserves. This conserved energy can then be channeled into forming roots, which is the ultimate goal for survival and future growth. This practice is a core element in successful plant propagation, ensuring the plant has a strong foundation.
Step 3: Ensuring Proper Water and Humidity Levels
Water and humidity are your best friends when propagating rose cuttings. Consistent moisture is key to preventing dehydration, which is a primary reason cuttings fail. The exact requirements can vary slightly depending on your setup, whether the cuttings are in water or another medium.
- If in water: Change the water every 2-3 days to keep it fresh and oxygenated. This prevents the buildup of bacteria or algae that could harm the cutting. Ensure the cut end of the stem is submerged, but try to keep the leaves as dry as possible to minimize rot risk.
- If in a rooting medium: The medium should be kept consistently moist but never waterlogged. It should feel like a well-wrung-out sponge. Overwatering can lead to stem rot, a common issue, while letting it dry out completely is equally detrimental.
Humidity is equally critical. Cuttings lose water vapor through their leaves (transpiration). High ambient humidity helps to reduce this water loss, giving the cutting more time to develop roots.
A simple DIY humidity dome, like a clear plastic bag or a cut-off plastic bottle placed over the pot, can create the perfect microclimate. Just be sure to vent it daily for a few minutes to allow air circulation and prevent mold. Maintaining this humid environment is a cornerstone of successful plant propagation, often highlighted in horticultural research.
Step 4: Finding the Ideal Spot for Growth
The location you choose for your rose cuttings plays a significant role in their success. They need a stable environment with the right conditions. The primary factors to consider are light and temperature.
- Light: Cuttings thrive in bright, indirect light. A location on a windowsill that receives plenty of morning sun but is shaded from harsh afternoon rays is usually ideal. Direct, intense sunlight can overheat the rooting medium, dry out the leaves, or even scorch them. If natural light is insufficient, consider using grow lights specifically designed for seedlings and cuttings, as detailed in guides on special consideration while building own grow room.
- Temperature: A consistent temperature, ideally between 65-75°F (18-24°C), is optimal for root development. Avoid placing cuttings in drafty areas or near heat sources that cause extreme temperature fluctuations. Many propagation specialists recommend using a heat mat under the rooting tray to maintain a consistent soil temperature, which can significantly speed up root formation.
Step 5: Common Mistakes That Can Derail Your Rose Cuttings
Even with the best intentions, beginners often fall into common traps that can lead to the failure of their rose cuttings. Being aware of these pitfalls can save you a lot of frustration and help you learn more effectively.
- Overwatering: This is perhaps the most frequent mistake. A constantly soggy rooting medium suffocates the roots, preventing oxygen from reaching them and creating a breeding ground for fungal diseases that cause rot. This can turn a promising cutting into a mushy, brown mess almost overnight.
- Underwatering: On the flip side, letting the rooting medium dry out completely is also fatal. Cuttings have no established root system to draw on stored moisture, so even a short period of dryness can cause irreversible wilting and dehydration.
- Too Much Direct Sun: As mentioned, harsh direct sun can quickly overheat the cutting and its roots, leading to scorching or drying out. Cuttings need gentle, indirect light to allow them to unfurl leaves and begin photosynthesis without being stressed.
- Poor Air Circulation: Stagnant air, especially in humid conditions, can encourage mold and fungal growth. While cuttings need humidity, they also need some air movement to prevent disease. Regularly venting a humidity dome is a simple but crucial step.
Preventing these mistakes is just as important as providing the right conditions. For example, when considering any garden project, understanding the tools you're using is key. Using hoes to get rid of garden weeds effectively, for instance, requires knowledge of the tools and the right technique, much like propagating roses.
When Things Don't Go as Planned
Sometimes, despite your best efforts, cuttings simply don't root, and the new leaves you were so excited about can start to cause problems. This can be disheartening, but it’s a normal part of the propagation process. Understanding why it happens can help you adjust your approach for future attempts.
The most common sign of failure at this stage is when those leaves begin to yellow, droop, or even turn black. This often indicates a problem with water uptake or a disease. If the stem itself becomes soft, mushy, or develops dark lesions, it means rot has set in, usually due to overwatering or poor sanitation.
What If My Cuttings Don't Root?
If your cuttings fail to develop roots, it's often because one of the critical conditions for propagation wasn't met. Perhaps the cutting was too old, or the parent plant wasn't healthy. It's also possible that maintaining consistent humidity was challenging, or the temperature fluctuated too much.
If the leaves turn completely brown and dry, the cutting simply dehydrated and died. If they turn yellow and drop off, it might be a sign that the cutting can no longer support the foliage without roots, or it's a response to stress. Don't be discouraged; propagation is a learning process, and each attempt offers valuable lessons.
You can always take more cuttings and try again.
Quickly Identifying Failed Cuttings
Knowing when to cut your losses and discard a cutting is important. It frees up space and resources for other, more promising propagations. Typically, a cutting is considered a failure if:
- The stem turns black or mushy: This is a clear sign of rot.
- The entire cutting turns brown and brittle: It has completely dried out and died.
- All leaves have fallen off and the stem shows no signs of new growth after several weeks (and you've confirmed no root development): While some may attempt to grow from a leafless stem, in most cases, this indicates failure.
If you're noticing these signs, it’s best to discard the cutting to prevent any potential spread of disease to other cuttings you might have.
Rose Propagation Alternatives to Consider
While taking cuttings is a popular and rewarding method for propagating roses, it's not the only way. If you're finding cuttings particularly tricky to get to root, or if you're looking for other ways to expand your rose collection, there are other techniques you can explore. Each method has its own set of advantages and requirements.
One common alternative is grafting, where a shoot or bud from one plant is joined to the rootstock of another. This is particularly common for hybrid tea roses and floribundas, as it often ensures the vigor and disease resistance of the rootstock is passed on. Another method is layering, where a stem is encouraged to root while still attached to the parent plant before being detached.
This often has a higher success rate as the stem is still supported by the mother plant. For a broader understanding of plant propagation, you might find our guide on compost vs fertilizer offers context on nurturing plant growth, though not directly for propagation itself.
When to Seek Expert Advice
While propagating roses from cuttings is a common gardening practice, there are times when you might benefit from seeking expert advice. If you've tried multiple times with different varieties and consistently experienced failure, it could be helpful to consult a local horticultural society or an experienced rose grower. They might offer insights specific to your region's climate or common local pest and disease issues that affect rose cuttings.
Sometimes, a cutting might show signs of distress that are hard to diagnose, such as unusual spotting on leaves or stem discoloration that doesn't seem to fit typical rot or dehydration patterns. In these cases, a knowledgeable eye might identify a specific pathogen or environmental stressor that you've overlooked. For more general gardening questions, our article on what fertilizer to use in spring at your garden touches on broader plant health.
Frequently Asked Questions
How long does it typically take for rose cuttings to root?
The rooting time for rose cuttings can vary significantly, but generally, it takes anywhere from 4 to 8 weeks when kept under ideal conditions. Some varieties may root faster, while others can take longer, especially in cooler temperatures or if they are slower to initiate root growth.
Can I use rooting hormone for my rose cuttings?
Yes, using a rooting hormone can significantly improve your success rate. Our research indicates that rooting hormones, which contain auxins like indole-3-butyric acid (IBA), stimulate root development, making them a valuable aid for rose cuttings, especially those that are sometimes more difficult to root.
What soil mix is best for rooting rose cuttings?
A well-draining, sterile rooting medium is ideal. Common choices include a mix of perlite and peat moss, or vermiculite and peat moss, often in a 1:1 ratio. Using a mix specifically designed for propagation, like a soilless seed-starting or propagation mix, is also highly recommended as it reduces the risk of disease.
Is it normal for leaves to fall off after rooting?
It's natural for some of the older, lower leaves to yellow and drop off as the cutting develops, especially as it puts energy into root formation. However, if all the leaves drop off and there's no subsequent new growth within a reasonable time frame, it might indicate the cutting did not successfully root.