
Trying to figure out how to clean wheelbarrow after mixing concrete slab can feel like a chore nobody wants. Letting concrete harden means a lot more scrubbing, and nobody has time for that when a project is finished. Getting it right ensures your equipment lasts longer and prevents future headaches.
In our research, aggregate user feedback from construction forums and manufacturer maintenance guides consistently point to timing as the biggest factor. Letting concrete harden in your wheelbarrow can lead to rust and damage, which is why prompt cleaning is key for extending its lifespan. As of 2026, manufacturers still recommend immediate washout for best results.
When Did That Concrete Set In? Timing Your Wheelbarrow Clean
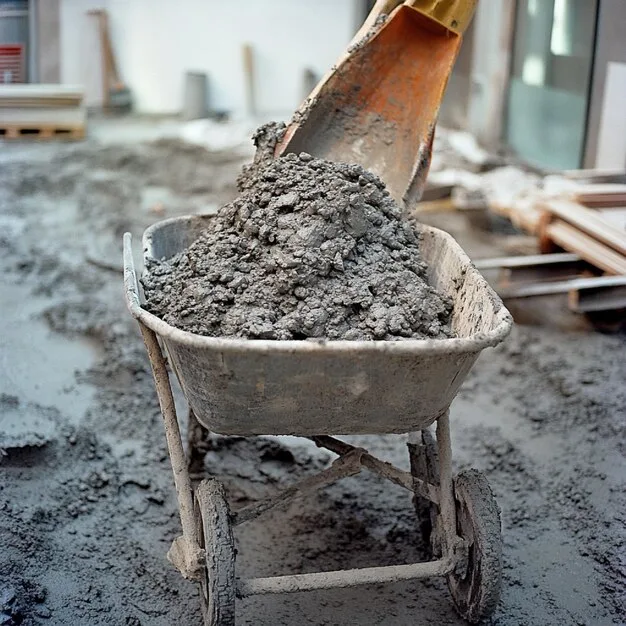
The exact moment you tackle cleaning your wheelbarrow makes all the difference. Once concrete starts to cure, it goes from a manageable slurry to a solid, stubborn mass. This means the ideal time to clean is while the concrete is still wet or, at most, only slightly set.
Waiting too long turns a simple rinse into an intensive scraping session. This not only takes more effort but can also damage the wheelbarrow's tub material over time. Aggressive scraping can scratch plastics and lead to micro-cracks, while tough residues can promote rust on steel models.
Why Cleaning Your Wheelbarrow After Concrete Isn't Optional
Keeping your wheelbarrow clean after concrete jobs isn't just about appearances. It's about preserving your tool's integrity and functionality for future use. Leftover concrete can cause significant long-term issues if not addressed properly, turning a simple tool into a constant problem.
Concrete residue creates a rough surface that can actually make subsequent concrete mixes stick even worse. For steel wheelbarrows, moisture trapped under concrete can accelerate rust formation, weakening the metal and leading to premature failure. Plastic models can become brittle or develop permanent stains.
Regular cleaning is a form of essential maintenance that pays off.
The Two Main Paths: Wet Concrete vs. Dried-On Mess
Your cleaning strategy depends entirely on what state the concrete is in when you're ready to wash. These two scenarios require very different approaches and levels of effort to get the job done effectively. Understanding the difference is your first step to a cleaner wheelbarrow.
One path is far easier than the other, but both lead to a usable wheelbarrow if approached correctly. Knowing which situation you're dealing with will dictate the tools and techniques you need to employ for the best results.
Easiest Way: Cleaning Wet Concrete Right Away
If you can clean your wheelbarrow immediately after pouring, you're in luck. This is by far the simplest and most effective method. Wet concrete hasn't had time to bond to the wheelbarrow's surface, so it mostly washes away with water.
You'll primarily need a hose with a strong spray. A stiff brush can help dislodge any small clinging particles. The goal here is a quick rinse and scrub to prevent any significant buildup.
This prevents almost all of the future problems associated with hardened concrete.
Tackling That Hardened Concrete Chunks
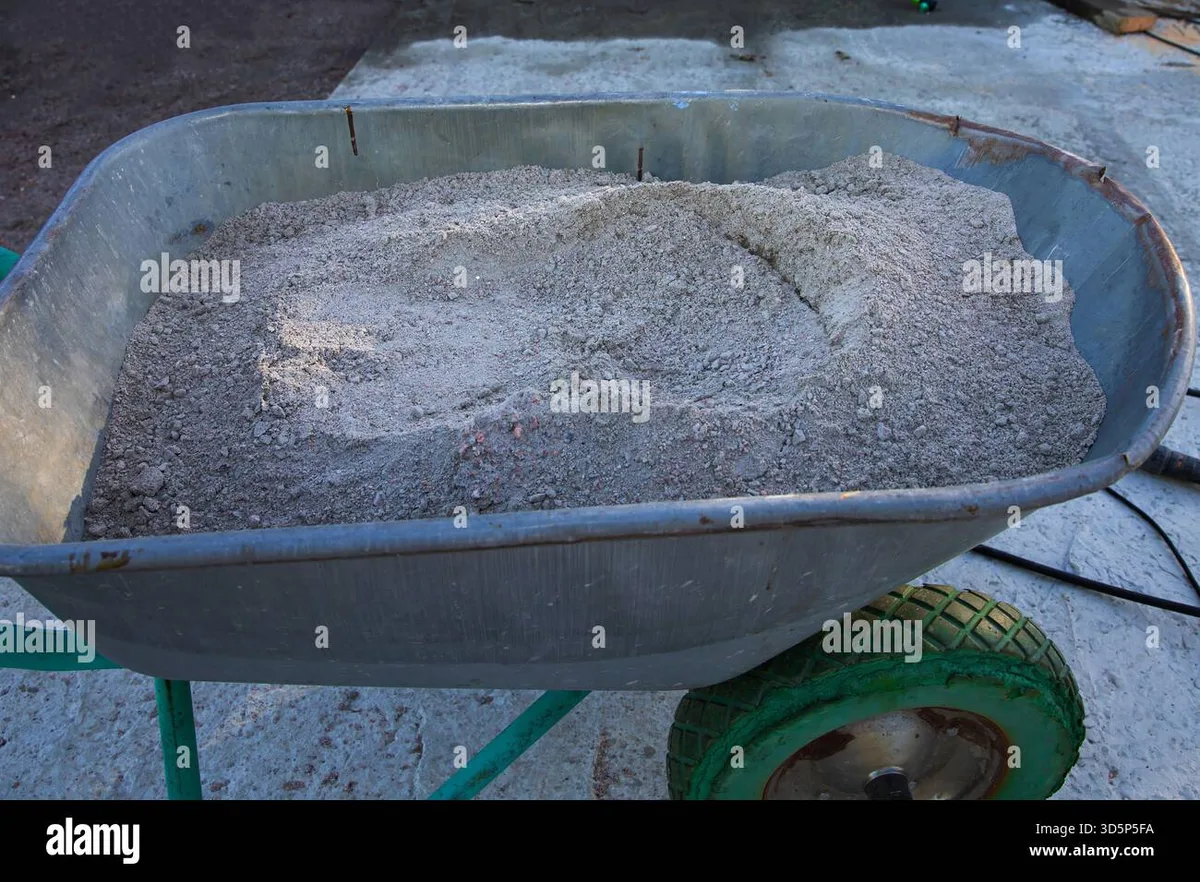
Dealing with dried concrete is a different beast entirely. This is where elbow grease and the right tools become critical. The concrete has likely bonded tightly to the wheelbarrow's tub, requiring more force to remove.
You’ll need to employ scraping and potentially soaking techniques. Think of it like trying to chip away dried paint or mud; it demands a more robust approach than a simple rinse. This scenario is where most people encounter trouble and damage their equipment.
Essential Tools for a Sparkling Wheelbarrow
You don't need a complex toolkit to get your wheelbarrow clean, but having the right items makes a huge difference. Having these on hand before you start will save you time and frustration.
These are the workhorses that will help you defeat stubborn concrete residue. A little preparation with your tools means a lot less struggle later.
What You'll Need to Scrape and Scrub
- Sturdy Gloves: Protect your hands from abrasion and any lingering cement dust.
- Safety Glasses: Crucial for keeping debris out of your eyes, especially when scraping or using a hose.
- Scraper Tool: A metal putty knife, a heavy-duty paint scraper, or even a plastic chisel works well. Avoid anything too sharp that could goude the material.
- Stiff-Bristled Brush: A scrub brush with firm bristles is excellent for loosening residual grime after scraping. An old broom head can work in a pinch.
- Hose with a Spray Nozzle: A nozzle that offers a concentrated, strong spray is best for washing away loosened debris.
- Bucket: For carrying water or holding cleaning solutions if needed.
If you're tackling a severe hardened mess, some people find a block of wood or even a small garden trowel useful for brute force removal on steel models, though caution is needed with plastic.
Step-by-Step: How to Clean Your Wheelbarrow
Here’s the breakdown for getting your wheelbarrow back to its pre-concrete state. Whether it’s still wet or has been sitting for a bit, this process will guide you.
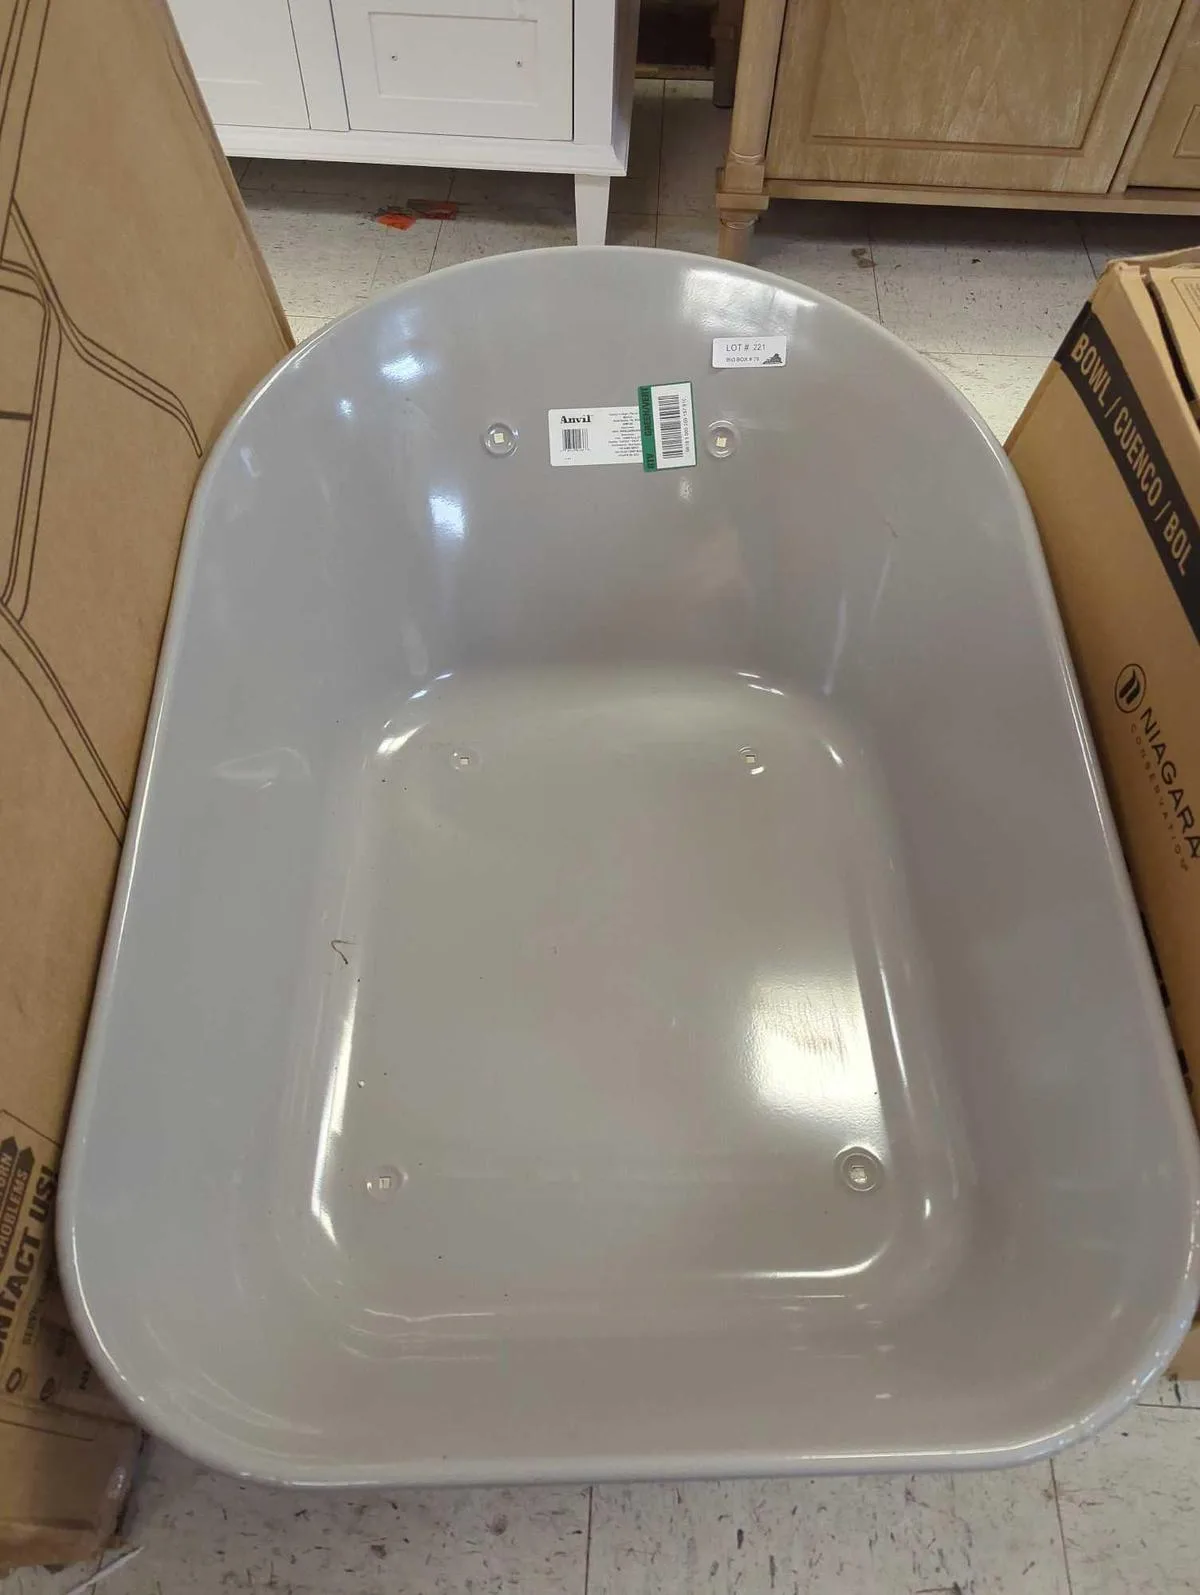
We'll cover the main process, which can be adapted slightly based on how dry the concrete has become.
Phase 1: The Initial Rinse
Start by getting as much loose, wet concrete out as possible. Place the wheelbarrow near a suitable area for washout, a designated concrete washout station, an area where the water can drain into gravel, or a large tub you can dispose of properly later. If using a hose, angle the wheelbarrow and use a strong spray to blast out the bulk of the wet material.
Try to get into all the nooks and crannies. This step should remove about 70-80% of the wet concrete if done promptly. Aiming the hose at a low angle helps push material out rather than just spreading it around.
Phase 2: Aggressive Scraping and Scrubbing
Now it’s time for the tougher spots. For a steel wheelbarrow, or even a plastic one with significant buildup, use your scraper tool to gently lever off any remaining concrete. Work from the edges inward.
If concrete is really bonded, you might need to tap the scraper gently with a rubber mallet or use a motion similar to what you'd use when scraping paint off a fence. Once the thick chunks are gone, use your stiff-bristle brush with water to scrub away any remaining film or thin layers. For particularly stubborn spots on steel, a wire brush can be effective, but be aware it can scratch softer materials.
A thorough scrubbing ensures no small particles are left behind to cure later.
Phase 3: The Final Rinse and Dry
After scraping and scrubbing, give the entire interior a thorough rinse with the hose. Ensure all loosened debris is washed away and has a clear path to exit the wheelbarrow and drain properly. Check all seams and corners for any missed bits.
Once you're satisfied that all the concrete is gone, tilt the wheelbarrow to drain any standing water. It's crucial to let the wheelbarrow air dry completely, preferably in the sun, before storing it. This prevents moisture from being trapped, which could lead to rust on steel models or mold on plastic ones.
A quick wipe-down with a clean rag can speed up the drying process.
What NOT to Do: Common Wheelbarrow Cleaning Mistakes
When you're tired after a big concrete pour, it's easy to cut corners. But some common mistakes can actually do more harm than good to your wheelbarrow. Avoiding these pitfalls is just as important as knowing the right cleaning steps.
Many DIYers learn these lessons the hard way, sometimes leading to costly repairs or replacements. Being aware of these errors beforehand will save you trouble and keep your equipment in prime condition.
- Letting it Sit: The number one mistake is not cleaning it while the concrete is still wet. This is not a problem you can easily fix later without significant effort and potential damage.
- Using Harsh Chemicals: Avoid strong acids or solvents unless recommended by the manufacturer for heavily soiled areas. These can degrade plastic, strip paint, and accelerate rust on metal. Always test in an inconspicuous spot first.
- Too Much Force on Plastic: While you need to remove hardened concrete, excessive force with sharp tools on plastic wheelbarrow tubs can cause cracks or gouges, weakening the material. Work patiently.
- Ignoring the Underside and Wheel: Concrete can build up on the frame, legs, and even the wheel of thebarrow. Don't forget to clean these areas, as they can trap moisture and debris.
- Storing Wet: Always ensure the wheelbarrow is thoroughly dry before putting it away, especially if stored in a shed or garage. Trapped moisture is a breeding ground for rust and mold.
Protecting Your Wheelbarrow: Beyond Just Cleaning
Cleaning is essential, but a little extra care can significantly extend the life of your wheelbarrow, making it reliable for many projects to come. Think of it as preventative maintenance that saves you money and hassle down the line.
These steps are simple but make a big impact, especially for wheelbarrows that see regular use. If you're planning to build a grow room, tool maintenance is key, and this applies to your concrete tools too.
Preventing Rust on Steel Barrows
For steel wheelbarrows, rust is the ultimate enemy. After cleaning and thoroughly drying, consider applying a light coat of lubricant or a rust inhibitor to the metal surfaces, especially the inside of the tub and any exposed frame parts. You can use spray-on silicone lubricant or even a light machine oil.
This creates a barrier against moisture. Regularly checking for any small rust spots and addressing them immediately with a wire brush and a touch-up paint (if possible) will prevent them from spreading. Applying these protective measures annually, or after heavy use, is a good practice.
Caring for Plastic Wheelbarrow Trays
Plastic wheelbarrows are generally more resistant to rust but aren't immune to other issues like UV degradation and cracking. After cleaning, inspect the plastic for any signs of wear, such as deep scratches or brittle spots. If the plastic appears chalky or faded from sun exposure, some UV-protective sprays designed for outdoor plastics can help restore some resilience, though they won't reverse significant damage.
Ensure you're not using abrasive cleaners that can dull or scratch the plastic finish, making it more susceptible to staining and future damage.
Essential Tools for a Sparkling Wheelbarrow
You don't need a complex toolkit to get your wheelbarrow clean, but having the right items makes a huge difference. Having these on hand before you start will save you time and frustration.
These are the workhorses that will help you defeat stubborn concrete residue. A little preparation with your tools means a lot less struggle later.
- Sturdy Gloves: Protect your hands from abrasion and any lingering cement dust.
- Safety Glasses: Crucial for keeping debris out of your eyes, especially when scraping or using a hose.
- Scraper Tool: A metal putty knife, a heavy-duty paint scraper, or even a plastic chisel works well. Avoid anything too sharp that could gouge the material.
- Stiff-Bristled Brush: A scrub brush with firm bristles is excellent for loosening residual grime after scraping. An old broom head can work in a pinch.
- Hose with a Spray Nozzle: A nozzle that offers a concentrated, strong spray is best for washing away loosened debris.
- Bucket: For carrying water or holding cleaning solutions if needed.
If you're tackling a severe hardened mess, some people find a block of wood or even a small garden trowel useful for brute force removal on steel models, though caution is needed with plastic.
Step-by-Step: How to Clean Your Wheelbarrow
Here’s the breakdown for getting your wheelbarrow back to its pre-concrete state. Whether it’s still wet or has been sitting for a bit, this process will guide you.
We'll cover the main process, which can be adapted slightly based on how dry the concrete has become.
Phase 1: The Initial Rinse
Start by getting as much loose, wet concrete out as possible. Place the wheelbarrow near a suitable area for washout, a designated concrete washout station on a job site, an area where the water can drain into gravel, or a large tub you can dispose of properly later. If using a hose, angle the wheelbarrow and use a strong spray to blast out the bulk of the wet material.
Try to get into all the nooks and crannies. This step should remove about 70-80% of the wet concrete if done promptly. Aiming the hose at a low angle helps push material out rather than just spreading it around.
Phase 2: Aggressive Scraping and Scrubbing
Now it’s time for the tougher spots. For a steel wheelbarrow, or even a plastic one with significant buildup, use your scraper tool to gently lever off any remaining concrete. Work from the edges inward.
If concrete is really bonded, you might need to tap the scraper gently with a rubber mallet or use a motion similar to one you'd use when scraping paint off a fence. If concrete is really bonded, you might need to tap the scraper gently with a rubber mallet or use a motion similar to what you'd use when scraping paint off a fence. If concrete is really bonded, you might need to tap the scraper gently with a rubber mallet or use a motion similar to what you'd use when scraping paint off a fence.
Once the thick chunks are gone, use your stiff-bristle brush with water to scrub away any remaining film or thin layers. For particularly stubborn spots on steel, a wire brush can be effective, but be aware it can scratch softer materials. A thorough scrubbing ensures no small particles are left behind to cure later.
Phase 3: The Final Rinse and Dry
After scraping and scrubbing, give the entire interior a thorough rinse with the hose. Ensure all loosened debris is washed away and has a clear path to exit the wheelbarrow and drain properly. Check all seams and corners for any missed bits.
Once you're satisfied that all the concrete is gone, tilt the wheelbarrow to drain any standing water. It's crucial to let the wheelbarrow air dry completely, preferably in the sun, before storing it. This prevents moisture from being trapped, which could lead to rust on steel models or mold on plastic ones.
A quick wipe-down with a clean rag can speed up the drying process.
What NOT to Do: Common Wheelbarrow Cleaning Mistakes
When you're tired after a big concrete pour, it's easy to cut corners. But some common mistakes can actually do more harm than good to your wheelbarrow. Avoiding these pitfalls is just as important as knowing the right cleaning steps.
Many DIYers learn these lessons the hard way, sometimes leading to costly repairs or replacements. Being aware of these errors beforehand will save you trouble and keep your equipment in prime condition. As of 2026, these are still the most common errors we see.
- Letting it Sit: The number one mistake is not cleaning it while the concrete is still wet. This is not a problem you can easily fix later without significant effort and potential damage.
- Using Harsh Chemicals: Avoid strong acids or solvents unless recommended by the manufacturer for heavily soiled areas. These can degrade plastic, strip paint, and accelerate rust on steel. Always test in an inconspicuous spot first.
- Too Much Force on Plastic: While you need to remove hardened concrete, excessive force with sharp tools on plastic wheelbarrow tubs can cause cracks or gouges, weakening the material. Work patiently.
- Ignoring the Underside and Wheel: Concrete can build up on the frame, legs, and even the wheel of thebarrow. Don't forget to clean these areas, as they can trap moisture and debris.
- Storing Wet: Always ensure the wheelbarrow is thoroughly dry before putting it away, especially if stored in a shed or garage. Trapped moisture is a breeding ground for rust and mold.
Protecting Your Wheelbarrow: Beyond Just Cleaning
Cleaning is essential, but a little extra care can significantly extend the life of your wheelbarrow, making it reliable for many projects to come. Think of it as preventative maintenance that saves you money and hassle down the line.
These steps are simple but make a big impact, especially for wheelbarrows that see regular use. If you're planning to build a grow room, tool maintenance is key, and this applies to your concrete tools too.
Preventing Rust on Steel Barrows
For steel wheelbarrows, rust is the ultimate enemy. After cleaning and thoroughly drying, consider applying a light coat of lubricant or a rust inhibitor to the metal surfaces, especially the inside of the tub and any exposed frame parts. You can use spray-on silicone lubricant, like those recommended for how to clean a lawn mower air filter mechanisms, or even a light machine oil.
This creates a barrier against moisture. Regularly checking for any small rust spots and addressing them immediately with a wire brush and a touch-up paint (if possible) will prevent them from spreading. Applying these protective measures annually, or after heavy use, is a good practice.
Caring for Plastic Wheelbarrow Trays
Plastic wheelbarrows are generally more resistant to rust but aren't immune to other issues like UV degradation and cracking. After cleaning, inspect the plastic for any signs of wear, such as deep scratches or brittle spots. If the plastic appears chalky or faded from sun exposure, some UV-protective sprays designed for outdoor plastics can help restore some resilience, though they won't reverse significant damage.
Ensure you're not using abrasive cleaners that can dull or scratch the plastic finish, making it more susceptible to staining and future damage.
The Two Main Paths: Wet Concrete vs. Dried-On Mess
Easiest Way: Cleaning Wet Concrete Right Away
If you can clean your wheelbarrow immediately after pouring, you're in luck. This is by far the simplest and most effective method. Wet concrete hasn't had time to bond to the wheelbarrow's surface, so it mostly washes away with water.
You'll primarily need a hose with a strong spray. A stiff brush can help dislodge any small clinging particles. The goal here is a quick rinse and scrub to prevent any significant buildup.
This prevents almost all of the future problems associated with hardened concrete.
Tackling That Hardened Concrete Chunks
Dealing with dried concrete is a different beast entirely. This is where elbow grease and the right tools become critical. The concrete has likely bonded tightly to the wheelbarrow's tub, requiring more force to remove.
You’ll need to employ scraping and potentially soaking techniques. Think of it like trying to chip away dried paint or mud; it demands a more robust approach than a simple rinse. This scenario is where most people encounter trouble and damage their equipment.
Essential Tools for a Sparkling Wheelbarrow
You don't need a complex toolkit to get your wheelbarrow clean, but having the right items makes a huge difference. Having these on hand before you start will save you time and frustration.
These are the workhorses that will help you defeat stubborn concrete residue. A little preparation with your tools means a lot less struggle later.
- Sturdy Gloves: Protect your hands from abrasion and any lingering cement dust.
- Safety Glasses: Crucial for keeping debris out of your eyes, especially when scraping or using a hose.
- Scraper Tool: A metal putty knife, a heavy-duty paint scraper, or even a plastic chisel works well. Avoid anything too sharp that could gouge the material.
- Stiff-Bristled Brush: A scrub brush with firm bristles is excellent for loosening residual grime after scraping. An old broom head can work in a pinch.
- Hose with a Spray Nozzle: A nozzle that offers a concentrated, strong spray is best for washing away loosened debris.
- Bucket: For carrying water or holding cleaning solutions if needed.
If you're tackling a severe hardened mess, some people find a block of wood or even a small garden trowel useful for brute force removal on steel models, though caution is needed with plastic.
Step-by-Step: How to Clean Your Wheelbarrow
Here’s the breakdown for getting your wheelbarrow back to its pre-concrete state. Whether it’s still wet or has been sitting for a bit, this process will guide you.
We'll cover the main process, which can be adapted slightly based on how dry the concrete has become.
Phase 1: The Initial Rinse
Start by getting as much loose, wet concrete out as possible. Place the wheelbarrow near a suitable area for washout, a designated concrete washout station on a job site, an area where the water can drain into gravel, or a large tub you can dispose of properly later. If using a hose, angle the wheelbarrow and use a strong spray to blast out the bulk of the wet material.
Try to get into all the nooks and crannies. This step should remove about 70-80% of the wet concrete if done promptly. Aiming the hose at a low angle helps push material out rather than just spreading it around.
Phase 2: Aggressive Scraping and Scrubbing
Now it’s time for the tougher spots. For a steel wheelbarrow, or even a plastic one with significant buildup, use your scraper tool to gently lever off any remaining concrete. Work from the edges inward.
If concrete is really bonded, you might need to tap the scraper gently with a rubber mallet or use a motion similar to one you'd use when scraping paint off a fence. Once the thick chunks are gone, use your stiff-bristle brush with water to scrub away any remaining film or thin layers. For particularly stubborn spots on steel, a wire brush can be effective, but be aware it can scratch softer materials.
A thorough scrubbing ensures no small particles are left behind to cure later.
Phase 3: The Final Rinse and Dry
After scraping and scrubbing, give the entire interior a thorough rinse with the hose. Ensure all loosened debris is washed away and has a clear path to exit the wheelbarrow and drain properly. Check all seams and corners for any missed bits.
Once you're satisfied that all the concrete is gone, tilt the wheelbarrow to drain any standing water. It's crucial to let the wheelbarrow air dry completely, preferably in the sun, before storing it. This prevents moisture from being trapped, which could lead to rust on steel models or mold on plastic ones.
A quick wipe-down with a clean rag can speed up the drying process.
What NOT to Do: Common Wheelbarrow Cleaning Mistakes
When you're tired after a big concrete pour, it's easy to cut corners. But some common mistakes can actually do more harm than good to your wheelbarrow. Avoiding these pitfalls is just as important as knowing the right cleaning steps.
Many DIYers learn these lessons the hard way, sometimes leading to costly repairs or replacements. Being aware of these errors beforehand will save you trouble and keep your equipment in prime condition. As of 2026, these are still the most common errors we see.
- Letting it Sit: The number one mistake is not cleaning it while the concrete is still wet. This is not a problem you can easily fix later without significant effort and potential damage.
- Using Harsh Chemicals: Avoid strong acids or solvents unless recommended by the manufacturer for heavily soiled areas. These can degrade plastic, strip paint, and accelerate rust on steel. Always test in an inconspicuous spot first.
- Too Much Force on Plastic: While you need to remove hardened concrete, excessive force with sharp tools on plastic wheelbarrow tubs can cause cracks or gouges, weakening the material. Work patiently.
- Ignoring the Underside and Wheel: Concrete can build up on the frame, legs, and even the wheel of thebarrow. Don't forget to clean these areas, as they can trap moisture and debris.
- Storing Wet: Always ensure the wheelbarrow is thoroughly dry before putting it away, especially if stored in a shed or garage. Trapped moisture is a breeding ground for rust and mold.
Protecting Your Wheelbarrow: Beyond Just Cleaning
Cleaning is essential, but a little extra care can significantly extend the life of your wheelbarrow, making it reliable for many projects to come. Think of it as preventative maintenance that saves you money and hassle down the line.
These steps are simple but make a big impact, especially for wheelbarrows that see regular use. If you're planning to build a grow room, tool maintenance is key, and this applies to your concrete tools too.
Preventing Rust on Steel Barrows
For steel wheelbarrows, rust is the ultimate enemy. After cleaning and thoroughly drying, consider applying a light coat of lubricant or a rust inhibitor to the metal surfaces, especially the inside of the tub and any exposed frame parts. You can use spray-on silicone lubricant, like those recommended for how to clean a lawn mower air filter mechanisms, or even a light machine oil.
This creates a barrier against moisture. Regularly checking for any small rust spots and addressing them immediately with a wire brush and a touch-up paint (if possible) will prevent them from spreading. Applying these protective measures annually, or after heavy use, is a good practice.
Caring for Plastic Wheelbarrow Trays
Plastic wheelbarrows are generally more resistant to rust but aren't immune to other issues like UV degradation and cracking. After cleaning, inspect the plastic for any signs of wear, such as deep scratches or brittle spots. If the plastic appears chalky or faded from sun exposure, some UV-protective sprays designed for outdoor plastics can help restore some resilience, though they won't reverse significant damage.
Ensure you're not using abrasive cleaners that can dull or scratch the plastic finish, making it more susceptible to staining and future damage.