
How to Get Rid of Pachysandra: Your Step-by-Step Cleanup Plan
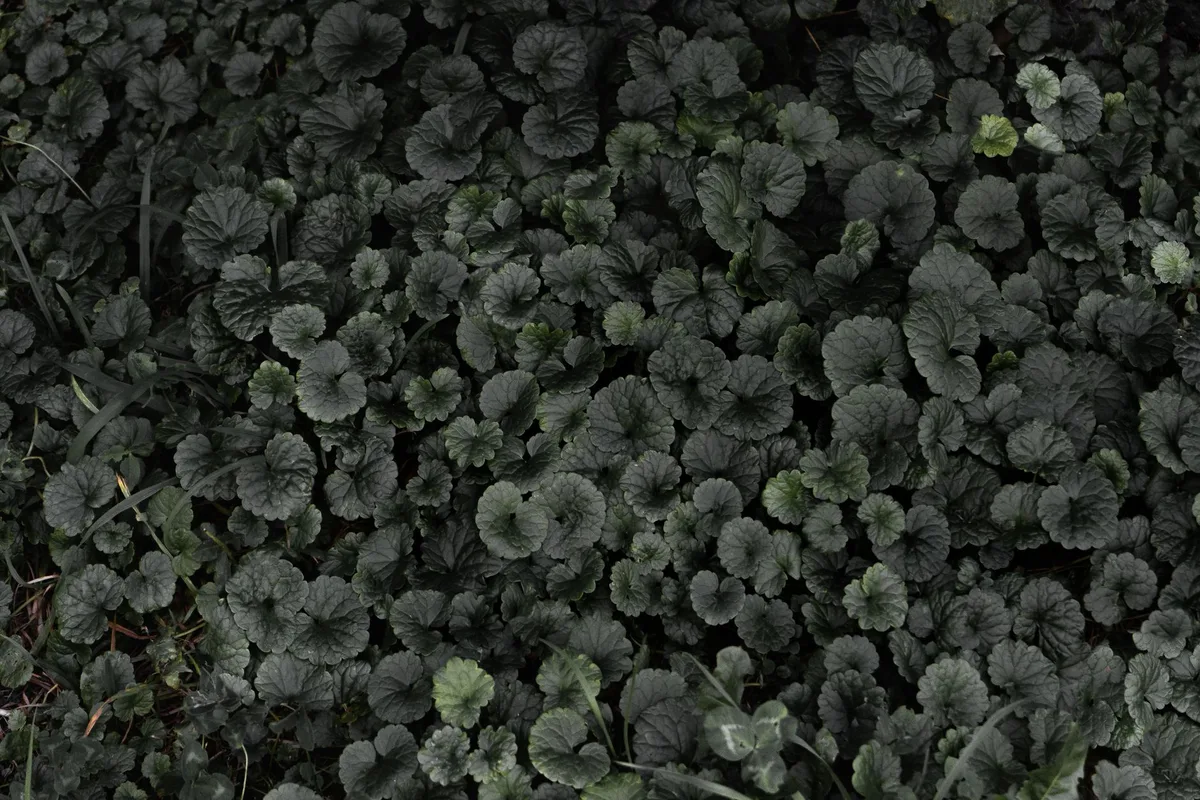
Decided it's time to tackle that sprawling Pachysandra? You're not alone. This ground cover, also known as Japanese Spurge, often starts as a neat solution but can quickly become a relentless invader, sneaking into areas where you'd rather have something else.
Getting rid of it effectively requires knowing the right methods for your situation.
As of 2026, our research indicates that successful Pachysandra removal hinges on understanding its resilient root system and choosing an approach that aligns with your available time and environmental concerns. We've analyzed various techniques to bring you a clear, actionable plan.
Quick Answer
To get rid of Pachysandra, you'll typically use manual digging, smothering with barriers, or herbicides. Digging works best for small patches, removing the entire root system. Smothering, using mulch or cardboard for 6-12 months, starves the plant of light.
Herbicides offer a chemical solution for stubborn infestations, requiring careful application. Consistent follow-up is key for complete eradication.
What's the Real Problem with Pachysandra?
Pachysandra, while attractive as a low-maintenance ground cover in appropriate settings, can quickly become a problem when it spreads beyond its intended boundaries. Its dense growth habit can smother smaller, desirable plants. The main issue, however, lies in its tenacious underground network of rhizomes.
These are specialized stems that spread horizontally beneath the soil surface, sprouting new plants at regular intervals.
This extensive rhizome system makes manual removal difficult because missing even a small section can lead to regrowth. Manufacturer specifications for certain herbicides designed for broadleaf weed control sometimes mention efficacy on woody ground covers, but precise application is critical to avoid damaging surrounding flora. Tackling Pachysandra effectively means understanding how it spreads and planning your attack accordingly.
First Step: Is It a Patch or a Full-Blown Invasion?
Before you grab any tools, take a good look at the extent of your Pachysandra problem. This initial assessment will heavily influence the best removal strategy. Are you facing a few plants that have just started to creep into a garden bed, or have you got dense, thick mats covering a significant portion of your yard?
Understanding Your Pachysandra Situation
Here's a breakdown to help you assess:
- Limited Patch: This usually means you're seeing Pachysandra at the edges of its intended area, or a few plants have started to colonize a new spot. The roots are likely not deeply established, and the overall plant mass is relatively small, perhaps only a few square feet. This is the ideal scenario for manual removal.
- Established and Spreading: The Pachysandra has formed a more continuous ground cover over several square feet, and its rhizomes are likely spreading several inches below the soil surface. You might be seeing it encroach on pathways or creep towards the base of trees and shrubs. This stage often requires more effort and might benefit from a combination of methods.
- Full-Blown Invasion: We’re talking about a solid carpet of Pachysandra that has taken over entire garden beds, possibly extending into lawn areas or creeping under fences. The root system is extensive and interwoven, making complete manual removal extremely labor-intensive. This situation often necessitates strategies like smothering or carefully targeted herbicide use.
Your decision on how to proceed, whether to dig, smother, or resort to chemicals, depends directly on these variables. Choosing the wrong method for the scale of your problem can lead to frustration and incomplete results.
Your Pachysandra Removal Toolkit
Regardless of the method you choose, having the right tools makes the job manageable, and in some cases, even possible. For manual removal, sturdy implements are your best friend. Think about a good quality trowel or a hori-hori knife, these are versatile for slicing through roots and levering up plants.
A garden fork is excellent for loosening the soil in larger, more established patches, helping you get under the dense root system.
Don't forget sturdy gardening gloves to protect your hands from any scratchy stems or soil. You'll also need a wheelbarrow or heavy-duty trash bags for collecting and disposing of the removed plant material. If you decide to go the herbicide route, you'll need a sprayer (handheld for spot treatments or a larger capacity one for broader areas) and appropriate personal protective equipment (PPE) like long sleeves, pants, gloves, and eye protection, as recommended on the product label.
Option 1: The All-Manual Method (Digging It Out)
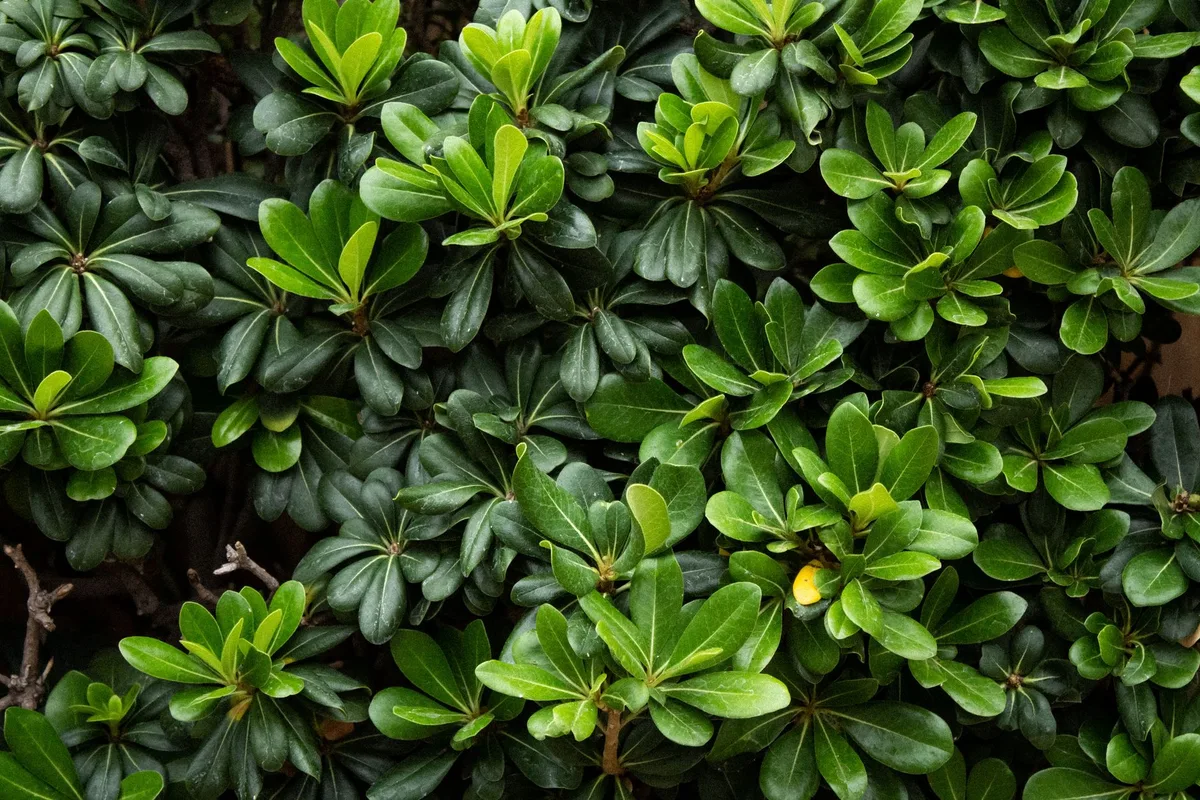
Manual removal is often the most satisfying approach, especially for smaller infestations, because you can see the results immediately and avoid using chemicals. This method involves physically digging up the Pachysandra and its entire root system. The key here is persistence and thoroughness.
Step-by-Step: Digging Out Pachysandra
- Prepare the Area: Water the ground about an hour before you plan to start digging. Moist soil is much easier to work with; it allows roots to be pulled out more cleanly and with less fragmentation. Dry, compacted soil will make this job significantly harder.
- Start at the Edge: Begin at the outer edge of the Pachysandra patch. Insert your trowel or hori-hori knife deeply into the soil, aiming to get underneath the main plant and its visible roots.
- Lift and Loosen: Gently pry the plant and soil upward, trying to lift out as large a section of root as possible. Work your way systematically across the patch, overlapping your digging areas so you don't miss any sections.
- Hunt for Rhizomes: Pachysandra spreads via thick underground stems called rhizomes. These are critical to locate and remove. Follow any visible roots as far as they go, digging them out. A garden fork can be very effective here for breaking up the soil and exposing hidden rhizomes. You want to get as much of the root system out as possible, as any remaining pieces can sprout new plants. Consider the time requirements; a thorough manual cleanup of an established patch can easily take several hours spread across days.
- Bag and Dispose: Place all removed plant material, including roots and rhizomes, into strong trash bags or your wheelbarrow. Do not compost Pachysandra unless you are absolutely certain your compost pile reaches temperatures sufficient to kill the roots. Otherwise, you risk reintroducing it to your garden. Transport the bagged material to your local yard waste disposal facility or place it in your regular trash for collection.
Option 2: Smothering Pachysandra (The Patience Game)
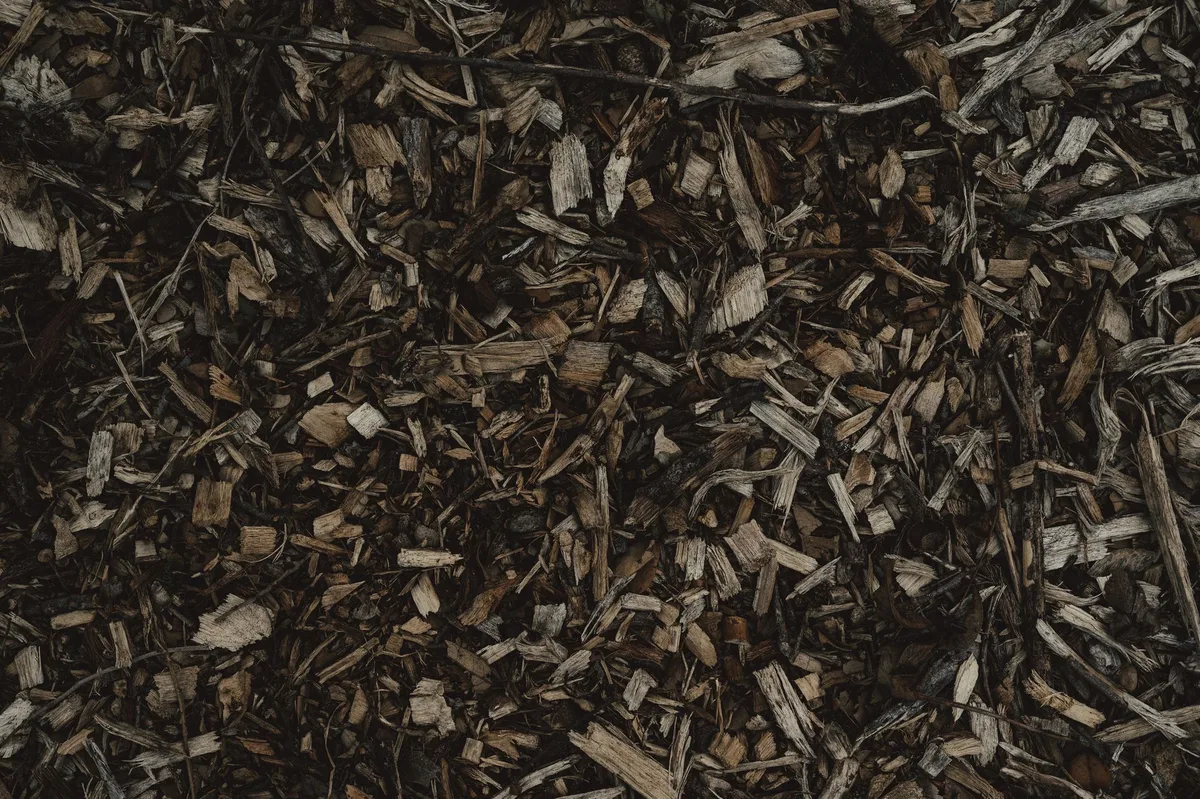
If you prefer to avoid vigorous digging or herbicides, and you have the time, smothering is a viable option. This method works by blocking sunlight, which the Pachysandra needs to survive. Over time, without light, the plant will weaken and eventually die.
Step-by-Step: Smothering Pachysandra
- Mow It Down: Begin by mowing the Pachysandra as low as possible. This removes the top growth and makes it easier for your covering material to do its job.
- Apply Your Barrier: Cover the entire area you want to clear with a light-blocking material. Heavy-duty cardboard (overlapping edges so light can't sneak through) or a thick layer of organic mulch, like wood chips or shredded bark, are common choices. Aim for at least 4 to 6 inches of mulch to ensure it’s sufficiently opaque and dense. Landscape fabric can also be used, but ensure it's a durable, non-permeable type that will completely block light.
- Secure the Covering: Weigh down the mulch or cardboard with rocks, bricks, or logs to prevent the wind from blowing it away. If using landscape fabric, you may need to stake it down securely and then cover it with mulch for added weight and visual appeal.
- Wait and Monitor: This is where patience comes in. You'll need to leave the covering in place for at least six months, and often up to a full year, to ensure all the Pachysandra is eradicated. During this time, occasionally check for any signs of regrowth. If you spot stray shoots pushing through, tuck them back under the material or remove them promptly. Once the plant has withered and died beneath the barrier, you can remove the covering and prepare the soil for new plantings.
Option 3: Using Herbicides (When Other Methods Fall Short)
For those truly stubborn infestations, or when you need to clear a large area quickly, herbicides can be an effective tool. This method requires careful consideration and precise application. The goal is to use a systemic herbicide, which is absorbed by the plant and travels down to kill the roots.
Always read and follow the product label instructions to the letter.
Step-by-Step: Applying Herbicides Safely
- Select the Right Product: Choose a herbicide labeled for broadleaf weed control that is effective against woody ground covers. Active ingredients like glyphosate or triclopyr are often used. Check the label to ensure it's suitable for your intended use and won't harm desirable surrounding plants you wish to keep. If you’re unsure, consulting with a local university extension office can provide region-specific advice.
- Time Your Application: The best time to apply most herbicides is when the Pachysandra is actively growing, typically in the spring or early fall. Avoid application if rain is forecast within 24 hours, as this can wash the product away before it can be absorbed.
- Apply with Precision: For smaller areas, spot-treating by cutting the Pachysandra stem and immediately applying herbicide to the cut surface can minimize drift. For larger areas, use a sprayer. This is critical: protect plants you want to keep by covering them with plastic sheeting or cardboard. Apply on a calm day to prevent the spray from drifting onto ornamental plants or lawns.
- Follow-Up and Reapply: One application may not be enough to completely eradicate established Pachysandra. You might need to repeat the treatment. Monitor the area for regrowth and reapply as directed by the herbicide label, typically after allowing sufficient time for the initial treatment to take effect. Remember, consistent effort is key.
Pachysandra Removal Mistakes to Avoid
Even with the best intentions, a few common errors can derail your efforts to get rid of Pachysandra. One of the biggest pitfalls is incomplete root removal. If you're digging manually and leave behind significant portions of the rhizome network, you’re essentially giving the plant a second chance to grow back.
Similarly, if you attempt to control spread by simply cutting back the plant without tackling the roots or treating the stumps, it will likely recover.
Another frequent mistake, especially when using herbicides, is improper application. Over-application, spraying on a windy day, or not properly protecting surrounding plants can lead to collateral damage. This can kill beneficial plants or create dead patches in your lawn.
Always use the lowest effective concentration and target only the offending Pachysandra. Failure to follow disposal guidelines for the removed plant material can also lead to unintended spread.
Keeping Pachysandra from Coming Back
After you’ve put in the effort to remove Pachysandra, the work isn't completely done. Its persistent nature means you need to remain vigilant. For at least a year, regularly scout the cleared area for any new shoots.
Catching these small invaders early makes them much easier to pull than waiting until they’ve established a new root system.
Consider planting a dense, desirable ground cover or mulch in the cleared space. This helps occupy the soil and outcompete any stray Pachysandra seeds or dormant roots that might try to emerge. Many gardeners find that a thick layer of mulch, at least 2-3 inches deep, can significantly suppress new weed growth, including any stray Pachysandra.
This proactive approach is more effective than reactive removal down the line. If you're looking for ideas on what to plant next, consider checking out resources on what kind of fertilizer for grass to use to help establish healthy new growth.