Making a Lego daffodil is a fun and rewarding way to bring a touch of everlasting spring indoors. You don't need a specific Lego set; with a handful of common bricks in the right colors, you can build a charming flower that won't wilt. This guide walks you through finding the pieces and assembling your own brick-built bloom.
Aggregate user feedback suggests that while specific kits can be inspiring, building a custom Lego daffodil from loose bricks offers greater creative freedom and personalization. It’s a project that appeals to both seasoned Lego builders and those new to brick creations, proving that beautiful floral displays can be achieved with a bit of creativity and the right interlocking plastic pieces.
Quick Answer
Build a Lego daffodil using yellow bricks for petals and green for the stem. Arrange round or curved yellow plates around a central brown or black "dish" piece for the flower head. Attach this to a green brick stem, adding leaf-shaped bricks for realism.
Why Build a Lego Daffodil?
A Pop of Color, Brick by Brick
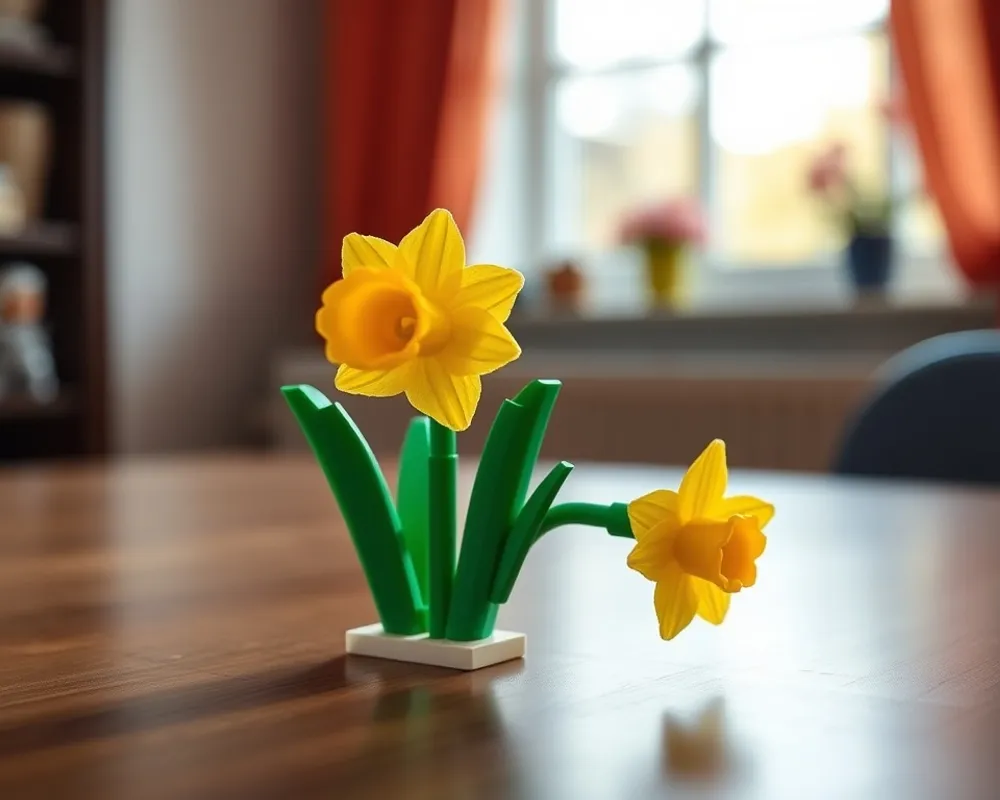
A Lego daffodil brings vibrant color to any space without the fuss of real flowers. It’s a permanent splash of yellow that brightens a desk, shelf, or windowsill, offering a cheerful visual year-round. This brick-built bloom serves as a unique decorative piece that reflects your personal style and your appreciation for both nature and construction toys.
Beyond the Vase: Lasting Lego Blooms
Unlike real flowers that wilt and fade, a Lego daffodil is built to last. Once assembled, it stands as a durable, unchanging decoration. This makes it an ideal choice if you love the look of flowers but want a maintenance-free alternative, or as a thoughtful, handcrafted gift that keeps on giving.
Essential Lego Bricks for Your Daffodil
The Petal Palette: Yellow Bricks in Focus
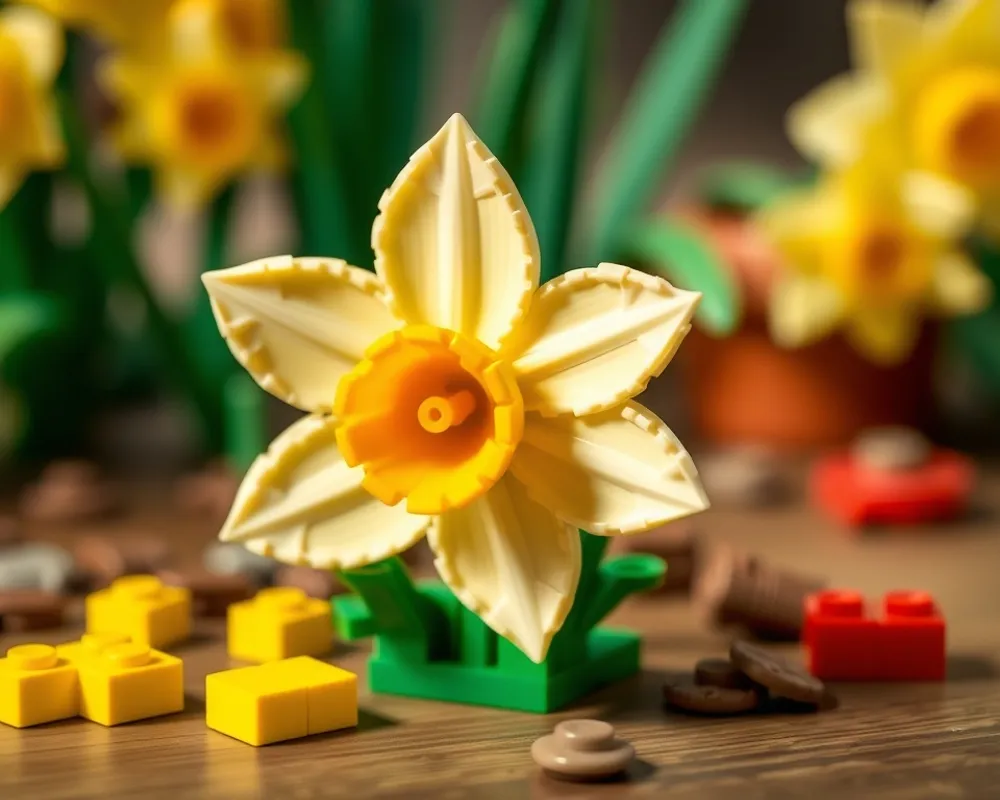
The star of any daffodil is its bright yellow petals. For those, you’ll want a good collection of yellow Lego pieces, particularly round plates, curved bricks, or flower-shaped elements if you have them. Pieces like 1×1 round plates, 2×2 round plates, or even a few 2×4 curved bricks can effectively mimic the organic shape of daffodil petals.
Stem and Center: Greens, Browns, and Browns
To complete the daffodil, you'll need green bricks for the stem and leaves. Standard 2×2 or 2×4 bricks work well for the main stem. For leaves, consider using the angled or flat leaf pieces if you have them, or adapt standard green plates and bricks.
The daffodil's center, known as the corona, is typically a trumpet shape, so look for brown, orange, or even black dish pieces or small cone bricks to represent this distinctive feature.
Designing Your Daffodil's Bloom
Crafting the Trumpet: The Flower's Centerpiece
The iconic trumpet-shaped corona is central to a daffodil's identity. To replicate this, try using small Lego dish pieces (like 2×2 or 3×3 dishes) in brown, orange, or black. You can also stack a few smaller bricks or cone pieces together to create a similar effect.
This piece usually attaches in the very middle of the flower’s head.
Arranging the Petals: Bringing Life to the Bloom
Surrounding the trumpet, the daffodil's petals fan out gracefully. Use your collection of yellow Lego plates and bricks to build these. You can attach round plates directly around the central trumpet piece, or use small hinge bricks and plates to create angled petals for a more dynamic look.
Aim for symmetry, but don't be afraid to vary the angle slightly on each petal to make your daffodil look more natural and less robotic.
Building the Stem and Leaves
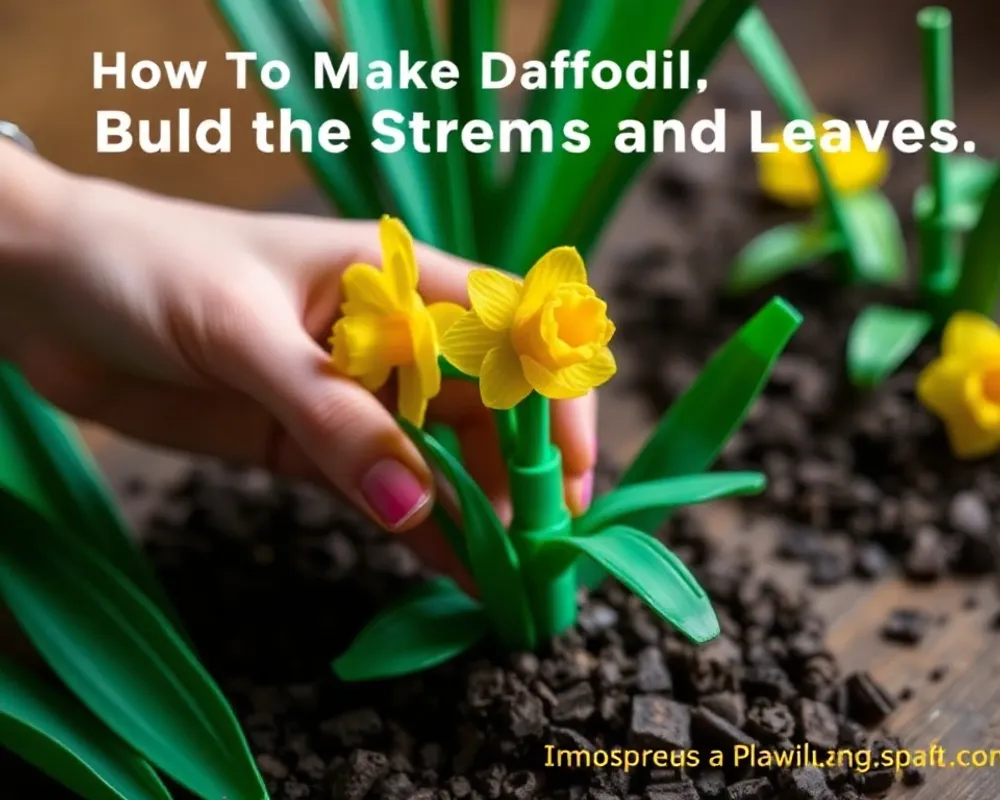
Assembling the Green Stem
The stem of your Lego daffodil provides support and visual balance to the bright bloom. Use a series of green Lego bricks, such as 2×2 or 2×4 standard bricks, stacked vertically to create a sturdy stem. The length can be adjusted based on your preference; a longer stem gives a more dramatic presentation, while a shorter one is good for a more compact display.
Adding Realistic Green Leaves
Leaves add a crucial touch of realism to your Lego flower. If you have Lego leaf elements, these are perfect for the job. They can be attached to the sides of the stem, curving outwards.
If you don't have specific leaf pieces, you can improvise using flat green plates or even a few strategically placed 1×1 or 1×2 green bricks along the stem to suggest foliage.
Step-by-Step Construction Guide
Step 1: Prepare Your Bricks
First, gather all the necessary Lego bricks. You’ll need plenty of yellow pieces for the petals, green for the stem and leaves, and a few brown, orange, or black pieces for the flower’s center. Sort them by color so everything is easily accessible during the building process.
Step 2: Construct the Flower Head
Start by building the central trumpet piece using your chosen brown, orange, or black bricks or dishes. Once the center is ready, begin attaching the yellow petal pieces around it. Work your way outwards, ensuring each petal is securely connected to the core or to adjacent petals, creating a full, rounded flower head.
Step 3: Assemble the Stem and Leaves
Take your green bricks and stack them to create the desired length for your daffodil's stem. Attach the green leaf pieces or other green bricks to the sides of the stem at various points. Make sure they are firmly attached so they don't detach during handling.
Step 4: Connect the Bloom to the Stem
Carefully align the base of the assembled flower head with the top of the Lego stem. Press firmly to ensure a secure connection between the two main components. Check that the daffodil stands upright and that the flower head is centered on the stem for a balanced appearance.