
If you've ever wondered how to paint metal furniture without spray paint, the short answer is: you absolutely can, and you might get a better finish doing it by hand. No overspray, no masking off an entire room, and no fighting with clogged nozzles. A quality brush or foam roller can deliver a factory-like result if you follow the right prep and technique.
In our research, the biggest difference between a smooth, durable finish and a brush-stroked mess comes down to three things: surface prep, the right paint type, and the tool you choose. Aggregate user reviews across DIY forums confirm that water-based acrylic enamel applied with a 1/4-inch nap foam roller produces the most consistent, self-leveling results on flat metal panels. Skip any one of those three elements, and you are probably repainting within a year.
Here is exactly how to get it right the first time.
Quick Answer
The process is: clean, sand, prime, paint thin coats, cure fully. Use a foam roller for flat surfaces and an angled brush for edges. Water-based acrylic enamel works best for most indoor projects.
Oil-based enamel holds up longer outdoors but takes longer to dry. Never skip primer on bare or rusted metal. Two thin coats beat one thick coat every time.
The Best Paint Brush or Roller for a Smooth Finish
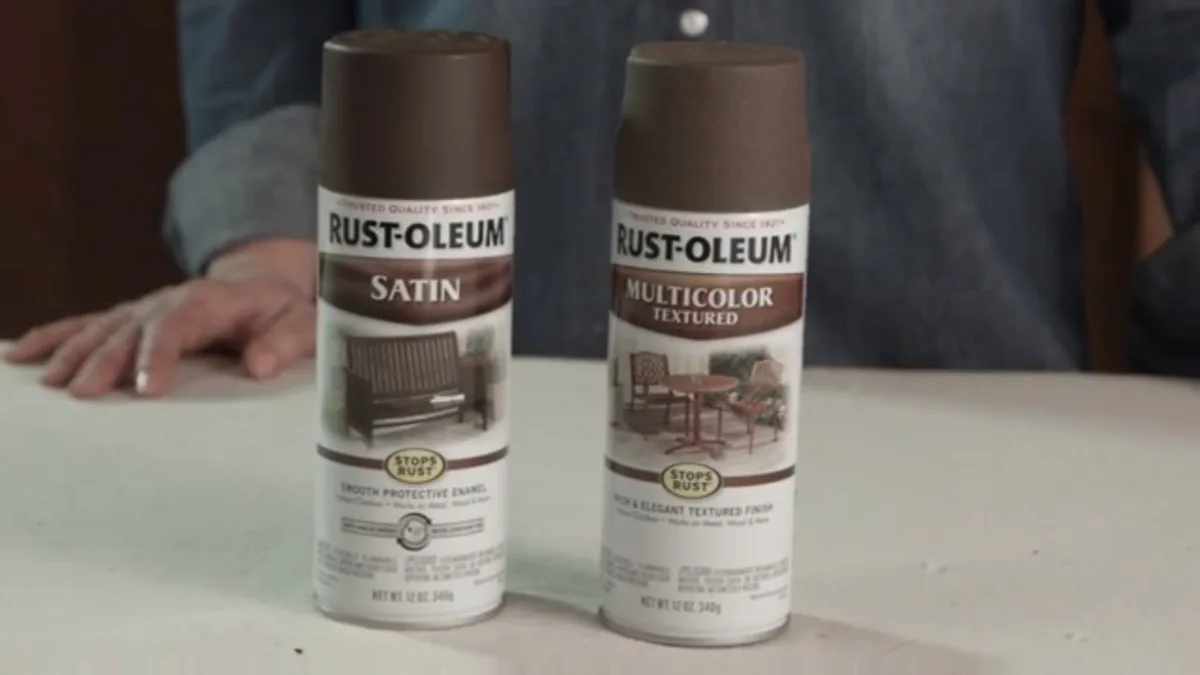
The tool you choose matters more than the brand of paint. Here is the breakdown.
Foam rollers are your best friend for large flat panels. A 1/4-inch nap foam roller lays down paint in an ultra-thin, even coat that self-levels as it dries. You get zero texture, zero brush marks, and a finish that looks sprayed.
Use a 4-inch mini roller for table tops, chair seats, and cabinet doors.
Angled sash brushes are for edges, corners, and curved details. A 2-inch angled brush with synthetic bristles gives you control without leaving visible stroke lines. Dip only the bottom third of the bristles into the paint and tap off the excess.
Foam brushes work well for scrollwork, railings, and tight crevices where a roller cannot reach. They do not hold much paint, so expect to reload often. That is a good thing.
Thin coats are the secret to avoiding drips.
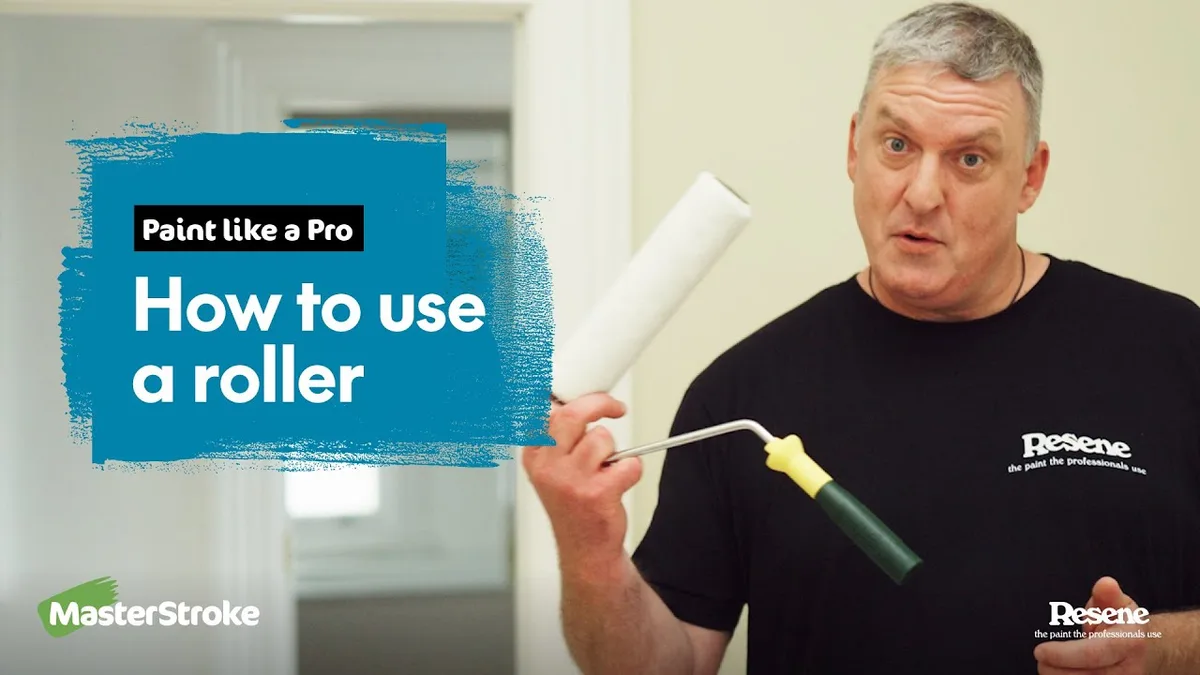
Here is a quick comparison of when to use each tool:
| Tool | Best For | Finish Quality | Learning Curve |
|---|---|---|---|
| 1/4-inch foam roller | Flat panels, table tops, door faces | Smooth, near-spray finish | Low |
| 2-inch angled brush | Edges, corners, curved legs | Clean lines, minimal strokes | Medium |
| Foam brush | Scrollwork, grilles, detail areas | Controlled but needs practice | Medium |
Pro tip: Buy a pack of 10 foam rollers for a few dollars. Toss them after each coat. A used roller leaves uneven texture that shows in the final finish.
First, Figure Out What You Are Working With
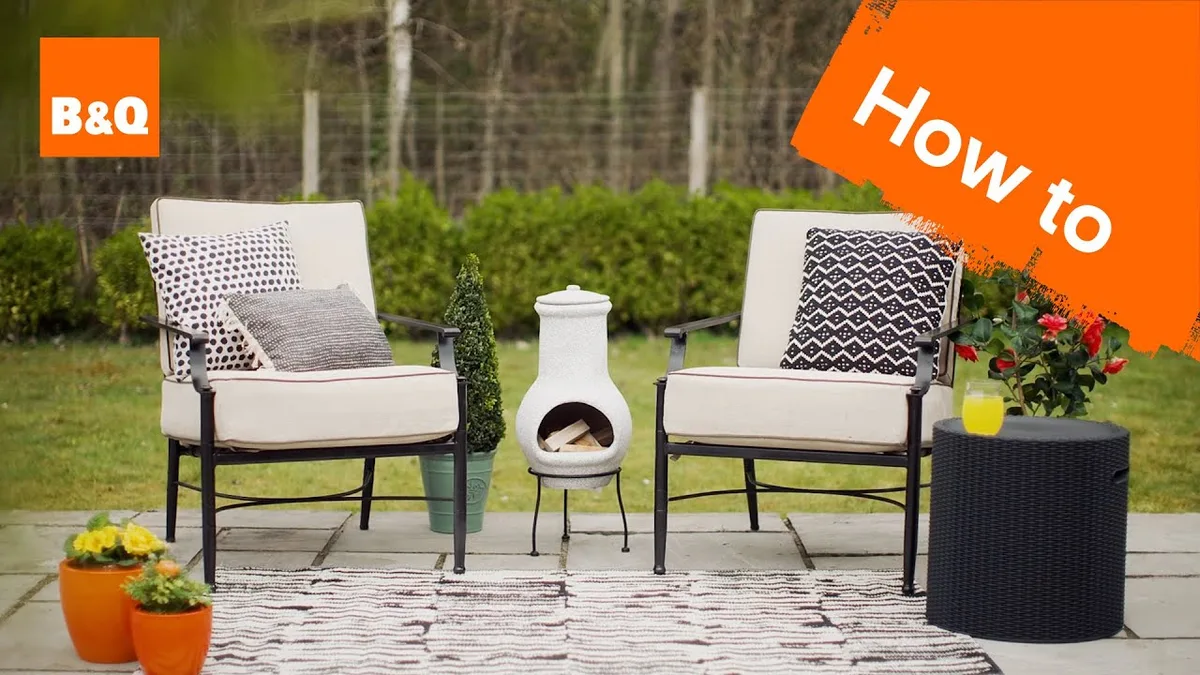
Before you buy a single thing, look at the metal surface. The condition determines your prep, your primer, and your paint choice. Do not skip this step.
Bare metal means no paint, no coating, and usually a slick, shiny surface. Bare steel or iron needs a self-etching primer to bond. Bare aluminum needs a special etching primer designed for non-ferrous metals.
Previously painted metal that is in good shape with no peeling or rust only needs light scuff sanding and a bonding primer. You can sometimes skip primer if you use a paint-and-primer-in-one formula, but our research shows dedicated primer still improves adhesion.
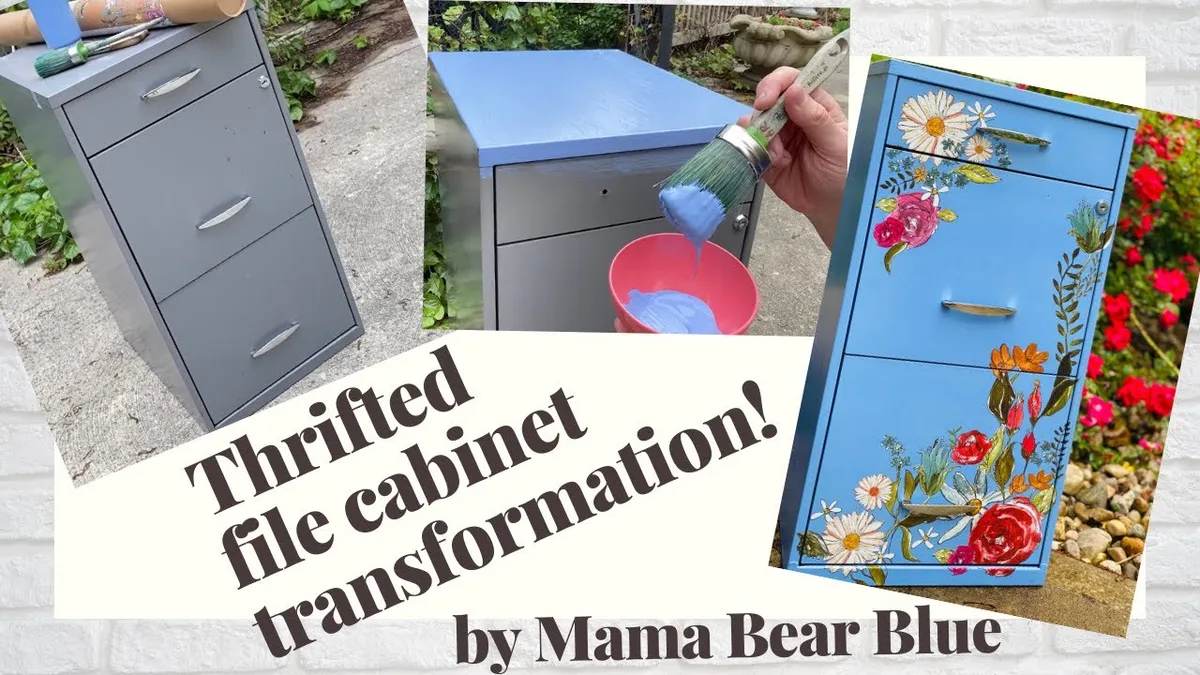
Chipped or flaking paint means the old coating failed. You must remove loose paint down to the bare metal, then treat it like bare metal. Sand or scrape until the edges of remaining paint are smooth and feathered.
Light surface rust (orange dust, no pitting) can be sanded away with 120-grit paper. A rust-inhibiting primer seals the surface afterward.
Heavy rust with pitting, flaking, or deep orange-brown scale requires a rust converter or naval jelly. These products chemically stop the rust. After treatment, rinse, dry, and apply a self-etching primer.
Galvanized metal has a shiny, spangled coating that repels paint. You need a specific galvanized metal primer, or you degloss the surface with a vinegar wash before priming.
Here is a decision table for your surface type:
| Surface Condition | Prep Needed | Primer Required |
|---|---|---|
| Bare steel or iron | Sand with 120-grit | Self-etching primer |
| Bare aluminum | Sand with 220-grit | Aluminum etching primer |
| Previously painted, good | Scuff with 220-grit | Bonding primer (optional) |
| Previously painted, chipped | Strip loose paint, sand edges | Spot-prime bare areas |
| Light rust (surface only) | Sand with 120-grit | Rust-inhibiting primer |
| Heavy rust with pitting | Naval jelly, rinse, dry | Self-etching primer |
| Galvanized | Vinegar wash or degloss | Galvanized metal primer |
The Two Big Decisions Before You Buy Paint
You have two main paint categories for hand-brushing metal furniture. Each one has trade-offs. Picking the wrong one for your project is a common cause of failure.
Water-based acrylic enamel is the top choice for most projects. It dries fast (touch dry in 30 minutes, recoat in 1 to 2 hours), has low odor, and cleans up with soap and water. Modern formula acrylics level beautifully and resist yellowing over time.
A quart covers roughly 80 to 100 square feet, enough for two chairs and a small table.
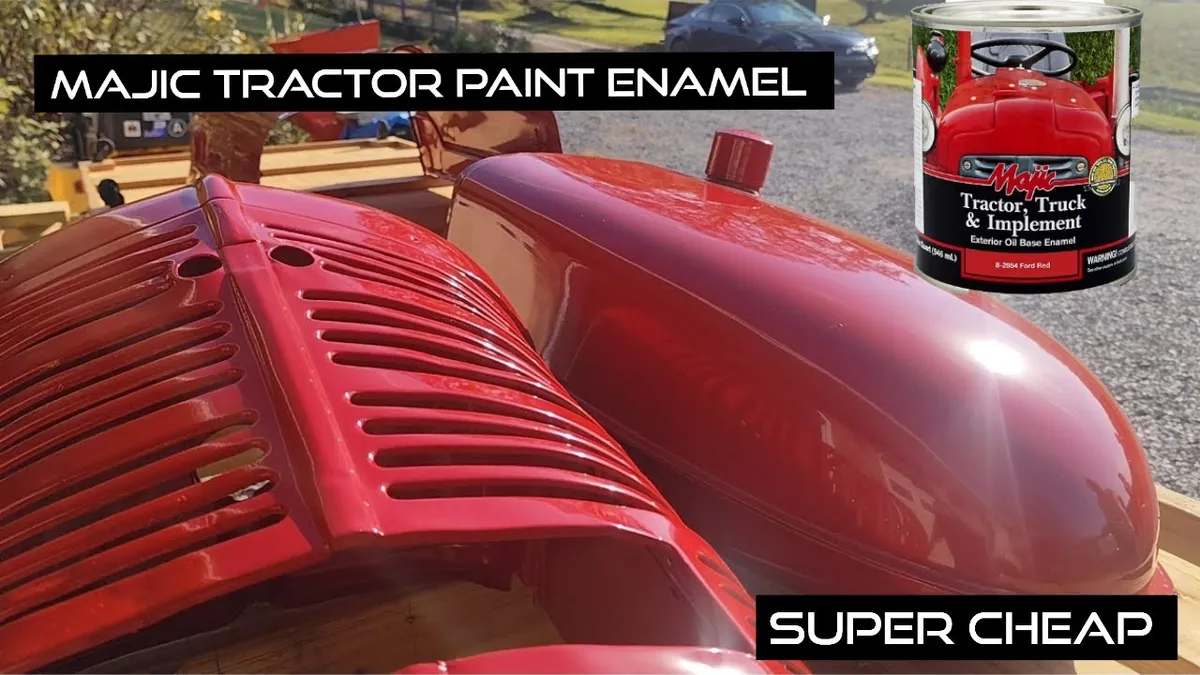
Oil-based enamel is tougher and more moisture-resistant, making it ideal for outdoor furniture exposed to rain and sun. The finish is harder and self-levels even better than acrylic. But it has serious downsides: strong fumes, mineral spirits cleanup, and long cure times.
Touch dry takes 2 hours. Recoat takes 6 to 8 hours. Full cure takes 72 hours.
Here is how they compare:
| Factor | Water-Based Acrylic Enamel | Oil-Based Enamel |
|---|---|---|
| Touch dry | 30 minutes | 2 hours |
| Recoat time | 1 to 2 hours | 6 to 8 hours |
| Full cure | 24 hours | 72 hours |
| Odor | Low | Strong |
| Cleanup | Soap and water | Mineral spirits |
| Outdoor durability | Good | Excellent |
| Yellowing over time | No | Yes in light colors |
Our recommendation: For indoor furniture, go with a water-based acrylic enamel. For outdoor pieces that face rain and direct sun, choose an oil-based enamel. For painted metal furniture that lives inside a shed or garage, acrylic works fine and is much easier to work with.
Your Prep Workflow (By Scenario)
Prep is everything. Rushing it is the number one reason paint fails on metal. Here is exactly what to do for each common scenario.
Scenario 1: Lightly Rusted or Chipped Painted Metal
- Clean the entire piece with a degreaser. Use TSP substitute (trisodium phosphate cleaner) mixed with warm water. Rinse thoroughly and let dry.
- Sand the rusted or chipped areas with 120-grit sandpaper. Go until the rust is gone and the edges of old paint feel smooth.
- Sand the entire piece lightly with 220-grit to scuff the surface for adhesion. You are not removing paint, just dulling the shine.
- Wipe all dust off with a microfiber cloth, then a tack cloth. Any leftover dust creates bumps in the paint.
- Apply a rust-inhibiting primer to bare spots. Let dry per the manufacturer's instructions.
Scenario 2: Heavy Rust with Pitting
- Remove loose rust with a wire brush. Wear a dust mask and safety glasses.
- Apply a rust converter or naval jelly to the affected areas. Follow the product's dwell time exactly.
- Rinse with water if the product instructions say so and dry thoroughly. Some converters leave a black coating that becomes the primer layer.
- Sand the entire piece with 120-grit, then wipe clean.
- Apply a self-etching primer to all bare metal areas.
Scenario 3: Bare Slick Metal (New or Stripped)
- Clean with denatured alcohol to remove oils and grease.
- Sand with 220-grit to create a mechanical bond. Metal that is too smooth rejects paint.
- Wipe clean with tack cloth.
- Apply a self-etching primer. This is mandatory. Do not skip it.
Scenario 4: Indoor vs. Outdoor — Extra Steps
For outdoor furniture, add a top coat after the final paint layer. A clear acrylic or polyurethane sealer adds UV and moisture protection. Reapply the sealer every one to two years depending on your climate.
For indoor furniture, no sealer is needed. Just make sure the piece is fully cured before putting any weight on it.
Priming: The Make-or-Break Step
Primer is not optional on metal. Paint needs something to grip. Without primer, your finish will chip, peel, or rust through within months.
When You Can Skip Primer (and When You Absolutely Cannot)
You can skip primer only if the existing paint is in perfect condition with no bare spots, no rust, and you are using a paint-and-primer-in-one formula. Even then, our research shows that a dedicated primer still improves long-term adhesion.
You absolutely cannot skip primer on bare metal, rusted metal, or galvanized metal. The chemistry is simple: paint bonds poorly to slick surfaces. Primer creates a rough, adhesive layer that holds the topcoat.
Best Primers for Metal Without Spraying
Choose a brush-on primer designed for your specific surface:
| Surface Type | Recommended Primer | Application Tip |
|---|---|---|
| Bare steel or iron | Self-etching primer (brush-on) | Apply thin, let dry 24 hours |
| Bare aluminum | Etching primer for non-ferrous metals | Two thin coats better than one thick |
| Previously painted, good | Bonding primer | Light scuff before applying |
| Lightly rusted | Rust-inhibiting primer | Sand rust first, then prime |
| Heavy rust (treated) | Self-etching primer | Apply after rust converter dries |
| Galvanized metal | Galvanized metal primer | Wipe with vinegar first |
Key insight from manufacturer specs: Self-etching primers contain acid that etches into the metal surface. This chemical bond is stronger than any mechanical sanding. Do not sand the primer after it dries.
You will remove the etched layer.
Apply primer with a foam brush or a clean angled brush. One thin coat is usually enough. Let it cure fully before painting.
Check the label for cure time. Most self-etching primers need 24 hours at room temperature.
How to Apply Brush-On Paint Like a Pro
The technique matters more than the paint brand. You can make cheap paint look expensive with the right method.
Thin Coats, Not Thick Coats — The Golden Rule
Thick paint runs, drips, and takes forever to cure. Thin paint self-levels and dries evenly. Load your brush or roller lightly.
You should barely see wet paint on the surface after each pass.
The one-third rule: Dip only the bottom third of your brush bristles into the paint. Tap both sides against the can rim. Do not drag the brush across the rim.
That loads the ferrule and causes drips.
For rollers, pour a small amount of paint into a tray. Roll the foam roller through the paint, then roll it on the tray's ridged section until it stops leaving wet streaks.
The W Pattern for Rollers on Flat Panels
On table tops and chair seats, start with a vertical W shape using the loaded roller. Then fill in the gaps with horizontal passes without lifting the roller. This spreads paint evenly and prevents lap marks.
Finish each section with light, straight passes in one direction. Overlap each pass by about half the roller width. Work from the center outward.
Painting Curves, Scrollwork, and Tight Corners
Use an angled sash brush for curves. Load it lightly and use the tip of the bristles to trace the curve. Do not push the brush hard into the metal.
Let the bristles do the work.
For scrollwork and grilles, use a foam brush. Cut it to a chisel point with scissors for better control into tight spaces. Wipe excess paint off the brush frequently.
How Long to Wait Between Coats
Follow the paint label's recoat time exactly. Do not guess. Applying the second coat too early traps solvent underneath and causes wrinkling.
- Water-based acrylic enamel: 1 to 2 hours between coats.
- Oil-based enamel: 6 to 8 hours between coats.
Apply two thin coats. You rarely need three. If you can still see the primer or old color after two coats, your coats are too thin.
That is fine. Apply a third thin coat rather than one thick coat.
Curing and Handling After Painting
Your furniture is not ready to use just because the paint feels dry. Paint dries on the surface first. The layers underneath need time to fully harden.
Touch Dry vs. Fully Cured — Why the Difference Matters
Touch dry means the paint feels dry to the touch but is still soft underneath. You can gently move the piece, but do not set anything on it or reassemble it. Fully cured means the paint has reached its maximum hardness and chemical resistance.
| Paint Type | Touch Dry | Light Use | Full Cure |
|---|---|---|---|
| Water-based acrylic enamel | 30 minutes | 24 hours | 72 hours |
| Oil-based enamel | 2 hours | 48 hours | 7 days |
Warning from aggregate reviews: The most common failure point is people reassembling furniture before full cure. Hardware screws and washers dig into soft paint and cause chips that appear weeks later.
When You Can Safely Reassemble and Use the Furniture
For indoor furniture, wait at least 24 hours before placing items on the surface. Wait 72 hours before tightening any hardware that contacts painted surfaces. Use wax paper or felt pads between metal parts during reassembly to protect the finish.
For outdoor furniture, wait a full 7 days before exposing the piece to rain or direct sunlight. Oil-based enamels need this time to crosslink and become water-resistant.
Common Mistakes and How to Fix Them
Even experienced DIYers run into problems. Here is what goes wrong most often and how to deal with it.
Drips and Runs (Fix It Before It Dries)
Drips happen when paint is too thick or applied too heavily. If you see a drip forming, stop immediately. Use a clean, dry brush to gently drag the drip outward across the wet surface.
Do not push it back into the pool of paint.
If the drip has already dried, wait until the entire coat is dry. Sand the drip flat with 220-grit sandpaper. Clean the dust and reapply a thin coat.
Peeling or Chipping a Week Later
Peeling means inadequate surface prep or the wrong primer. You cannot fix peeling by painting over it. Strip the peeling area down to bare metal, sand the edges, and start over with the correct primer.
Aggregate user reviews indicate that most peeling within the first month is caused by skipping the degreasing step. Metal furniture sits in garages and basements where it collects oils and silicone residues that repel paint.
Rust Bleeding Through After a Few Months
Rust bleed-through means the original rust was not fully removed or the primer failed. Sand the rust stain down to bare metal. Reapply rust converter if there is pitting.
Then prime and repaint.
If rust appears in the same spots repeatedly, the metal may have internal corrosion that is impossible to stop without replacement. This is most common on cheap tubular steel furniture sold at big-box stores. The metal is thin and rusts from the inside out.
Cost and Coverage: What the Project Really Takes
Here is the cost comparison based on current retail pricing as of 2026:
| Option | Average Cost | Coverage | Cost Per Project (2 chairs + table) |
|---|---|---|---|
| 1 quart brush-on paint | $8 to $12 | 80 to 100 sq ft | $8 to $12 |
| 2 to 3 spray cans | $15 to $20 total | 30 to 40 sq ft per can | $30 to $60 |
| Primer (brush-on quart) | $10 to $15 | 80 to 100 sq ft | $10 to $15 |
| Brush and roller pack | $5 to $8 | Reusable | $5 to $8 |
Total cost for brush-on: roughly $25 to $35 for a complete project with primer, paint, and tools. Spray cans cost $30 to $60 for the same coverage, plus you need drop cloths and masking materials.
How Much Paint You Need for a Chair, Table, or Bed Frame
- One metal folding chair: about 1/4 quart (use a 4-inch roller and brush).
- One small bistro table (2 feet round): about 1/2 quart.
- One twin bed frame: about 1 quart.
- One large patio set (four chairs plus table): about 2 quarts or 1 gallon depending on design.
Buy one quart for most single-item projects. You will have leftover paint for touch-ups. Label the can with the date and the paint sheen so you can match it later.
Maintenance and Touch-Ups Down the Line
Keep leftover paint in a labeled jar. Write the paint sheen, color name, and date on the lid. Store it in a cool, dry place and it stays usable for two to three years.
Touching up scratches is simple. Sand the scratch lightly with 220-grit paper. Clean the dust.
Apply a thin coat of leftover paint with a small artist brush. Let it dry and blend naturally. You rarely need to repaint the whole piece.
Check outdoor furniture every spring. Look for chips, rust spots, or fading. A quick spot repair is far easier than stripping and repainting the entire set.
Frequently Asked Questions
Can I use chalk paint or milk paint on metal furniture?
Yes. Chalk paint sticks to metal without sanding if the surface is clean and dry. You do need a wax or polyurethane sealer on top.
Milk paint works too but requires a bonding agent on slick surfaces. Both options are softer than enamel and scratch more easily.
Do I need to sand if there is no rust?
Yes. You still need to scuff the surface with 220-grit sandpaper. Paint needs a rough surface to grip.
A glossy or smooth surface rejects paint even if it is clean. Light sanding takes five minutes and prevents peeling.
Is it safe to paint metal furniture indoors without spray paint?
Yes. Brush-on paint is much safer than aerosol indoors. Water-based acrylic enamel produces low fumes.
Open a window and use a box fan blowing outward for ventilation. Oil-based enamel needs better airflow. Paint that in a garage or outdoors if you can.
How long does the whole project take?
Plan for three days from start to finish. Day one is cleaning, sanding, and priming. Day two is the first two coats of paint.
Day three is the final coat and light use after curing. Full hardness takes about a week for oil-based enamel.