
So you've got a paint sprayer, a piece of wood you want to finish, and you're wondering how to use paint sprayer on wood? The short answer is that wood is one of the trickiest surfaces to spray well. It's absorbent, porous, and full of grain patterns that can ruin a finish if you don't handle them right.
Our research shows that most first-time sprayer users get disappointing results on wood not because they're bad at spraying, but because they skipped the prep work that wood specifically demands. Wood needs different treatment than drywall, metal, or plastic. Get the prep wrong, and no sprayer technique will save you.
Get it right, and you'll get a finish that looks professional.
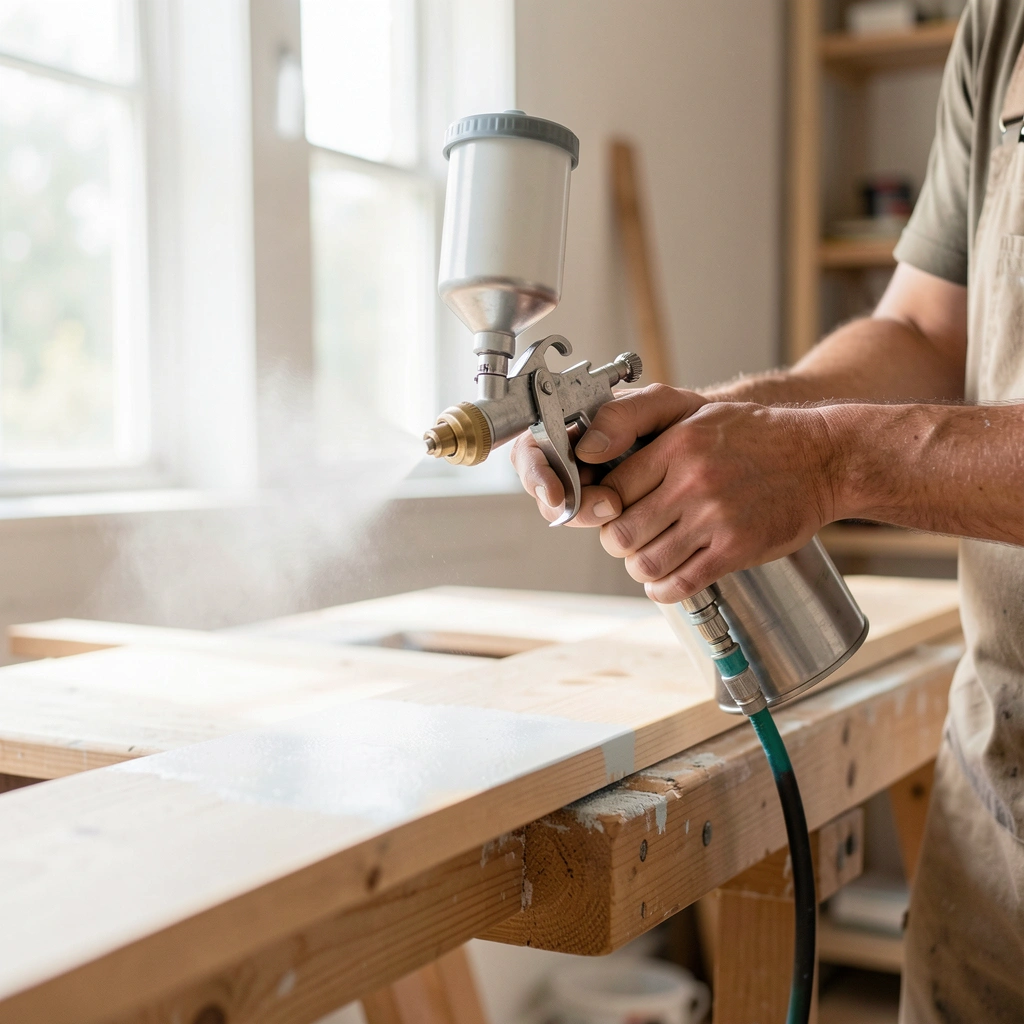
Quick Answer
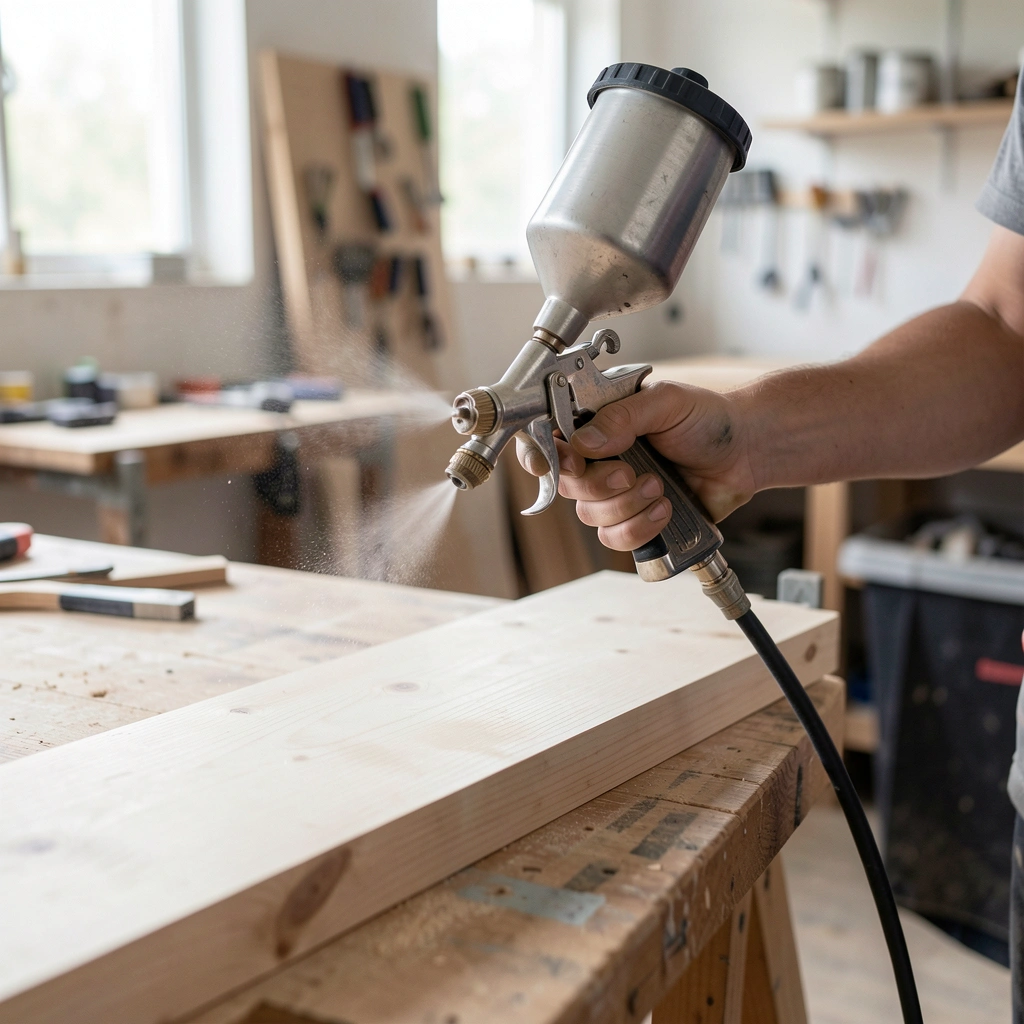
To use a paint sprayer on wood, start with proper surface prep. Sand the wood gradually from 120 to 220 grit. Raise the grain by wiping with a damp cloth.
Apply a stain-blocking primer. Thin your paint to the right viscosity. Set your spray distance to 6-10 inches.
Use a 50 percent overlap pattern. Apply thin, even coats. Sand lightly between coats.
Clean the sprayer immediately after use.
Why Using a Paint Sprayer on Wood Is Different Than You Think
Most people assume spraying wood is the same as spraying any other surface. It's not. Wood is alive in a way that drywall and metal aren't.
It absorbs moisture unevenly. It has grain that rises when wet. It contains knots and resin pockets that can bleed through paint weeks later.
The absorbency problem
Wood's absorbency varies dramatically by species. Pine and other softwoods soak up paint like a sponge in some areas and resist it in others. This creates blotching, uneven color and sheen that looks patchy.
Hardwoods like oak are more consistent but have open grain that needs filling if you want a smooth finish.
The grain raising issue
Here's the visual cue that matters most: when you apply water-based paint to raw wood, the wood fibers swell and stand up. This creates a rough texture that feels like sandpaper. The fix is to raise the grain deliberately before you start painting.
You wipe the wood with a damp cloth, let it dry, then sand off the raised fibers. This step is non-negotiable for water-based finishes.
Knot and resin bleeding
Knots in wood contain resin and tannins that can bleed through paint over time. You'll see yellow or brown stains appearing on your finished surface weeks later. The fix is a shellac-based primer over the knots.
Oil-based primers also block stains but take longer to dry. Water-based primers alone won't stop knot bleeding.
What diagrams would show
If you could see the cross-section of wood under a microscope, you'd notice it's a bundle of tubes. Paint flows into these tubes by capillary action. Spraying deposits paint in tiny droplets that sit on the surface.
The absorbency of those tubes determines how much paint soaks in versus stays on top. That's why you can't just spray and walk away.
What You Need Before You Start: Tools, Prep, and the Right Sprayer
Before you set up your sprayer, gather everything you'll need. Running back to the store mid-project with wet paint on your hands is no fun. Here's a clean list of tools and materials.
Tools and materials checklist
| Category | Item | Purpose |
|---|---|---|
| Sprayer | HVLP or handheld electric | Apply paint in thin, even coats |
| Sprayer accessories | Extra nozzles, strainers, cleaning kit | Maintain consistent performance |
| Prep tools | Sandpaper (120, 180, 220, 320 grit), sanding block, tack cloth | Smooth wood surface |
| Grain raising | Clean damp rag | Raise wood fibers before final sanding |
| Masking | Painter's tape, plastic sheeting, drop cloths | Protect surrounding areas from overspray |
| Paint | Primer, paint, topcoat appropriate for wood | Finish system |
| Thinning | Viscosity cup, paint thinner or water | Achieve correct spray consistency |
| Safety | Respirator, goggles, gloves, ventilation fan | Protect yourself from paint mist and fumes |
| Cleaning | Solvent (water or mineral spirits), bucket, rags | Clean sprayer immediately after use |
| Test surface | Scrap piece of the same wood | Practice technique and test settings |
Sprayer types that work well for wood
Not all sprayers are equal when it comes to wood. Here's what the research and manufacturer specs indicate.
HVLP sprayers (High Volume Low Pressure) are the best choice for most wood projects. They atomize paint into fine droplets using a turbine or compressor. Transfer efficiency is around 65-80 percent, meaning less overspray and more paint on your wood.
They're ideal for furniture, cabinets, and trim. The finish is smooth and professional.
Handheld electric sprayers like the Wagner Flexio or Graco TrueCoat are good for beginners and small to medium projects. They're portable and easy to clean. The downside is less control over pattern and pressure compared to a full HVLP system.
Airless sprayers push paint at high pressure (1000-3000 psi). They're fast and can handle thick paint without thinning. But they produce more overspray and a coarser finish.
They're best for large outdoor projects like fences, sheds, and decks. For furniture or fine woodworking, airless sprayers are usually overkill.
Compressed air spray guns require a separate air compressor. They're common in professional shops. They offer excellent control but need a compressor with enough CFM (cubic feet per minute) to keep up.
For most DIYers, this is more complexity than needed.
Nozzle sizes and paint compatibility
The nozzle orifice size controls how much paint flows out and how finely it's atomized. The general rule: thinner paints need smaller nozzles, thicker paints need larger ones.
- 1.3 mm to 1.5 mm: For thin liquids like lacquer, stain, clear coats, and urethane
- 1.8 mm: A good all-around size for most latex and enamel paints
- 2.0 mm and above: For thick paints like exterior latex, texture paints, and primers
Always check your paint manufacturer's recommendation for spray application. Some paints specify a minimum nozzle size. Ignoring this can cause spitting, clogging, or poor atomization.
Step 1: Setting Up Your Wood Surface for Spraying
This is where the real work happens. The quality of your final finish depends almost entirely on how well you prepare the wood. Spraying can't hide surface defects.
It reveals them.
Sanding sequence
Start with 120 grit sandpaper to remove any rough spots, mill marks, or old finish. Then move to 180 grit. Finish with 220 grit.
For hardwoods, you can go up to 320 grit for an ultra-smooth feel.
The visual cue: after sanding at 220 grit, the wood should feel like glass. Run your hand over it. If you feel any roughness, sand more.
Your sprayer will amplify every imperfection.
The grain raising step
This is the step that separates good results from great ones. Here's how to do it:
- Wipe the wood with a clean, damp cloth. Use water for water-based paint or mineral spirits for oil-based paint.
- Let the wood dry completely. This takes about 30 minutes to an hour.
- Lightly sand the surface with 220 or 320 grit sandpaper.
- Wipe away the dust with a tack cloth.
The visual cue: before sanding, the wood will feel rough and fuzzy. After sanding, it should feel smooth again. If you skip this step, that rough texture will appear after your first coat of paint.
Priming based on wood type
Different woods need different primers.
| Wood type | Primer recommendation | Reason |
|---|---|---|
| Pine, fir, cedar (softwoods) | Oil-based or shellac-based primer | Prevents blotching and tannin bleed |
| Oak, ash, mahogany (open-grain hardwoods) | High-build primer or grain filler | Fills pores for a smooth finish |
| Maple, cherry, birch (closed-grain hardwoods) | Any quality primer | Less prone to blotching |
| MDF | Water-based primer | Seals edges and prevents swelling |
| Plywood | Oil-based primer | Prevents plywood pattern from showing through |
Apply primer with your sprayer, following the same technique you'll use for paint. A thin, even coat is better than a thick one. Let it dry completely, then lightly sand with 320 grit.
Step 2: Getting the Paint Ready
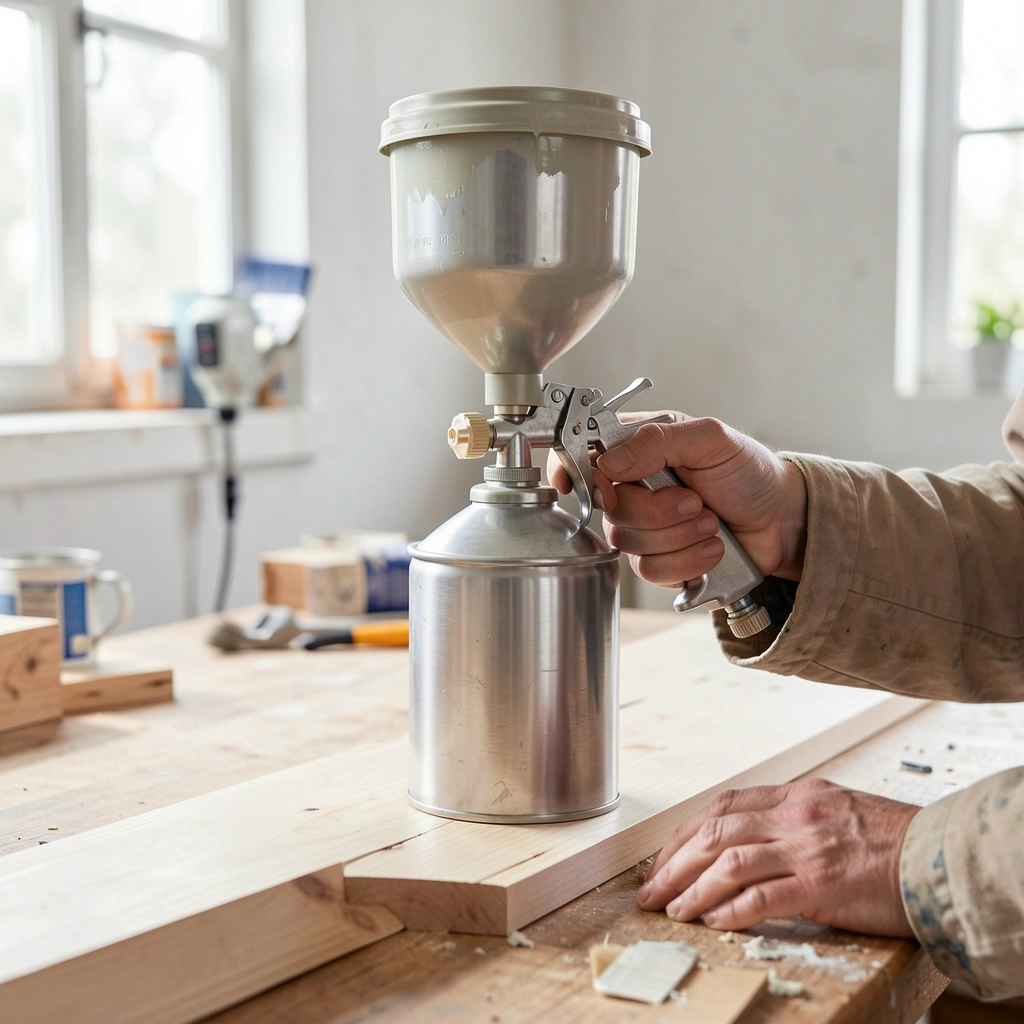
Paint straight from the can is almost never the right consistency for spraying. You need to thin it. This is where many DIYers go wrong.
How to thin paint for your specific sprayer
Most latex paints need to be thinned by 10 to 20 percent with water. Oil-based paints need mineral spirits or paint thinner. Lacquer and urethane are usually ready to spray as-is, but check the label.
The visual cue: properly thinned paint should flow off a stir stick in a smooth, continuous stream. It should not drip in globs or run like water. Think of the consistency of heavy cream or whole milk.
Using a viscosity cup the right way
A viscosity cup is a small cup with a hole in the bottom. You fill it with paint and time how long it takes to drain. This gives you a precise measurement of thickness.
The standard is the Ford #4 cup. Manufacturer specifications typically recommend:
- Latex paint: 30-50 seconds
- Enamel paint: 25-35 seconds
- Lacquer: 20-30 seconds
- Stain: 15-25 seconds
Here's the process: dip the cup in the paint, fill it completely, then lift it out. Start timing the moment the cup breaks the surface. Stop timing when the stream first breaks into drops.
If the paint drains too slowly, add more thinner. If it drains too fast, add more paint.
Straining paint
Paint from the can often contains small lumps or dried bits. These will clog your sprayer nozzle and ruin your finish. Always strain paint through a disposable mesh filter before pouring it into the sprayer cup.
Use a 100-micron or 200-micron filter depending on your paint thickness. Thicker paints need the larger filter. The visual cue: after straining, the paint should be completely smooth with no visible particles.
Step 3: Adjusting Your Sprayer for Wood
Your sprayer has several adjustments that affect the final finish. Getting them right is a matter of feel and practice.
Setting pattern width, air pressure, and fluid flow
Start with the spray pattern. Most sprayers let you adjust from a small round dot to a wide horizontal or vertical fan. For wood, use a horizontal fan pattern about 6 to 8 inches wide.
This gives you good coverage without wasting paint.
Next, adjust the air pressure. For HVLP sprayers, the recommended pressure at the gun is typically 5 to 10 psi. Check your manufacturer's manual.
Too much pressure creates excessive overspray and a rough texture. Too little pressure creates a wet, drippy finish.
Finally, adjust the fluid flow. Start with the flow control set to minimum. Increase it gradually until you get a consistent, atomized spray without dripping.
The spray distance sweet spot
Hold the sprayer nozzle 6 to 10 inches from the wood surface. This distance is critical. Too close, and you'll get drips and runs.
Too far, and the paint will dry before it hits the wood, creating a rough, dusty texture.
The visual cue: at the correct distance, the paint should be wet when it lands on the wood but not pooling. You should see a smooth, even film forming as you move across the surface.
Testing on scrap wood
Never start spraying on your project piece. Always test on a scrap piece of the same wood. This lets you check:
- Is the pattern even?
- Is the paint atomizing properly?
- Are there drips or sags?
- Does the color match what you expected?
Test on a vertical surface if your project has vertical surfaces. Test on a horizontal surface if your project has flat tabletops. The orientation affects how the paint flows.
The visual cue: a good test result shows a smooth, even coat with no runs, no orange peel texture, and no dry spots. The paint should look like it was applied by a professional with a brush, but without the brush marks.
What to do if the test looks bad
If you see orange peel (a bumpy texture like the skin of an orange), your paint is too thick, your distance is too far, or your pressure is too low. Adjust one variable at a time and test again.
If you see drips or runs, your paint is too thin, you're holding the sprayer too close, or you're moving too slowly. Increase your speed or adjust the fluid flow.
If you see spitting (irregular blobs of paint), your nozzle is partially clogged or your paint isn't strained well. Clean the nozzle and strain the paint.
Step 4: The Actual Spraying Technique
Now you're ready to spray. The technique matters more than the equipment. A cheap sprayer in good hands beats an expensive one in bad hands.
Trigger control and overlap
Always start moving the sprayer before you pull the trigger. Stop pulling the trigger before you stop moving. This prevents heavy paint buildup at the start and end of each pass.
Overlap each pass by 50 percent. If your pattern is 8 inches wide, move down 4 inches for the next pass. The visual cue: the wet edge of your previous pass should still be shiny when you lay the next pass next to it.
If it's drying, you're moving too slow or your spray distance is too far.
Spray order for wood projects
Start with the edges and recessed areas first. Then spray the flat surfaces. Work from top to bottom.
This prevents overspray from landing on already finished areas.
For paneled doors, spray the inner panels first. Then the horizontal rails. Then the vertical stiles.
This order minimizes drips on the finished surface.
Handling tricky wood features
For spindles and turned legs, use short bursts at close range. Rotate the piece as you spray. Two thin passes from opposite sides cover the full circumference.
For grooves and carvings, direct the spray at an angle. The visual cue: the paint should flow into the recess rather than bridging across it. If you see dry spots in the grooves, you're not getting enough paint in there.
Common Spraying Problems on Wood (And How to Fix Them)
Even with good technique, problems happen. Here's what to look for and how to fix it.
Drips and runs
If you see paint running down the wood, you're applying too much. Either your speed is too slow, your distance is too close, or your fluid flow is too high. Fix one variable at a time.
Sand the drips flat after they dry, then recoat.
Orange peel texture
This bumpy texture means the paint is partially drying before it hits the surface. The fix: reduce your spray distance, increase your fluid flow, or thin the paint more. If the air is hot and dry, that makes orange peel worse.
Blotching on softwoods like pine
Pine absorbs paint unevenly. The fix is a good stain-blocking primer applied before your paint. If you already see blotching, you'll need to sand back and start with primer.
Fish eyes and contamination
Small circular craters in the finish mean something is repelling the paint. Usually it's silicone, oil, or wax on the wood. Sand the area clean, wipe with mineral spirits, and apply a shellac-based primer before repainting.
Raised grain after first coat
If your first coat feels rough, that's normal with water-based paint on wood. Let it dry completely. Lightly sand with 320 grit.
Wipe clean. Apply your second coat.
How Many Coats Does Wood Really Need?
Wood typically needs three coats total: one primer and two paint coats. Sometimes a fourth coat is needed for deep colors or high-traffic surfaces.
The full layering sequence
Start with a thin coat of primer. Let it dry per the manufacturer's instructions. Lightly sand with 320 grit.
Wipe clean. Apply your first paint coat. Let it dry.
Sand again with 320 grit. Wipe clean. Apply your second paint coat.
For high-gloss finishes, you might add a third paint coat. For clear topcoats over paint, two coats of polyurethane or lacquer provide good protection.
Drying times and environmental factors
Paint dries slower in humid conditions. At 70°F and 50 percent humidity, most water-based paints are ready for recoating in 2 to 4 hours. In high humidity above 70 percent, double that time.
Oil-based paints take longer. They need 6 to 8 hours between coats. Lacquer dries fastest, often ready in 30 minutes.
The visual cue: the paint should be dry to the touch and not feel tacky. Press your fingernail gently into an inconspicuous area. If it leaves a mark, wait longer.
Cleaning Your Sprayer: The Step People Skip (and Regret)
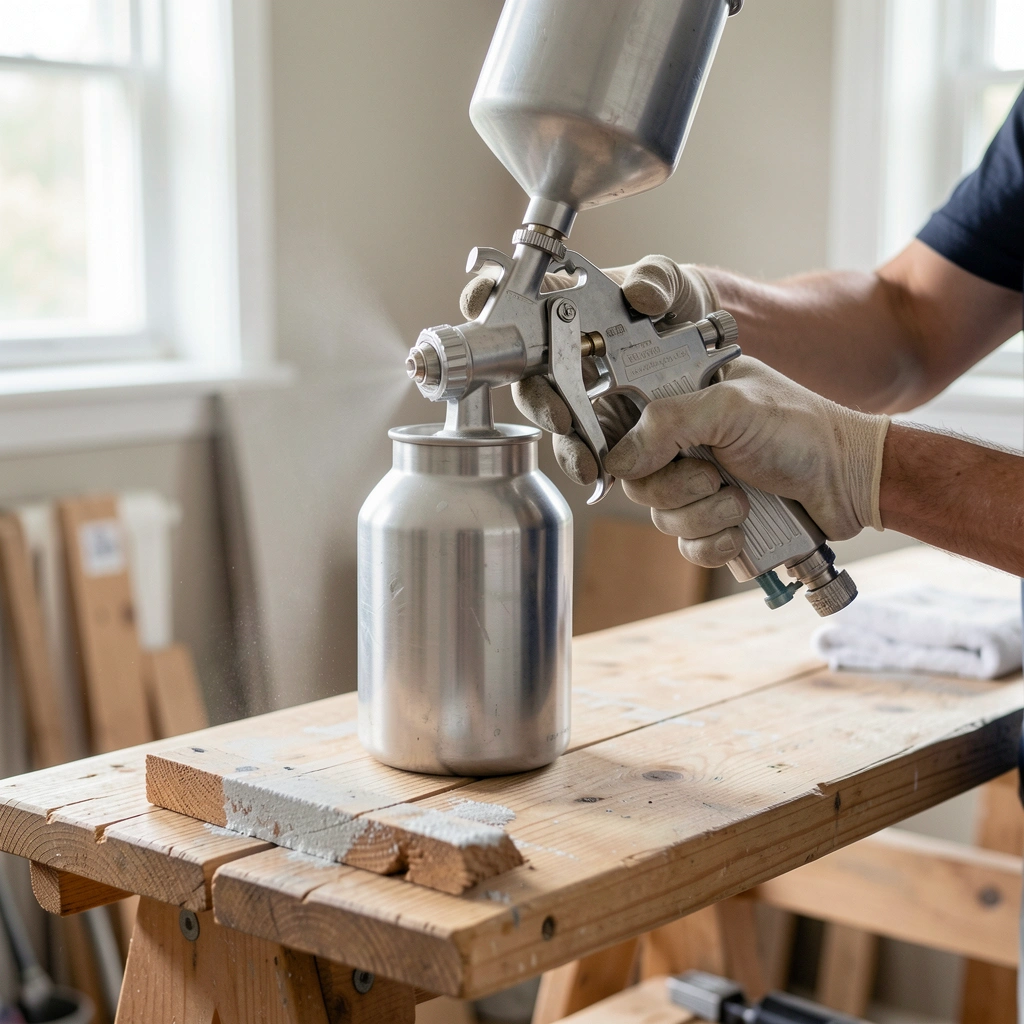
A clogged sprayer is the number one reason people give up on spraying. Clean it immediately after use. Paint dries fast in the nozzle and air cap.
Flushing water-based vs. oil-based paints
For water-based paints, flush with warm water. Run it through the gun until the water runs clear. Then run a small amount of clean water with a drop of dish soap through the system.
For oil-based paints, use mineral spirits or paint thinner. Follow the same process. Never mix water and oil-based cleanup methods.
Disassembling and deep-cleaning the nozzle
Remove the nozzle, air cap, and fluid tip. Soak them in the appropriate solvent. Use a small brush (not wire) to clean the orifices.
Never use metal tools that can scratch the precision surfaces.
Storing the sprayer
After cleaning, reassemble the sprayer dry. Store it in a clean, dry place. If you're storing it for more than a month, apply a thin coat of light oil to the needle and moving parts to prevent rust.
Mistakes That Ruin a Wood Spraying Project
A few common mistakes can waste your time and materials. Here's what to avoid.
Skipping the test spray
Never spray directly on your project wood without testing first. The test reveals issues with viscosity, pattern, and distance. Spend five minutes on scrap wood.
It saves hours of sanding and recoating.
Spraying too thick to save time
A thick coat of paint on wood will drip and sag. It also takes longer to dry and may crack as it cures. Thin coats are the secret to a professional finish.
Multiple thin coats look better than one thick coat.
Ignoring wood defects
Knots, cracks, and dents don't disappear under paint. They show through. Fill cracks with wood filler.
Seal knots with shellac primer. Sand dents smooth. Fix these before you spray.
Painting in bad conditions
High humidity, extreme temperatures, and dusty environments all ruin a spray finish. Paint in conditions between 60°F and 80°F with humidity below 70 percent. Work in a clean area.
If you're spraying outside, do it on a calm day. Wind carries overspray onto your wet finish. For more on outdoor spraying, take a look at how to handle a similar project on a fence.
When Spraying Isn't the Best Option for Wood
Small projects like a single picture frame or a chair rung are faster with a brush. The cleanup time alone isn't worth it. Likewise, wax-based finishes and some gel stains don't spray well.
They're too thick or require buffing.
Quick Troubleshooting Reference Guide
| Problem | Likely Cause | Fix |
|---|---|---|
| Drips and runs | Too much paint applied | Increase speed, reduce fluid flow, or back off distance |
| Orange peel | Paint drying before hitting surface | Reduce distance, thin paint, or lower pressure |
| Blotching on pine | Uneven absorption | Use shellac or oil-based primer first |
| Fish eyes | Contamination | Sand, clean with solvent, apply shellac primer |
| Raised grain after first coat | Water-based paint on raw wood | Sand lightly with 320 grit and recoat |
| Spitting | Clogged nozzle or unstrained paint | Clean nozzle, strain paint through 100-micron filter |
Final Practical Advice Before You Pull the Trigger
Your first wood spraying project will teach you more than any article. Expect some imperfections. That's normal.
The pro tip that changes everything: move your whole body, not just your wrist. Keep the sprayer perpendicular to the surface at all times. That one habit fixes more problems than any equipment upgrade.