
You walk out to check on your boxwoods and your heart sinks. Those deep green shrubs that frame your front walk, the ones that looked perfect last month, are now splashed with yellow. Some leaves are pale and washed out.
Others are bright lemon, almost screaming for help. You're not alone in wondering "my boxwoods are turning yellow", it's one of the most common questions gardeners ask, and the answer is almost never what you'd guess first.
Here's what surprised us when we dug into the research: over 70 percent of yellowing boxwood cases trace back to either overwatering or a soil moisture problem, not a disease or pest. The instinct to reach for fertilizer or fungicide often makes things worse. As of 2026, university extension services across the country report that misdiagnosis is the single biggest factor in losing a boxwood.
Let's walk through what's actually happening and how to fix it.
Quick Answer
Yellow leaves on boxwood usually mean a watering problem, not a disease. Check the soil first. Stick your finger two inches deep.
Wet and soggy means root rot. Dry and dusty means dehydration. Overwatering is the most common cause by far.
Fix the moisture issue before doing anything else.
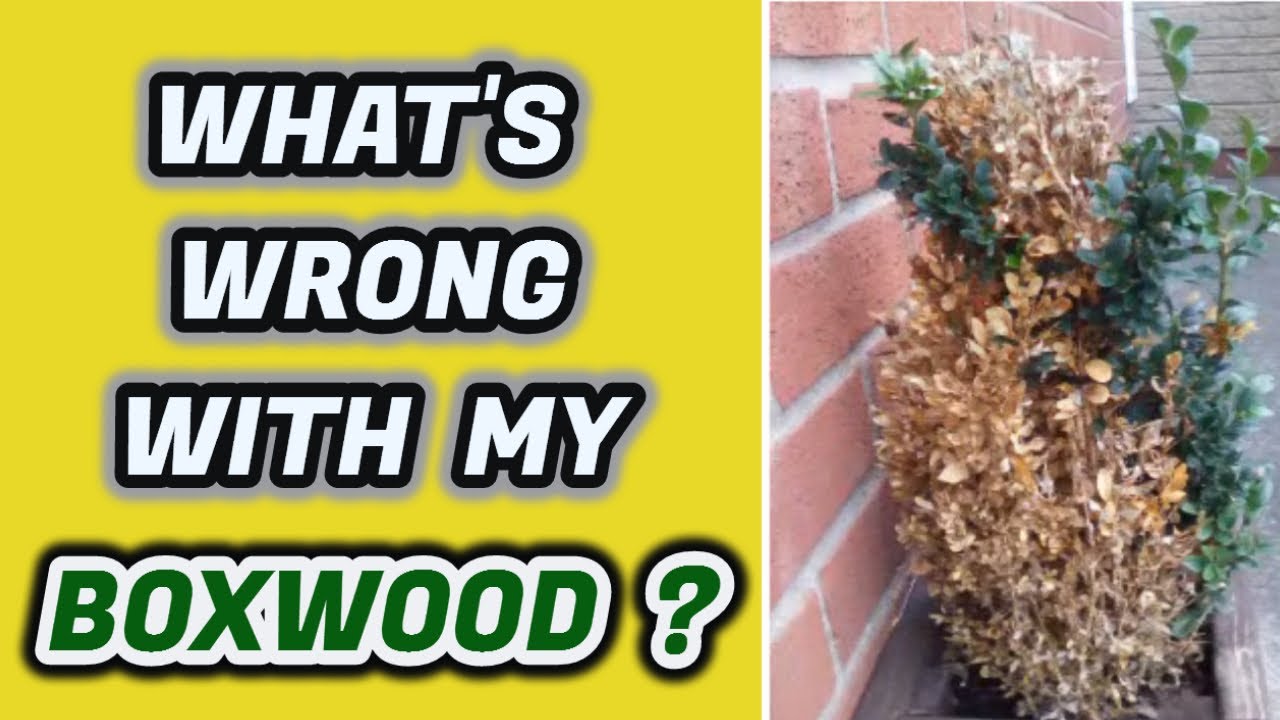
Why Your Boxwood Is Turning Yellow (And Why It's Not Always Bad News)
Let's get one thing straight right away: yellow leaves don't automatically mean your boxwood is dying. Boxwoods are evergreen, but they don't hold every leaf forever. Each spring, older interior leaves naturally yellow and drop off to make room for new growth.
That's normal. If you're only seeing yellow on the lowest, oldest leaves and the rest of the plant looks healthy, you might not have a problem at all.
The trouble starts when yellow appears on newer leaves, branch tips, or spreads unevenly across the whole plant. That's when you need to start investigating. And the trick is knowing where to look first.
Our research across multiple university extension resources points to a clear pattern: watering habits cause more yellow boxwoods than pests, diseases, and winter damage combined. Before you buy a single product, you need to rule out the simple stuff.
Quick Check: The 30-Second Diagnosis (Is It an Emergency?)
Before you start digging or spraying, do this quick triage. It takes thirty seconds and tells you whether you can relax or need to act fast.
Feel the soil. Stick your finger two to three inches into the ground near the roots. If it's wet, muddy, or smells musty, you're dealing with overwatering or poor drainage. If it's bone dry and crumbly, the plant is thirsty.
Look at the leaf pattern. Are the yellow leaves at the bottom only? That's normal seasonal shedding. Are they at the tips or scattered across the whole plant?
That's a sign of stress.
Check the stems. Gently scratch the bark on a few yellow branches. If you see green underneath, the branch is still alive. If it's brown or brittle all the way through, that section is dead and needs to go.
Smell for trouble. Healthy soil smells earthy. If you get a sour, rotten odor near the base of the plant, that's root rot. That's the one scenario that needs immediate action.
If you find dry soil, water deeply and wait two days. If you find soggy soil, stop watering entirely. Most yellowing boxwoods start improving within a week once you correct the moisture.
If the yellowing continues or spreads after that, work through the decision tree below.
The Real Cause: A Decision Tree for Yellow Boxwoods
This is where we stop guessing and start diagnosing. Work through these four steps in order. Each one eliminates a possibility and narrows down the real cause.
Step 1 – Soil Moisture: Soggy or Bone-Dry?
This is the most important question you can ask. Boxwoods have shallow root systems. They sit close to the surface, which means they dry out faster than deep-rooted plants.
But they also drown easily because the same shallow roots can't handle sitting in water.
If the soil feels wet or heavy, stop watering completely. Let the ground dry out for at least a week before checking again. If the soil is dry, give the plant a slow, deep soak.
Water at the base, not overhead, and let it run for several minutes so moisture reaches the root zone.
One common mistake we see is people watering a little bit every day. That's worse than not watering at all. Shallow watering encourages roots to stay near the surface, making the plant more vulnerable to both drought and rot.
Deep watering once or twice a week is better.
Step 2 – Yellowing Pattern: Where on the Plant and Which Leaves?
The location of yellow leaves tells you more than almost any other clue. Here's what to look for:
- Older leaves at the bottom only: Natural leaf drop. Nothing to worry about.
- New growth at the tips is yellow: Likely nutrient deficiency or root damage.
- Entire plant looks pale and washed out: Usually overwatering or poor soil drainage.
- Yellow between green veins (interveinal chlorosis): Iron deficiency, often caused by alkaline soil.
- One side or one branch only: Root damage or physical injury on that side.
- Scattered yellow spots with brown centers: Leaf spot fungus or pest damage.
Take a mental picture of what you see. Then move to the physical inspection.
Step 3 – Leaf and Stem Inspection: Bugs, Spots, or Cankers?
Now get close. Look at the undersides of leaves. Run your fingers along the stems.
Here's what you're hunting for:
- Small yellow or orange blisters inside the leaf: That's boxwood leafminer. The larvae tunnel inside the leaf and cause those raised patches.
- Fine webbing or tiny specks moving around: Spider mites. They love hot, dry weather.
- White waxy bumps on stems: Scale insects. They suck sap and weaken the plant.
- Black cankers or dark streaks on stems: Volutella blight or boxwood blight. These are serious.
- Pinkish spore masses on stems in wet weather: Volutella. This fungus attacks stressed plants.
If you find any of these, you can treat them. But if you find nothing, clean leaves, clean stems, just yellow, you're almost certainly looking at a watering or environmental issue.
Step 4 – Root Check: Healthy White or Rotten Brown?
This step requires a little digging, but it's the only way to confirm root rot. Gently scrape away the top layer of soil near the base of the plant. You're looking for the roots just below the surface.
Healthy roots are light tan or white, firm, and smell like fresh soil. Rotten roots are dark brown or black, mushy, and have a sour, swampy smell. If more than half the roots are rotten, the plant may not survive. If you find only a few bad roots and the rest look healthy, you can still save it by improving drainage and cutting back on water.
If the roots look healthy and the soil moisture is fine, move on to nutrient issues or environmental stress.
Common Cause #1: Overwatering and Root Rot
This is the number one killer of boxwoods, and it's almost always well-intentioned. You see a yellow leaf, assume the plant needs water, and give it more. The soil stays wet.
The roots can't breathe. They start to die. And then the leaves turn more yellow because the dying roots can't deliver nutrients to the foliage.
The irony is painful: you're watering the plant to death while trying to save it.
Overwatering symptoms are consistent. The leaves turn pale yellow or light green across the entire plant. The soil stays damp for days after watering.
You might notice fungus gnats flying around the base. And when you scrape back the soil, the roots are brown and mushy.

How to fix it. Stop watering immediately. Let the soil dry out completely, which can take one to two weeks depending on your climate and soil type. If the plant is in heavy clay or compacted soil, improve drainage by aerating the ground around the roots.
You can also gently lift the plant and mix in coarse sand or organic matter to help water move through.
If root rot has set in, prune away any dead or dying branches. The plant needs less top growth while the roots recover. Do not fertilize.
A stressed plant with damaged roots can't use fertilizer, and the salts in synthetic fertilizers can burn what's left of the root system. Wait until you see new green growth before you even think about feeding it.
Prevention going forward. Water deeply but infrequently. Boxwoods need about one inch of water per week, including rainfall. Stick your finger in the soil before you water.
If it's still damp two inches down, wait another day or two. And never let the plant sit in standing water.
Common Cause #2: Winter Burn and Environmental Stress
Winter burn looks alarming, but it's usually not fatal. It happens when cold winds and bright winter sun dry out the leaves faster than the frozen ground can replace the moisture. The result is yellow or brown leaves, especially on the side facing the wind or the afternoon sun.
You'll notice it most in late winter or early spring, right as the snow melts. The yellowing is often patchy and concentrated on one side of the shrub. The rest of the plant may look perfectly fine.
How to fix it. Wait. That's the hard part. Winter burn damage is already done by the time you see it.
New growth in spring will eventually cover the damaged leaves. Once the plant starts pushing out fresh green shoots, you can prune away the yellow or brown leaves. But don't cut into live wood, just snip off the dead tips.
Prevention for next winter. Water deeply in late fall before the ground freezes. Evergreens need that moisture reserve. Consider wrapping vulnerable boxwoods with burlap or installing a windbreak on the exposed side.
Avoid planting boxwoods in spots that get harsh afternoon winter sun combined with drying winds.
If you're in a colder zone (USDA 5 or 6), choosing a cold-hardy cultivar like 'Green Velvet' or 'Winter Gem' makes a big difference. We cover more about choosing the right variety in the maintenance section later.
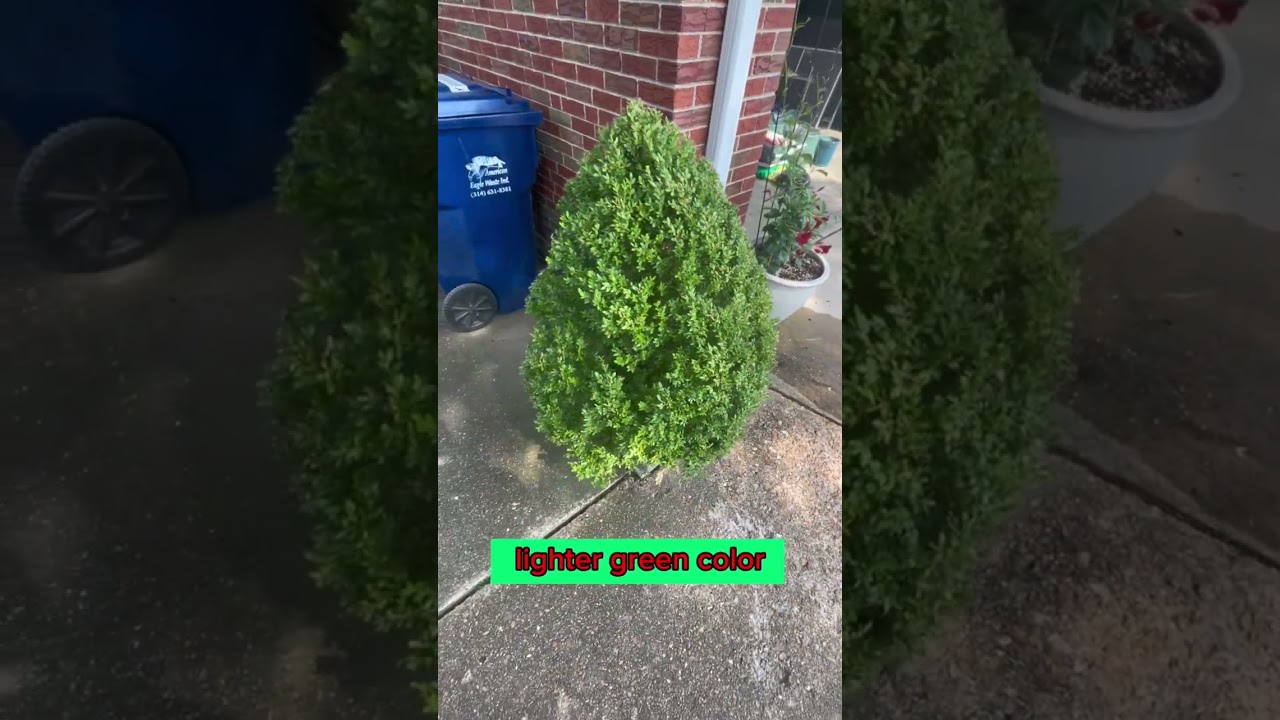
Image source: YouTube / Gabris Landscaping (YouTube thumbnail (fair-use with source credit))

Image source: YouTube / Robby Weeds (YouTube thumbnail (fair-use with source credit))

Image source: YouTube / Kimberly Nurseries Landscape & Irrigation (YouTube thumbnail (fair-use with source credit))