
You're looking at that faded wrought iron chair or the rusty aluminum table and thinking it needs a fresh coat. The right outdoor paint for metal furniture can turn it around fast, if you pick the correct type for your metal and prep it properly. Slap on the wrong paint and you'll be scraping flakes within a season.
That's the frustrating part. But here's the good news: with the right approach, a quality paint job lasts three to six years even in harsh weather. Aggregate user reviews and manufacturer data confirm that oil-based enamels provide the longest protection, while acrylic latex offers easier cleanup and faster drying.
The decision comes down to what metal you're working with and how much rust you're dealing with.
Quick Answer
Use an oil-based enamel paint for steel and wrought iron furniture. Use an acrylic latex with a bonding primer for aluminum. Use a direct-to-metal spray paint for intricate details.
Always clean and sand first. Never skip primer on bare metal. Expect three to six years of durability.
Image source: YouTube / Reviews Zone (YouTube thumbnail, fair-use with source credit)
Step 1: Know Your Metal — Wrought Iron, Steel, Aluminum, or Galvanized?
You can't pick the right paint until you know what you're painting. Each metal type behaves differently with paint, and using the wrong combination is the fastest way to watch your work peel off.
Wrought iron and steel are the most common patio furniture metals. They're magnetic, heavy, and prone to rusting if the paint layer gets damaged. These metals need a rust-inhibiting primer and an oil-based enamel topcoat for the longest life.
Aluminum feels lighter, doesn't rust (it oxidizes), and often has a smooth, slightly shiny factory finish. That smoothness is the problem, paint has a hard time bonding to it. You need an etching primer or a self-etching primer before any topcoat.
Acrylic latex works well as the finish coat because it's flexible and resists chipping.
Galvanized steel has a zinc coating that prevents rust, but that coating also prevents paint from sticking. Regular primer peels right off. You must use a galvanized metal primer or a primer specifically labeled for galvanized surfaces.
Without it, your paint job will fail within months.
If you're unsure which metal you have, check with a magnet. If it sticks, you're dealing with iron or steel. If not, it's likely aluminum or galvanized.
That simple test tells you half of what you need to know.
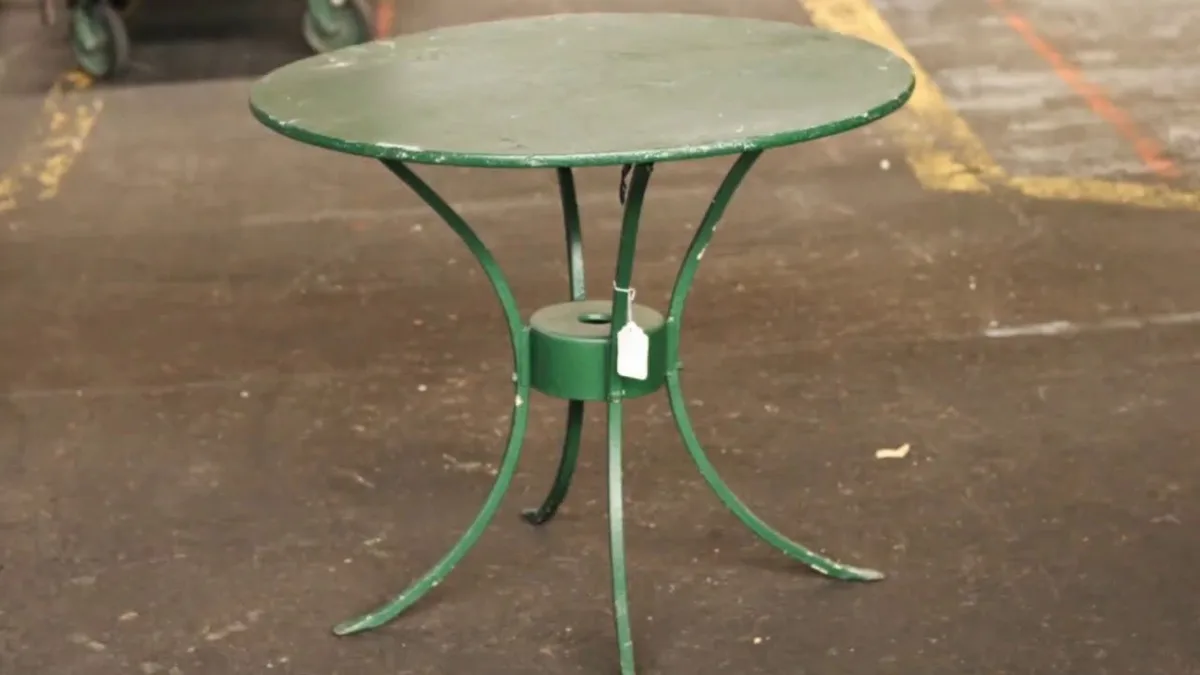
Image source: YouTube / Harvey's On Beverly (YouTube thumbnail, fair-use with source credit)
Step 2: Check for Rust — How Bad Is It?
Rust isn't a uniform problem. The severity dictates how much work you have ahead.
Light surface rust looks like orange dust or small spots. You can remove it with a wire brush or 120-grit sandpaper. Once the loose rust is gone, you can use a direct-to-metal paint that contains a rust converter.
These paints chemically neutralize the remaining rust and form a waterproof barrier.
Moderate rust means visible flaking and small pits in the metal. Here you need to scrub aggressively with a wire brush or use an angle grinder with a wire wheel. Get down to bare metal in the worst spots.
Then apply a dedicated rust-inhibiting primer before painting.
Heavy rust with deep pitting or holes means the furniture might be structurally compromised. In this case, painting is a temporary fix at best. If the legs are rusted through or the frame bends under pressure, replace the piece.
No paint can restore structural integrity.
One important note: never paint over rust without removing it first. The rust continues to grow under the paint, pushing the new coat off from the inside. Even if the paint looks fine for a few months, it will bubble and peel eventually.
Take the time to remove it now.
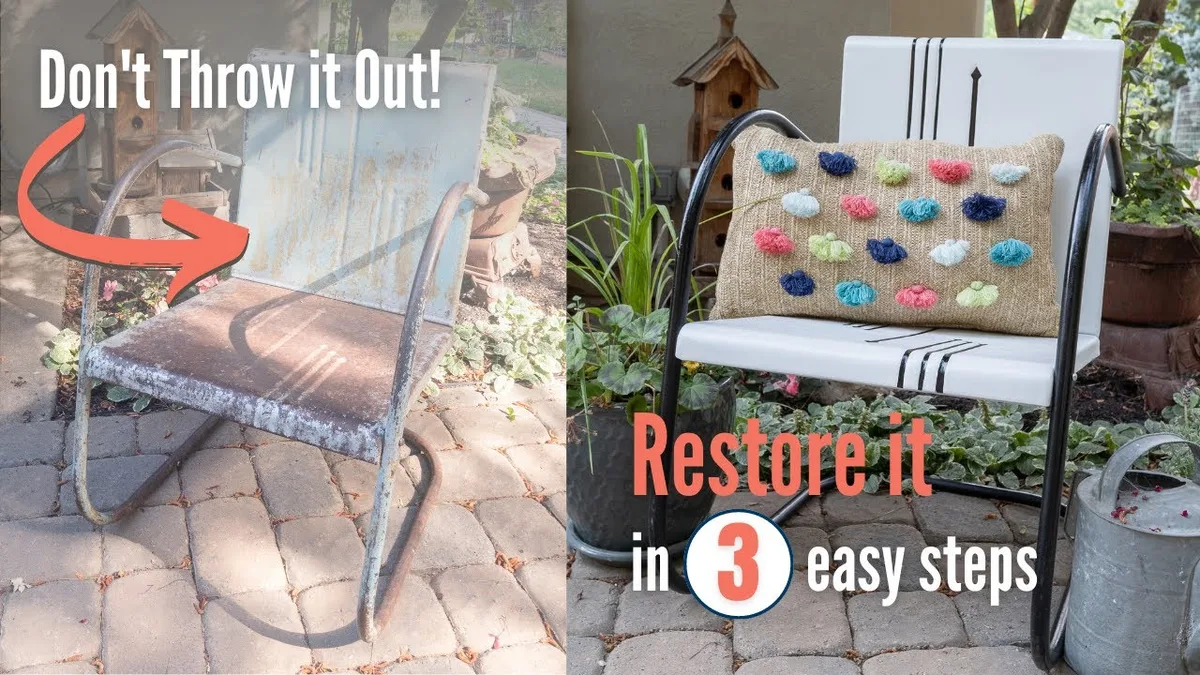
Image source: YouTube / Sunnyside Home (YouTube thumbnail, fair-use with source credit)
Step 3: Pick Your Paint Type — Oil-Based, Latex, or Spray?
Once you know your metal and rust level, you can choose the paint chemistry. Each type has a clear best use case.
Oil-based enamel is the gold standard for outdoor steel and wrought iron. It forms a hard, tough film that resists moisture and abrasion. The trade-off is longer drying time (six to eight hours between coats) and cleanup requires mineral spirits.
Fumes are stronger, so you need good ventilation or an outdoor workspace.
Acrylic latex exterior paint is the better choice for aluminum and galvanized surfaces. It's flexible, so it moves with temperature changes without cracking. Cleanup is with soap and water.
Drying time is short, about one hour between coats. The downside is that it's less abrasion-resistant than oil-based paint, so high-touch areas like chair arms may need touch-ups sooner.
Spray paint (aerosol enamel) excels on furniture with intricate details, curves, or tight corners that a brush can't reach cleanly. Modern spray paints include formulations designed for outdoor metal, with rust inhibitors built in. The downside is cost, a 12-ounce can covers only about 10 to 15 square feet, so a full dining set can require several cans.
Overspray is also a concern.
If you're applying paint to a large flat surface like a tabletop, brush-on paint is more economical and gives a thicker coat. For ornate chair backs or scrollwork, reach for spray.
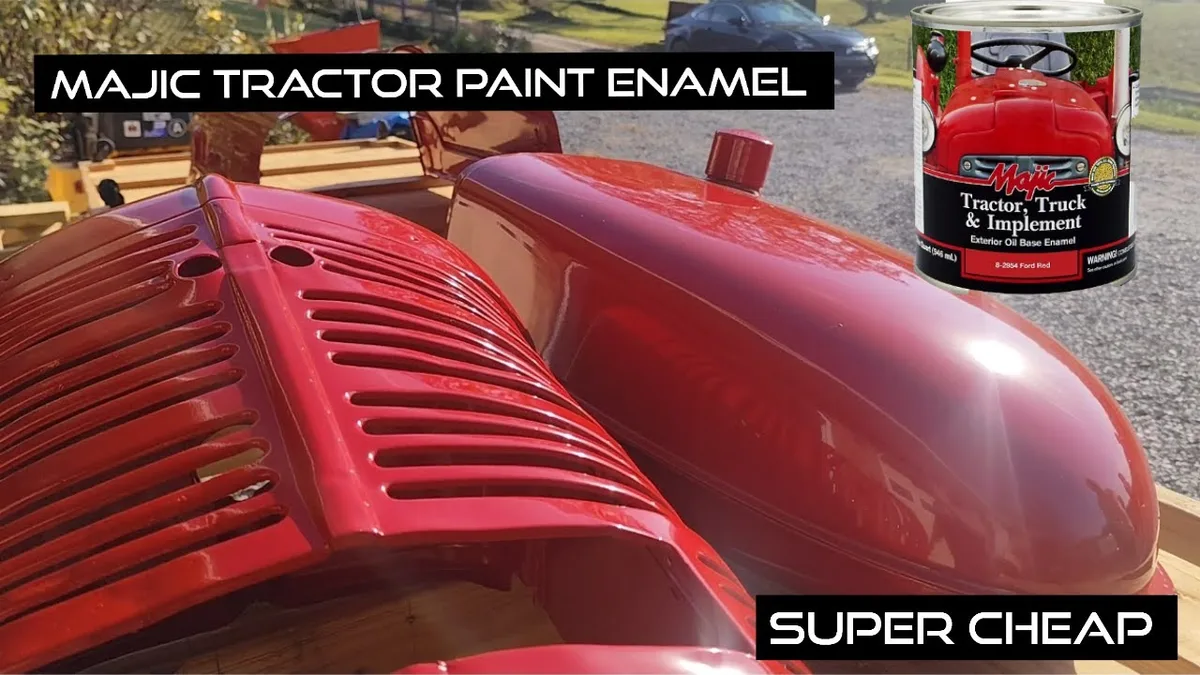
Image source: YouTube / MISTER CLEAN PAINTING (YouTube thumbnail, fair-use with source credit)
Oil-Based Enamel vs. Acrylic Latex vs. Spray Paint: What's Really Different?
Let's lay out the differences side by side so you can decide at a glance.
| Property | Oil-Based Enamel | Acrylic Latex | Spray Paint (Enamel) |
|---|---|---|---|
| Best for | Steel, wrought iron | Aluminum, galvanized | Intricate shapes, small pieces |
| Durability | 5–7 years with good prep | 3–5 years | 3–5 years |
| Drying time (recoat) | 6–8 hours | 1–2 hours | 1–2 hours |
| Full cure | 3–7 days | 24–48 hours | 24–48 hours |
| Cleanup | Mineral spirits | Soap and water | Mineral spirits (if wet) |
| VOC level | High | Low to zero | Moderate |
| Cost per quart | $12–$20 | $10–$18 | $5–$9 per can |
Now for the practical takeaway. Oil-based enamel wins on longevity and toughness. If you want a paint job that lasts half a decade without peeling, this is your choice.
But it demands patience because of the slow drying and cure times.
Acrylic latex wins on convenience. You can do a complete repaint in a single day because the fast drying allows you to apply three coats back to back. It's also safer for the environment and your lungs.
The trade-off is slightly less chip resistance. If your furniture lives on a covered patio out of direct rain, acrylic latex is perfectly adequate.
Spray paint wins on finish quality. When applied correctly at the right distance (about eight to twelve inches), it leaves a smooth factory-like surface with no brush marks. It's ideal for pieces you want to look like new.
But for a large tabletop, buying multiple cans gets expensive and you risk running out before the job is done. For that reason, many DIYers combine methods: spray for the chair frames and brush for the tabletop.
If you're leaning toward spray, the same technique used for fence staining carries over to metal furniture. Thin coats, consistent distance, and overlapping passes produce the best results.
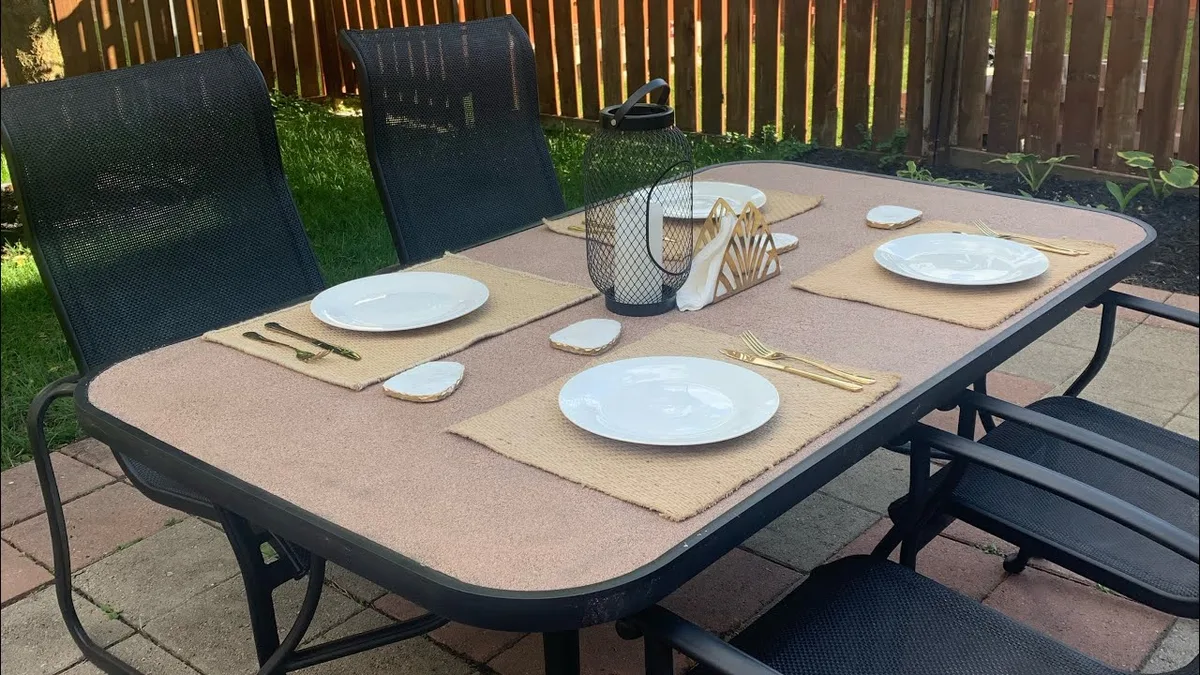
Image source: YouTube / Mel DidItHerself (YouTube thumbnail, fair-use with source credit)
Which Paint Brand Works Best?
Brand choice matters less than choosing the right paint type for your metal. That said, a few manufacturers consistently earn high marks in aggregate user reviews for durability and ease of application.
Rust-Oleum is the most widely recommended for outdoor metal. Their Stops Rust line includes oil-based enamels, spray paints, and primers specifically formulated for iron and steel. The brand offers a built-in rust converter in some products, which saves a step on light surface rust.
Manufacturer specs indicate a coverage of about 125 square feet per quart for brush-on formulas.
Krylon specializes in spray paints. Their Fusion All-In-One line bonds directly to metal without primer, which is convenient but not as durable as a separate primer-and-paint system. Krylon sprays dry quickly and leave a smooth finish, making them a strong choice for detailed furniture pieces.
Behr and Sherwin-Williams produce high-quality acrylic latex exterior paints that perform well on aluminum. Their premium lines include built-in primer and superior UV resistance. These are best for homeowners who prefer brush-on application and want low-VOC options.
The EPA regulates VOC limits for architectural coatings, so checking the label ensures compliance with your local rules.
Valspar (sold at Lowe's) offers a similar range of exterior metal paints at a slightly lower price point. In our research, Valspar enamel paints match Rust-Oleum's durability when applied over a compatible primer. The key is consistency across the system: use the same brand for primer and topcoat to avoid adhesion problems.
A quick rule of thumb: if you're painting a high-use piece like a dining table, spend the extra dollar on a brand with proven outdoor track records. For a decorative accent chair, budget brands often perform adequately.
Tools and Supplies You'll Need for the Job
Having the right tools on hand before you start saves frustration and prevents rushed mistakes mid-project.
| Category | Item | Purpose |
|---|---|---|
| Cleaning | Dish soap, sponge, bucket | Remove dirt and grease |
| Mineral spirits or rubbing alcohol | Degrease after sanding | |
| Rust removal | Wire brush (hand or drill attachment) | Scrape loose rust |
| Sandpaper (80, 120, 220 grit) | Smooth surface and roughen for adhesion | |
| Steel wool (fine grade) | Polish aluminum before etching | |
| Protection | Drop cloth or tarp | Catch drips and overspray |
| Painter's tape | Mask off hardware and non-painted areas | |
| Nitrile gloves, safety glasses | Skin and eye protection | |
| Respirator (N95 or P100) | For spray paint or oil-based fumes | |
| Application | Natural bristle brush (for oil paint) | Brush-on enamel |
| Synthetic brush (for latex) | Brush-on latex | |
| Small foam roller (4 inch) | Smooth coat on tabletops | |
| Spray paint can with trigger handle | For intricate pieces | |
| Post-paint | Tack cloth | Remove dust before painting |
| Clear polyurethane top coat (optional) | Extended durability for high-touch areas |
The spray-paint trigger handle is a cheap upgrade that makes a huge difference. It reduces finger fatigue and gives you more even control. For large projects, consider using a pump sprayer or HVLP sprayer.
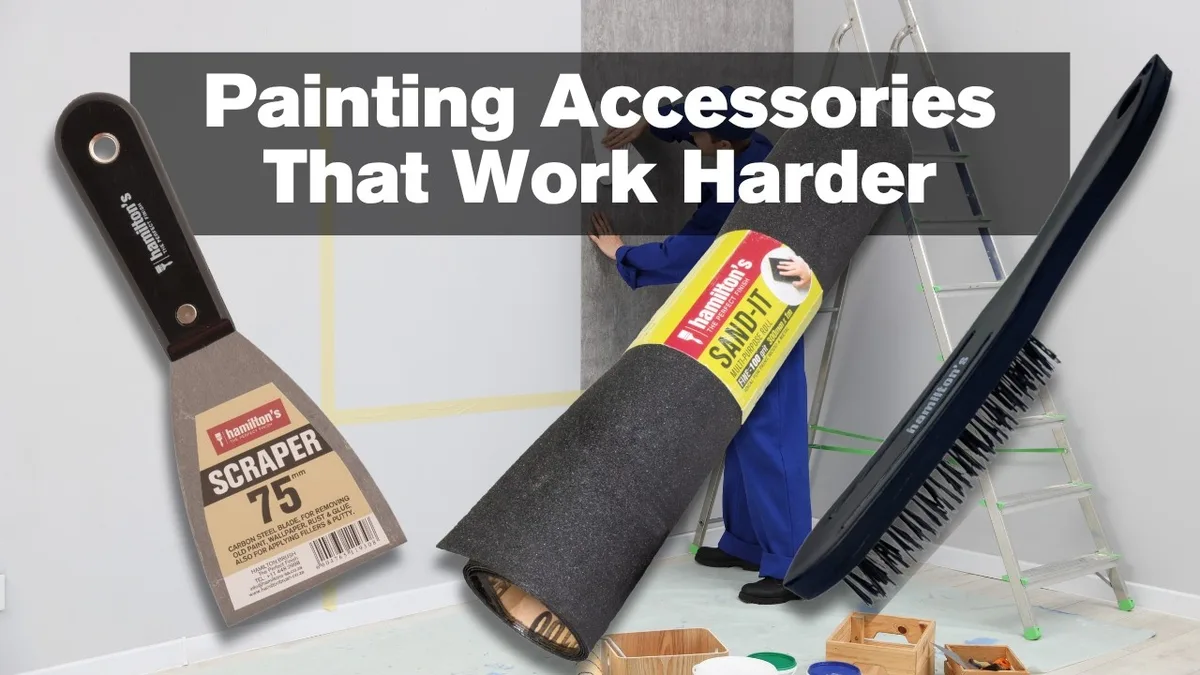
Image source: YouTube / Hamilton's Brushware SA (YouTube thumbnail, fair-use with source credit)
How to Prep Outdoor Metal Furniture for Paint (Don't Skip This)
Preparation is 80 percent of a successful paint job. If you spend an hour painting and fifteen minutes prepping, expect peeling within a year. If you reverse that ratio, your paint can last five years or more.
Step 1: Wash. Use dish soap and warm water to remove dirt, pollen, and bird droppings. Rinse thoroughly and let dry completely. Moisture trapped under paint causes blistering.
Step 2: Remove grease. Wipe the entire surface with mineral spirits (for oil-based paint) or rubbing alcohol (for latex). Even light fingerprints leave oils that prevent adhesion.
Step 3: Remove rust. For light rust, scrub with a wire brush or 80-grit sandpaper until the orange dust is gone. For heavy rust, use a drill-mounted wire wheel. Wear safety glasses because rust particles fly everywhere.
Step 4: Sand the surface. This step is often overlooked. Even if the old paint is sound, sanding with 120-grit paper gives the new paint something to grip. Sand until the surface feels dull, not shiny.
A shiny surface will reject paint.
Step 5: Clean dust. Wipe down with a tack cloth. Do not use a damp rag because water can flash-rust bare steel within hours.
Step 6: Tape off. Cover any areas you don't want painted, like rubber feet, plastic glides, or hardware.
Step 7: Apply primer (if needed). As covered earlier, bare metal and aluminum need a dedicated primer. Follow the recoat time on the can.
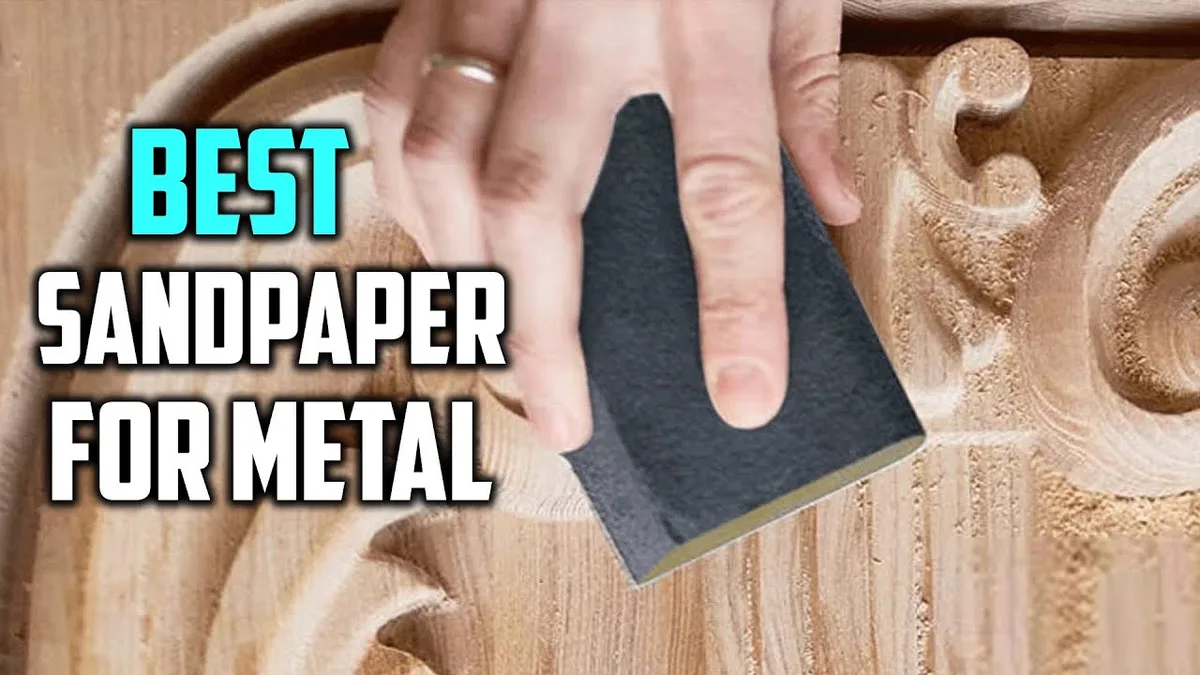
Image source: YouTube / KISSAN HOME ENGINEERING (YouTube thumbnail, fair-use with source credit)
A quick note on temperature: paint manufacturers recommend application between 50°F and 85°F with humidity below 70 percent. If you're working in spring and the weather is unpredictable, check the forecast. Nothing ruins prep faster than rain hitting fresh paint.
Step-by-Step Painting Process: From Primer to Final Coat
Now for the actual painting. Work in a shaded, well-ventilated area. Direct sunlight dries paint too quickly and leaves brush marks.
Wind blows dust onto wet surfaces.
Step 1: Stir the paint thoroughly. For oil-based paint, stir slowly to avoid introducing air bubbles. For spray paint, shake the can for one to two minutes after the mixing ball rattles freely.
Step 2: Apply the primer (if using). Use thin, even coats. Thick primer takes forever to dry and tends to run. Let each coat dry according to the manufacturer's instructions (usually one to four hours).
Sand lightly with 220-grit paper between primer coats for the smoothest finish.
Step 3: Apply the first coat of paint. For brush-on paint, use long, even strokes in one direction. Don't overwork the paint. For spray paint, hold the can eight to twelve inches from the surface.
Move in a steady back-and-forth motion. Start spraying before the surface and release after to prevent heavy buildup at the edges.
Step 4: Let it dry. Follow the recoat time on the can. For oil-based enamels, this is typically six to eight hours. For latex, one to two hours.
For spray, one to two hours. Do not rush this. Painting over uncured paint creates a wrinkled mess.
Step 5: Apply a second coat. Repeat the same technique. Two thin coats are far better than one thick coat. A third coat may be needed if you're covering a dark color with a light one.
Step 6: Let it cure. The paint may feel dry to the touch in a few hours, but it is not fully cured. Full cure takes 24 to 72 hours for latex, and up to a week for oil-based enamels. During this time, keep the furniture dry and do not place cushions or heavy objects on it.
Step 7: Inspect and touch up. After curing, check for thin spots, drips, or missed areas. Lightly sand any drips with 220-grit paper and apply a thin touch-up coat.
7 Common Mistakes That Ruin a Metal Paint Job
These mistakes appear over and over in user reports. Avoid them and your paint job will stand out.
1. Painting over rust. You already know this one. Rust spreads underneath the paint and pushes it off.
Remove it entirely before painting.
2. Skipping the primer. Primer provides adhesion and rust protection. Bare metal without primer is a gamble that almost always fails.
3. Using indoor paint outdoors. Interior paint lacks UV stabilizers and moisture resistance. It will fade, crack, and peel within a single season.
4. Painting in direct sun or high humidity. Sunlight makes paint dry too fast, causing brush marks and bubbles. High humidity slows drying and can cause blush (a milky haze) in spray paint.
5. Applying thick coats. Thick paint drips, takes forever to dry, and cures unevenly. Always apply multiple thin coats.
6. Ignoring the recoat window. If you wait too long between coats (more than 24 hours for some paints), you need to sand again to create a mechanical bond. If you apply the next coat too soon, you trap solvents and cause wrinkling.
7. Not letting the paint cure fully before using the furniture. Putting cushions or weight on uncured paint embeds textures and can cause permanent damage. Be patient for the full cure time listed on the can.
These are the mistakes that turn a weekend project into a yearly chore. When you're wondering why your previous attempts failed, one of these seven is almost certainly the culprit. Take the extra time now to avoid the frustration later.
How Long Will It Last? Lifespan and Cost Breakdown
A properly painted metal furniture piece should last three to six years before needing a touch-up. The variables that affect lifespan are the paint type, prep quality, and local climate.
| Condition | Expected Lifespan |
|---|---|
| Oil-based enamel, good prep, sheltered patio | 5–7 years |
| Acrylic latex, good prep, moderate climate | 3–5 years |
| Spray paint, good prep, covered area | 3–5 years |
| Any paint, poor prep | 6–12 months |
| Any paint, coastal salt air | 2–3 years with marine-grade |
Cost is modest. A typical chair costs $15 to $30 in materials. A full dining set runs $35 to $60.
Compare that to replacing a rusted table at $200 or more. The math is clear.
Maintenance Tips: Keeping Your Paint Looking Fresh
Even the best paint job needs occasional care. A few simple habits double its lifespan.
Clean gently. Use a soft cloth and mild soap. Avoid pressure washers because they force water under the paint edges and cause peeling.
Touch up scratches immediately. A chip down to bare metal will rust within weeks in wet weather. Keep a small amount of leftover paint in a labeled jar. Apply a thin dab with a tiny brush.
Apply a clear top coat every two to three years. A matte or satin polyurethane adds an extra barrier against UV and moisture. This is especially useful on tabletops that see hot dishes or frequent use.
Store cushions and covers separately. They trap moisture against the painted surface. Let the furniture breathe.
Winter storage matters. If you live in a freeze-thaw zone, move furniture under a covered area or use a breathable furniture cover. Trapped moisture from melting snow is the number one killer of paint adhesion.
Frequently Asked Questions
Can I paint powder-coated metal furniture?
Yes, but you must sand the powder coating thoroughly until it loses its glossy shine. Powder coating is tough and smooth. Paint won't stick without mechanical abrasion.
Use 120-grit sandpaper and a primer designed for glossy surfaces.
Do I need to sand before painting?
Yes, if the existing finish is glossy. Sanding creates a rough surface for the new paint to grip. Skip this step and the new coat can peel off in large sheets.
Sand until the surface feels dull to the touch.
How do I paint aluminum so it sticks?
Aluminum requires an etching primer or self-etching primer. Regular primer peels off within months. The acid in etching primers bites into the aluminum oxide layer.
After priming, any quality exterior paint adheres well.
Can I use indoor paint on outdoor metal?
No. Indoor paint lacks UV stabilizers and moisture resistance. It will fade, chalk, and peel within a single season.
Always use paint labeled for exterior use.
How long should I wait before sitting on the chair?
Wait at least 48 hours for latex paint and a full week for oil-based enamel. The paint may feel dry in hours, but the chemical curing process takes longer. Putting weight on uncured paint embeds fabric textures and causes permanent dents.
Final Verdict: The Best Paint for Your Situation
There is no single best outdoor paint for metal furniture. The right choice depends on your metal type, rust level, and patience.
For steel and wrought iron: Choose an oil-based enamel with a rust-inhibiting primer. This combination offers the longest durability. Rust-Oleum Stops Rust or a comparable oil-based brand works well.
For aluminum: Use an etching primer followed by acrylic latex exterior paint. The flexibility of latex matches aluminum's expansion and contraction in temperature changes.
For intricate or detailed pieces: Spray paint gives the smoothest factory-like finish. Krylon Fusion or Rust-Oleum spray formulas include rust protection.
For coastal or high-humidity areas: Upgrade to marine-grade paint. These formulations resist salt corrosion and moisture better than standard products. The extra cost is worth it in harsh environments.
For budget-conscious projects: Acrylic latex with a compatible primer offers good durability at a lower price. You sacrifice some chip resistance but gain faster drying and easier cleanup.
The prep work makes the paint job. The paint type determines how long it lasts. The maintenance keeps it looking fresh.
Follow all three steps and your metal furniture will look great for years.