
Fence panels are a crucial element for privacy, security, and curb appeal in any home. When yours start looking faded, weathered, or just plain boring, giving them a fresh coat of paint is a fantastic way to revitalize your yard. Learning how to spray paint fence panels offers a quick and efficient way to achieve a smooth, professional finish that can be tough to match with brushes or rollers. This method can transform your entire property's appearance in a single weekend, making it a popular DIY choice for a dramatic visual upgrade.
Our research indicates that when done correctly, spray painting can save significant time and effort compared to traditional methods, especially for large or irregularly shaped panels. For instance, manufacturer specifications for popular exterior spray paints often rate coverage at around 15-20 square feet per can for a single coat. However, achieving this efficiently requires understanding the right preparation, technique, and material choices to avoid common problems like drips and uneven coverage. This guide will walk you through everything you need to know to get that seamless look.
Why Spray Paint Your Fence Panels?
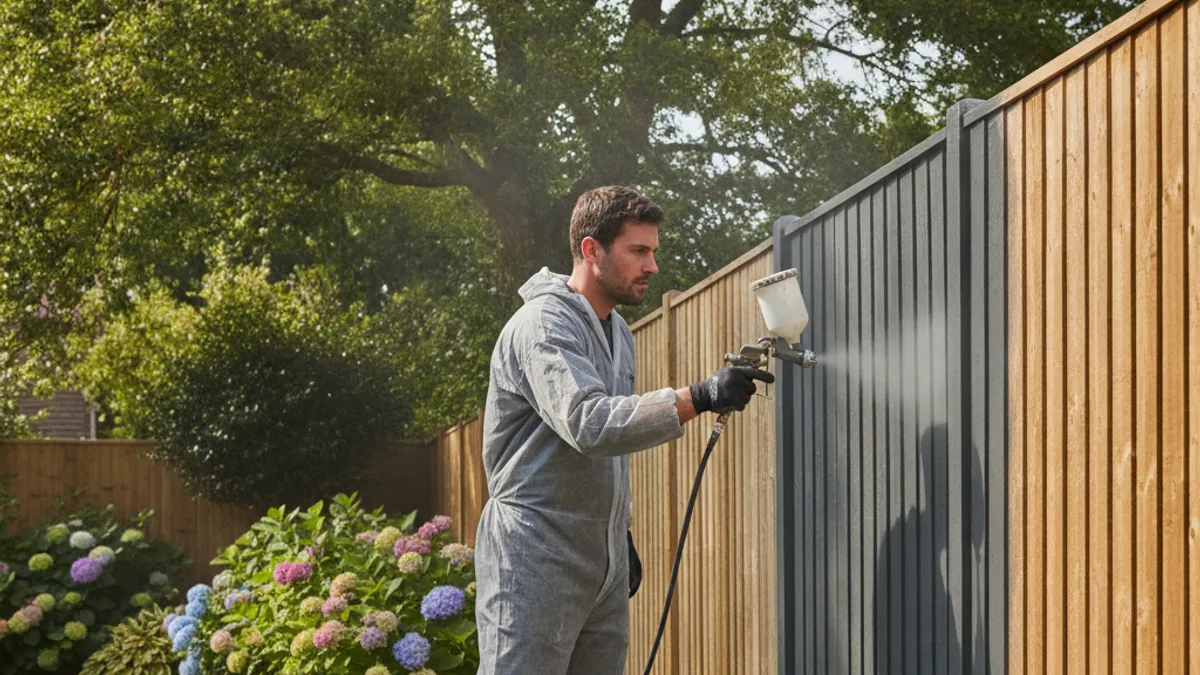
Spray painting your fence panels can be a game-changer for both speed and finish quality. It's a method that allows you to cover large areas quickly, which is a major plus compared to the slower pace of brushing or rolling. This efficiency means you can tackle a whole fence line in a fraction of the time it might otherwise take.
Aggregate user reviews consistently highlight the satisfaction with the smooth, uniform appearance achieved through spray application when done correctly. This even finish is particularly appealing for enhancing curb appeal and the overall aesthetic of your outdoor space. Unlike brushes or rollers, spray paint can get into all the nooks and crannies of intricate fence designs without extra effort.
Can You Really Spray Paint Fence Panels?
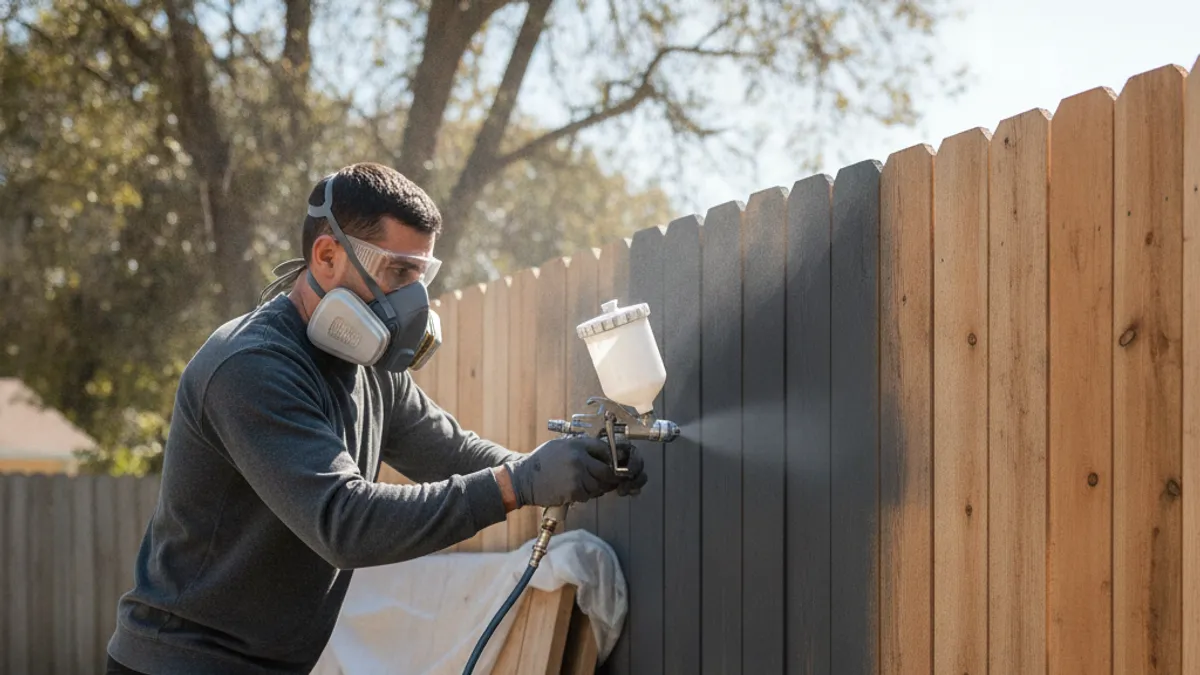
Yes, you absolutely can spray paint fence panels, and it’s a project many homeowners tackle with great success. The key is using the right type of paint and employing the correct technique. It's not just for metal; wood, vinyl, and composite fence panels are all excellent candidates for spray painting.
Manufacturer guidelines from brands like Rust-Oleum and Krylon, which specialize in aerosol paints, confirm their suitability for outdoor wood and metal surfaces. They offer specific formulations designed to adhere well and withstand the elements. This makes it a viable and often superior alternative to traditional painting methods for fencing. Spray Or Brush Paint Which One Is Better For Fence can offer more insight into this comparison.
Choosing the Right Spray Paint for Your Fence

Selecting the appropriate paint is perhaps the most critical step for a durable and attractive fence finish. Not all spray paints are created equal, and using the wrong type can lead to premature fading, peeling, or poor adhesion. You need a product formulated for exterior use with good weather resistance.
The specific material of your fence also plays a role. While many general-purpose exterior spray paints work well on wood, some might require a special primer for vinyl or metal to ensure proper bonding. Always check the paint can's label for compatibility with your fence material.
Exterior Latex vs. Oil-Based Paints
When it comes to exterior paints, you'll generally encounter two main types: latex (water-based) and oil-based (alkyd). Each has its own set of advantages and disadvantages for fence painting. Latex paints are typically more flexible and easier to clean up with soap and water, making them a popular choice for DIYers.
Oil-based paints, on the other hand, are known for their durability and hardness, offering excellent adhesion and a tough finish that can resist chipping and wear. However, they require mineral spirits or paint thinner for cleanup and can be trickier to work with. For most fence panels, especially wood, a high-quality exterior latex paint is an excellent, user-friendly option.
Finish Options: Matte, Satin, or Gloss?
The finish you choose for your fence panels impacts both the look and the practicality of the paint job. A matte finish offers a non-reflective, natural look, often ideal for blending with natural surroundings. It’s also good at hiding minor surface imperfections.
A satin or semi-gloss finish provides a bit more sheen and is generally more durable and easier to clean than a matte finish. These finishes are often preferred for their ability to resist dirt and mildew buildup. High-gloss finishes are less common for exterior fences as they highlight every imperfection and can be too reflective, but they offer maximum durability if that's your priority.
What You'll Need: Essential Spray Painting Tools
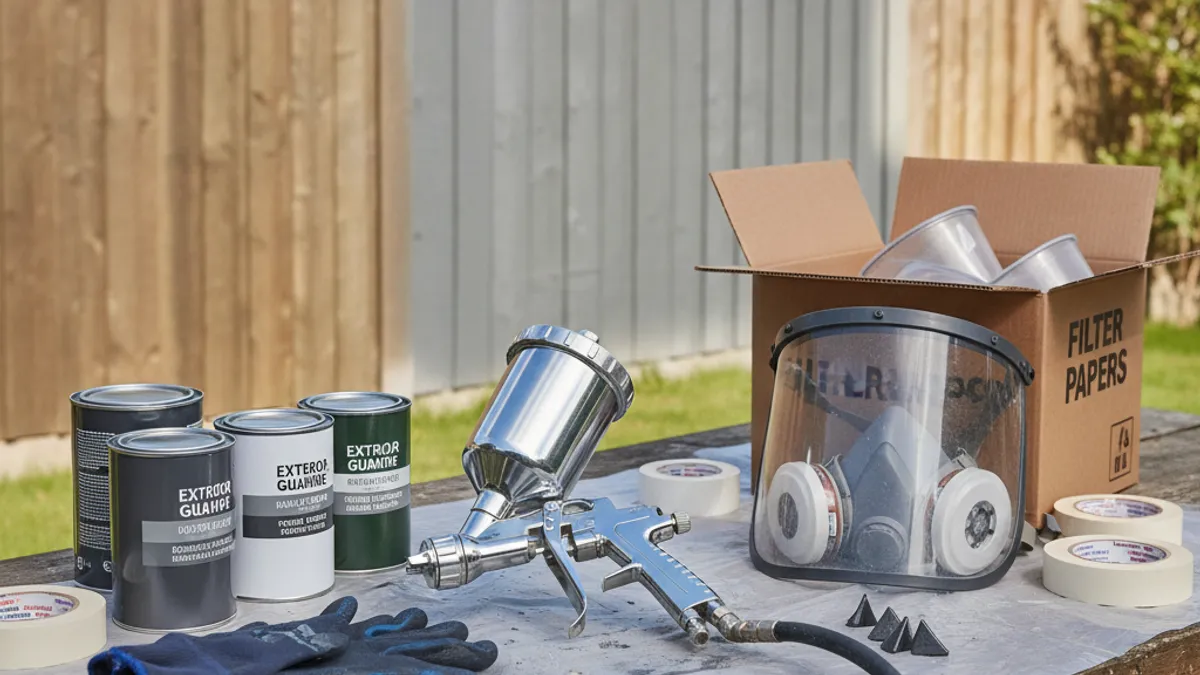
To achieve a professional-looking spray-painted fence, having the right tools on hand is just as important as selecting the correct paint. You don't need to be a professional painter to gather the necessary supplies, but being prepared makes the job smoother and the results better. This list focuses on what you'll need for aerosol can application.
Here’s a rundown of the essentials:
- Spray Paint: Choose exterior-grade spray paint suitable for your fence material. Multiple cans will likely be needed depending on fence size.
- Work Gloves: Protect your hands from paint and potential abrasions.
- Safety Glasses or Goggles: Absolutely vital to protect your eyes from overspray.
- Respirator Mask: A must-have, especially for oil-based paints or prolonged spraying, to avoid inhaling fumes. A simple N95 mask might suffice for water-based paints and short bursts, but a proper respirator offers better protection.
- Drop Cloths or Tarps: To protect the ground, plants, and any nearby structures from overspray. Large plastic sheets work well.
- Painter's Tape: For masking off areas you don't want to paint, like fence posts or adjacent siding.
- Wire Brush or Stiff Broom: For cleaning the fence surface before painting.
- Screwdriver or Thin Stick: To stir paint cans if needed, or to clear a clogged nozzle.
- Step Ladder (if needed): For reaching higher fence sections safely.
Getting Your Fence Ready: The Crucial Prep Steps
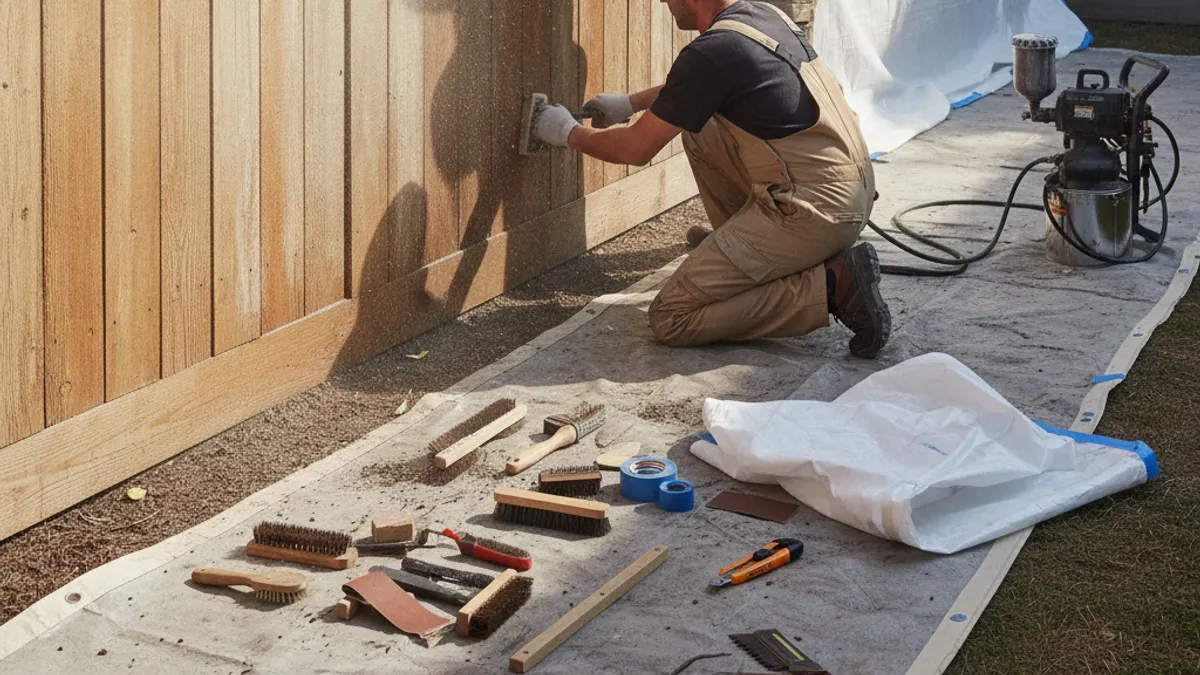
Skipping fence preparation is the fastest way to a disappointing paint job that won't last. Think of it like building a house you want to stand the test of time, a strong foundation is everything. For spray painting, that means a clean, dry, and sound surface for the paint to adhere to properly.
Rushing this stage means new paint can peel away with moisture, dirt, or mild mildew. Spending adequate time on preparation will save you a lot of headaches and re-work down the line, ensuring your fence looks great and stays that way.
Cleaning Up: Removing Dirt and Mildew
Before any paint touches your fence, it needs a thorough cleaning. Dirt, dust, cobwebs, and especially mildew can prevent paint from sticking. A dirty surface will result in a patchy finish and compromised durability. Plan to do this on a dry, mild day.
You can use a hose with a strong nozzle, a stiff broom, or even a power washer on a low setting for tough grime. For mildew, a mixture of one part bleach to three parts water can be effective. Scrub stubborn spots, rinse thoroughly, and let the fence dry completely. Manufacturer specs for exterior paints often recommend a pH neutral cleaner or a mild detergent for wood, followed by a thorough rinse.
Masking for Mistake-Proof Results
Overspray from spray paint can travel further than you think and land on surfaces you want to keep pristine. This is where painter's tape and drop cloths come in as your best friends. While spray painting is fast, it's less precise than brushing, so careful masking is non-negotiable.
Use painter's tape to protect any parts of the fence that aren't getting painted, such as hardware, metal brackets, or any decorative elements you're preserving. Lay down drop cloths or large plastic tarps around the base of the fence, extending them at least 10-15 feet out, especially on windy days. Covering nearby plants, garden beds, or siding on your house is also a smart move. This effort prevents unintended paint splatters and makes cleanup much simpler.
How to Spray Paint Fence Panels: A Step-by-Step Guide
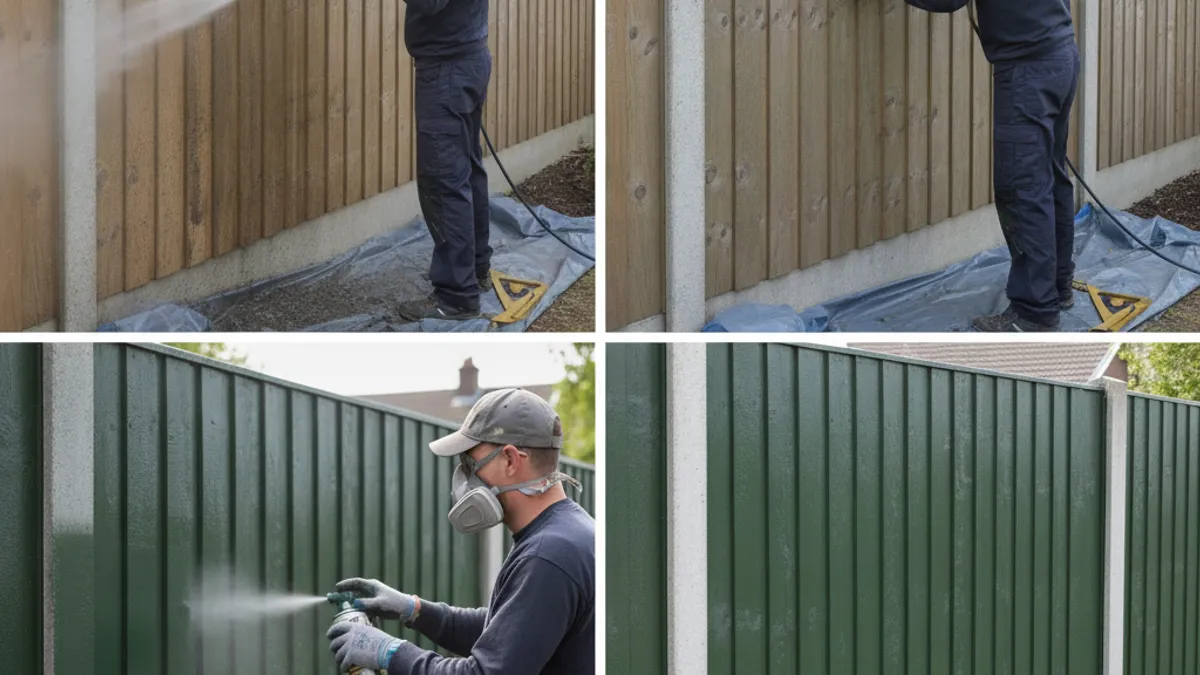
The actual act of spray painting itself is straightforward, but doing it well requires a bit of finesse. It's about creating a consistent, even layer of paint without letting it pool or drip. This method relies on controlled movements and proper can handling to achieve that smooth, factory-like finish we’re aiming for.
Following these steps will help you master the spray painting technique for your fence panels and avoid the common mistakes that lead to frustration and a less-than-perfect result.
Shaking, Testing, and Getting Started
Before you even point a can at your fence, give it a good shake. You want to hear the mixing ball rattling around inside; this ensures the paint and propellant are thoroughly mixed. This mixing is crucial for consistent spray and color.
Then, test the spray pattern on a piece of cardboard or a scrap board. Aim for a smooth, even fan shape. If the spray is spattery or uneven, shake the can longer or try a different can. This simple test prevents a messy start on your actual fence.
The Right Distance and Motion for Even Coverage
Holding the spray can at the correct distance from the fence is key to an even coat. Too close, and you risk drips and runs. Too far, and the paint may not adhere properly, leading to a dusty, uneven finish.
Our research, backed by manufacturer recommendations, suggests a distance of about 10-12 inches (25-30 cm) from the surface. For the motion, use long, sweeping strokes from your wrist and elbow, not your shoulder. Move at a consistent speed across the panel.
Applying Thin, Consistent Coats
Resist the urge to get perfect coverage in one thick pass. Spray painting works best when you apply multiple thin, even coats rather than one heavy one. This allows each layer to flash off and dry slightly, creating a much smoother and more durable finish.
Each coat should overlap the previous one by about 30-50%. This overlap ensures you don't leave any unpainted gaps and builds up the paint film uniformly. Think of it like coloring a picture; you want to cover the whole area without pressing too hard in any one spot.
Drying Times and When to Add More Layers
Proper drying time between coats is essential for a strong bond. Rushing to apply the next coat while the previous one is still wet can lead to runs, smudging, and a weakened finish. Always check the paint can for recommended recoat times.
Generally, you’ll find recoat times range from 30 minutes to a couple of hours, depending on the paint type and environmental conditions like temperature and humidity. Allow the paint to dry to the touch before applying the next layer, and always let the final coat cure fully for at least 24-48 hours before exposing it to harsh weather or heavy handling.
Common Pitfalls: Mistakes to Sidestep When Spray Painting Fences
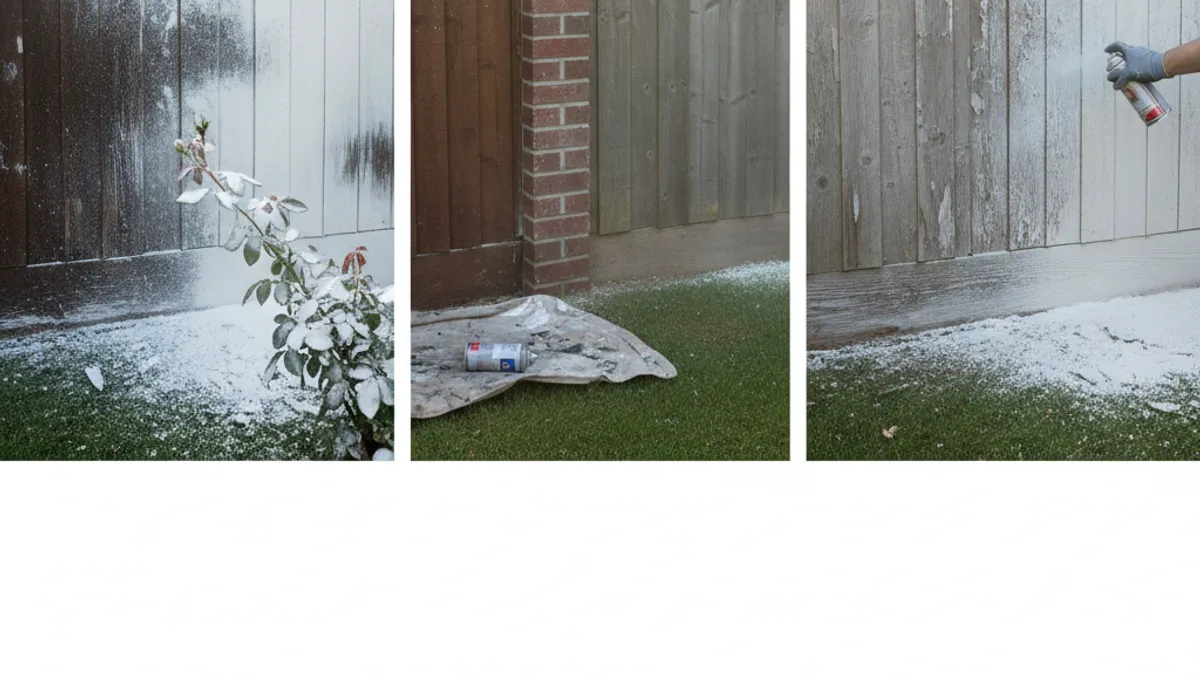
Even with the best intentions, a few common mistakes can turn a DIY spray-painting project into a frustrating mess. Knowing these pitfalls in advance allows you to actively avoid them, saving you time, paint, and the disappointment of a less-than-perfect finish.
Preparedness is your greatest defense. Thinking through the process, especially the prep work and the actual application technique, will set you up for success and a fence that looks professionally done.
Avoiding Drips, Runs, and Uneven Patches
The most frequent culprits for drips and runs are holding the can too close, moving too slowly, or applying too much paint in one go. This causes the wet paint to pool and run down the surface. Uneven patches can occur if you don't overlap your strokes sufficiently or if the can isn't shaken properly, leading to inconsistent paint flow.
To avoid these, maintain that consistent 10-12 inch distance. Keep your strokes moving smoothly and continuously, and ensure you overlap each pass. If you do notice a drip starting, stop spraying immediately and gently smooth it out with a brush or even a gloved finger while the paint is still wet. For dried drips, you may need to sand them down lightly before reapplying another thin coat.
Dealing with Overspray
Overspray, paint that drifts past your target and lands on unintended surfaces, is a major concern with spray painting. It can coat your lawn, nearby plants, your house siding, or even your car if you’re not careful. Proper masking is the first line of defense, but understanding wind conditions is also critical.
If it's a breezy day, you'll need more extensive masking and potentially longer drop cloths. It's often best to reschedule if the wind is too strong, as the spray will become uncontrollable. Always spray while standing upwind from the area you're painting to push the overspray away from your clean surfaces. If some overspray does occur, address it immediately when wet.
Many types of paint can be wiped off clean surfaces with a damp cloth, but dried overspray might require a solvent, so test this on an inconspicuous area first.
Spray Painting Fence Panels in Different Weather Conditions
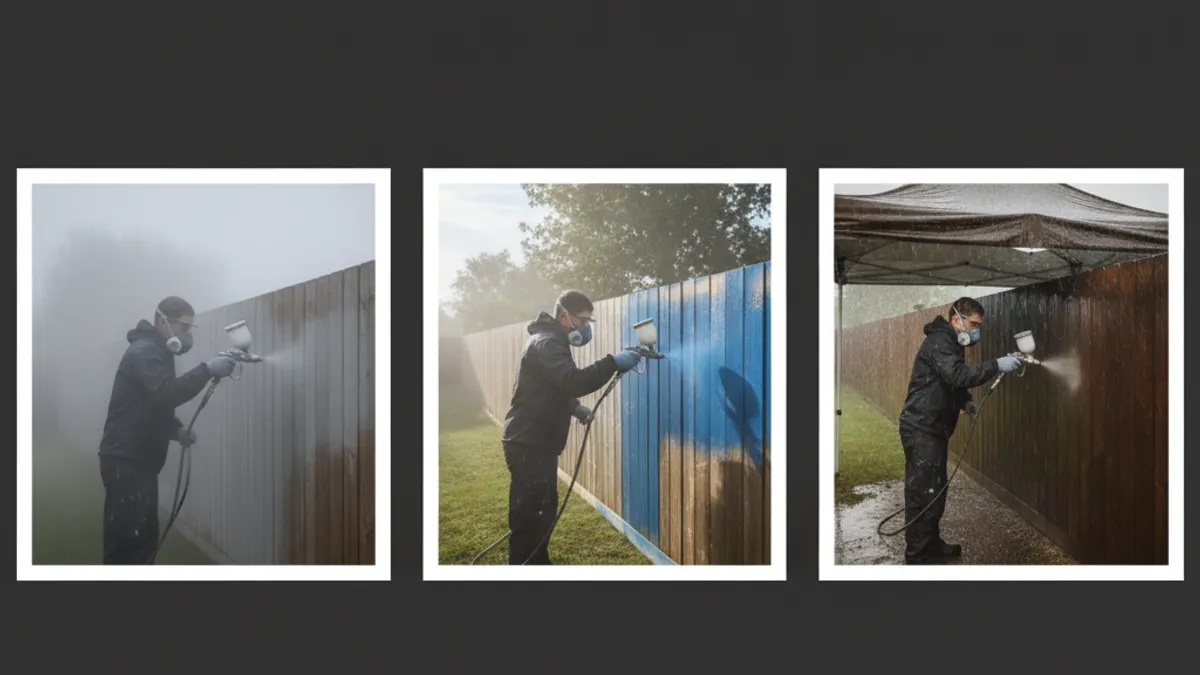
The weather plays a starring role in the success of any outdoor painting project, and spray painting fence panels is no exception. Conditions that seem only slightly off can significantly impact how the paint applies, dries, and ultimately performs. It's better to wait for ideal conditions than to risk a project that needs redoing.
Manufacturer specifications for most exterior paints, including spray cans, provide temperature and humidity ranges for optimal application. Deviating too far from these can lead to adhesion problems, slow drying, or surface defects.
Battling Wind: Tips for a Successful Spray Day
Wind is arguably the biggest enemy of spray painting outdoors. It blows the spray pattern off course, causing uneven coverage and a huge amount of overspray that travels far beyond your intended area. Unless it's a very light breeze, it's wise to postpone your painting.
If you must proceed on a slightly breezy day, use extensive masking and thicker tarps to create a makeshift windbreak. Always position yourself upwind of the fence panel you are painting. This way, the wind pushes the spray toward the fence, not away from it. You might also need to use wider, slower strokes to compensate for the drift.
Temperature and Humidity's Impact
Most exterior spray paints perform best within a specific temperature range, typically between 50°F (10°C) and 85°F (29°C). Painting in temperatures below this can cause the paint to dry too slowly or not cure properly, leading to a weak, prone-to-damage finish. Very high temperatures can cause the paint to dry too fast, leading to lap marks and an uneven texture.
High humidity is also a challenge. When the air is saturated with moisture, it slows down the drying and curing process significantly. In some tropical or very humid climates, moisture can even react with certain paint formulations, causing issues like blushing (a milky or hazy appearance). Always check the paint can for its specific temperature and humidity guidelines, and try to paint on a clear, dry day with moderate temperatures.
Cleaning Up Your Spray Painting Project
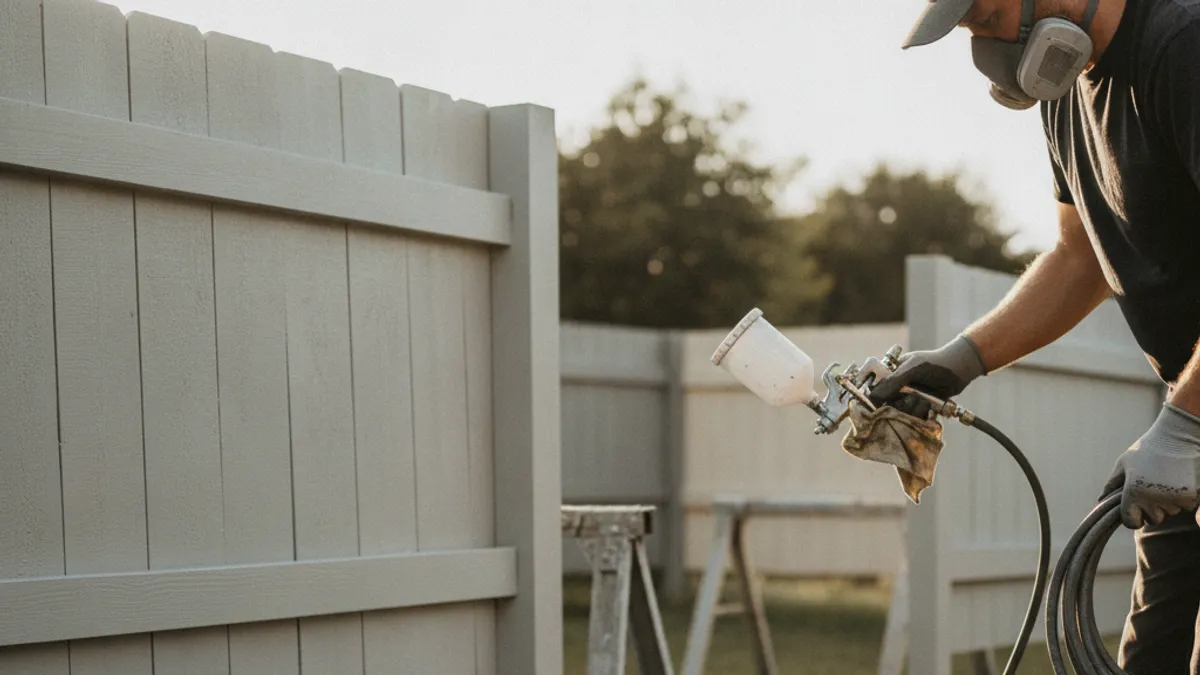
Once your fence panels are looking fresh and the paint has had adequate time to cure, it's time for the often-overlooked cleanup. Proper cleanup ensures your tools remain in good working order for future projects and that you dispose of leftover materials responsibly. This stage is as important as the preparation.
Don't just leave your cans or spray nozzles lying around. Taking a few extra minutes here will save you from clogged nozzles and wasted paint in the future.
Here's what you need to do:
- Clean the Nozzle: Immediately after you finish, turn the can upside down and spray for a few seconds until only clear propellant comes out. This clears any remaining paint from the nozzle to prevent clogging. Some high-quality spray paints even come with a cleaning solvent.
- Wipe Down Cans: Clean any paint off the outside of the cans.
- Dispose of Cans and Materials: Check local regulations for proper disposal of aerosol cans, especially if they still contain residual paint. Many recycling centers have specific guidelines for aerosol cans. Dispose of used drop cloths and tape responsibly.
- Clean Tools: If you used any brushes for touch-ups or drips, clean them thoroughly according to the paint type (water for latex, mineral spirits for oil-based).
Alternatives to Spray Painting Your Fence Panels
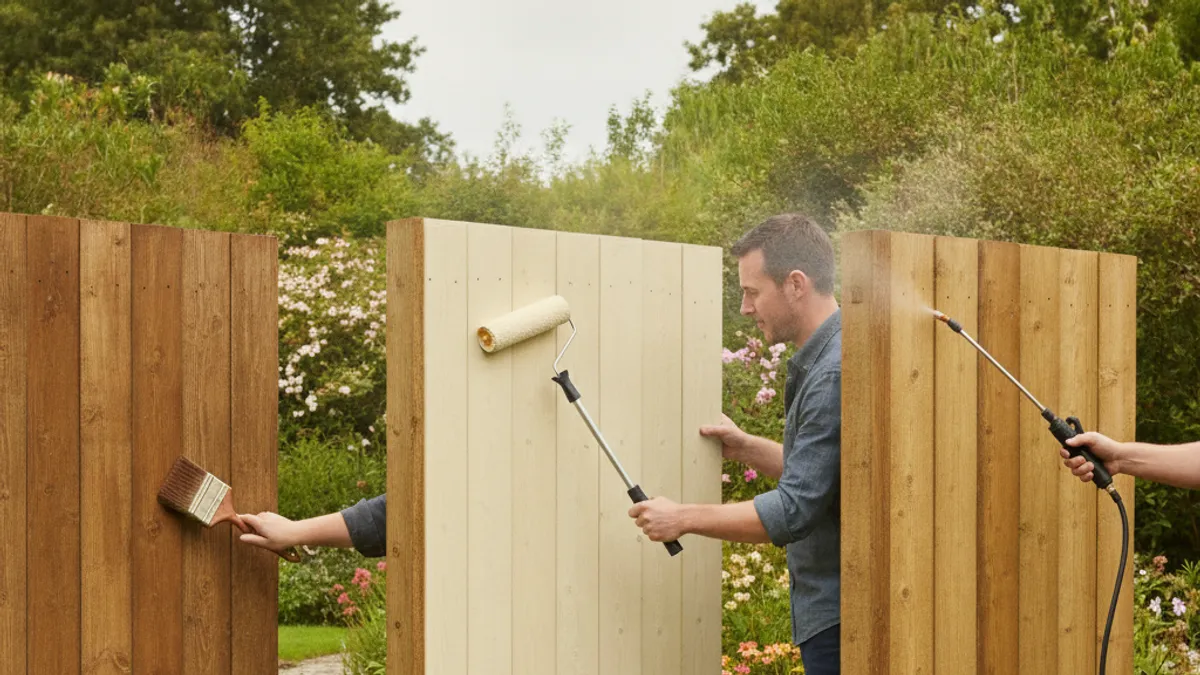
While spray painting offers distinct advantages in speed and finish, it's not the only way to give your fence a facelift. Depending on your fence's material, condition, and the look you're going for, other methods might be more suitable or even preferable. Understanding these alternatives can help you make the best choice for your specific project.
Sometimes, the limitations of spray painting, like susceptibility to wind or the need for extensive masking, make other methods more appealing. It's worth considering these options before committing to a spray-only approach.
Brush or Roller Application
Brushing and rolling are the traditional methods for painting fences. Brushing offers the most control, allowing you to meticulously work paint into the wood grain and get into every nook and cranny. This is often the best choice for intricate fence designs or when you want a very specific, textured look.
Rolling is faster than brushing for flat, large fence panels. However, it can be more challenging to get even coverage and reach all the edges without some touch-up work. Both methods require more physical effort and time than spray painting, especially for large fences.
Fence Stains
Fence stains offer a different aesthetic than paint, as they typically penetrate the wood rather than forming a surface film. They can enhance the natural beauty of wood grain while providing protection. Stains come in various opacities, from transparent to solid, with solid stains looking very similar to paint.
Some stains can also be applied with a sprayer, offering some of the speed benefits of spray paint, but they often involve a different application technique and cleanup process. If you want to preserve the wood's natural look or are painting an older fence with imperfections, a stain might be a better choice than opaque paint.
How Do I Know What Size Trimmer Line I Need?
Choosing the right trimmer line size is crucial for both the efficiency of your weed trimmer and its longevity. Using a line that's too thick can strain your trimmer's motor, potentially causing overheating or damage, while a line that's too thin might break too easily, requiring frequent reloads. The ideal size depends on your trimmer's power and the type of vegetation you're tackling.
Manufacturer specifications, such as those found on sites like the Outdoor Power Equipment Institute (OPEI) documentation or in owner's manuals, typically recommend line diameters based on trimmer engine size or power source. For example, electric trimmers often perform best with thinner lines, whereas gas-powered models can handle thicker, more durable options. As of 2026, standard line diameters still range widely, but knowing what your equipment can handle is key.
This isn't just about how well it cuts; it's also about how long your trimmer lasts. A consistently overloaded motor, for instance, might shorten its lifespan considerably.
Matching Line Size to Trimmer Power
The fundamental rule for selecting weed eater line is to match the diameter to the power of your trimmer. Smaller, less powerful electric or battery-powered trimmers are designed for lighter-duty work and benefit from thinner line diameters. These lines are easier for the motor to spin and don't draw as much current.
On the other hand, gas-powered trimmers, especially those with larger engines (over 30cc), have more torque and can handle thicker, more robust trimmer lines. These thicker lines are more durable and can cut through tougher weeds and grass without breaking as frequently. Using a line that’s too thick for a small trimmer is like trying to push a car up a hill with a bicycle, it's inefficient and risks damage.
Common Line Diameters and Their Uses
Trimmer line comes in various diameters, typically measured in inches or millimeters. Here's a general guide to what each size is best suited for:
- 0.045" to 0.065" (1.15mm to 1.65mm): These thin lines are ideal for very light-duty electric or battery trimmers. They're best for trimming soft grass and small weeds around delicate landscaping or where precision is paramount. They break easily if they encounter thicker material.
- 0.080" to 0.095" (2.0mm to 2.4mm): This is a common range for many residential electric and mid-range gas trimmers. It offers a good balance of cutting performance and durability for average lawns and moderately tough weeds. It's a versatile size for general yard work.
- 0.105" to 0.130" (2.7mm to 3.3mm): These thicker lines are designed for heavy-duty gas-powered trimmers. They excel at cutting through thick brush, dense weeds, and overgrown areas. While more durable, they require trimmers with sufficient power to spin them effectively without bogging down the engine.
The Performance Of Cheap Grow Tent Kits
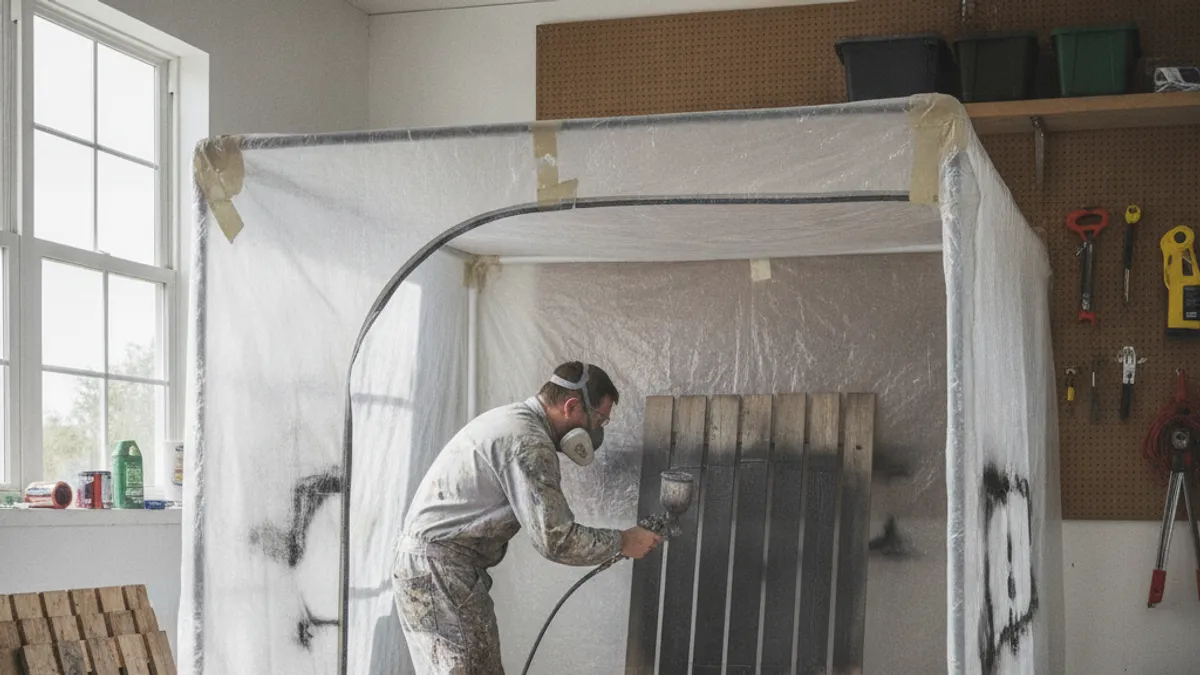
When setting up an indoor garden, a grow tent is often a central piece of equipment, helping to control the environment for your plants. Many budget-conscious growers look at cheap grow tent kits as a way to get started without breaking the bank. However, the performance of these kits can vary wildly, and it's important to understand what you're getting into.
Our analysis of aggregate user reviews and manufacturer data suggests that while cheap kits can get a beginner started, they often come with compromises in durability, environmental control, and ease of use. These compromises can impact plant growth and the overall success of your indoor garden over time. A cheap indoor grow tent might seem appealing, but thorough investigation is key.
What to Expect (and Not Expect) From Budget Kits
Cheap grow tent kits are typically constructed with thinner materials, less robust zippers, and simpler ventilation ports. This means they might not seal as tightly, allowing light leaks that can disrupt plant photoperiods or letting in unwanted pests. The fabric might also be less reflective, reducing the efficiency of your grow lights.
You might also find that the included poles or frame are less sturdy, making them susceptible to bowing or bending under the weight of equipment like lights or fans. While they might serve the initial purpose, expect a shorter lifespan and potentially more troubleshooting compared to higher-quality tents.
Investing in a Better Grow Tent
For those serious about indoor cultivation, investing in a higher-quality grow tent is often a wise decision. These tents are built with thicker, more durable fabrics (like 600D or 900D density), reinforced metal poles, and better sealing to prevent light leaks. They usually have more features, such as multiple-sized ventilation socks and tool-free assembly.
A better grow tent offers superior environmental control, maintaining consistent temperature and humidity levels more effectively. This stability is crucial for optimal plant growth and can lead to better yields and healthier plants. The upfront cost is higher, but the long-term benefits in performance and durability often make it a more economical choice.
Grow Tent Size Guide
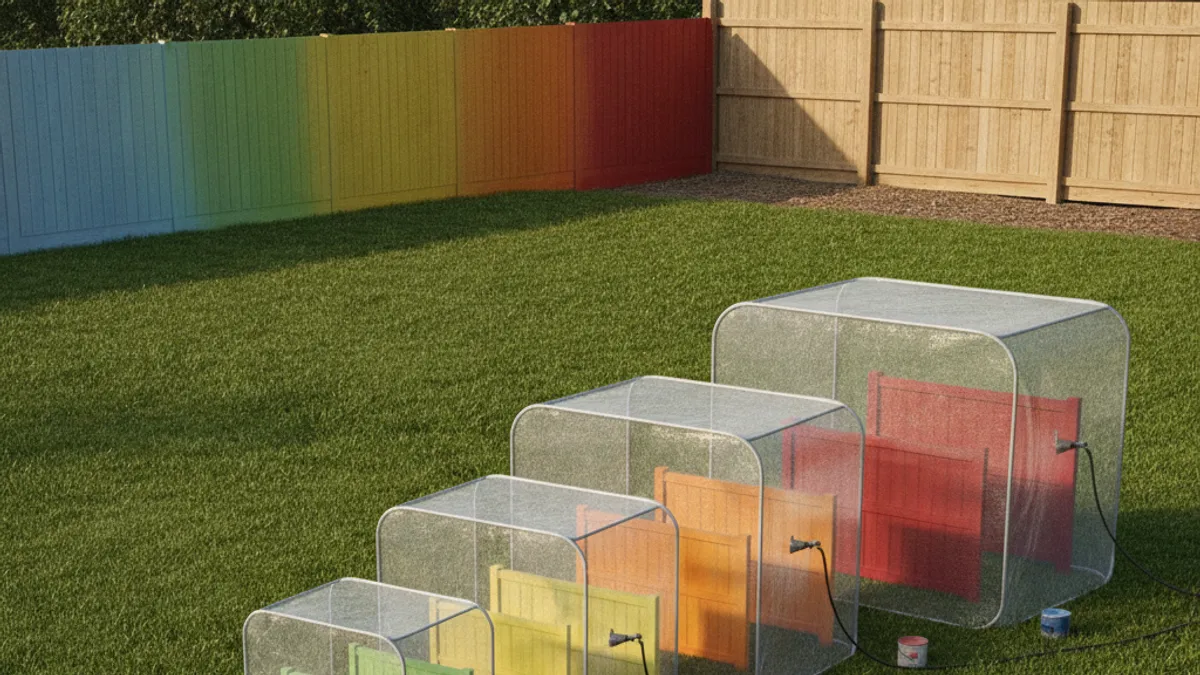
Selecting the correct grow tent size is a critical decision that impacts not only the number of plants you can grow but also the effectiveness of your lighting and ventilation systems. A tent that's too small can lead to overcrowding, poor airflow, and heat buildup, while one that's too large might waste valuable light energy and increase heating costs. There are several factors to consider beyond just the number of plants.
According to industry best practices and manufacturer sizing charts, the amount of light you plan to use is a primary determinant. For instance, a common target is to have one to two square feet of grow space per 100 watts of grow light wattage for optimal coverage. A grow tent setup guide can provide more practical installation advice.
Here’s a breakdown to help you choose:
- Small Tents (e.g., 2'x2', 2'x4'): Ideal for beginners, hobbyists, or those growing small herbs or a few individual plants. They are also suitable for starting seedlings or housing mother plants. These are easy to fit into closets or small rooms.
- Medium Tents (e.g., 4'x4', 3'x6'): These offer more space for a moderate number of plants, suitable for fruiting plants like peppers or tomatoes, or a small group of cannabis plants. They generally accommodate standard-sized grow lights effectively.
- Large Tents (e.g., 5'x5', 8'x8', 10'x10'): Designed for larger-scale operations or those growing many plants. They require more significant lighting and ventilation setups to maintain a controlled environment. These tents are often the focal point of a dedicated grow room.
Grow Tent Ventilation Setup
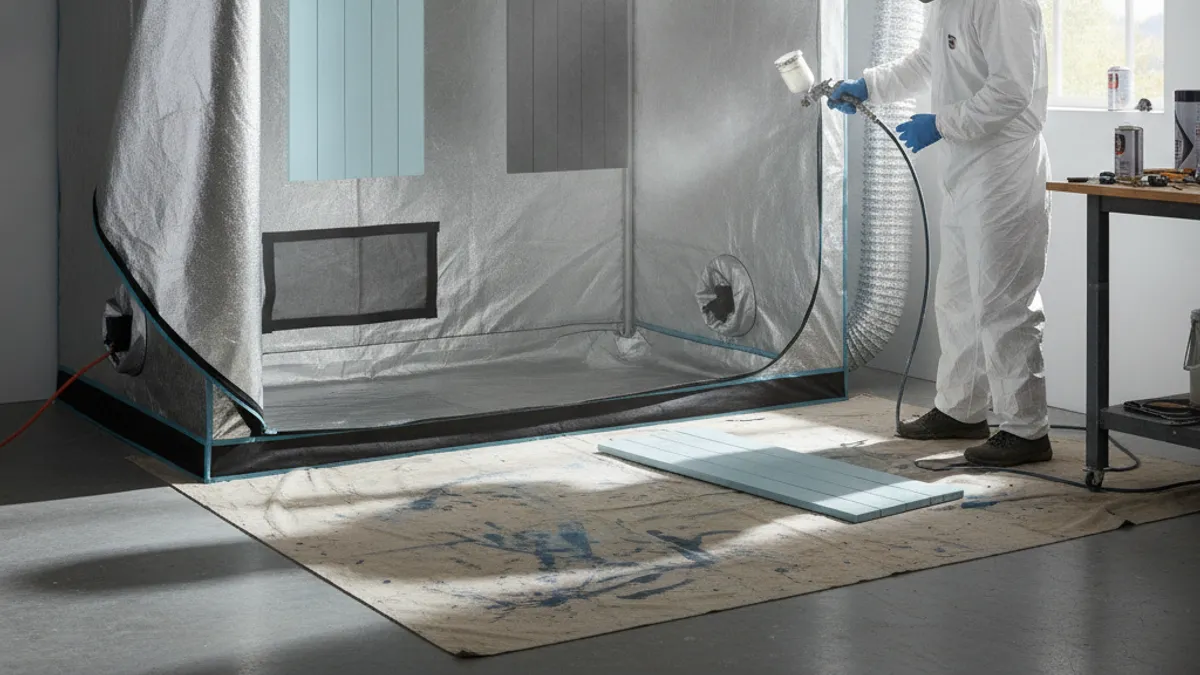
Proper ventilation is the lifeblood of any indoor grow tent, ensuring a steady supply of fresh air, removing heat and humidity, and preventing mold or pests. Without an effective ventilation system, your plants will struggle in a stagnant, overheated environment, leading to poor growth. It's not just about having a fan; it's about creating a balanced air exchange system.
According to standards often referenced by horticultural equipment manufacturers, maintaining optimal air circulation and temperature within a grow tent is paramount for healthy plant development and maximizing yield. A good grow tent ventilation setup involves several key components working in harmony. This includes an intake method for fresh air and an exhaust system to remove stale air.
Here's what a typical, effective setup includes:
- Inline Fan: This is the workhorse that pulls air out of the tent. The size of the fan (rated in Cubic Feet per Minute or CFM) should be sufficient to exchange the tent's air volume at least once per minute. For example, a 4'x4' tent (64 cubic feet) would ideally need a fan rated at 64 CFM or higher.
- Carbon Filter: Attached to the inline fan, this scrubbed the odor from the air being exhausted, which is crucial for discretion. The filter's CFM rating should match or slightly exceed the fan's CFM.
- Ducting: Flexible aluminum ducting connects the fan and filter to where air is exhausted, often outside the grow room or tent.
- Air Intake: This can be passive (using vents in the tent that can be opened or closed) or active (using a smaller fan to push fresh air in). For tents with active exhaust, passive intake often suffices, allowing pressure differences to draw air in.
- Circulation Fans: Small oscillating fans placed inside the tent help move air around the plants, mimicking natural breezes. This strengthens plant stems and prevents stagnant air pockets where mold can thrive.
How To Start A Lawn Mower After Winter
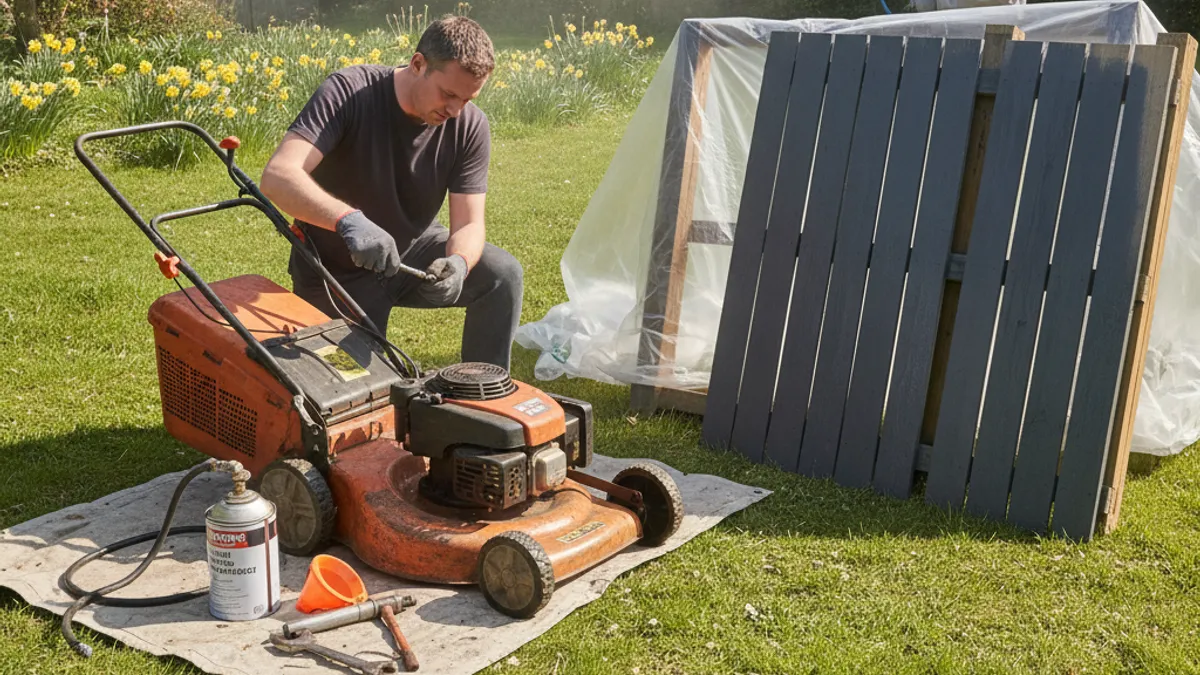
Getting your lawn mower ready for the spring after a long winter hibernation requires a bit of care and attention. Trying to start it without proper preparation can lead to frustration and potential damage. A well-maintained mower starts more easily, runs more efficiently, and lasts longer.
Manufacturer guidelines, like those from engine manufacturers such as Briggs & Stratton, emphasize routine maintenance before the first spring use. This typically includes checking and potentially changing vital fluids and components. A good post-winter tune-up is essential for reliable performance throughout the mowing season. You can also find how to repair a lawn mower without a technician for general troubleshooting.
Here’s a breakdown of steps to get your mower ready:
- Clean the Mower: Start by giving the entire mower a good cleaning. Remove any accumulated grass clippings, dirt, or debris from the deck, engine, and wheels. This helps prevent rust and ensures components can function freely.
- Check the Oil: If you didn't change the oil in the fall, now is the time. Most small engines recommend an oil change at least once a season. Use the type and viscosity of oil recommended by your mower’s manufacturer. For example, many lawn mowers use SAE 30 oil in warmer months.
- Inspect and Replace the Air Filter: A dirty air filter restricts airflow to the engine, making it run poorly and potentially causing damage. Inspect the air filter; if it's clogged with dust or debris, replace it. Some filters can be cleaned, but replacement is often more effective.
- Check and Replace the Spark Plug: A fouled or old spark plug can prevent the engine from starting or running smoothly. Remove the old spark plug, inspect it for wear or damage, and replace it with a new one, ensuring the gap is correctly set according to your mower's manual.
- Inspect the Fuel System: If you didn't drain the fuel tank in the fall, you might have issues with stale gasoline. Old fuel can gum up the carburetor. You may need to drain the tank and refill it with fresh gasoline, or consider using a fuel stabilizer for future storage.
- Sharpen the Blade: A dull blade tears grass rather than cutting it, leading to an unhealthy lawn and a more strenuous job for your mower. Remove the blade and sharpen it, or have it professionally sharpened. Ensure it's balanced after sharpening to prevent engine vibration.