
So you're standing in your living room, staring at a bare corner, and thinking, "What do I need to start an indoor garden?" It's a fair question. Walk into any garden center or scroll through an online store and you'll find shelves full of lights, pots, soil bags, and gadgets. It's overwhelming, and honestly, most of what's on those shelves is stuff you don't need right now.
Here's the truth that most beginners don't hear: your shopping list depends entirely on where you're putting the garden and what you want to grow. A windowsill herb garden needs almost nothing, a few pots, some soil, and a south-facing window. A basement lettuce setup needs a decent LED grow light and a timer.
Our research shows that over 60% of failed indoor gardens die because people bought gear before they knew their light situation. Let's fix that.
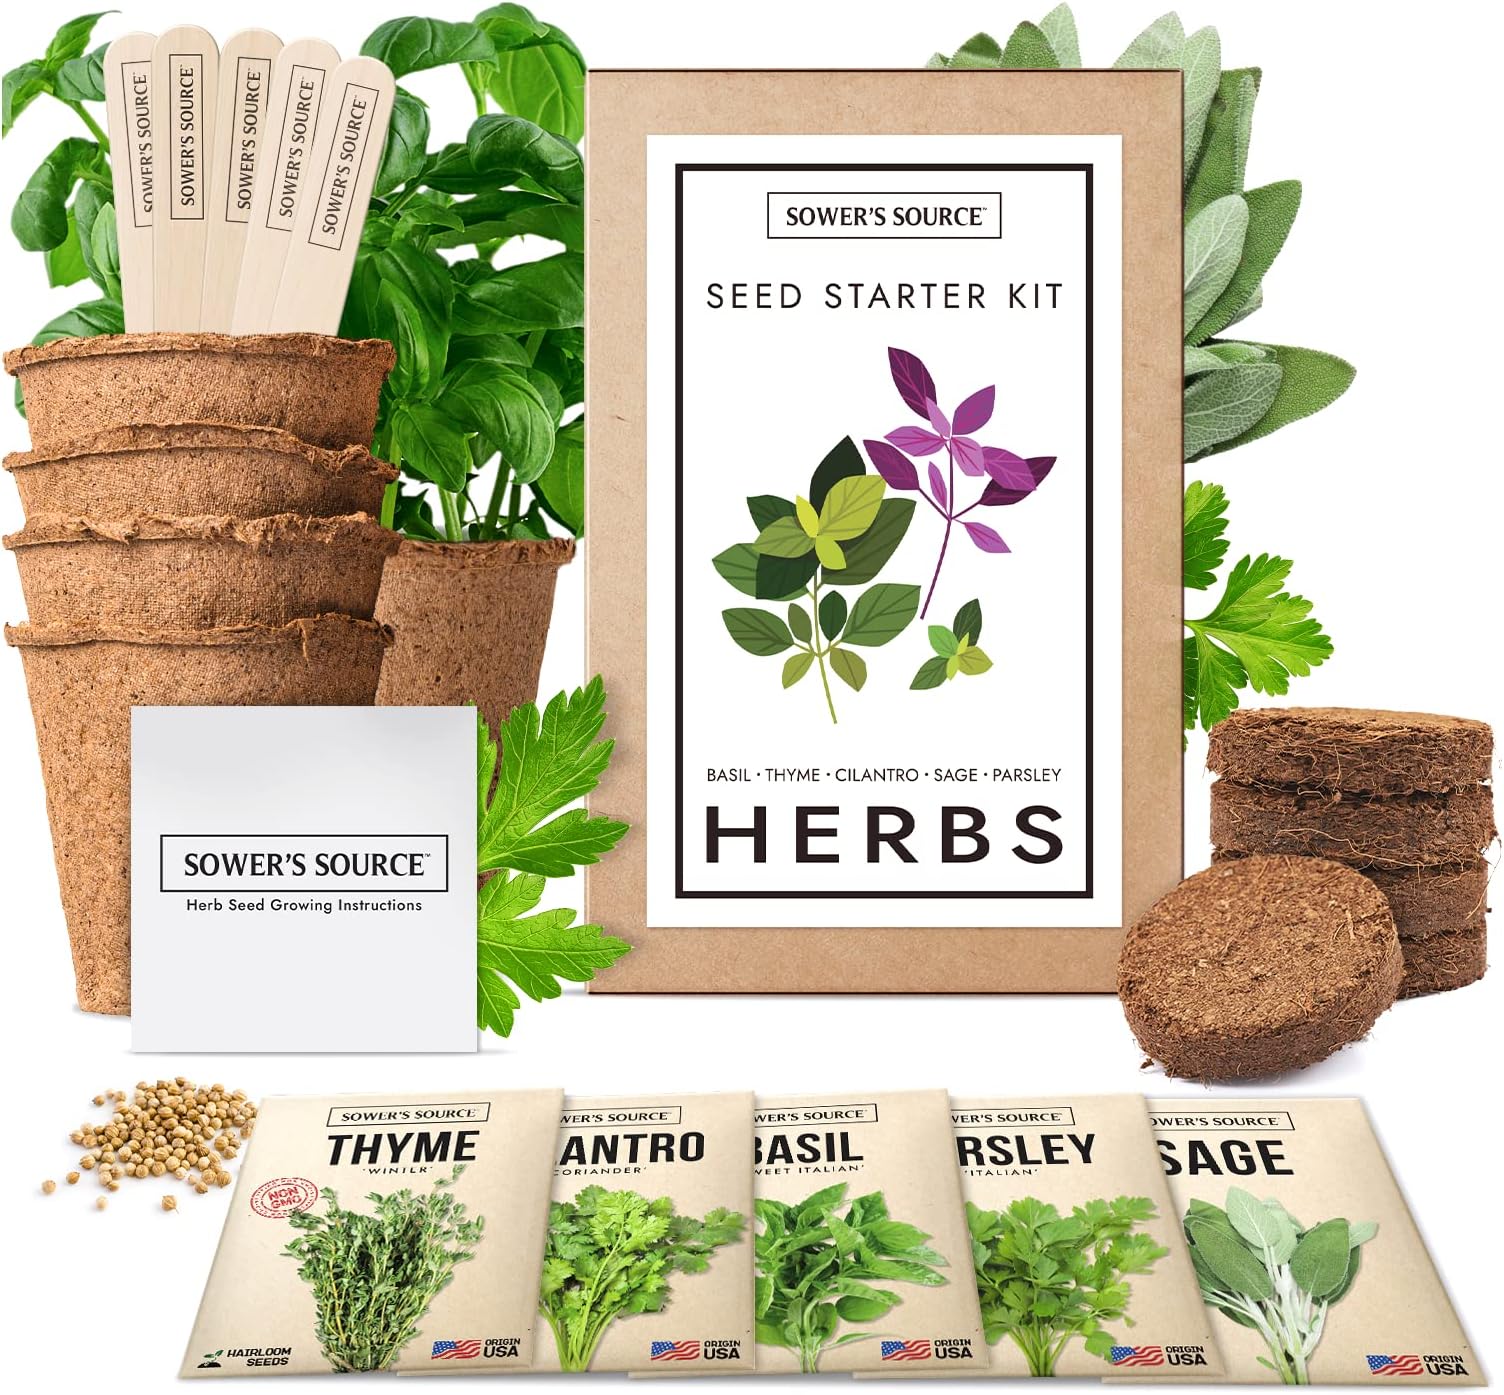
Image source: Bing (Web (fair-use with source credit))
Quick Answer
You need four things to start: a light source, containers with drainage, indoor potting mix, and seeds or starter plants. That's it for a basic setup. Match your light to your plants first.
Buy your gear second. Start small, three to five pots, and learn before you scale up.
Step 1: Figure Out Your Light Situation First
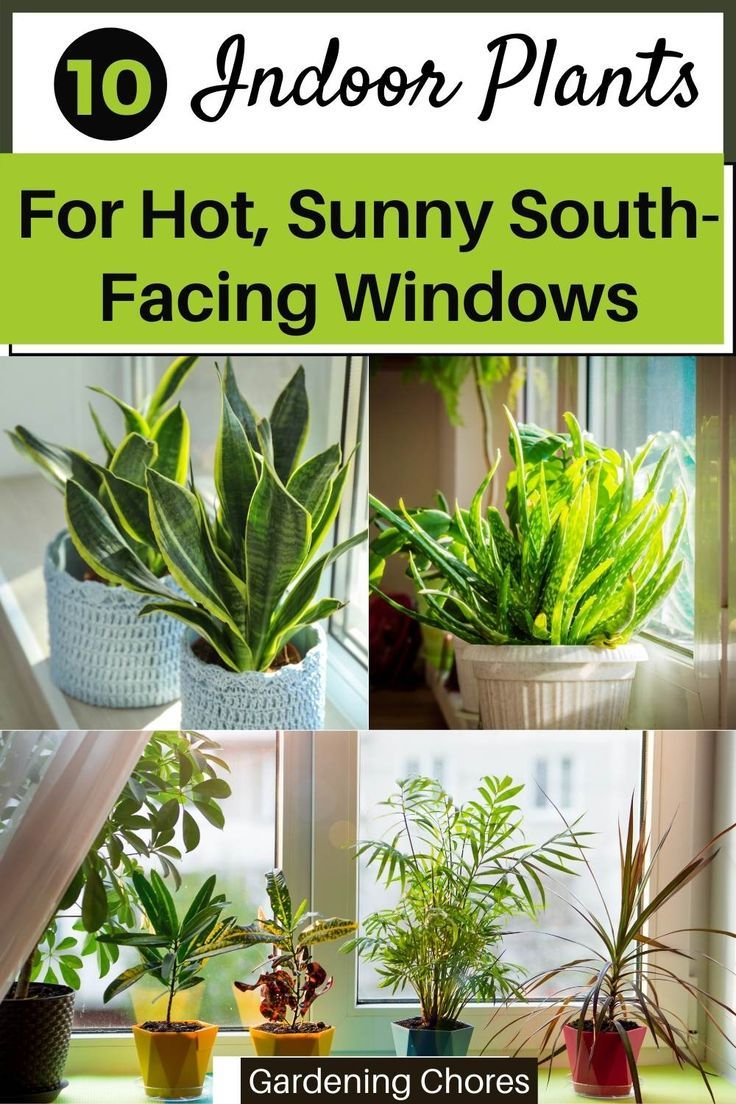
Image source: Bing (Web (fair-use with source credit))
This is the make-or-break step. Indoor plants don't fail because people forget to water them. They fail because they don't get enough light.
So before you buy a single pot, spend a day watching your space.
How to measure your natural light
Take a notebook and check the spot every two hours from sunrise to sunset. Note how many hours of direct sunlight hit the area. A south-facing window gets the most, typically six to eight hours in winter.
East-facing windows get morning light, about three to four hours. North-facing windows get almost none.
If your spot gets less than two hours of direct sun per day, you're in the "grow light required" zone. No amount of "bright indirect light" claims on plant tags will fix this. As of 2026, even the most shade-tolerant herbs like mint need at least four hours of decent light to thrive.
The quick test for windowsill gardens
Hold your hand flat about six inches above the surface where you'd put the pots. If you see a sharp, clean shadow with defined edges, you've got strong light. If the shadow is fuzzy or barely there, your window won't cut it for most edibles.
Leafy greens and herbs need that sharp-shadow level of light.
When you can skip the grow light
You don't need a grow light if you have:
- A south or west-facing window with at least four hours of direct sun
- An east-facing window with morning sun and reflective walls nearby
- A sunroom or glassed-in porch
You need a grow light if:
- Your only option is a north-facing window
- The space is more than three feet from the nearest window
- You want to grow year-round through short winter days
- You're putting the garden in a basement, garage, or interior room
The cheap way to test: try a three-dollar pothos or spider plant in the spot for two weeks. If it grows leggy (long stems with wide gaps between leaves) or the leaves turn pale, you need supplemental light. That's a real-world test that costs less than a fancy light meter.
Step 2: Match Your Plants to Your Light (Not the Other Way Around)
This is the single biggest shortcut to success. Don't fall in love with a tomato plant if you live in a dim apartment. Instead, fall in love with plants that love your light.
Low-light plants for dim rooms
These tolerate lower light and are perfect for north-facing windows or rooms with limited natural light:
- Pothos and philodendrons (houseplants, not for eating)
- Snake plants
- ZZ plants
- Peace lilies
- Ferns
Medium-light herbs and greens
These need about four to six hours of good light per day. They're your best bet for a basic edible garden:
- Basil (needs the high end of this range)
- Mint
- Chives
- Parsley
- Cilantro
- Lettuce and spinach (especially loose-leaf varieties)
- Microgreens (these are surprisingly forgiving)
High-light plants that need serious wattage
These demand eight or more hours of strong direct light. Skip them unless you have a sunny south window or are investing in proper grow lights:
- Tomatoes (especially fruiting varieties)
- Peppers
- Eggplant
- Cucumbers
- Succulents (most types)
- Cannabis (if legal in your area)
What most beginners should start with
Go with herbs. Basil, mint, chives, and parsley grow fast, forgive mistakes, and cost pennies per plant compared to buying them fresh at the grocery store. A single basil plant costs about three dollars from a nursery and will produce more leaves than you can use for months.
If you want something even faster, try microgreens. They're ready to harvest in 7 to 14 days, need minimal light, and don't require deep pots. A tray of microgreens under a basic LED light will give you fresh greens faster than anything else you can grow indoors.
Step 3: Choosing Between Seeds, Seedlings, or Cuttings
You've got three starting points. Each has a different time commitment and cost profile.
Seeds: cheapest but slowest
A packet of basil seeds costs about two to four dollars and contains 50 to 100 seeds. That's pennies per plant. The trade-off is time.
Most herbs take 2 to 4 weeks to germinate and another 4 to 6 weeks before you can start harvesting.
Seeds need consistent moisture and warmth. A heat mat (about 20 dollars) speeds germination significantly, but it's not mandatory. You can germinate seeds on top of a refrigerator or near a heating vent as long as the soil stays around 70 to 75 degrees Fahrenheit.
Best for: people who want to grow a lot of plants cheaply and don't mind waiting.
Seedlings: faster start, higher cost
Nursery seedlings are 6 to 8 weeks old when you buy them. A single basil seedling costs three to five dollars. You're paying for the head start.
You can harvest from a seedling in about 2 to 3 weeks instead of waiting 8 weeks from seed.
The downside: limited variety. Your local nursery carries the most popular herb varieties, not the interesting heirlooms. You also risk introducing pests or diseases from the nursery soil.
Best for: beginners who want quick results and don't need rare varieties.
Cuttings and propagation: free if you know someone
Take a 4 to 6 inch cutting from a friend's mint or basil plant. Strip the lower leaves, stick it in water, and roots appear in about a week. Transplant to soil after the roots are an inch long.
Cost: zero.
This method works great for mint, basil, rosemary, and many houseplants. It's also the most satisfying way to start. There's something magical about watching roots grow from a stem in a glass of water.
Best for: anyone with a gardening friend or neighbor. Ask nicely, most gardeners love sharing.
Step 4: Pots, Soil, and Drainage — the Boring Stuff That Matters

Image source: Bing (Web (fair-use with source credit))
This section is not glamorous, but it's where most beginners fail. Let's get it right.
Pot material pros and cons
| Material | Pros | Cons | Best for |
|---|---|---|---|
| Plastic | Cheap, lightweight, retains moisture | Can look cheap, may degrade in sunlight | Most beginners |
| Terracotta | Porous (dries faster), natural look | Heavy, breaks easily, dries out fast | Succulents, overwaterers |
| Ceramic (glazed) | Attractive, retains moisture well | Heavy, expensive, can lack drainage | Decorative setups |
| Fabric grow bags | Excellent drainage, root pruning | Dries out fast, can look messy | Hydroponics, serious growers |
Why "indoor potting mix" is different from garden soil
Garden soil is too heavy for pots. It compacts, holds too much water, and suffocates roots. Indoor potting mix is lighter, contains perlite or vermiculite for aeration, and drains faster.
Don't use garden soil indoors. You'll get compacted, waterlogged pots and root rot within weeks. A bag of indoor potting mix costs about eight to twelve dollars and lasts for several repottings.
The #1 beginner mistake: no drainage holes
Every single pot needs a hole in the bottom. Not one, not "some," every pot. Water has to escape.
If you fall in love with a pot that has no holes, drill some yourself with a ceramic bit (about ten dollars at any hardware store) or use it as a decorative cache pot with a plastic nursery pot inside.
Soil depth by plant type
- Shallow roots (lettuce, microgreens, herbs): 4 to 6 inches deep is plenty
- Medium roots (basil, peppers): 8 to 10 inches
- Deep roots (tomatoes, larger plants): 12 inches or more
You can always use shallower pots than recommended; the plant will just grow smaller. That's fine for a windowsill garden. A basil plant in a four-inch pot will produce enough leaves for occasional use.
A basil plant in an eight-inch pot will feed your whole household.
Step 5: Setting Up Your Grow Light (When You Need One)
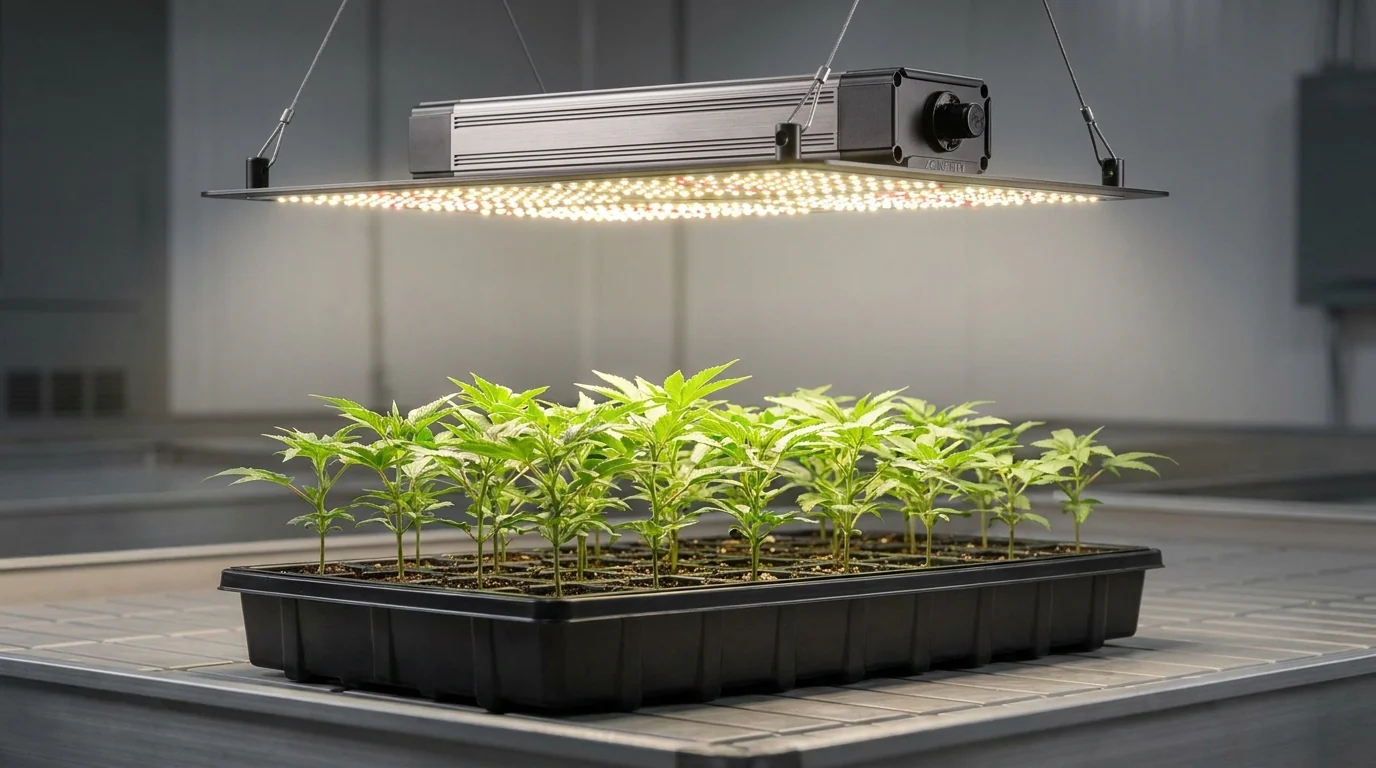
Image source: Bing (Web (fair-use with source credit))
If you're reading this section, you've already determined your space needs supplemental light. Good call. Now let's set it up properly so you don't waste money on electricity and still end up with leggy plants.
How far to hang the light
Distance matters more than wattage. A light hung too high gives the plant almost nothing useful. A light hung too close burns the leaves.
General guidelines for LED grow lights:
- High-intensity LEDs (50+ watts actual draw): 18 to 24 inches from the canopy
- Standard LED shop lights (20 to 40 watts): 6 to 12 inches
- Fluorescent tubes (T5 or T8): 4 to 6 inches (they run cooler)
The "hand test" works here too. Place your hand at the top of the plant canopy under the light. If it feels warm after 30 seconds, the light is too close.
If you feel nothing, it's too far.
Timers and light schedules
Plants need a dark period. Full-time light stresses them and slows growth. A basic mechanical timer costs about eight dollars and is one of the best investments you'll make.
Recommended schedules by plant type:
- Leafy greens and herbs: 14 to 16 hours on, 8 to 10 hours off
- Seedlings: 16 hours on, 8 hours off
- Flowering plants (tomatoes, peppers): 12 hours on, 12 hours off
Set the timer so the lights run during daytime hours. Plants appreciate the natural rhythm. A 6 AM to 10 PM schedule works well for most indoor gardens.
Full-spectrum white vs. blurple — what's the real difference?
Full-spectrum white LEDs look like regular light bulbs. They produce a broad range of wavelengths including green light, which makes plants look natural to our eyes.
Blurple lights (red and blue only) are more energy-efficient for photosynthesis. They look purple to our eyes and make plants look weirdly colored. They were the standard for years, but full-spectrum lights have caught up in efficiency.
Our research and manufacturer specifications indicate that for a small indoor garden (under 10 square feet), a full-spectrum white LED is the better choice. Your plants won't grow better under blurple, but you'll enjoy looking at them a lot more. A 30-watt full-spectrum LED panel costs about 25 to 40 dollars and covers a two-foot-by-two-foot area perfectly.
What to look for in a budget grow light
You don't need a 300-dollar fixture for herbs and greens. A 24-inch LED shop light from a hardware store works fine. Look for:
- Actual wattage (not "equivalent" wattage), at least 20 watts for a small setup
- A color temperature of 5000K to 6500K (daylight spectrum)
- A timer-compatible plug
- A hanging kit or chain included
Avoid the cheap blurple panels under 10 watts. They look like they should work, but they don't deliver enough intensity to grow anything beyond seedlings. A 10-watt blurple panel will keep a succulent alive but won't grow a basil plant worth harvesting.
Step 6: Watering the Right Way
Watering is the skill that separates thriving indoor gardens from sad, droopy ones. It's also the easiest thing to get wrong.
How to check if your plant needs water
Don't water on a schedule. Water when the soil tells you to. Stick your finger about an inch into the soil.
If it feels dry at that depth, water. If it feels moist, wait a day and check again.
This "finger test" works for almost every common herb and houseplant. It's free, instant, and more reliable than any moisture meter under 15 dollars.
Bottom watering vs. top watering
Bottom watering means pouring water into the saucer or tray under the pot. The soil wicks it up through the drainage holes. This method:
- Prevents fungus gnats (they breed in soggy topsoil)
- Encourages deeper root growth
- Avoids splashing soil onto leaves
Top watering is faster and flushes out excess mineral buildup. Use it when you repot or every few weeks. Just pour slowly until water runs out the bottom.
How much water and how often
For most herbs in 4 to 6 inch pots, you'll water about once every 2 to 4 days. Smaller pots dry faster. Bigger pots hold moisture longer.
Plastic pots retain water more than terracotta.
The exact frequency depends on your home's humidity, temperature, and how much air circulation you have. In winter with the heater running, you'll water more often. In a humid bathroom, less often.
Signs you're overwatering vs. underwatering
| Symptom | Likely cause | Fix |
|---|---|---|
| Yellow lower leaves, soggy soil | Overwatering | Let soil dry completely, then water less frequently |
| Wilting leaves, dry soil | Underwatering | Give a thorough soak, check daily |
| Brown leaf tips, crispy edges | Underwatering or low humidity | Increase watering frequency, add humidity tray |
| Mold on soil surface | Overwatering, poor air circulation | Scrape off mold, water less, add a small fan |
| Leaves dropping off | Either extreme | Check soil moisture immediately |
The golden rule
When in doubt, underwater. Indoor plants recover from dry soil much faster than from root rot. A wilted basil plant perks up within hours of watering.
A basil plant with rot is gone in days.
Step 7: Fertilizer and Maintenance
Your indoor plants need food. But not right away.
When to start fertilizing
Seeds contain enough energy to get through the first few weeks. Don't fertilize until your seedlings have their first set of true leaves (the second pair that appears after the initial baby leaves).
For nursery seedlings or cuttings, wait at least two weeks before adding fertilizer. The soil they came in already has nutrients.
Liquid vs. slow-release for indoor plants
Liquid fertilizer gives you control. You decide when and how much. Mix it at half strength for indoor herbs (most bottles recommend full strength for outdoor plants, which is too hot for containers).
Slow-release granules and spikes are convenient but harder to adjust. If the plant shows signs of nutrient burn, you can't undo a slow-release spike. You'd have to repot.
| Fertilizer type | Pros | Cons | Best for |
|---|---|---|---|
| Liquid (water-soluble) | Precise control, fast results | Needs mixing every 1-2 weeks | Most beginners |
| Slow-release granules | Set it and forget it for 3 months | Hard to adjust, can burn roots | Busy growers |
| Organic liquid (fish emulsion, seaweed) | Gentle, improves soil biology | Smells, needs more frequent application | Eco-conscious growers |
What NPK ratio to use for herbs and greens
Look for a balanced fertilizer with a ratio around 5-5-5 or 10-10-10. The three numbers stand for nitrogen, phosphorus, and potassium. Herbs and leafy greens need more nitrogen (the first number) than flowering plants.
For fruiting plants like indoor peppers or tomatoes, switch to a lower-nitrogen formula like 5-10-10 once they start flowering. Too much nitrogen gives you big leaves and no fruit.
Humidity, air circulation, and pest prevention
Indoor air is dry in winter. Most herbs prefer 40 to 60 percent humidity. If your home is drier than that, you'll notice crispy leaf edges.
A simple fix: group plants together. They create a microclimate with higher humidity around them. You can also set pots on a tray filled with pebbles and water.
The water evaporates around the plants without soaking the pot bottoms.
Air circulation matters too. A small oscillating fan on low for a few hours daily prevents mold and strengthens stems. Point it away from the plants so it gently rustles the leaves, not blasts them.
For pest prevention, inspect new plants before bringing them inside. Look under leaves for tiny bugs or sticky residue. Isolate any new plant for a week before putting it near your existing garden.
Common Mistakes That Kill Indoor Gardens (and How to Avoid Them)
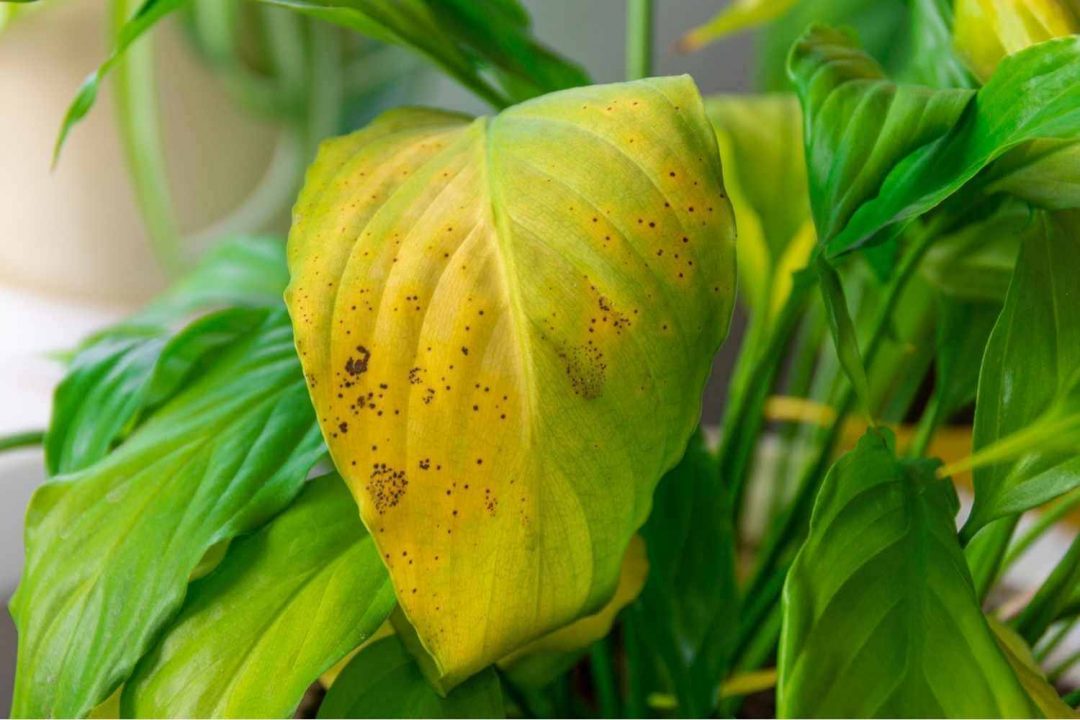
Image source: Bing (Web (fair-use with source credit))
Every indoor gardener makes mistakes. The trick is making the cheap ones first.
Buying gear before knowing your space
This is the most expensive mistake. People buy a four-foot grow light and fancy tent setup, then realize their only available space is a narrow shelf in a corner. The light doesn't fit.
The tent blocks the walkway.
Fix this: measure your space before you buy anything. Write down the width, depth, and height. Know how close the nearest outlet is.
Only then look at equipment.
Starting with the wrong plants
A north-facing windowsill will not grow tomatoes. A dark corner will not support basil. Trying to force the wrong plant into the wrong light is like trying to bake bread in a refrigerator.
Fix this: use the light-matching table in Step 2. Pick plants that match your space, not the ones you wish you could grow.
Overcomplicating everything
Beginners often buy special meters, fancy pH kits, and expensive fertilizers before they've grown a single leaf. Most of that gear sits unused after week two.
Fix this: the only tools you need for the first month are a pot, soil, seeds, and a way to water. Add a grow light if your space needs it. That's it.
You can buy the fancy stuff later if you want to nerd out.
Watering on a fixed schedule
Watering every Tuesday is a recipe for disaster. Your plant's water needs change with the season, your heating schedule, and its growth stage.
Fix this: use the finger test every time. Dry at one inch deep = water. Moist = wait.
Ignoring the light distance
Grow lights lose intensity fast with distance. A light that's 24 inches above your plants delivers only about 25 percent of the intensity it gives at 12 inches. Your plant starves while the light burns electricity.
Fix this: keep lights at the recommended distance from the canopy. Raise them as the plants grow.
What This Will Cost You
Let's talk real numbers. Here's what you'll spend depending on your ambition level.
Bare-bones setup: $40 to $60
- 3 plastic pots with drainage holes: $9
- 1 bag indoor potting mix (8 quarts): $8
- 2 seed packets (basil and chives): $6
- 1 basic LED shop light (24 inch, 20 watt): $22
- 1 mechanical timer: $8
Total: about $53. You'll grow enough herbs for occasional cooking use.
Mid-range setup: $80 to $150
- 6 ceramic or plastic pots (various sizes): $24
- 1 bag premium potting mix: $12
- 4 to 6 nursery seedlings: $20
- 1 quality full-spectrum LED panel (30 to 50 watt): $40
- 1 digital timer: $15
- 1 small fan: $15
- 1 liquid fertilizer: $10
Total: about $136. You'll have a steady supply of herbs and greens for most of the year.
Serious setup: $200+
- Grow tent (2×2 or 2×4 feet): $60
- Higher-wattage LED (100 watt actual draw): $80
- Multiple pots and growing trays: $30
- Ventilation fan and ducting: $40
- Timer, fertilizer, soil: $30
- Seedling heat mat: $20
Total: about $260 and up. You can grow tomatoes, peppers, and leafy greens year-round in any climate.
Where to save money
Skip the grow tent unless you need light control or privacy. A shelf in a spare room works just as well. Skip the digital timer; a mechanical one does the same job for half the price.
Skip the fancy pH meter; tap water is fine for most herbs.
Quick Decision Guide: What Should You Start With?
Match your situation below. Pick the one that sounds like you.
Scenario A: You have a sunny windowsill (south or west facing, 4+ hours direct sun).
Get three 4-inch plastic pots, a bag of indoor potting mix, and two herb seedlings from a nursery. No grow light needed. Total cost: about $25.
Water when the soil feels dry an inch down. You'll have fresh herbs in two weeks.
Scenario B: You have a dim room or north-facing window.
Get a 24-inch LED shop light (20 watts or more), a mechanical timer, three pots, potting mix, and two seed packets. Set the light 6 inches above the pots on a 14-hour timer. Total cost: about $55.
Start with chives and mint. They tolerate lower light better than basil.
Scenario C: You have a basement or spare room and want to grow year-round.
Get a 2×2 grow tent, a 100-watt full-spectrum LED, ventilation fan, six pots, premium potting mix, a heat mat, and liquid fertilizer. Total cost: about $260. Start with lettuce, basil, and microgreens.
If you're considering a tent setup, our grow tent setup guide covers the full assembly process. For sizing help, check the grow tent size guide.
Frequently Asked Questions
Can I use a regular desk lamp instead of a grow light?
Yes, but only if the bulb is a daylight LED (5000K to 6500K) with at least 800 lumens. A standard warm-white bulb won't provide the right spectrum. Keep the light 4 to 6 inches from the plant.
Even then, growth will be slower than with a dedicated grow light.
Do I need a grow tent for indoor gardening?
No. A tent is only useful if you need to control light cycles for flowering plants, contain humidity, or hide the setup. For herbs and greens on a shelf or windowsill, a tent is wasted money.
You can always add one later if you expand. Our article on cheap grow tent kits explains what to look for if you go that route.
How long until I see results from seeds?
Most herbs germinate in 5 to 14 days. Basil shows leaves in about a week. Chives take closer to two weeks.
You can start harvesting microgreens in 7 to 10 days. For full-sized herbs, expect the first harvest at 4 to 6 weeks from seeding.
Should I use tap water or distilled water?
Tap water is fine for most herbs. Let it sit out for 24 hours to let chlorine evaporate. If your tap water is very hard (white mineral buildup on pots), switch to distilled or filtered water.
Softened water (from a salt-based softener) should be avoided. The sodium can harm plants.
How do I know if my plant is getting enough light?
Check the stem spacing. Healthy plants have short gaps between leaves. If the stems are long and stretched with wide gaps, that's called "leggy" growth and means insufficient light.
Move the plant closer to the window or your grow light. Pale or yellowing leaves can also indicate low light.
Can I grow vegetables like tomatoes and peppers indoors?
Yes, but they need strong light. You'll need a high-output LED (at least 100 watts actual draw) running 12 hours daily during flowering. They also need larger pots (5 gallons or more) and a fan for pollination.
Start with determinate (bush) varieties. Our guide on considerations before buying a cheap indoor grow tent covers the space and ventilation requirements for fruiting plants.
For more detailed information on soil health and feeding, the USDA's National Agricultural Library has extensive research on container gardening and soil management. And if you're debating between synthetic feeds and organic amendments, our comparison of compost versus fertilizer breaks down the trade-offs for small indoor setups.