
If you've got a bare spot in your St. Augustine lawn, the ez patch st augustine product from Scotts probably popped up in your search. It sounds like a magic fix: pour it from a bag, water it, and watch grass reappear.
The question is whether it actually delivers on that promise.
Manufacturer specs indicate each bag covers roughly 5 to 6 square feet of bare soil. It's a blend of organic mulch, slow-release fertilizer, and moisture-retaining materials designed to support St. Augustine runners as they root in.
This matters because most other patch products are built for cool-season grasses like fescue, which behave completely differently. As of 2026, this remains one of the most popular go-to options for homeowners wanting to skip the hassle and cost of buying sod for a few small patches. Let's dig into why this isn't a normal lawn patch and what that means for your repair job.
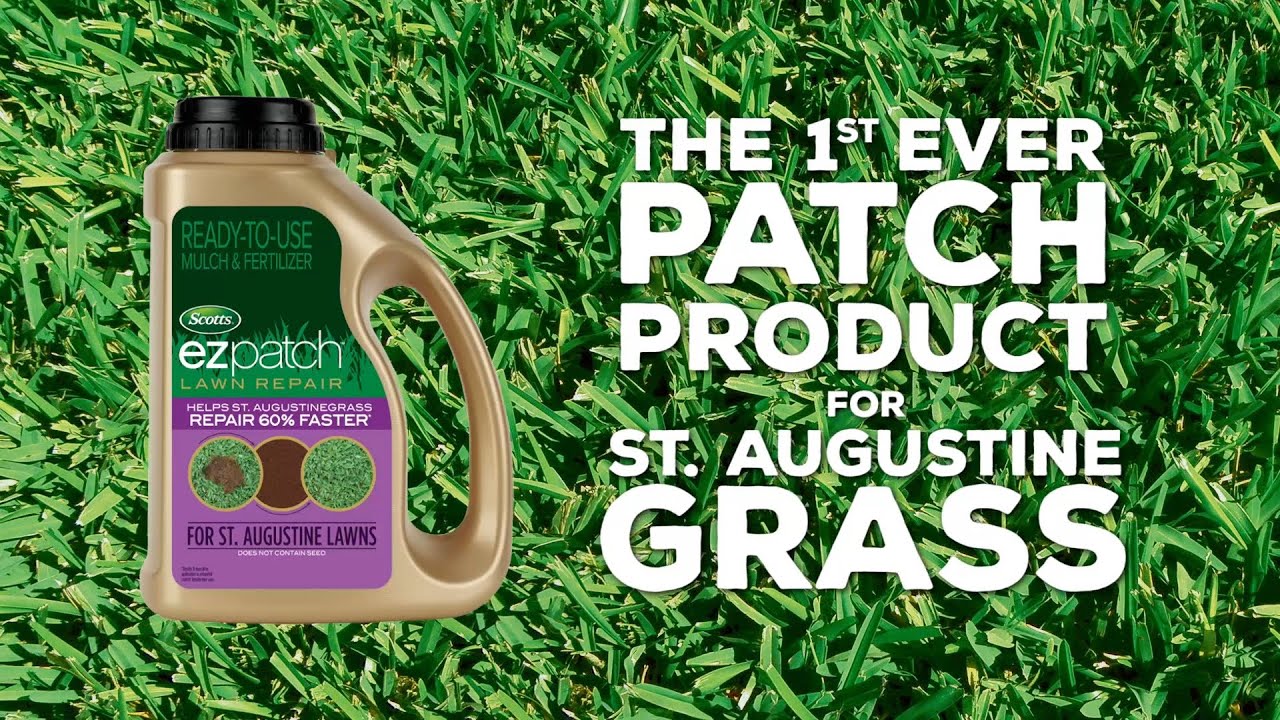
Image source: YouTube / Scotts Lawn (YouTube thumbnail (fair-use with source credit))
Why This Isn't a Normal Lawn Patch (And Why It Matters)
Most people assume a lawn patch product works like grass seed. You scatter it, water it, and seedlings pop up. That's not how St.
Augustine works.
St. Augustine grass is almost never sold as seed. It's a sterile hybrid that spreads through above-ground runners called stolons.
The EZ Patch product doesn't contain seed at all. Instead, it's a growing medium packed with mulched plant material that already contains live St. Augustine runners.
Those runners are supposed to root into the soil beneath the patch and spread outward to fill the bare area.
This is a critical distinction. If you treat it like grass seed, you'll fail. The patch needs to stay moist and in direct contact with bare soil the entire time.
It can't dry out. It can't sit on top of thatch. The runners need to sense soil beneath them to trigger root growth.
Think of it more like a sod transplant that happens to arrive in a bag. You're not growing new grass from scratch. You're helping existing grass tissue establish itself in a new spot.
What's Actually Inside the Bag
The bag is heavier than you'd expect for its size. That's because it's mostly organic matter, not lightweight seed.
According to the manufacturer's published ingredients, the bag contains:
- Recycled organic mulch, Finely ground bark and compost that holds moisture and provides a soft rooting bed.
- Slow-release nitrogen fertilizer, A balanced starter feed that gives the runners energy without burning them.
- Moisture-retaining polymers, Tiny crystals that absorb water and release it slowly as the patch dries.
- Live St. Augustine plant tissue, Fragments of stolons and leaf material that contain viable growing points.
The particle size is important. It's not chunky like regular mulch. It's more like a damp, crumbly soil amendment that you can spread evenly at about half an inch deep.
One thing that surprises people: the bag has a shelf life. If it sits on a store shelf too long or gets baked in the sun, the live plant material can die. Always check the bag for a date code or any signs of the material being dried out and crumbly rather than slightly moist.
Dry material won't root.
Before You Buy: Will This Work for Your Lawn?
Not every bare spot is a good candidate for EZ Patch. The product works best under specific conditions. Let's run through the checklist.
Is Your Grass Really St. Augustine?
This seems obvious, but it's the most common mistake. People buy this product because it says "St. Augustine" on the bag, but they don't actually confirm what grass they have.

Image source: Wikimedia Commons / Yercaud-elango (CC BY-SA)
St. Augustine has a few distinctive features. The blades are broad, about a quarter to half an inch wide, with a rounded tip.
The grass forms a dense turf with a blue-green color. It's coarse compared to Bermuda or Zoysia.
If your lawn is Bermuda grass, which has fine, thin blades that feel sharp, this product won't work. EZ Patch is formulated specifically for St. Augustine's growth habit.
Using it on Bermuda could waste your money and time.
What Kind of Bare Spot Are You Fixing?
The product works best for:
- Patches caused by pet urine, The nitrogen burn kills the grass but the soil is usually healthy.
- Thin areas from shade stress, St. Augustine can struggle in deep shade, and the patch can help fill in weak spots.
- Small dead spots from disease or insects, Once the problem is treated, the patch can restore the area.
- Winter freeze damage, Common in Texas and Florida after a cold snap.
It does not work well for:
- Large bare areas over 10 square feet, Sod is more reliable and faster for big repairs.
- Spots with heavy thatch buildup, The patch needs soil contact, not a layer of dead grass.
- Areas with poor drainage or standing water, The patch will rot before it roots.
- Deeply compacted soil, The runners can't penetrate hard ground without prep work.
If your spot is bigger than a couple of square feet, consider whether sod might be a better investment. We'll compare costs later in the article.
The Visual Guide: What the Patch Should Look Like (At Each Stage)
This is where most online guides fall short. They tell you to "keep it moist" without explaining what that actually looks like. Here's the visual breakdown.
Day 1: The Right Spread
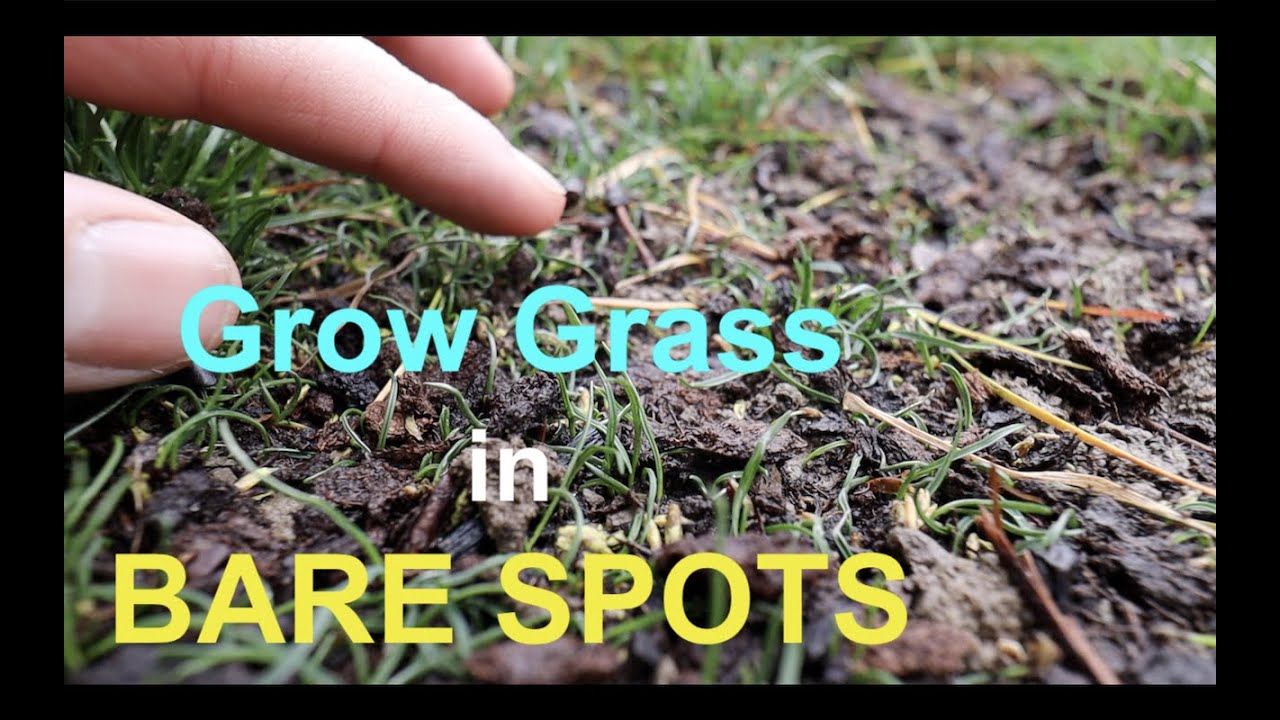
Image source: YouTube / The Lawn Whisperer (YouTube thumbnail (fair-use with source credit))
When you first spread the patch, it should look like a thin layer of dark, damp soil across the bare area. The depth should be about half an inch. You should still be able to see the soil surface underneath the patch.
If it looks like a thick pile of mulch, you've applied too much.
The patch should be level with the surrounding grass, not mounded. If it's higher, water will run off instead of soaking in. If it's lower, the runners won't have enough material to root into.
Week 1: The Wet-Dry Check
During the first week, the patch should feel damp to the touch every morning. Not wet like a puddle. Not dry like dust.
Think of a wrung-out sponge. That's the moisture level you're aiming for.
If the patch looks dark brown and feels cool, you're in good shape. If it looks light brown or gray and feels warm, it's drying out. Water immediately.
Week 2-3: The Rooting Test
By the end of week two, gently tug on a small piece of the patch. If it lifts easily, the runners haven't rooted yet. Keep watering.
If it resists, you're seeing progress.
You should also notice new green shoots emerging from the patch material. These are the first signs of regrowth. The shoots will look slightly lighter green than your established lawn.
Week 4: When It's Ready to Mow
Don't mow until the new grass reaches at least 3 inches tall. The patch needs enough leaf area to photosynthesize and support root growth. Mowing too early rips out the shallow roots.
If you can run your hand through the patch and feel firm resistance, it's ready. If it feels loose or spongy, wait another week.
Step-by-Step: How to Apply EZ Patch the Right Way
Let's walk through the actual process. Skip any of these steps and you're rolling the dice.
What You'll Need
| Tool | Purpose |
|---|---|
| Garden rake or hand cultivator | Loosen the top layer of soil |
| Trowel or small shovel | Remove dead grass and debris |
| Garden hose with spray nozzle | Gentle, even watering |
| Gloves | Protect your hands from compost |
| The bag of EZ Patch | Obviously |
That's it. No special equipment required. If you have a drop spreader, you could use it for an even spread, but hand application works fine for small spots.
Prepping the Spot
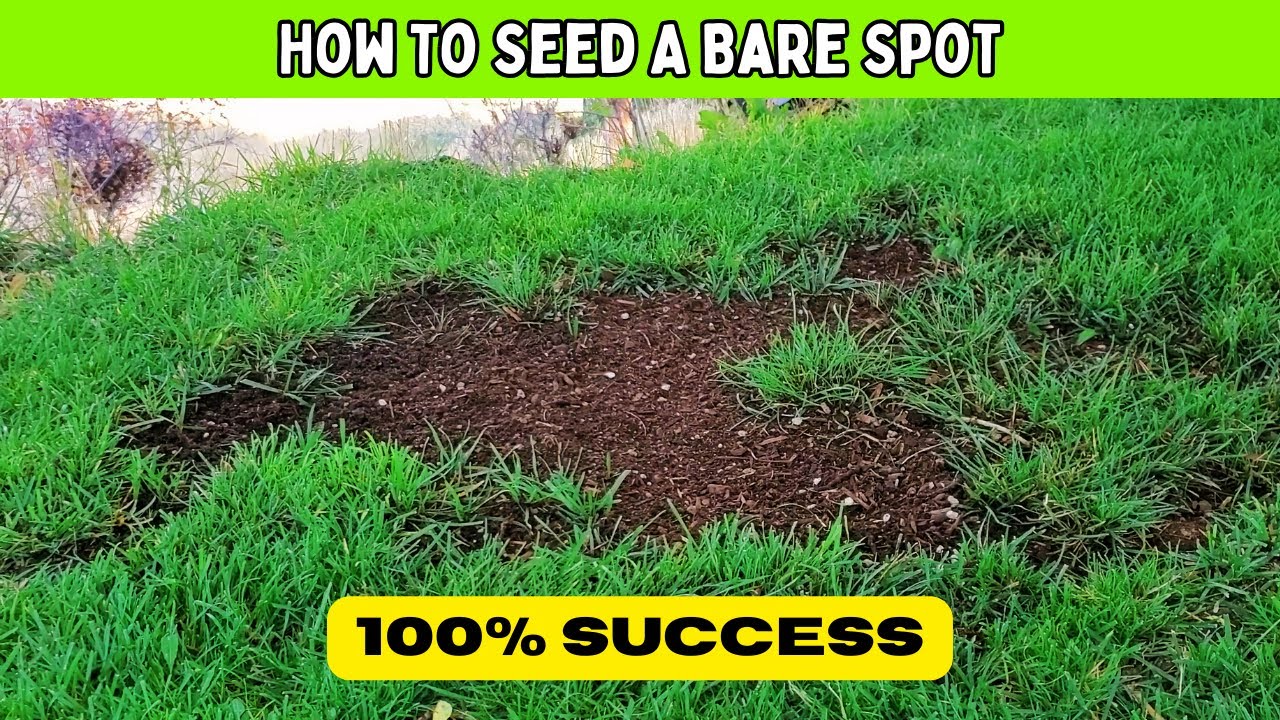
Image source: YouTube / Turf Mechanic (YouTube thumbnail (fair-use with source credit))
This is the step people rush, and it's the one that matters most.
First, rake out all the dead grass from the bare spot. You want to expose bare soil. If there's a layer of thatch, pull it up.
The patch needs direct contact with dirt.
Next, use the rake or cultivator to loosen the top half inch of soil. Don't go deep. You just want to break the surface crust so the runners can grab hold.
If the soil is compacted, water it lightly first to soften it. Then rake again.
Finally, remove any weeds or rocks. Weeds will compete with the patch for water and nutrients.
Applying Evenly
Open the bag and pour the patch material directly onto the bare spot. Use your hands or a trowel to spread it evenly. Aim for a consistent half-inch layer.
Don't pile it up. Don't leave thin spots. The goal is uniform coverage across the entire bare area.
Gently tamp it down with the back of a rake or your hand. You want it to settle into the soil, not float on top.
The Watering Schedule That Actually Works
This is the make-or-break part.
For the first week, water twice a day. Morning and late afternoon. Each watering should be light, just enough to moisten the patch.
You want to see the surface darken but not puddle.
For the second week, drop to once a day. Morning is best. Continue watering until the patch is fully saturated.
After week three, water every other day. By week four, you can taper to normal lawn watering.
If you get a hot day, check the patch mid-afternoon. If it looks dry, give it a quick drink. St.
Augustine runners are thirsty. They'll die if the patch dries out completely.
Remember to keep your other lawn equipment running smoothly. A clogged air filter can stall your mower when you need it most. We've covered keeping it running smoothly in our maintenance guide.
The 5 Most Common Visual Mistakes (And How to Spot Them)
Even when you follow the steps, small errors can kill the patch. Here's what to watch for, and what it looks like when it happens.
Mistake 1: Applying Too Thick
A thick layer blocks oxygen from reaching the runners. The patch turns dark and slimy instead of rooting.
You'll know you messed up if the patch looks like a raised mound. It should be level with the surrounding lawn. If it's more than an inch deep, scrape off the excess and spread it thinner.
Mistake 2: Leaving a Gap at the Edge
The patch needs to touch the healthy grass around it. A gap of even half an inch means the runners have to cross bare dirt to connect.
Check the perimeter. If you see a ring of bare soil between the patch and the lawn, fill it in. Push the patch material right up against the healthy stolons.
Mistake 3: Not Seeing the Soil Contact
The patch must sit on bare soil, not on dead grass or thatch. If you spread it over debris, the runners never reach dirt.
Gently lift a corner of the patch. If you see anything between the patch and the soil, you need to rake it out and reapply. This is the most common hidden failure.
Mistake 4: Over-Watering (Yes, It Turns Yellow)
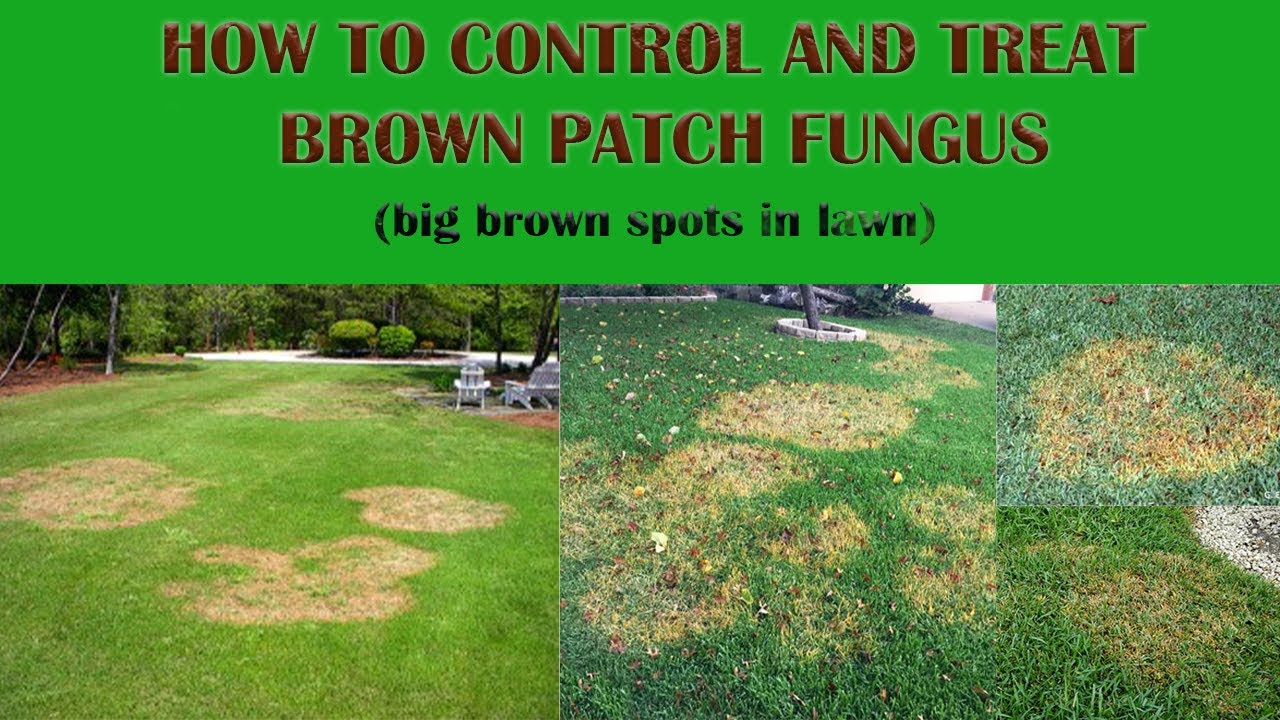
Image source: YouTube / Better Call Chadd (YouTube thumbnail (fair-use with source credit))
You can drown a patch. The first sign is yellowing around the edges. Then the patch turns mushy and develops a musty smell.
If you see that, stop watering immediately. Let the patch dry out for a full day. Then water only when the top layer feels dry to the touch.
Fungus spreads fast in wet conditions, and St. Augustine is especially vulnerable.
Mistake 5: Mowing Too Early
Mowing before the roots are established rips the patch right off the soil. You'll see it lift like a loose carpet when the mower passes over.
Test with a gentle tug. If the patch moves, wait another week. Wait until the new grass is at least 3 inches tall and feels firmly anchored.
How Long Does It Take? Real Timelines and What to Expect
Patience is the hardest part. Here's what aggregate reviews and manufacturer data show for realistic timelines:
| Timeframe | What You Should See |
|---|---|
| Days 1–3 | Patch looks like damp mulch. No visible change. |
| Days 4–7 | Tiny green shoots may appear. Patch stays moist. |
| Days 8–14 | Shoots get taller. Roots start grabbing soil. |
| Days 15–21 | Patch starts blending with surrounding lawn. Stronger roots. |
| Days 22–28 | Grass is 2–3 inches tall. Ready for first mow if rooted. |
| Day 30+ | Patch is mostly invisible. Normal maintenance resumes. |
If you see no green shoots by day 10, something went wrong. Check for dryness, poor soil contact, or wrong grass type.
When the Patch Fails: Troubleshooting by Sight
Sometimes it just doesn't work. Here's how to diagnose by looking at the remains.
Patch is brown and crispy. It dried out. Start over with fresh product, and water more frequently next time.
Patch is dark brown and smells sour. Over-watered or got fungus. Let it dry completely, then consider applying a fungicide labeled for St. Augustine large patch.
Avoid watering until the soil dries.
Patch is still present but never turned green. The live plant material in the bag may have been dead. Check the bag's condition before buying next time. Stale product is common in big-box stores.
Patch disappeared (washed or blew away). You didn't tamp it down enough or watered too hard. Use a gentle mist next time and press the patch into the soil.
Green shoots but patch lifts easily. Roots haven't formed. Keep watering and wait. Do not mow.
St. Augustine Patch Alternatives: Sod vs. Plugs vs. EZ Patch
EZ Patch is not your only option. Here's how it stacks up.
| Method | Cost per sq. ft. | Time to fill | Labor | Best For |
|---|---|---|---|---|
| EZ Patch | ~$2–3 | 3–4 weeks | Low | Small spots, shade areas |
| St. Augustine plugs | ~$1–2 per plug | 8–12 weeks | Medium | Sparse lawns, gradual fill |
| St. Augustine sod | ~$0.50–1 per sq. ft. | 1–2 weeks | High | Large bare areas, instant results |
EZ Patch wins for speed on small patches. You don't need to cut, dig, or wait for plugs to spread.
Plugs are better if you're filling a large area slowly on a budget. They take longer but cost less overall.
Sod is the gold standard for big repairs. It's instant but expensive and labor-intensive. You also need a way to get it home.
If your bare spot is larger than 10 square feet, consider either plugs or sod. The EZ Patch bag coverage is limited, and multiple bags get expensive fast.
The Cost Breakdown: Per Square Foot
Let's talk real numbers. As of 2026, a single bag of EZ Patch St. Augustine retails for about $14 to $20 depending on your region and retailer.
Each bag covers roughly 5 to 6 square feet.
That works out to about $2.50 to $3.50 per square foot. For a typical pet urine spot (about 1 square foot), you're spending around $3 for the repair. That's reasonable.
For a 10-square-foot area, you'd need two bags. That's $30 to $40. At that point, sod might be cheaper per square foot, but you'd pay more upfront and have to haul it.
Hidden costs: If you mess up and have to reapply, you'll pay twice. Watering costs add a few cents per day during establishment. Fungicide for fungus issues runs another $15 to $30.
For most homeowners with one or two small bare spots, the cost is worth the convenience. For larger areas, factor in the alternatives.
Speaking of lawn care costs, using the right spreader helps you avoid waste. Our comparison of a drop spreader vs a broadcast spreader explains which one applies an even layer without overlap.
Final Verdict: When to Use EZ Patch, When to Skip It
Use EZ Patch if you have one or two small bare spots under 6 square feet total. It's the fastest, easiest option for pet urine damage, light shade thinning, or winter kill. You don't need special tools and you can finish the job in 15 minutes.
Skip it if the area is larger than 10 square feet, if the soil is heavily compacted, or if you have a thatch layer you can't remove. In those cases, sod gives you instant results and plugs stretch your budget further. Also skip it if you can't water twice daily for the first week.
The patch will fail without consistent moisture.
For the best long-term results, pair your repair with proper spring feeding. Our guide on what fertilizer to use in spring explains how to support new growth without burning it.
Frequently Asked Questions
Can I use EZ Patch on Bermuda or Zoysia grass?
No. This product is formulated specifically for St. Augustine grass.
Bermuda and Zoysia have different growth habits and need their own repair products. Using it on the wrong grass type wastes money and time.
How often should I water EZ Patch St. Augustine?
Water twice daily for the first week, once daily for the second week, then every other day. Each session should be light enough to moisten the patch without puddling. The patch must stay damp but not soggy.
Why did my EZ Patch turn brown and die?
The most common cause is drying out. St. Augustine runners die quickly without consistent moisture.
Other causes include applying too thick, poor soil contact, or stale product. Check the bag date before buying.
When can I mow over a repaired patch?
Wait until the new grass reaches at least 3 inches tall and feels firmly rooted when tugged. Mowing too early lifts the patch and destroys the runners. This usually takes 3 to 4 weeks.
Does EZ Patch contain grass seed?
No. St. Augustine is not grown from seed.
The product contains live plant tissue including runners and stolons that spread into the soil. Treat it like a living transplant, not seed.
For reliable St. Augustine care information, the Texas A&M AgriLife Extension provides research-based lawn guides for warm-season grasses.