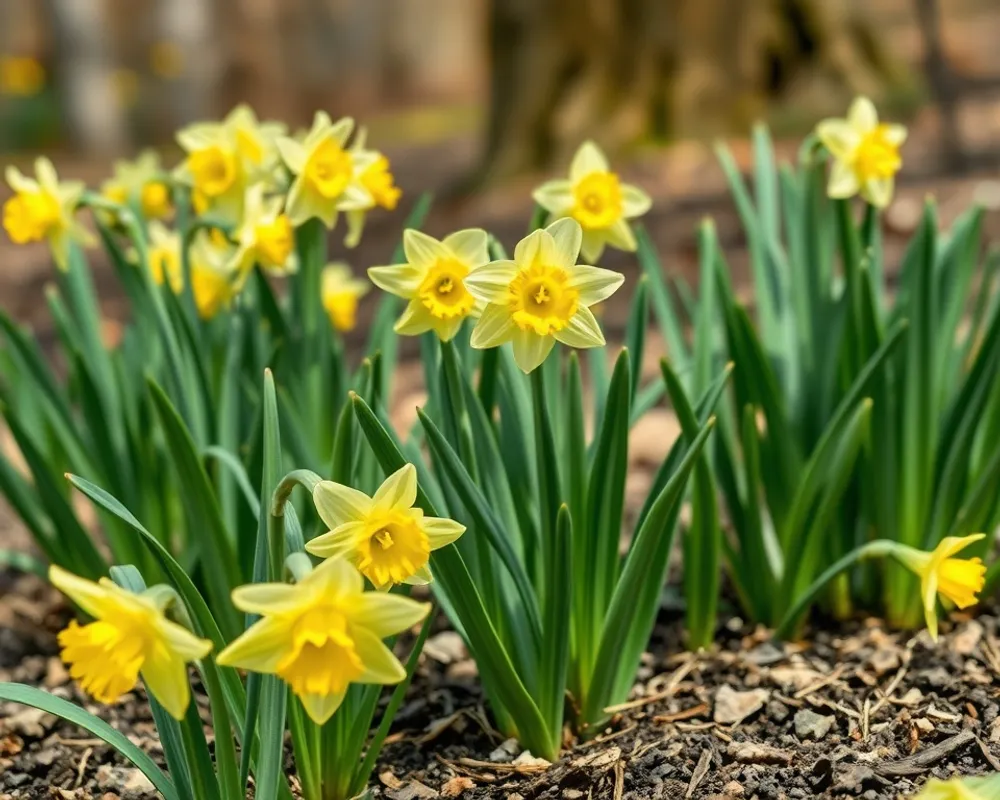
You want a field of daffodils. Not just a handful tucked into a garden bed, but a real sweep of yellow that keeps coming back year after year without you fussing over it every season. That’s a different game than planting a few bulbs in a border.
And the difference between a field that looks like a dream and one that fizzles out after the first spring comes down to a handful of decisions you make before the first bulb ever hits the soil.
How To Plant A Field Of Daffodils starts with understanding your land. Soil drainage alone determines whether you get a thriving meadow or a rotting mess by December. As of 2025, the American Daffodil Society reports that over 60% of failed naturalized plantings trace back to poor drainage and incorrect planting depth.
Get those two things right, and you’re most of the way there.
Quick Answer
Choose well-drained soil in full sun. Plant bulbs three times their own depth. Space them three to six inches apart for a natural look.
Set them in the ground two to four weeks before your first hard freeze. Water once after planting if no rain comes. Let the foliage die back completely before mowing.
Is a Daffodil Field Right for Your Land?
Not every piece of ground is a good candidate. Daffodils are forgiving, but they have hard limits. The biggest one is drainage.
If your soil stays wet for more than 24 hours after a heavy rain, you’re fighting an uphill battle. Bulbs rot in standing water.

Image source: Wikimedia Commons / Colin Smith (CC BY-SA)
Daffodils need at least four to six hours of direct sunlight during spring growth. A field shaded in March and April produces weak blooms. The bulbs might survive, but they won’t multiply the way you want.
Wildlife pressure is almost never a problem. Every part of the plant contains calcium oxalate crystals, making daffodils toxic to deer, rabbits, and rodents. That’s a huge advantage over tulips.
What You’ll Need Before You Start Planting
You don’t need much gear, but having the right tools makes the difference between a pleasant afternoon and a sore back.
| Item | Why You Need It |
|---|---|
| Daffodil bulbs (grade #1 or #2) | Larger bulbs bloom first year; smaller may skip a season |
| Soil pH test kit | Daffodils prefer pH 6.0–7.0 |
| Organic bulb fertilizer (bonemeal or 5-10-10) | Provides phosphorus for root development |
| Bulb planting auger (drill attachment) | For individual planting in small to medium fields |
| Broadcast spreader | For random scattering in large naturalized areas |
| Landscape rake | For covering scattered bulbs with soil |
| Compost or well-rotted manure | For soil amendment if needed |
| Straw or shredded leaves | Optional winter mulch in USDA zones 3–5 |

Image source: Bing (Web (fair-use with source credit))
Grade #1 bulbs (14/16 cm or larger) bloom reliably in their first spring. Grade #2 bulbs (12/14 cm) are cheaper, but about one in five won’t flower until year two.
Step 1 – Pick the Right Daffodil Varieties for Your Zone
Not every daffodil naturalizes well. Some bloom hard for one season and fade. Others multiply like crazy for decades.
The USDA Hardiness Zone Map covers zones 3 through 8 for most daffodils. Check your zone at planthardiness.ars.usda.gov.

Image source: Wikimedia Commons / Jonathan Billinger (CC BY-SA)
- ‘King Alfred’, Large golden blooms, reliable in zones 3, 8.
- ‘Ice Follies’, White with yellow cup. Tolerates heavier soil. Zones 4, 8.
- ‘Thalia’, White, multi-flowered. Soft look. Zones 5, 8.
- Narcissus pseudonarcissus, Wild daffodil, excellent for meadows. Zones 3, 7.
- ‘Carlton’, Commercial cut-flower standard. Multiplies fast. Zones 4, 8.
- ‘Fortune’, Orange cup, heat-tolerant. Zones 5, 8.
Mix early, mid, and late varieties for a six-week bloom window.
Step 2 – Test Your Soil and Fix Drainage Issues
Dig a hole 12 inches deep and 12 inches wide. Fill it with water and time how long it takes to drain. Two hours or less is fine.
Longer than four hours means trouble.

Image source: Bing (Web (fair-use with source credit))
Options for slow drainage:
- Mix 2, 3 inches of coarse sand into the top 10 inches (practical for small fields).
- Build raised beds or mounded rows.
- Choose a different site. A wet field will never grow good bulbs.
Soil pH should be 6.0, 7.0. Test with a cheap kit. Below 5.8, add garden lime.
Above 7.5, add sulfur or composted pine bark. Skip guessing. A $15 test from your local cooperative extension office saves years of frustration.
Step 3 – Decide Your Planting Approach: Individual vs. Broadcast
Individual planting (auger or trowel) is best for small fields under 500 bulbs. You control depth and spacing exactly. Bloom rate is higher.
Broadcast planting (scatter and rake) is for large fields over 1,000 bulbs. Faster but less precise. Expect about 85% emergence.
Buy extra bulbs to compensate.

Image source: Bing (Web (fair-use with source credit))

Image source: Bing (Web (fair-use with source credit))
| Method | Best For | Pros | Cons |
|---|---|---|---|
| Individual | Small fields, formal look | Correct depth, high bloom rate | Slow for large areas |
| Broadcast | Large fields, naturalized look | Fast, wild appearance | Some depth error, slight waste |
Step 4 – Timing Matters: When to Plant in Your Climate
Plant two to four weeks before your first hard frost. Soil temperature at 4 inches deep should be 50, 55°F.

Image source: Wikimedia Commons / AnonymousUnknown author
| USDA Zone | Typical Window |
|---|---|
| Zone 3 | Late August to mid-September |
| Zone 4 | September to early October |
| Zone 5 | September to October |
| Zone 6 | October to early November |
| Zone 7 | October to November |
| Zone 8 | November to December |
| Zone 9 | December or pre-chill bulbs |
A soil thermometer is more reliable than a calendar.
Step 5 – Prep the Field: Clearing, Tilling, and Amending
Clear existing vegetation. Mow low, then scalp with a sod cutter or tiller. Till 10 to 12 inches deep.
Work in 2, 3 inches of compost and any amendments your soil test recommended.
Rake the field smooth. Remove rocks and clumps. On slopes, till across the slope to reduce erosion.
Step 6 – Plant at the Right Depth and Spacing (It Depends on Your Soil)
General rule: plant three times the bulb height. For a 2-inch bulb, that’s 6 inches deep. But adjust for soil.
- Sandy soil, Plant 1, 2 inches deeper to keep bulbs cool and anchored.
- Clay soil, Plant 1, 2 inches shallower to avoid waterlogging. 4 inches is often safer.
Spacing:
- Naturalized meadow: 4, 6 inches apart in random drifts.
- High-density display: 2, 3 inches apart for instant carpet.
- Cut-flower field: 3, 4 inches apart in rows.
For individual planting, use a bulb auger on a drill. Drop bulbs pointy side up and cover. For broadcast, scatter evenly, rake in, and check a few depths.
Step 7 – Fertilize, Water, and Mulch the First Season

Sprinkle a small amount of organic bulb fertilizer (5-10-10 or bonemeal) into each hole. Mix it into the soil. Avoid high-nitrogen fertilizers.
Water once if the soil is dry after planting. That triggers root growth. Then stop.
Wet soil over winter causes rot.
In USDA zone 5 or colder, spread 2, 3 inches of straw or shredded leaves as winter mulch. Remove in early spring. In warmer zones, skip mulch.
Common Problems That Kill a Daffodil Field (and How to Avoid Them)
Bulb rot, Caused by waterlogged soil. Prevention: improve drainage, plant shallower in clay, or choose a better site.
Poor blooms in year two, Usually overcrowding. Dig and divide clumps in late summer. Replant the largest bulbs.
Foliage cut too early, Leaves feed the bulb. Wait at least 6 weeks after bloom, until leaves turn yellow and flop.
Narcissus bulb fly, Remove and destroy infested bulbs. Cover small fields with fine netting during egg-laying in late spring.
Animal disturbance, Rare with daffodils. Tamp soil firmly after planting.
What to Do After Bloom: Foliage Care and Long-Term Maintenance
Deadhead spent flowers to divert energy to the bulb. For wild meadows, skip this.
Do not cut, braid, or tie the leaves. Let them die back naturally. Mow only when they are fully brown, typically late June or early July.
Set mower deck high.
Fertilize lightly every other fall with bonemeal. Avoid spring fertilizing.
Divide clumps every 4 to 6 years when blooms shrink. This keeps your field productive for decades.
How Many Bulbs Do You Really Need? Cost and Coverage Estimates
For a naturalized meadow, plan on 5, 8 bulbs per square yard. A 1,000-square-foot field needs 500, 700 bulbs. Wholesale prices run $0.25, $0.80 per grade #1 bulb.
A quarter-acre display costs around $500.
For a cut-flower field, pack 10, 12 bulbs per square yard. Expect faster division.
When planning your field, don't forget to check the right oil level for your mower before the first mow of the season. A well-maintained mower handles tall daffodil foliage cleanly. If you’re managing a large field, a drop spreader versus broadcast spreader comparison can help you choose the right tool for fertilizing.
For general soil health, understanding the difference between compost vs fertilizer is useful when amending your field. And if you're starting your field in spring, knowing how to start a lawn mower after winter will get you ready for that first post-bloom mow.
Frequently Asked Questions About Planting a Daffodil Field
Can I plant daffodil bulbs in the spring?
No. Daffodils need 12, 16 weeks of cold to bloom. Spring-planted bulbs will not flower until the following year.
How long does it take for a daffodil field to fill in?
With grade #1 bulbs, you get a full display the first spring. Full naturalization (self-multiplying) takes 3, 5 years.
Do I need to water daffodils in summer?
No. They are summer-dormant. Watering encourages rot.
Let the field dry naturally.
What do I do if my daffodils stop blooming?
Dig up clumps in late summer. Divide and replant only the largest bulbs. This restores vigor for the next spring.
Can I grow daffodils in heavy clay?
Yes, but plant shallower (4 inches deep) and amend with sand or compost. Better yet, build raised rows to improve drainage.
For more detailed advice on using a soil thermometer and other garden tools, the American Daffodil Society (daffodilusa.org) offers a comprehensive library of variety and care information. The USDA Natural Resources Conservation Service provides soil survey data for your specific location at websoilsurvey.nrcs.usda.gov.