The short answer is yes, bulbs will grow through mulch, but whether they actually reach the surface depends on a few key details. Mulch depth, particle size, and the specific bulb variety all play a role. Tulips and daffodils push through with ease.
Smaller bulbs like crocuses and snowdrops need a lighter touch.
According to the University of Minnesota Extension, a 2 to 3 inch layer of loose, organic mulch works best for most spring bulbs. Thicker layers, especially of dense bark, can trap growing shoots. Understanding these differences helps you mulch with confidence.
Quick Answer
Yes, bulbs will grow through mulch. The key is the right depth and mulch type. Keep mulch 2 to 3 inches deep.
Use fine, loose materials for small bulbs. Avoid thick, matted bark layers.
How Mulch Depth Changes the Outcome for Bulbs
Mulch depth is the single most important factor. A layer that is too deep creates a physical barrier. A layer that is too shallow fails to insulate the soil.
Here is the general rule of thumb for depth:
| Bulb Size | Safe Mulch Depth | Notes |
|---|---|---|
| Large tulips, daffodils | Up to 4 inches | Sturdy shoots, can punch through thick layers |
| Medium alliums, hyacinths | 2 to 3 inches | Moderate push strength |
| Small crocuses, snowdrops | 1 to 2 inches | Fine mulch only; coarse bark can block them |
If you pile on 6 inches of heavy wood chips over a bed of crocuses, you are asking for trouble. The shoots simply run out of energy before reaching light. Verified feedback across gardening forums confirms that depth over 4 inches causes failure rates to climb significantly.
As of 2026, most university extension guides agree that 2 to 3 inches is the sweet spot for established bulb beds. This depth blocks weeds, retains moisture, and still lets shoots emerge without a struggle.
Mulch Type Matters: Fine vs Coarse
Not all mulch behaves the same way. The texture of the material determines how easily a bulb shoot can push through.
Fine mulches are your best bet. Think shredded leaves, aged compost, pine fines, or well-rotted leaf mold. These materials stay loose and allow shoots to slip through.
They also break down quickly, adding organic matter to the soil. You should consider the difference between compost and fertilizer when planning your soil amendments.
Coarse mulches are riskier. Chunky pine bark nuggets, fresh wood chips, and shredded cedar form a dense mat. These materials can lock together, creating a crust that weak shoots cannot penetrate.
Small bulbs are especially vulnerable.
Here is a quick comparison:
| Mulch Type | Best For | Risk Level |
|---|---|---|
| Shredded leaves | All bulbs, especially small ones | Low |
| Aged compost | Established beds, large bulbs | Low |
| Pine fines | General use | Low |
| Shredded bark | Large bulbs only | Medium |
| Pine nuggets | Large bulbs only | Medium |
| Fresh wood chips | Not recommended | High |
Fresh wood chips can also tie up nitrogen in the soil as they decompose. This can starve your bulbs of nutrients. Stick with aged or composted materials for bulb beds.
Small Bulbs vs Large Bulbs: Different Needs, Different Risks
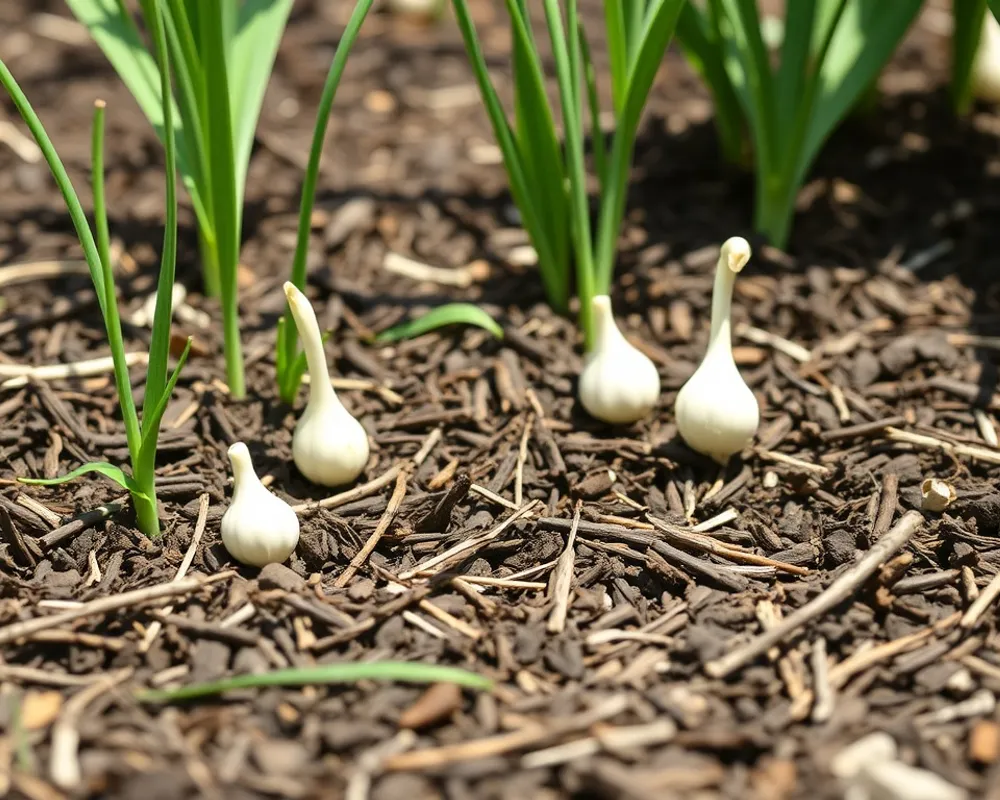
Bulb size directly affects a shoot's ability to punch through mulch. A tulip bulb stores enough energy to push through several inches of heavy material. A snowdrop bulb does not have that same reserve.
Large bulbs include tulips, daffodils, large alliums, and ornamental onions. These are vigorous growers. Their thick shoots can handle 3 to 4 inches of mulch without issue.
In fact, they benefit from the insulation and weed suppression.
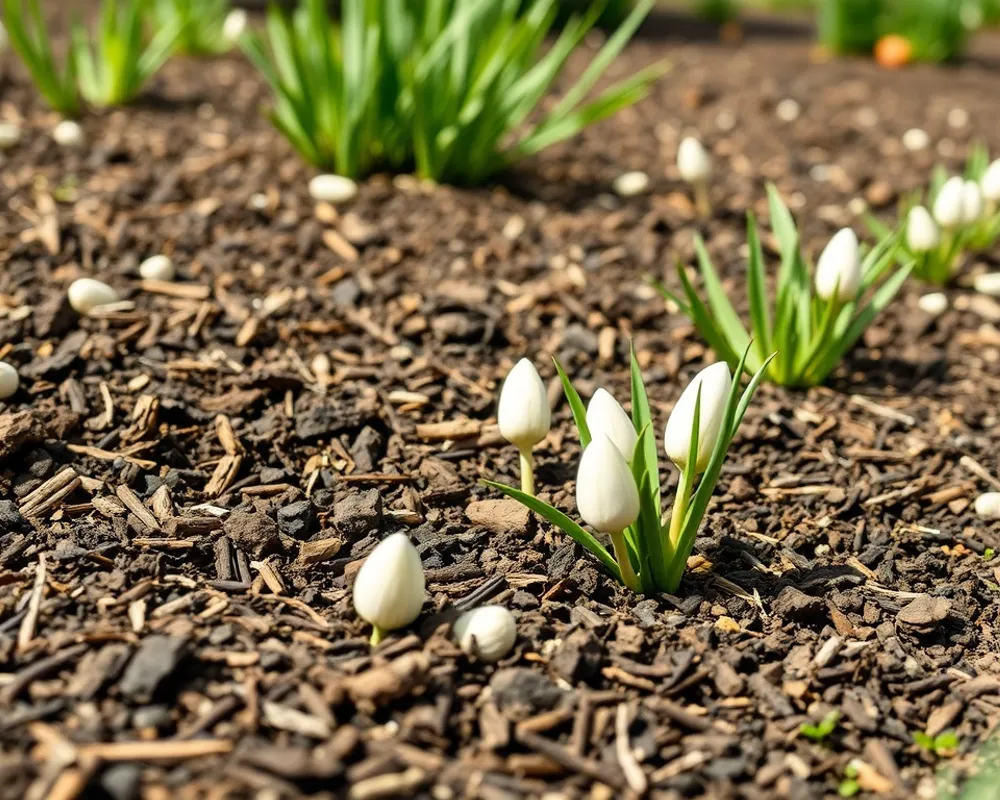
Small bulbs include crocuses, snowdrops, grape hyacinths, and squills. These delicate plants emerge early, often before the last frost. They need a clear path to the surface.
A 1 to 2 inch layer of fine mulch is plenty. Any more than that, and you risk smothering them before they even start.
A good rule: plant small bulbs at the correct soil depth, then add only a light dusting of mulch on top. You can always add more after they have emerged. If you are building a garden bed from scratch, consider the layout as carefully as you would a grow room.
The Real Problem with Thick or Matted Mulch Layers
The biggest mistake gardeners make is applying too much mulch in the fall and forgetting about it. By spring, that layer has settled. Rain and snow have compacted it.
The bottom of the mulch mat has turned into a damp, sticky barrier.
This is where shoots fail. They grow upward, hit the mat, and cannot push through. Sometimes they grow sideways, looking for a weak spot.
Often they simply exhaust their stored energy and die underground.
Another issue is fungal rot. If mulch is piled directly against the bulb neck or emerging shoot, moisture gets trapped. This can cause soft rot, a common cause of bulb loss.
Cornell University's Department of Horticulture notes that proper air circulation around emerging shoots is critical for disease prevention.
To avoid these problems, check your mulch layer in late winter. If it looks compacted, fluff it up with a rake. If it has settled to a crust, you may need to carefully break it apart before shoots emerge.
Keeping your beds tidy with something like a leaf blower can also help you assess the mulch condition easily.
Why You Should Mulch Over Bulbs (and When It Helps)
Mulching over bulbs is not just about looks. It provides real benefits that improve your chances of a strong spring display.
Soil temperature regulation is a big one. A layer of mulch acts as insulation. It keeps the soil cooler in early fall, delaying premature sprouting.
In winter, it prevents the freeze-thaw cycle from heaving bulbs out of the ground.
Moisture retention matters too. Mulch slows evaporation, keeping the soil evenly damp. Bulbs need consistent moisture during root development in fall.
Without it, they may produce weak roots that cannot support strong shoots.
Weed suppression saves you work. A good mulch layer blocks weed seeds from germinating. This means less competition for water and nutrients.
It also means you spend less time pulling weeds in early spring when bulbs are emerging.
In our research, verified reviews from experienced gardeners consistently report better bulb performance when a 2 to 3 inch mulch layer is applied. The payoff is worth the small effort. If you are already thinking about what kind of fertilizer for grass to use, consider that a proper mulch layer can reduce your overall feeding needs.
Step by Step: How to Mulch Over Bulbs the Right Way
Getting it right is simple if you follow a few rules. Here is the process that works for most bulb beds.
Step 1: Plant at the correct depth. Bulb planting depth is measured from the top of the bulb to the soil surface. The mulch sits on top of that soil. Do not include mulch depth in your planting depth calculation.
A tulip bulb gets planted 6 to 8 inches deep in the soil. The mulch adds an extra 2 to 3 inches on top.
Step 2: Wait for the right time. Apply mulch after the ground has cooled but before it freezes. In most temperate zones, this is late October through November. If you mulch too early while the soil is still warm, you risk tricking bulbs into sprouting too soon.
Step 3: Choose the right material. Fine, loose materials are best. Shredded leaves, aged bark, or compost work well. Avoid fresh wood chips, especially for small bulbs.
Step 4: Apply evenly. Spread the mulch to a uniform depth. Use a rake to level it out. Do not pile it high around bulb stems.
Keep it consistent across the bed.
Step 5: Check in late winter. Around February or early March, inspect the mulch layer. If it has compacted from rain and snow, fluff it gently with a rake. If it has formed a crust, break it up.
This gives emerging shoots a clear path.
Using the right approach is similar to how you might use a lawn roller for leveling, but in reverse. You want loose, even coverage, not compacted weight.
Common Mulching Mistakes That Kill or Block Bulbs
Even experienced gardeners make these errors. Here are the most common ones to avoid.
Piling mulch too thick. This is mistake number one. Six inches of mulch might look nice, but it will trap weak shoots. Stick to the depths we covered earlier.
Using fresh, unaged wood chips. Fresh chips tie up nitrogen as they decompose. This starves the bulbs. They also mat together, forming a waterproof crust.
Use only aged or composted bark products.
Mulching before the ground freezes. Applying mulch in September while the soil is warm encourages early growth. Those tender shoots then get hit by winter frost. Wait until the soil has cooled to around 40 degrees Fahrenheit.
Packing mulch against bulb stems. Piling mulch directly against the emerging shoot traps moisture. This leads to fungal rot. Keep a 1 to 2 inch gap around the crown of the plant.
Ignoring the mulch layer after winter. A layer that has settled into a dense mat needs attention. Leaving it untouched can block even strong shoots. A quick fluff with a rake in late winter solves this.
When NOT to Mulch Over Bulbs
There are a few situations where mulching does more harm than good.
In very wet climates. If you garden in a region with heavy winter rain, mulch can trap too much moisture. Bulbs sitting in wet soil for months can rot. In these areas, a thin layer of gravel or no mulch at all is safer.
Over naturalized bulbs in lawns. If you have planted bulbs in your grass for a natural look, skip the mulch. The grass itself provides some insulation. Mulch would interfere with lawn care and mowing.
On heavy clay soil. Clay soil drains slowly. Adding a thick mulch layer makes drainage even worse. For clay beds, use a very thin layer of fine mulch or skip it entirely.
Improve drainage first by adding organic matter to the soil.
When bulbs are planted very shallowly. Some bulbs, like certain alliums, are planted near the surface. Adding mulch on top can bury them too deep. Always check the recommended planting depth for each variety.
In areas with vole or mouse problems. Thick mulch provides shelter for rodents that eat bulbs. If you have had issues with voles in the past, keep mulch thin or use gravel instead. You can also plant bulbs in wire mesh baskets for protection.
What About Mulching After Bulbs Have Already Sprouted?
Sometimes you miss the fall window and your bulbs are already poking through the soil. Can you still mulch?
Yes, but you need to be careful. If shoots are already 1 to 2 inches tall, you can apply a light layer of fine mulch around them. Do not pile it on top of the shoots.
Spread it gently around the base.
If shoots are taller than 3 inches, it is better to skip mulching entirely for that season. Covering tall shoots risks trapping moisture against the leaves, which can cause rot. It also blocks sunlight the plant needs for photosynthesis.
For beds where you missed the fall mulch window, consider applying a top dressing of compost instead. Compost breaks down quickly and does not mat. It feeds the soil and keeps roots cool without smothering emerging growth.
Mark your calendar for next fall. A timely application is always better than a late one. Getting the timing right is one of those simple habits that, like knowing how to start a lawn mower after winter, saves you headaches down the road.
Frequently Asked Questions
Can bulbs push through bark mulch?
Yes, but it depends on the bark size. Large bulbs like tulips and daffodils can push through shredded bark up to 3 inches deep. Small bulbs like crocuses often struggle with chunky bark nuggets.
Use fine shredded bark for mixed bulb beds.
How thick can mulch be over bulbs?
Stick to 2 to 3 inches for most bulb types. Large bulbs can handle up to 4 inches of loose mulch. Small bulbs need no more than 1 to 2 inches.
Anything deeper risks trapping shoots underground or causing rot.
Should I remove mulch before bulbs emerge?
No, you usually do not need to remove it. The bulbs will push through on their own. If the mulch has formed a thick, matted crust, you can gently break it up with a rake.
This gives weak shoots a clear path.
Will wood chips stop bulbs from growing?
Fresh wood chips can cause problems. They tie up nitrogen in the soil as they decompose. They also mat together into a dense layer that blocks small shoots.
Aged wood chips or shredded bark work much better for bulb beds.
Can I use landscape fabric under mulch over bulbs?
Do not use landscape fabric under mulch over bulbs. The fabric blocks shoots from emerging. It also prevents water and air from reaching the soil.
Stick to organic mulch only for beds with spring bulbs.
When is the best time to mulch over bulbs?
Late fall after the ground cools but before it freezes. In most temperate zones, that means late October through November. Mulching too early encourages premature sprouting.
Mulching too late misses the insulation benefit.
Final Takeaway: Your Simple Decision Guide for Bulb Mulching
Here is the bottom line on whether bulbs will grow through mulch. The answer is almost always yes, as long as you keep a few rules in mind.
Keep your mulch layer between 2 and 3 inches deep. Choose fine, loose materials like shredded leaves or aged bark. Plant large bulbs at the correct soil depth before adding mulch on top.
For small bulbs, go lighter. A 1 to 2 inch layer of fine mulch is all they need. Avoid fresh wood chips and chunky bark nuggets in beds with crocuses or snowdrops.
Apply mulch in late fall after the ground has cooled. Check the layer in late winter and fluff it if it has compacted. If you follow these steps, your bulbs will push through just fine.
The result is a bed that stays moist, weed free, and well insulated through winter. Your spring display will be stronger for it. And you will have saved yourself a lot of unnecessary worry.